
The Art of the Literary Timepiece
There is a certain rugged soul in an old book—the smell of aged paper, the textured patina of a linen-wrapped spine, and the weight of history in your hands. But what happens when those pages are no longer readable, or the content has long since faded into irrelevance? Instead of letting these treasures gather dust in a bargain bin, we are going to breathe a literal heartbeat into them. This project is the ultimate trash-to-treasure transformation, blending the world of horology with the timeless aesthetic of a private library.
In this guide, we aren’t just making a clock; we are crafting a statement piece that looks like it was plucked from a high-end boutique in SoHo or a bespoke artisan shop in London. Whether you are a frugal DIYer looking to elevate your home office or a creative gift-giver searching for that perfect, personalized Father’s Day present, this hack is your ticket to a $100 aesthetic for the price of a cup of coffee and a few minutes of crafty grit.
The Hunt: Scouting the Perfect Specimen

Not every book is destined for clock-hood. To achieve that masculine-elegant look, you need a book with physical presence. Look for hardcovers that feel substantial. A thin paperback won’t have the depth to house the clock mechanism, and a flimsy cover will warp under the weight of the hardware. Your goal is to find a ‘vessel’ that commands attention on a shelf.
What to Look For at the Thrift Store
- Thickness: Aim for at least 1.5 to 2 inches deep. This ensures the battery pack (the ‘movement’) sits flush inside the pages.
- Cover Texture: Leather, faux-leather, or heavy buckram cloth are ideal. Avoid glossy modern dust jackets; we want the raw, tactile feel of the binding.
- Spine Integrity: Ensure the spine is still firmly attached. A little cracking adds character, but a detached spine makes the assembly process a nightmare.
- Color Palette: Deep forest greens, navy blues, rich oxblood, or classic charcoal grey offer the most sophisticated finish.
| Book Type | Aesthetic Value | Ease of Crafting |
|---|---|---|
| Vintage Encyclopedia | High (Classic) | Easy (Thick pages) |
| Old Law Books | Very High (Rugged) | Medium (Heavy binding) |
| Modern Hardcover | Low (Generic) | Very Easy |
| Antique Linen Novel | High (Charming) | Hard (Fragile paper) |
Tools of the Trade: A Budget Breakdown
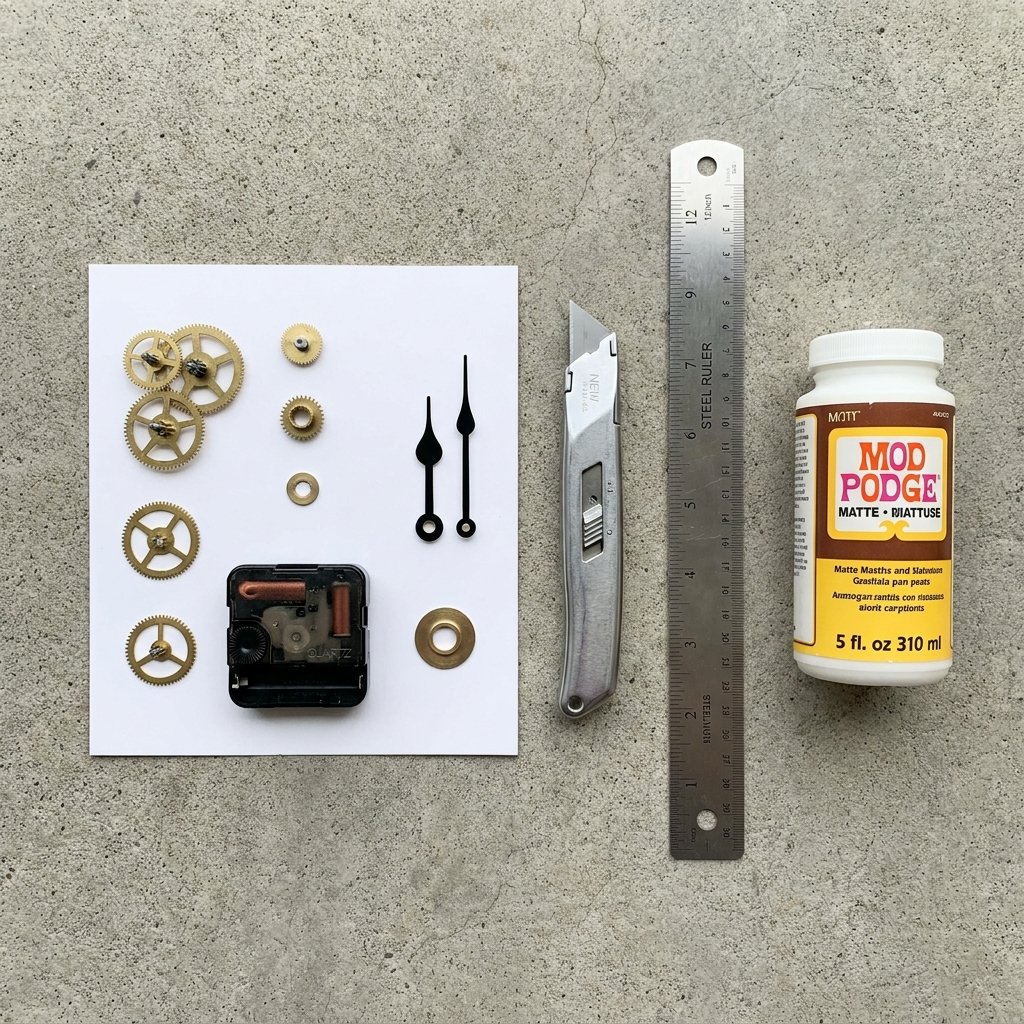
One of the best parts of this project is the low barrier to entry. You don’t need a woodshop or expensive power tools. Most of these items are likely already in your junk drawer or available for a few dollars at a local craft store or Dollar Tree. We are focusing on resourceful creativity here—using what we have to create something extraordinary.
| Item | Purpose | Estimated Cost |
|---|---|---|
| Thrifted Book | The Clock Body | $1.00 – $3.00 |
| Clock Movement Kit | The ‘Heart’ of the clock | $5.00 – $8.00 |
| Utility Knife / X-Acto | Carving the cavity | $2.00 |
| Steel Ruler | Precision measuring | $1.50 |
| Matte Mod Podge | Sealing the pages | $4.00 |
| Total Project Cost | Bespoke Decor | $13.50 – $18.50 |
Pro Tip: Buy clock kits in bulk online (packs of 5 or 10) to bring your per-unit cost down to under $3.00. This makes it the perfect budget-friendly gift for groomsmen or family members!
The Surgery: Carving the Clock Cavity

This is where the transformation truly begins. We need to create a ‘secret compartment’ inside the book to house the battery-operated movement. This requires patience and a sharp blade. Do not rush this step; precision is the mark of a craftsman.
Step-by-Step Carving Guide
- Mark Your Center: Open the book to the middle. Use your ruler to find the exact center of the page. Mark the dimensions of your clock movement (usually a 2.25″ square).
- The First Cut: Using a fresh blade, cut through the first 10-15 pages. Don’t try to go too deep at once.
- The Clearing: Remove the cut paper and repeat the process. Continue until you have a hole deep enough for the entire clock motor to sit inside without the book cover bulging.
- The Spindle Hole: Once the cavity is done, use a drill bit or the tip of your X-Acto knife to poke a small hole through the front cover exactly in the center of your cavity. This is where the clock hands will attach.
Safety Note: Always cut away from your body. Use a metal ruler as a guide to prevent the blade from slipping and to ensure perfectly straight, professional lines.
Designing a Timeless Face
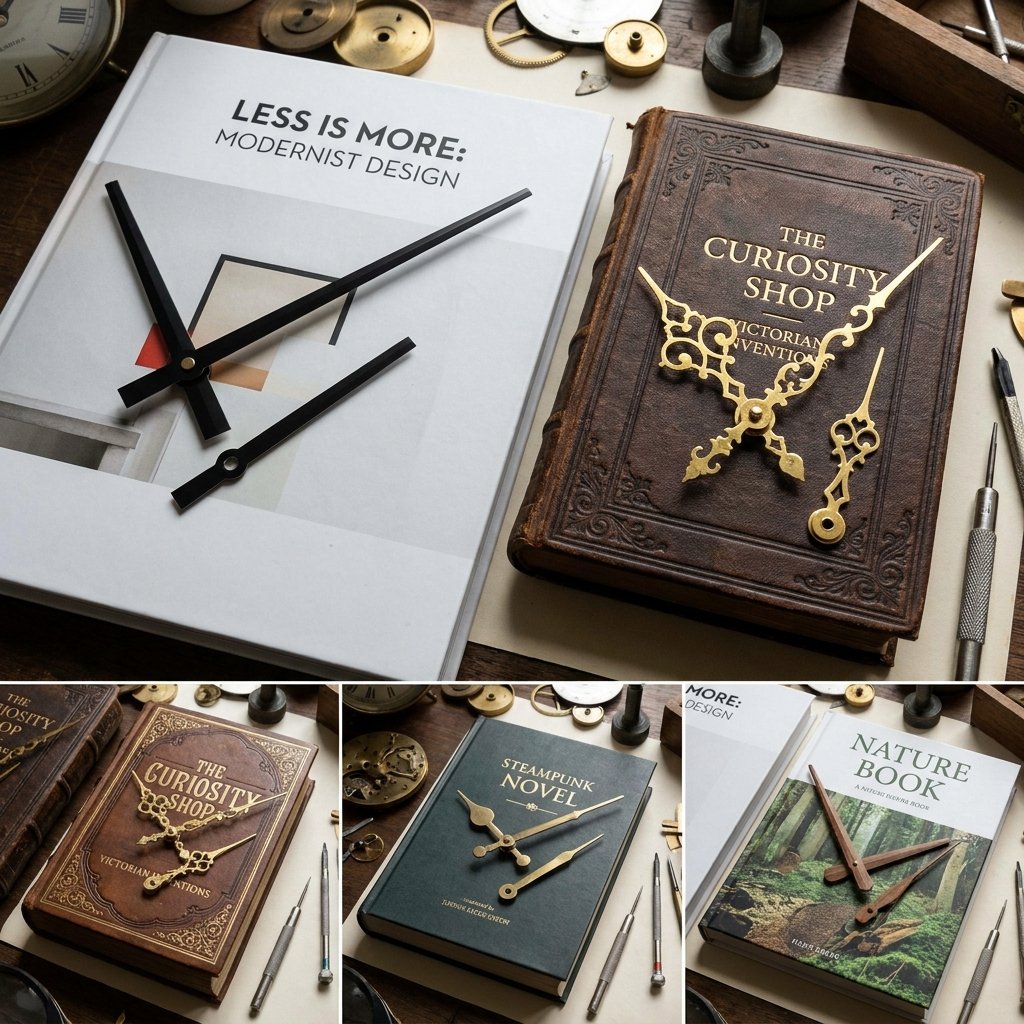
Now we decide on the ‘face’ of the clock. You have two main routes: Minimalist Modern or Classic Ornate. Because the book itself has so much character, sometimes ‘less is more.’ You can leave the cover as is, letting the title of the book serve as the backdrop, or you can add numbers for better functionality.
Style Options
- The Minimalist: Use only the clock hands. No numbers. This highlights the texture of the leather and the gold-stamped title.
- The Industrial: Use small brass hex nuts from the hardware store as hour markers (12, 3, 6, and 9). This adds a rugged, masculine weight to the piece.
- The Academic: Use a gold paint pen to hand-draw elegant Roman numerals. This fits the ‘Old World’ aesthetic perfectly.
Before installing the hands, I recommend sealing the edges of your cut pages with a thin layer of Mod Podge. This ‘locks’ the pages together, turning the book into a solid block that won’t fan out or sag over time. It gives the piece a premium, solid feel.
The Final Assembly: Bringing Your Book to Life
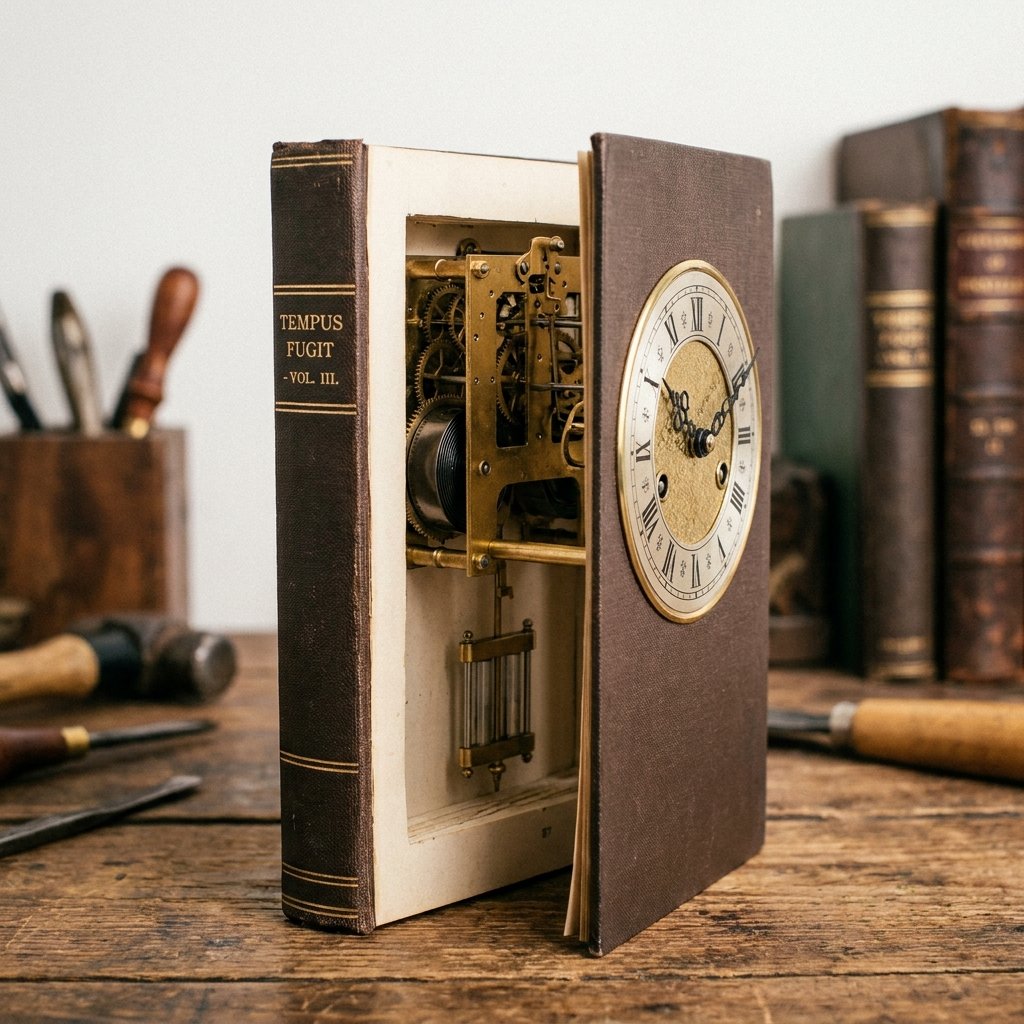
The moment of truth! It’s time to install the movement and set the time. This is a 5-minute process that provides instant gratification. If you’ve measured correctly, everything should snap together with satisfying precision.
Assembly Instructions
- Insert the Movement: Place the clock motor into the cavity from the inside of the book, poking the brass spindle through the hole in the front cover.
- Secure the Hardware: On the outside of the cover, screw on the small brass washer and nut that came with your kit. Tighten it just enough so the motor doesn’t spin, but don’t over-tighten and crush the cover.
- Attach the Hands: Press the hour hand on first (the shortest one), followed by the minute hand, and finally the second hand. Ensure they are all pointing exactly at 12:00 to keep them synchronized.
- The Battery Test: Insert a fresh AA battery. Listen for that rhythmic, steady tick. It’s alive!
| Step | Time Required | Focus Area |
|---|---|---|
| Sealing Pages | 10 Mins (Dry time) | Durability |
| Hardware Install | 2 Mins | Stability |
| Hand Alignment | 3 Mins | Accuracy |
Styling Your Masterpiece: The Masculine-Elegant Aesthetic

Your statement clock is finished, but how you display it is what separates a ‘craft project’ from ‘interior design.’ This piece thrives in an environment with warm lighting, natural textures, and dark tones. It is a conversation starter—a piece of ‘functional art’ that bridges the gap between the digital and the analog.
Where to Place It
- The Mantle: Flank it with a couple of brass candlesticks and a small potted succulent.
- The Bookshelf: Place it horizontally at the end of a row of books, using it as a functional bookend.
- The Nightstand: Its silent (or soft ticking) presence adds a touch of sophistication to a bedroom, especially when paired with a ceramic lamp.
If you are giving this as a gift, consider the book title carefully. A clock made from ‘The Great Gatsby’ for a literature lover, or an old ‘Manual of Seamanship’ for a veteran, adds a layer of thoughtful personalization that no store-bought gift can match. You aren’t just giving them a way to tell time; you’re giving them a piece of history repurposed for the modern world.
Conclusion
Time Well Spent
By taking a forgotten object and giving it a new purpose, you’ve practiced the finest form of resourceful creativity. This vintage book clock is more than just a budget-savvy hack; it’s a testament to the idea that beauty and utility can be found in the most unlikely places. You’ve saved a piece of history from a landfill and created a stunning statement piece that will tick away for years to come.
Now, the next time you walk into a thrift store and see a dusty, neglected shelf of old hardcovers, you won’t see trash. You’ll see an opportunity. You’ll see a gift. You’ll see a masterpiece waiting to be carved out. Happy crafting, and may your home always be filled with timeless style!

Makenzie is the founder and lead writer at MoneyHackTips.com — a personal finance blog dedicated to delivering street-smart financial wisdom for real people on real budgets. With 300+ published articles covering everything from debt management to investing fundamentals, Makenzie’s mission is to make every dollar work harder. When not writing about money hacks, Makenzie is testing frugal living strategies, optimizing side hustles, and helping readers build financial freedom from scratch.