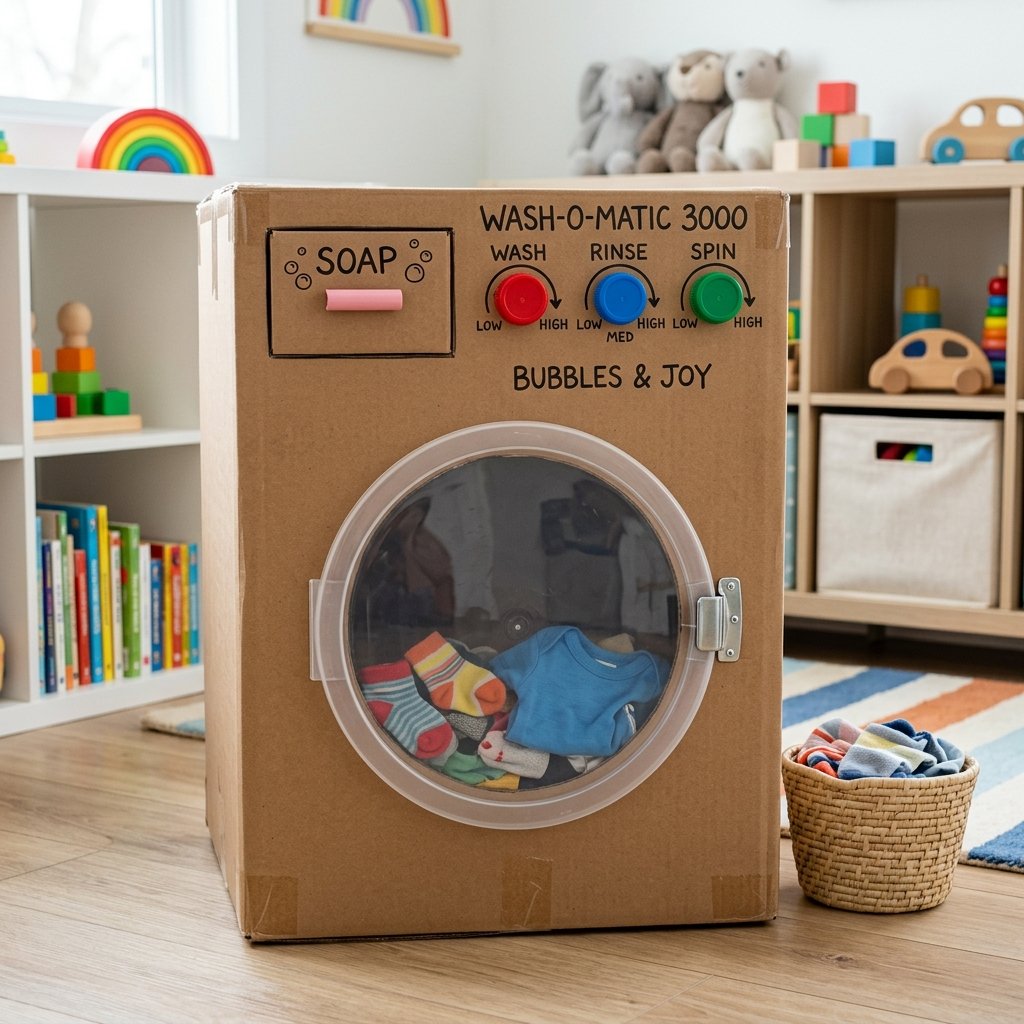

Listen up, fellow frugal engineers and crafty parents. We have all been there: you spend $100 on a shiny, plastic, battery-operated toy only for your toddler to spend the entire afternoon playing with the cardboard box it came in. It is time to lean into that logic. Why fight the cardboard obsession when you can harness it? Today, we are going to build something legendary—an Epic DIY Cardboard Washing Machine—using nothing but the contents of your recycling bin and a few basic tools you already have in your workshop. This is not just a toy; it is a tactical play center designed to develop fine motor skills, encourage imaginative role-play, and, most importantly, keep your little ones occupied for hours while you finally drink a cup of coffee. We are talking about a zero-budget project that looks like a high-end boutique toy but costs exactly $0. This project is rugged, practical, and perfectly suited for the handy parent who knows that a bit of hot glue and some clever engineering can outperform any store-bought plastic junk. Let us get to work and turn that mountain of Amazon boxes into a toddler-approved laundry station.
The Blueprint: Scavenging Your Materials
Sourcing the Components from the Recycling Bin
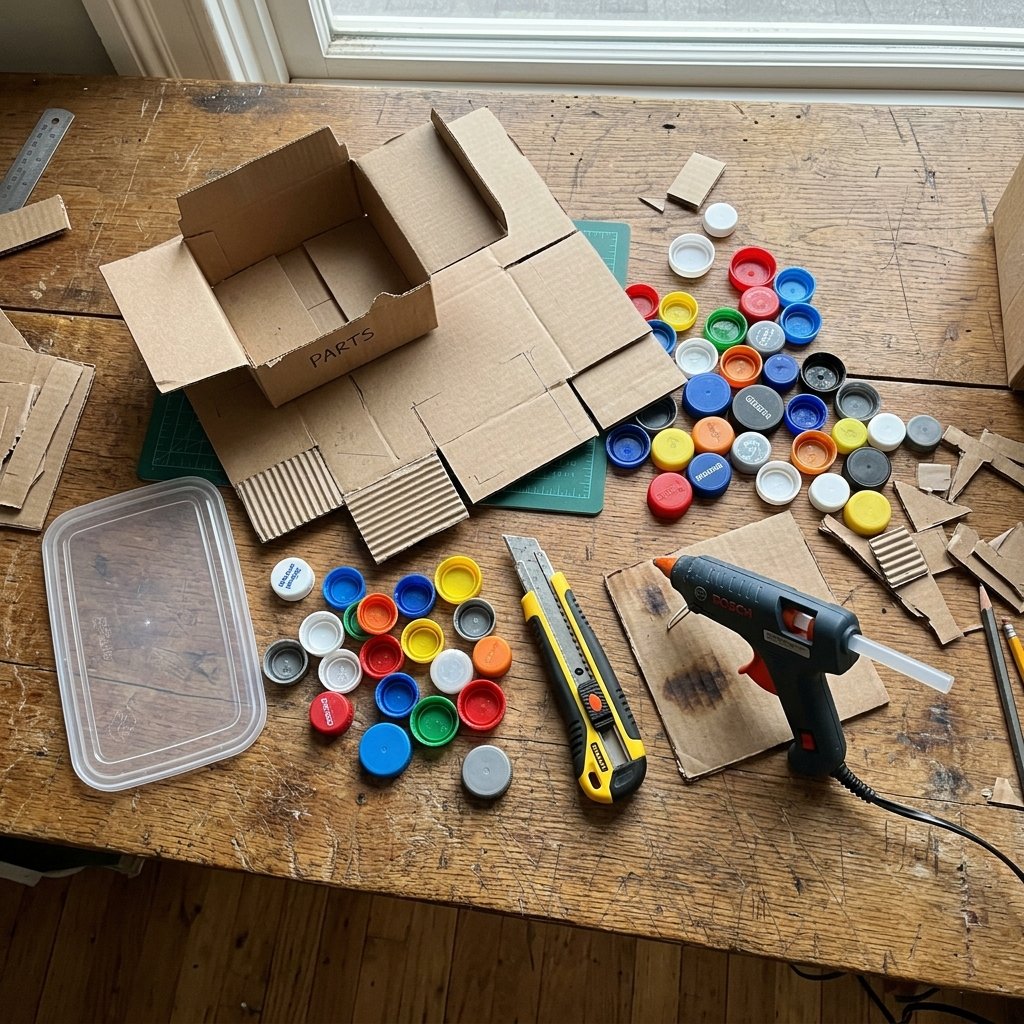
Before we start cutting, we need to gather our supplies. The beauty of this project is its sustainability. We are taking items destined for the landfill and giving them a second life as a masterpiece of childhood play. You do not need a trip to the craft store; you just need to raid your pantry and your garage. We are looking for structural integrity and tactile interest. Here is the breakdown of what you will need to scavenge.
| Material | Estimated Cost | Source |
|---|---|---|
| Large Cardboard Box | $0.00 | Shipping delivery or grocery store |
| Clear Plastic Lid | $0.00 | Large yogurt container or salad tub |
| Plastic Bottle Caps | $0.00 | Milk jugs, soda bottles, or detergent caps |
| Cardboard Scraps | $0.00 | Leftover flaps from the main box |
| Hot Glue/Duct Tape | $0.00 | Existing workshop supplies |
| Utility Knife | $0.00 | Your tool belt |
Choosing the Perfect Chassis
The foundation of your washing machine is the box. Look for a heavy-duty, double-walled cardboard box if possible. Diaper boxes or medium-sized shipping containers are ideal because they are sturdy enough to withstand the “aggressive” play style of a three-year-old. Ensure the box is clean and free of any staples or rough edges that could cause a scrape. This is the frame of your machine—the chassis that will hold all the interactive components.
Engineering the Porthole: The Front-Load Door
Precision Cutting for the Main Entry
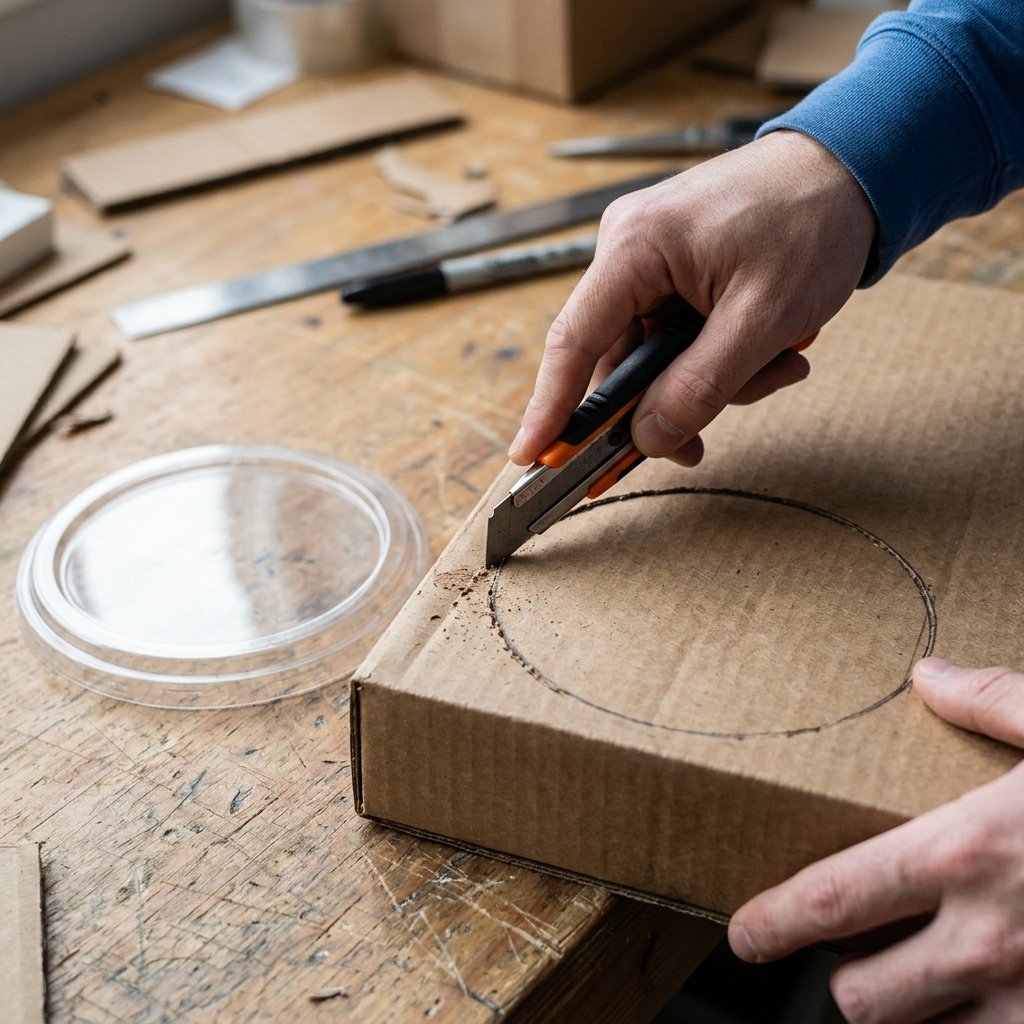
Every epic washing machine needs a clear view of the action. This is where the clear plastic lid comes into play. We are going to create a functional, swinging front-load door that feels just like the real thing. This step requires a steady hand and a sharp blade, so keep the toddlers at a safe distance for this part of the build.
Pro-Tip for Precision: Use the plastic lid itself as a template. Trace the circumference onto the front of your box with a pencil before you start cutting to ensure a perfect fit.
- Trace the Circle: Position your lid in the center of the box’s front panel. Trace around it, then draw a second circle about 1 inch wider than the first.
- Cut the Door: Use your utility knife to cut out the outer circle. Do not throw this cardboard disc away! It will become the frame of your door.
- Create the Window: Now, cut the inner circle out of that cardboard disc. You should be left with a cardboard ring.
- Install the Glass: Glue your clear plastic lid to the back of the cardboard ring. Boom—you have a transparent porthole.
- The Hinge: Use a strip of heavy-duty duct tape or a leftover piece of cardboard to create a hinge on the left side of the door. Attach it to the main box so the door swings open and shut smoothly.
Adding the Latch
To keep the door closed during the “spin cycle,” glue a small magnet or a piece of Velcro to the right side of the door and the corresponding spot on the box. This provides a satisfying click or snap when the toddler closes the machine, enhancing the tactile experience.
The Control Center: Tactile Knobs and Interactive Buttons
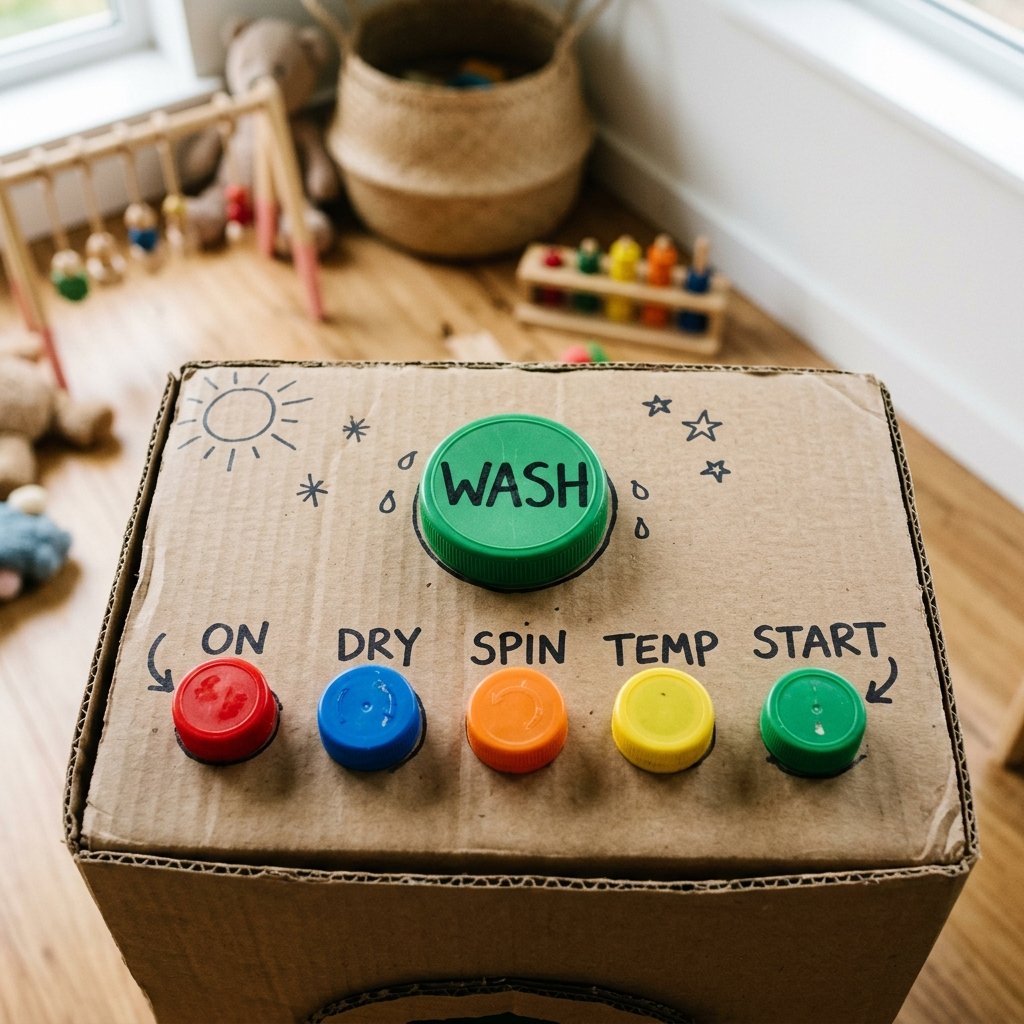
Developing Fine Motor Skills with Upcycled Caps
A washing machine is nothing without its controls. This is the part of the project that truly keeps toddlers busy. We want knobs that turn and buttons that click. By using different sizes and colors of bottle caps, we create a sensory-rich control panel that helps with color recognition and fine motor development.
| Component | DIY Solution | Benefit |
|---|---|---|
| Temperature Knob | Large detergent cap on a cardboard pivot | Rotating motion for wrist strength |
| Start Button | Bright red soda cap | Push-action for finger isolation |
| Cycle Timer | Milk jug cap with hand-drawn numbers | Introduction to numbers and sequence |
How to Make Knobs That Actually Turn
Do not just glue the caps flat onto the box. To make them turn, poke a small hole in the center of the cap and a corresponding hole in the box. Feed a brass fastener (brad) through the cap and the box, then spread the legs of the fastener on the inside. Now, your toddler can spin the dial to their heart’s content. It is a simple mechanical win that adds a huge amount of play value.
Mantra for the Budget Builder: If it moves, it is a toy. If it stays still, it is just a box. Always aim for movement.
The Soap Drawer: A Masterclass in Cardboard Joinery
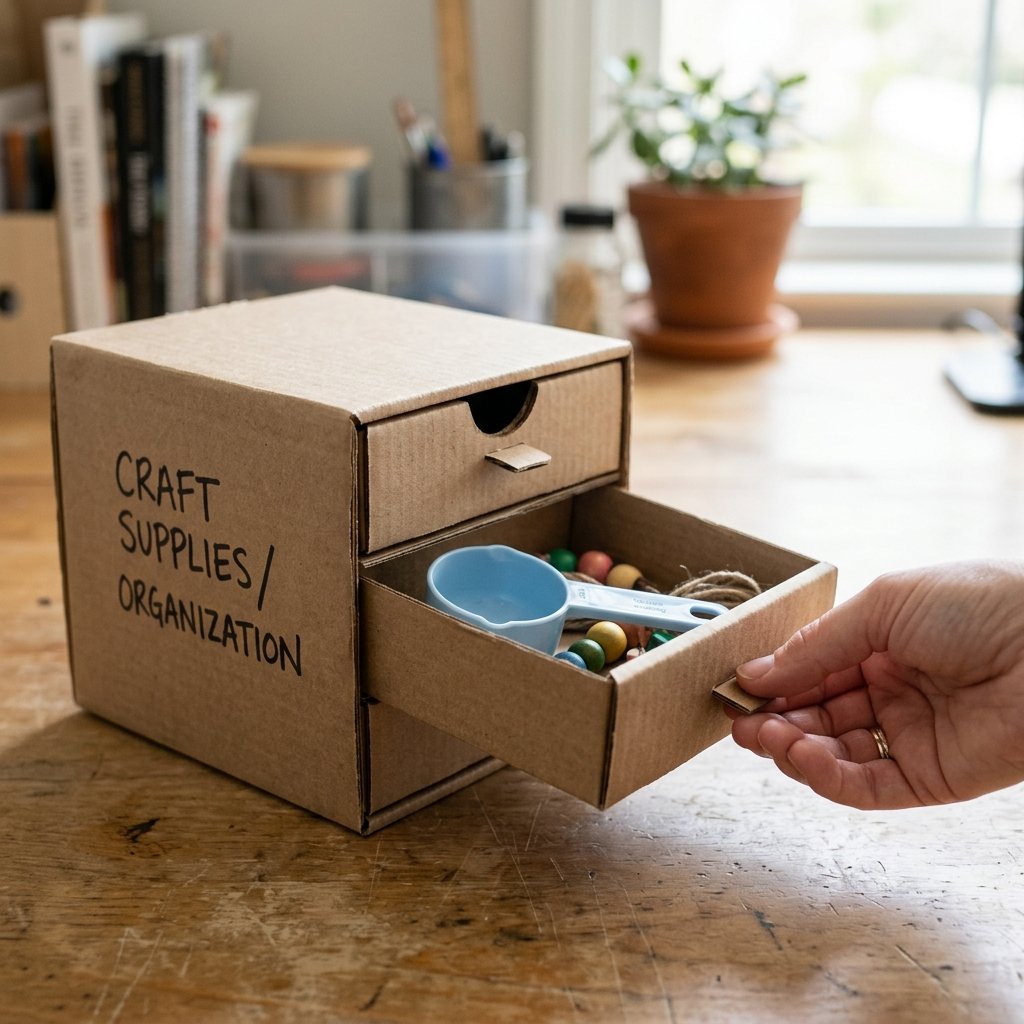
Adding the Hidden Compartment
To make this washing machine truly “epic,” we need a sliding soap drawer. This is where the crafty-expert skills come in. You will need a small rectangular box (like a tea box or a small shipping box) to act as the drawer. This allows the toddler to practice the push-pull motion, which is excellent for spatial awareness.
Step-by-Step Drawer Installation
- Measure the Drawer: Find a small box that will serve as the drawer. Trace the front profile of this box onto the top corner of your washing machine.
- Cut the Slot: Carefully cut out the rectangle. Ensure it is a fraction of an inch larger than the drawer box so it slides easily without getting stuck.
- The Stopper: Glue a small piece of cardboard to the back of the drawer inside the machine so the toddler cannot pull the drawer all the way out and lose it.
- The Handle: Use a wine cork or a small block of cardboard as a handle. Glue it firmly to the front of the drawer.
Inside the drawer, you can place a small scoop or an empty, clean measuring cup from a real detergent bottle. This adds a layer of realism that toddlers absolutely love. They can pretend to pour “soap” (use pom-poms or felt scraps for a mess-free experience) before starting the wash.
Rugged Durability: Making It Toddler-Proof
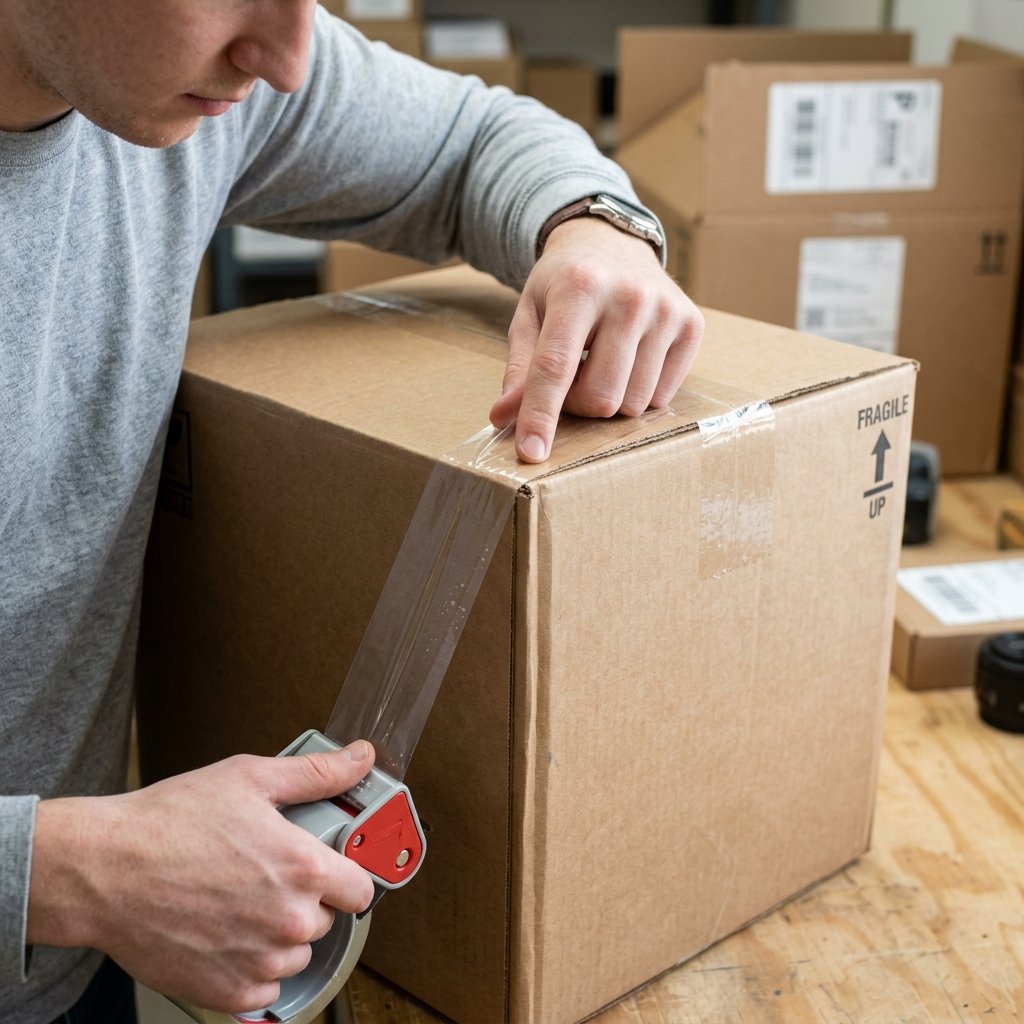
Structural Reinforcement for Heavy Use
Toddlers are not known for being gentle with their equipment. To ensure this DIY project lasts more than a single afternoon, we need to apply some rugged engineering principles. Cardboard is strong, but its edges are its weakness. We are going to reinforce the “chassis” to handle the heavy-duty play cycles ahead.
The Structural Integrity Checklist
- Reinforce the Corners: Apply a layer of clear packing tape or colored duct tape to every corner and edge of the box. This prevents the cardboard from fraying and adds a sleek, finished look.
- Double the Floor: Cut an extra piece of cardboard the exact size of the bottom of the box and glue it inside. This creates a “heavy-duty” floor that can support the weight of real clothes or heavy toys being loaded into the machine.
- The Internal Drum: If you want to go truly pro, glue a smaller cylindrical box (like an oatmeal container) inside the machine, attached to the back wall. This gives the clothes a place to sit and makes the interior look like a real drum.
Safety Note: Always ensure there are no sharp edges or exposed hot glue strings. If you use magnets for the door, ensure they are glued and taped down securely to prevent any choking hazards. Safety is the hallmark of a master builder.
The Play Value: Why This Project is a Game Changer
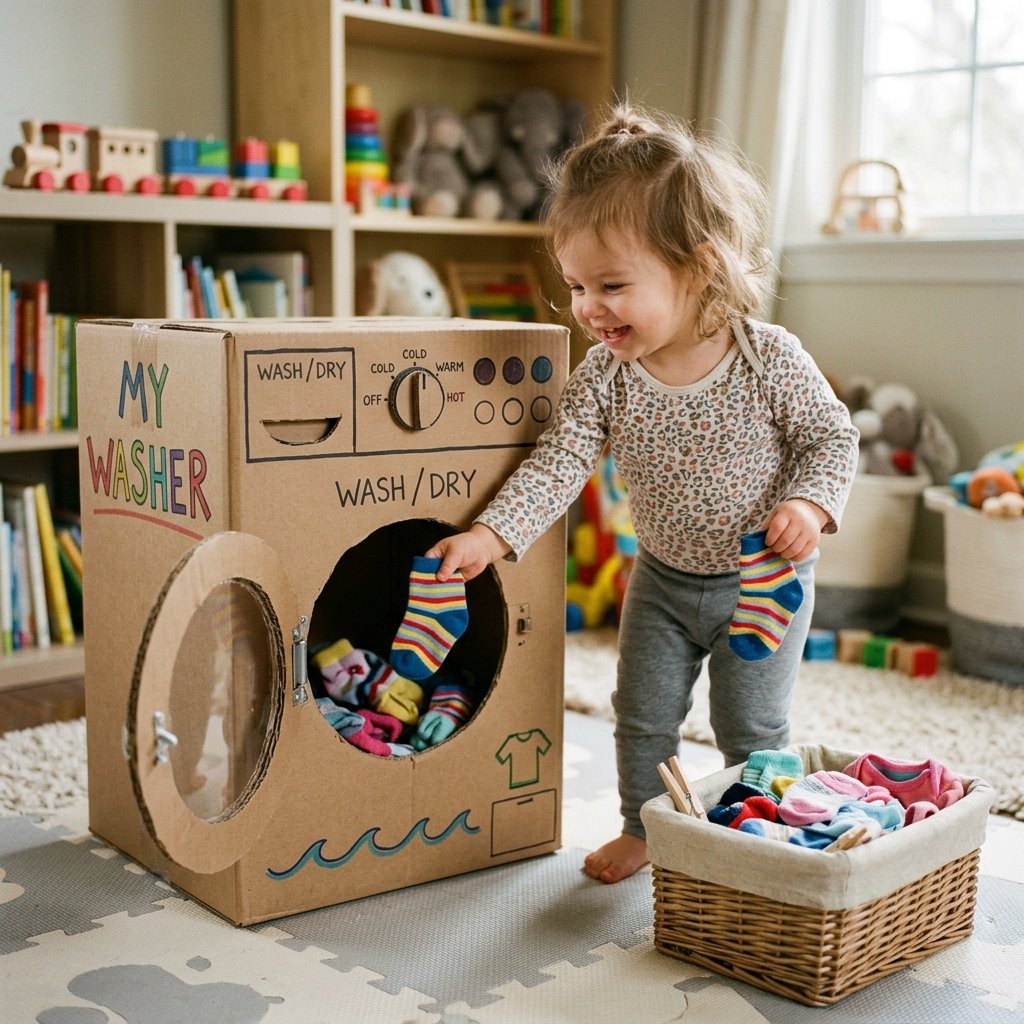
Turning Chores into Creative Play
Once the glue is dry and the labels are on, it is time for deployment. This DIY washing machine is more than just a prop; it is a tool for learning. By giving your child their own “appliance,” you are inviting them into the world of practical life skills. This is the ultimate “trash-to-treasure” transformation that pays dividends in quiet time and developmental growth.
| Play Activity | Skill Developed | Duration |
|---|---|---|
| Sorting Socks | Color matching & pairing | 20-30 mins |
| Loading/Unloading | Gross motor skills | 15-20 mins |
| Turning Dials | Fine motor & sensory play | Unlimited |
| Role-Playing ‘Laundry Day’ | Social & language skills | 45+ mins |
Maximizing the Experience
To keep the engagement high, provide a small basket of “laundry” (old socks, washcloths, or doll clothes). You can even create a simple “laundry chart” next to the machine so they can check off the steps: 1. Sort, 2. Load, 3. Add Soap, 4. Spin. This structure helps toddlers feel a sense of accomplishment and keeps them focused on the task at hand. You have just built a $0 toy that provides 100% engagement.
Conclusion
Building this Epic DIY Cardboard Washing Machine is a testament to the power of resourceful creativity. You have taken everyday waste and engineered a high-value, educational toy that rivals any store-bought alternative. Not only have you saved $50 to $100, but you have also modeled the values of upcycling and hand-making for your children. Remember, the best toys are not the ones with the loudest batteries; they are the ones that spark the most imagination. So, the next time a large delivery arrives at your door, do not just toss the box. See it for what it truly is: the raw materials for your next great project. Now, go grab that utility knife and start building—your toddler’s new favorite toy is just one box away. Happy crafting!

Makenzie is the founder and lead writer at MoneyHackTips.com — a personal finance blog dedicated to delivering street-smart financial wisdom for real people on real budgets. With 300+ published articles covering everything from debt management to investing fundamentals, Makenzie’s mission is to make every dollar work harder. When not writing about money hacks, Makenzie is testing frugal living strategies, optimizing side hustles, and helping readers build financial freedom from scratch.