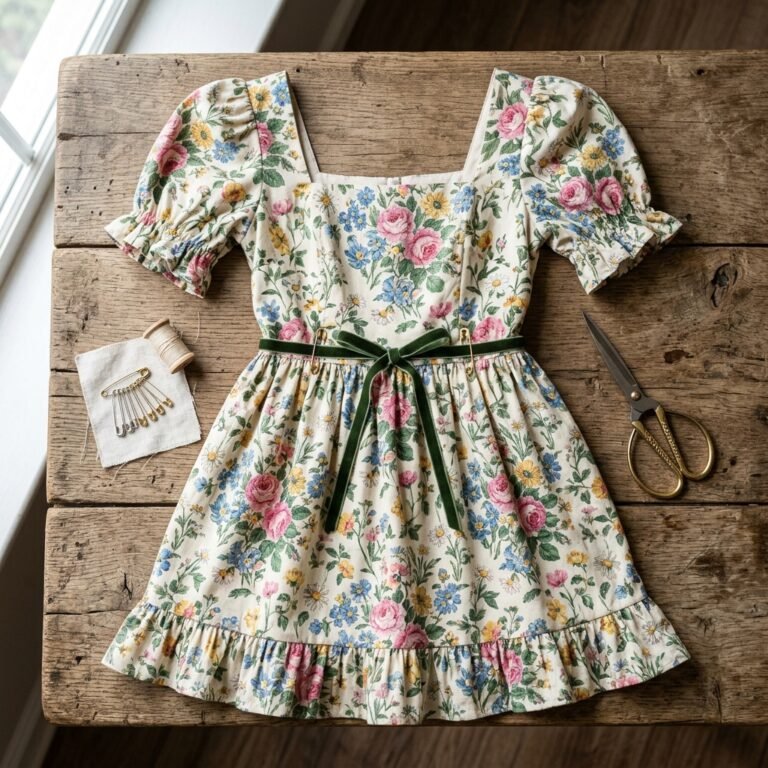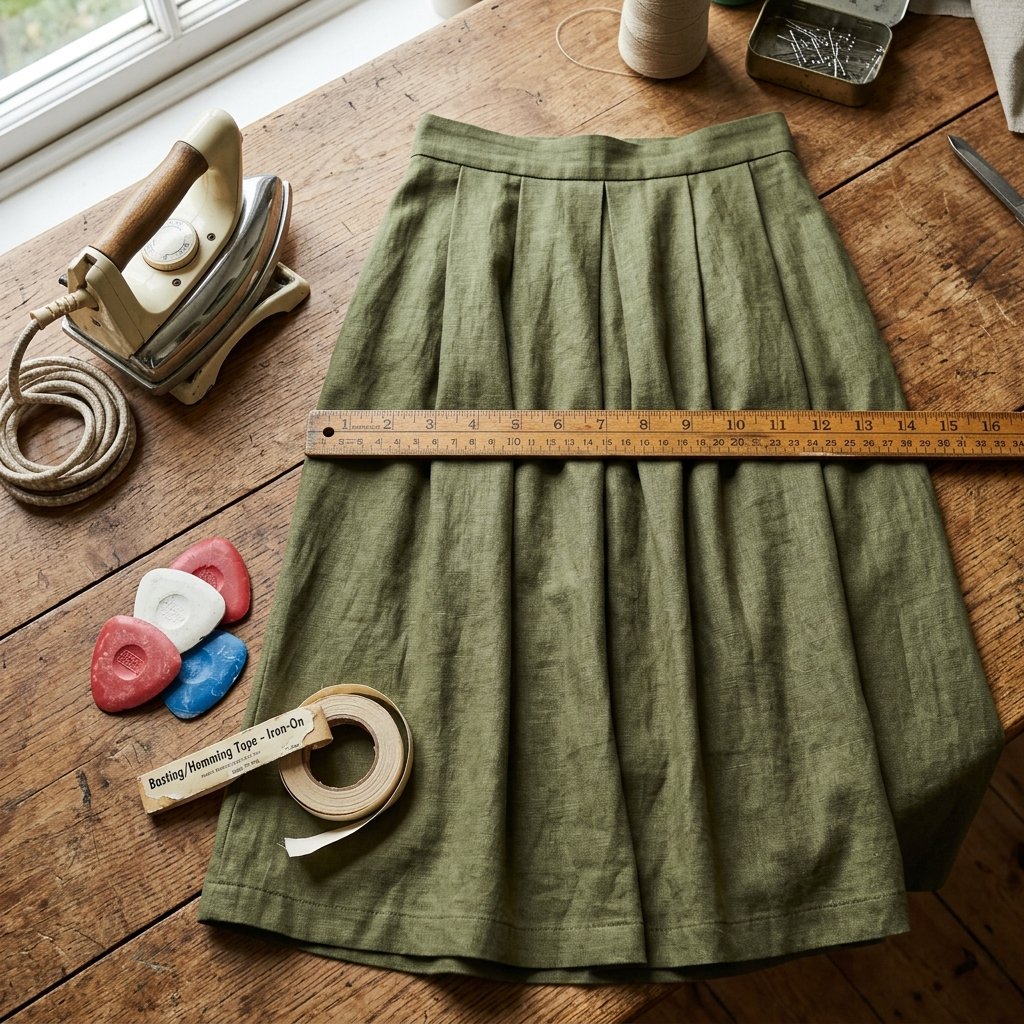

We have all been there: you find the perfect vintage skirt at a thrift store or a hidden gem in the back of your closet, but the hemline is just a few inches too long, dragging on the floor and ruining the silhouette. For many, the immediate thought is to head to a professional tailor, but in today’s economy, a simple hem can cost anywhere from $20 to $40. If you do not own a sewing machine—or frankly, do not have the patience to thread a needle—you might think you are out of luck. But as a resourceful DIYer, I am here to tell you that you can achieve a professional, crisp, and permanent hem without a single stitch. This is not just a quick fix; it is a masterclass in frugal wardrobe engineering. By utilizing modern heat-activated adhesives and clever folding techniques, you can transform your wardrobe for the cost of a cup of coffee. We are going to dive deep into the world of no-sew tailoring, proving that a rugged, practical approach to fashion is not just about saving money—it is about the clever satisfaction of doing it yourself.
The Budget Tailor’s Arsenal: Essential No-Sew Supplies
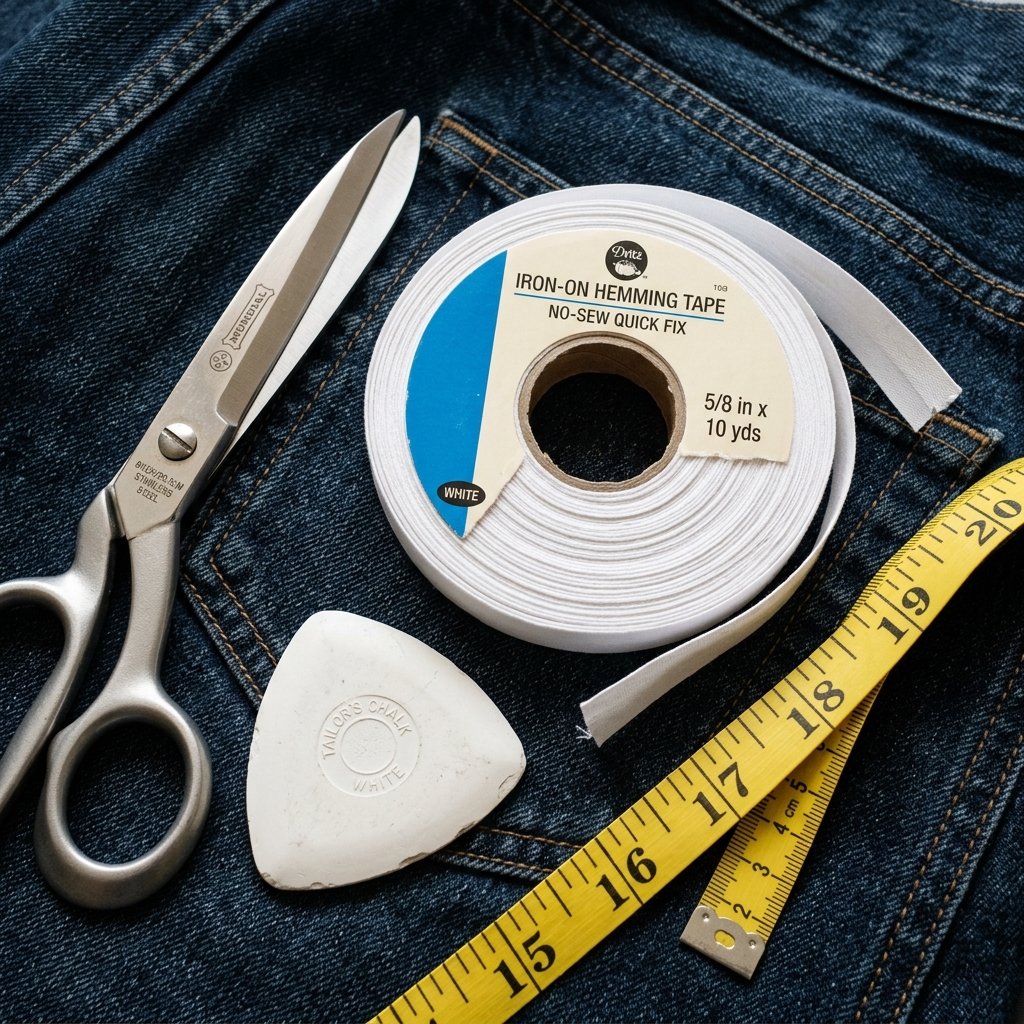
Before we dive into the ‘how-to,’ we must assemble our toolkit. Unlike a traditional tailor who needs expensive machines and various thread colors, our ‘rugged’ kit is streamlined and incredibly affordable. Most of these items can be found at a local dollar store or in your existing junk drawer. The star of the show is Heat-Activated Hemming Tape (often called Wonder-Under or Stitch Witchery). This double-sided adhesive web melts under the heat of an iron, bonding two layers of fabric together with a strength that rivals a machine stitch.
| Item | Estimated Cost | Purpose |
|---|---|---|
| Iron-on Hem Tape | $2.50 | Creates a permanent, invisible bond. |
| Steam Iron | Existing | Activates the adhesive web. |
| Measuring Tape | $1.00 | Ensures an even hemline across the garment. |
| Tailor’s Chalk or Soap | $0.50 | Marks the new length without staining. |
| Fabric Scissors | $5.00 | Provides a clean, fray-free cut. |
Safety Note: When using an iron, always check the fabric care label first. Synthetic fabrics like polyester can melt if the iron is too hot. Use a pressing cloth (a thin scrap of cotton) between the iron and your skirt to protect the fibers.
The Master Technique: Heat-Bonding for a Permanent-Look Hem
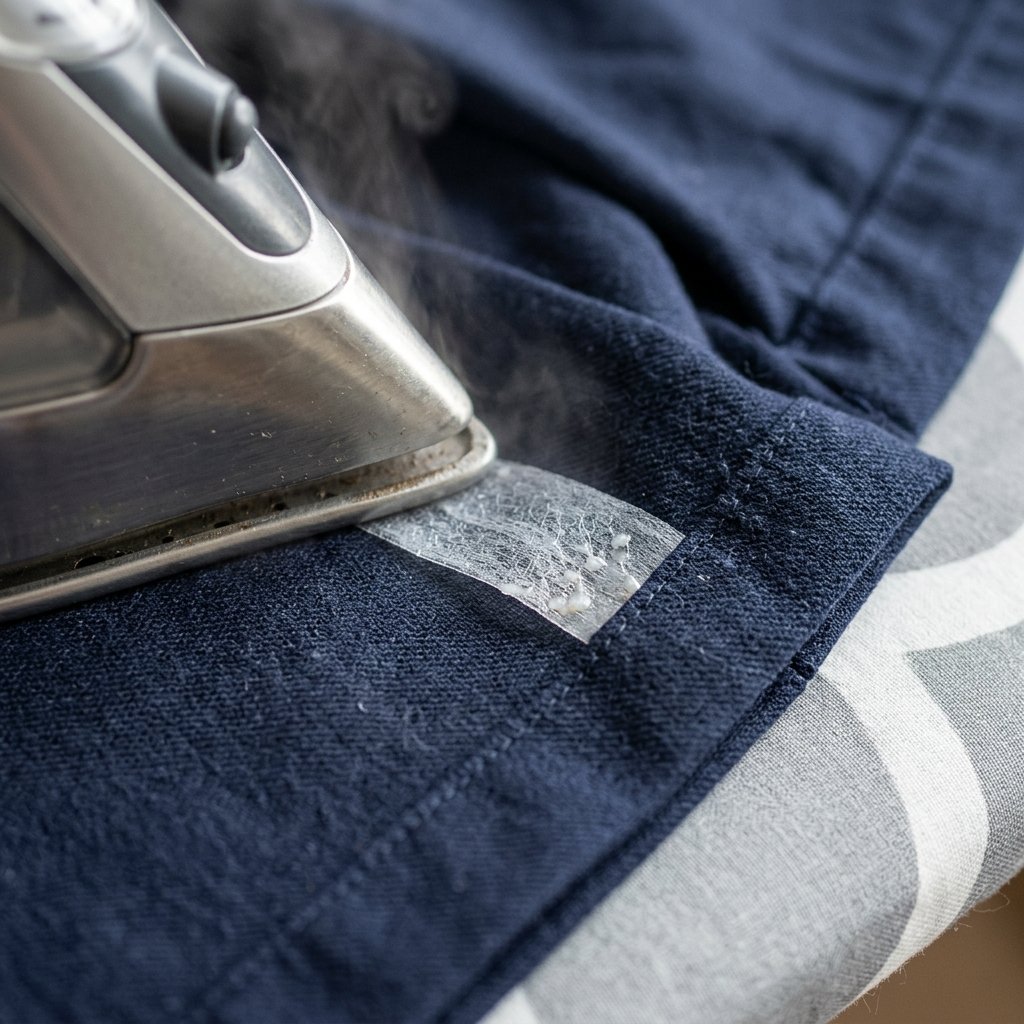
This is the ‘genius trick’ that changes everything. It works on almost any fabric type, from heavy denim to lightweight cotton. The key to a professional look is the preparation. Follow these steps for a hem that looks like it came straight from a high-end boutique.
- Measure Twice, Cut Once: Put the skirt on and determine your desired length. Use your tailor’s chalk to mark the spot. Add 1.5 inches below that mark for the ‘hem allowance’ (the part that folds inside).
- The Crisp Press: Fold the fabric upward at your 1.5-inch mark and press it firmly with a hot steam iron. This creates a sharp ‘memory’ in the fabric, making it easier to apply the tape.
- Applying the Tape: Unroll your hemming tape and place it inside the fold, sandwiched between the two layers of fabric. Make sure no tape is peeking out, or it will stick to your iron!
- The Final Bond: Press the iron down on the fold for 10 to 15 seconds. Do not slide the iron; press it firmly, then lift and move to the next section.
- The Cool Down: This is the most important part. Let the fabric cool completely for 5 minutes before moving it. This allows the adhesive to set into the fibers.
Pro Tip: For a ‘Rugged’ finish on heavier materials like corduroy or denim, use two strips of tape side-by-side for a heavy-duty bond that won’t budge during a long day of activity.
The Five-Minute Emergency: The Safety Pin & Elastic Hack
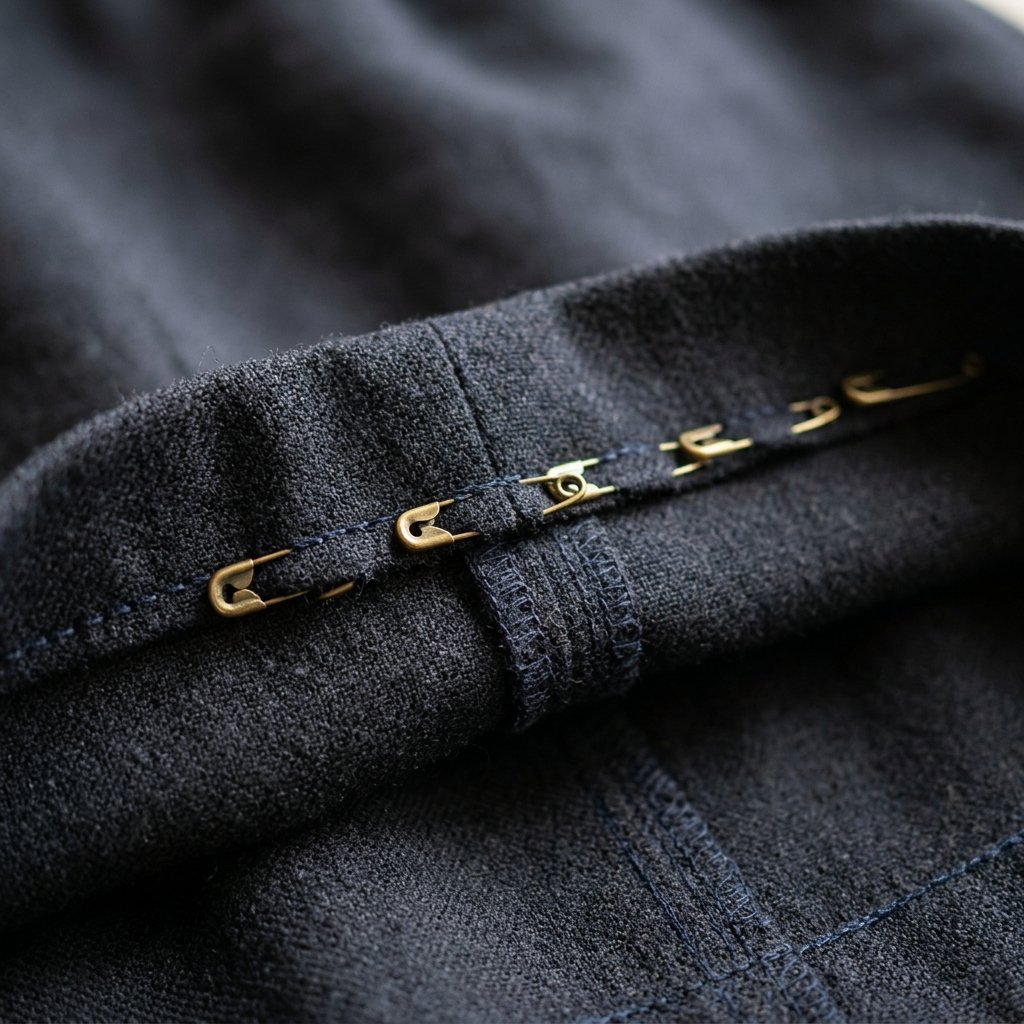
Sometimes you are in a rush and do not have an iron handy. Perhaps you are at a wedding or a work event and realize your skirt is tripping you up. This is where the ‘Handy Parent’ logic kicks in. You can temporarily shorten a skirt using small safety pins or even a hair elastic. For a ‘bubble hem’ look, simply tuck the bottom of the skirt into a thin elastic band worn around your calf, then pull the fabric over to hide the band. However, for a more traditional look, use the Internal Pinning Method.
- Turn the skirt inside out.
- Fold the hem to the desired length.
- Place small safety pins every 2 inches around the circumference, pinning only the ‘inside’ layer so the pins are invisible from the outside.
- Turn the skirt right-side out and give it a shake to let the fabric drape.
| Method | Durability | Time Required |
|---|---|---|
| Hem Tape | Permanent | 15 Minutes |
| Fabric Glue | Semi-Permanent | 30 Minutes (Dry Time) |
| Safety Pins | Temporary | 5 Minutes |
Fabric Science: Matching Your Method to Your Material
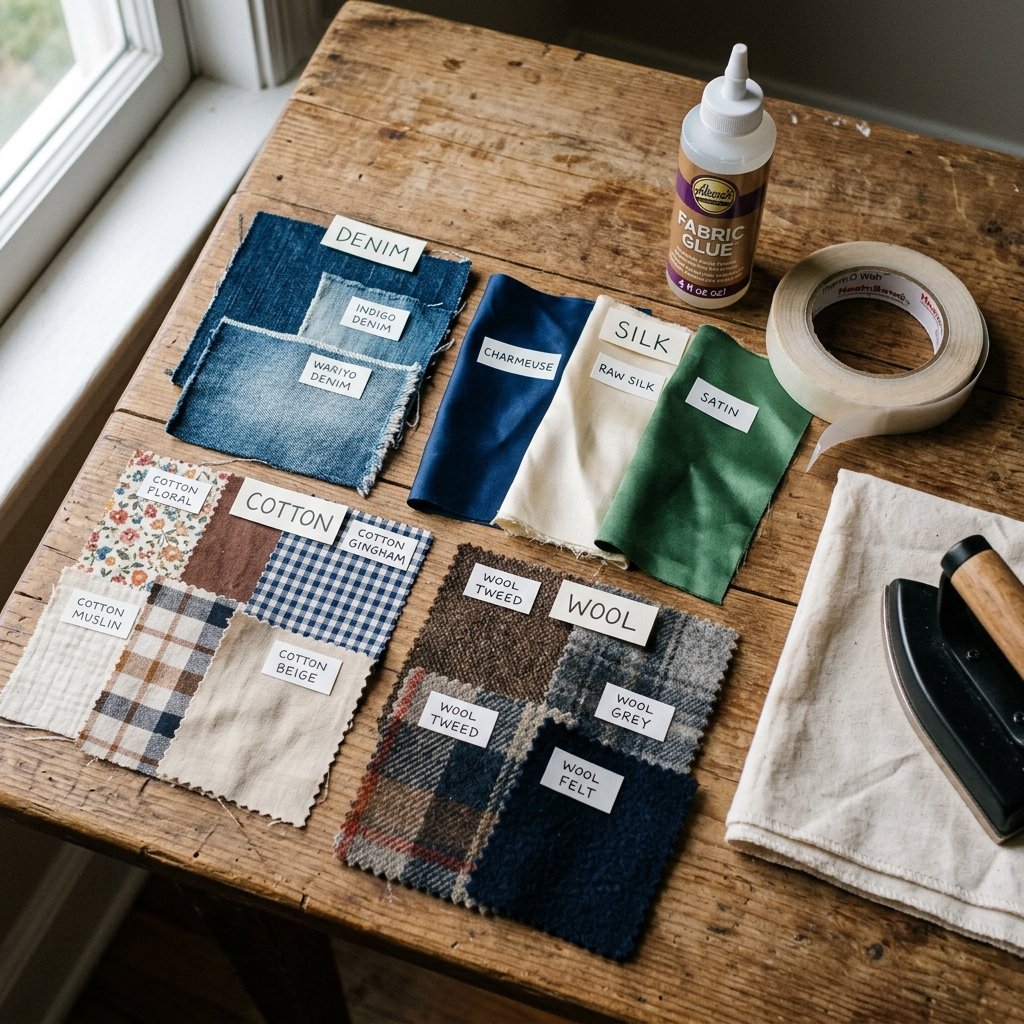
Not all fabrics are created equal. A clever crafter knows that a thick wool skirt requires a different approach than a delicate silk one. Using the wrong heat setting or adhesive can ruin the drape of the garment. Refer to this compatibility guide to ensure your DIY project is a success.
| Fabric Type | Best No-Sew Method | Iron Heat Setting |
|---|---|---|
| Cotton/Linen | Hem Tape | High/Steam |
| Polyester/Nylon | Fabric Glue or Low-Temp Tape | Low (Use Pressing Cloth) |
| Silk/Chiffon | Fine Fabric Glue | No Heat Recommended |
| Denim/Canvas | Heavy Duty Hem Tape | High/Max Steam |
| Wool/Tweeds | Hem Tape | Medium/Steam |
When working with stretchy fabrics like jersey or spandex, be careful with hem tape as it can restrict the stretch. In these cases, a specific ‘stretch’ fabric glue is your best friend. It remains flexible even after it dries, allowing the skirt to move with your body without the bond snapping.
The Longevity Secret: Laundering Your No-Sew Masterpieces

The biggest myth about no-sew tailoring is that it falls apart in the wash. If done correctly, a heat-bonded hem can last through dozens of cycles. However, you must treat your upcycled items with a bit of respect. To keep that hem crisp and secure, follow these rugged maintenance rules:
- Wash Cold: High heat in the washing machine can re-soften the adhesive. Stick to cold water cycles to keep the bond firm.
- Air Dry if Possible: The intense heat of a dryer is the enemy of hem tape. Hanging your skirt to dry not only saves energy but also preserves the integrity of the glue.
- Turn Inside Out: Always wash your DIY-tailored clothes inside out to prevent the hem from rubbing against other garments or the agitator.
- Spot Ironing: If a small section of the hem starts to lift after a year of wear, simply run your iron over it again for 10 seconds to re-activate the glue. It is a 30-second maintenance task that saves the garment.
Mantra for the Frugal Crafter: “We do not discard; we repair. We do not overspend; we innovate.”
Conclusion
Shortening a skirt without a sewing machine isn’t just a ‘hack’—it is a superpower in the world of frugal living. By mastering the art of heat-activated bonding and understanding the mechanics of your fabrics, you have effectively cut out the middleman and kept your hard-earned money in your pocket. Whether you are prepping a budget-friendly outfit for a wedding or resizing a hand-me-down for your child, these techniques ensure you always look sharp and tailored. Remember, the most stylish people aren’t those who spend the most; they are the ones who know how to make what they have work perfectly for them. So, grab that iron, find that tape, and start transforming your wardrobe one inch at a time. You’ve got this!

Makenzie is the founder and lead writer at MoneyHackTips.com — a personal finance blog dedicated to delivering street-smart financial wisdom for real people on real budgets. With 300+ published articles covering everything from debt management to investing fundamentals, Makenzie’s mission is to make every dollar work harder. When not writing about money hacks, Makenzie is testing frugal living strategies, optimizing side hustles, and helping readers build financial freedom from scratch.