The Rainy Day Rescue Plan
We have all been there: the sky turns gray, the first raindrops hit the window, and within 15 minutes, the house feels like a pressure cooker of pent-up energy. As a resourceful DIYer, you don’t need to reach for a tablet or head to a big-box store for a plastic toy that will break in a week. Instead, look toward that stack of Amazon boxes in the garage. Today, we are going to engineer a rugged, high-engagement DIY Cardboard Target Game that costs exactly $0 but provides 100% engagement. This isn’t just a box with holes in it; it’s a lesson in upcycling, a feat of domestic engineering, and the ultimate boredom-buster for kids of all ages.
“In the hands of a savvy parent, a cardboard box isn’t trash—it’s a canvas for adventure and a masterclass in frugal engineering.”
The Supply List: Turning Recycling into Recreation
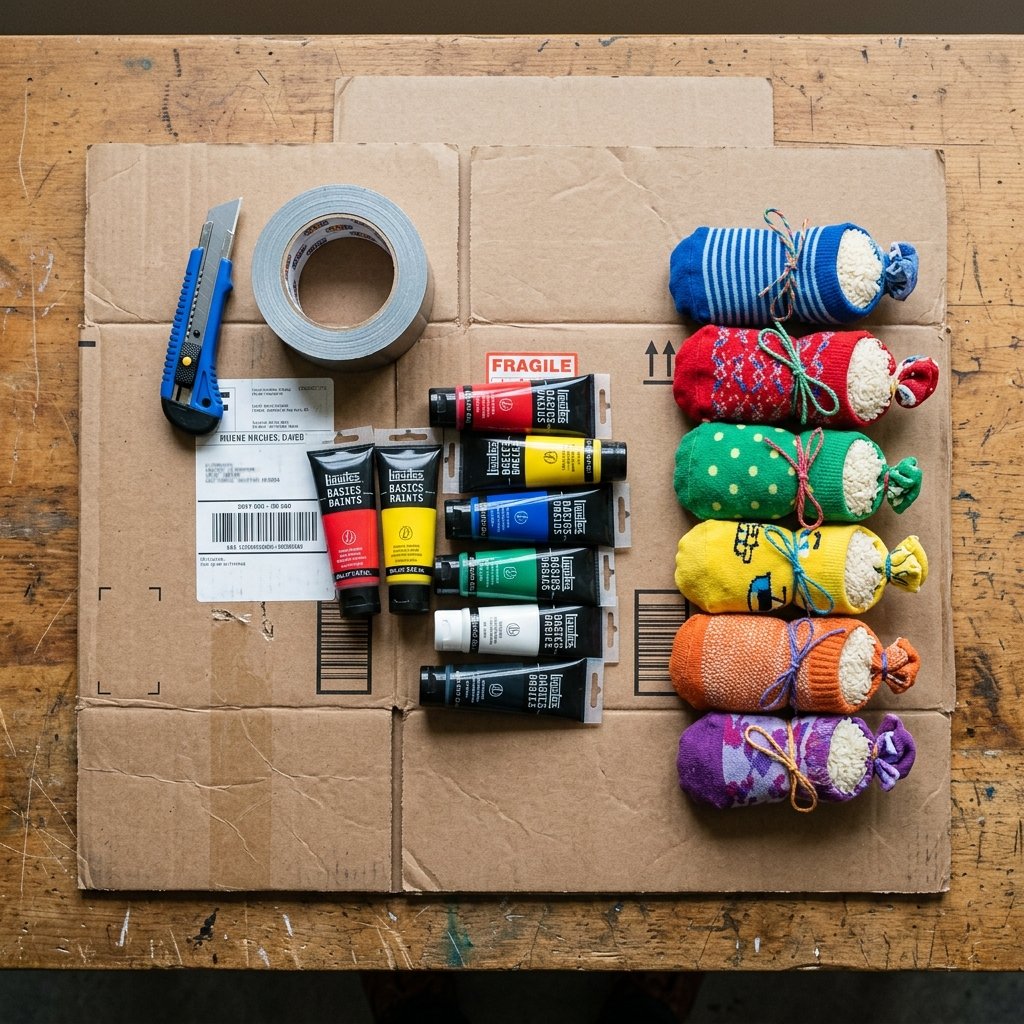
Before we start cutting, we need to gather our materials. The beauty of this project is its reliance on items you likely already have. We are looking for structural integrity and visual appeal without spending a dime. If you have a few heavy-duty shipping boxes and some leftover craft supplies, you are halfway there.
| Material | Purpose | Estimated Cost |
|---|---|---|
| Heavy-Duty Cardboard Boxes | The main structure and target face | $0.00 (Upcycled) |
| Utility Knife or Box Cutter | Precision cutting of target holes | $0.00 (Owned) |
| Duct Tape or Packing Tape | Reinforcing joints and seams | $0.50 (Pro-rated) |
| Acrylic Paint or Markers | Color-coding scoring zones | $0.00 (Scraps) |
| Old Socks or Fabric Scraps | Making the projectiles (bean bags) | $0.00 (Upcycled) |
| Dried Beans or Rice | Weight for the projectiles | $0.25 (Pantry) |
The ‘Why’ Behind the Build
Why bother building this instead of buying a plastic toss game? Aside from the obvious $30 to $50 savings, you are teaching your children that entertainment is something you create, not just something you consume. This project uses the ‘Rugged-Elegant’ approach: it’s built to take a beating from flying bean bags while looking intentional and organized in your playroom.
Structural Engineering: Building the Target Frame
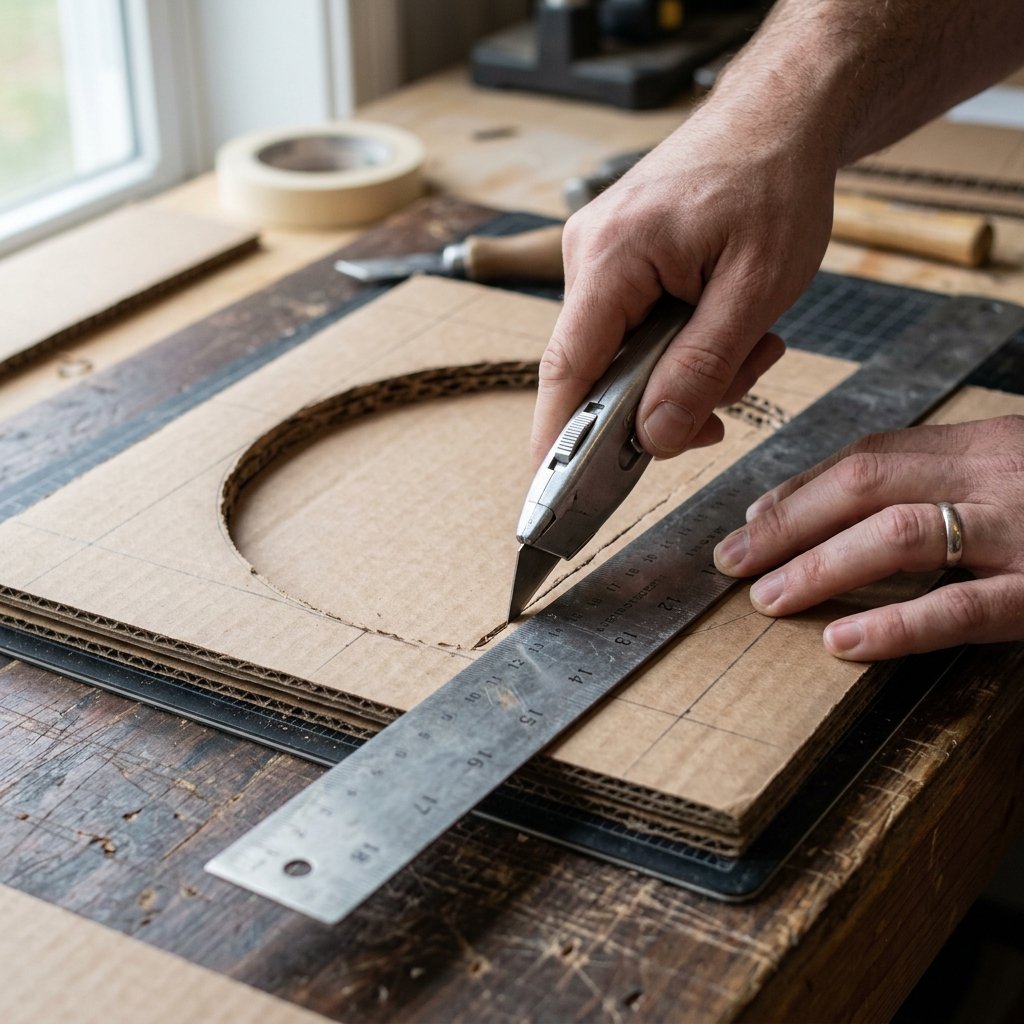
The key to a game that lasts through a rainy weekend is the base. A flimsy target will fall over the moment a bean bag hits it. We are going to build a ‘tri-fold’ or ‘A-frame’ design for maximum stability.
- Step 1: Select your ‘Main Face’. Use the largest, cleanest side of your box. Aim for at least 24 inches by 36 inches.
- Step 2: Create the Support Wings. If you are using a single large box, keep the side flaps attached. These will fold back at a 45-degree angle to act as kickstands.
- Step 3: Reinforce the ‘Impact Zone’. Tape a second layer of cardboard to the back of the main face. This prevents the target from warping after 100+ tosses.
“Always cut away from your body and use a fresh blade. A sharp knife is a safe knife because it requires less force to glide through the corrugated layers.”
Comparison: DIY vs. Store-Bought Durability
| Feature | DIY Cardboard Target | Store-Bought Plastic Target |
|---|---|---|
| Cost | Under $1 | $25 – $60 |
| Repairability | Easy (More Tape) | Impossible (Cracks) |
| Customization | Infinite | None |
| Storage | Folds Flat | Bulky Plastic |
The Scoring Matrix: Designing for Difficulty
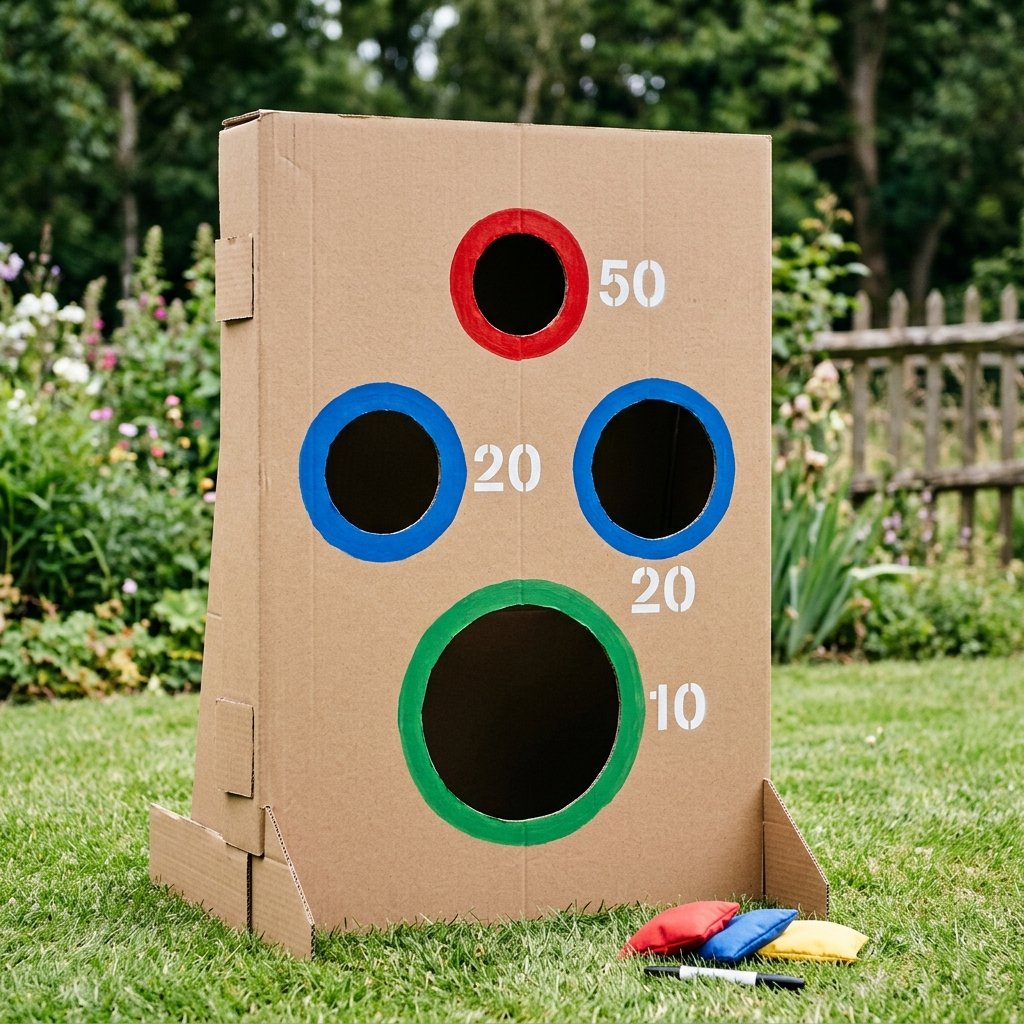
A great game needs a challenge curve. If the holes are too big, the kids get bored. If they are too small, they get frustrated. We recommend a variety of ‘Value Zones’ to keep things interesting.
Standard Scoring Layout:
- The ‘Easy’ Zone: A large 8-inch diameter hole at the bottom. Value: 10 Points.
- The ‘Mid-Tier’ Zones: Two 5-inch diameter holes in the center. Value: 50 Points each.
- The ‘Sniper’ Zone: One 3-inch diameter hole at the very top. Value: 100 Points.
Use your acrylic paints to ring each hole with a specific color. For a masculine-elegant look, try a ‘Vintage Carnival’ theme with deep reds, navy blues, and cream whites. This makes the game look like a hand-crafted heirloom rather than a pile of trash.
“Pro Tip: Use a mixing bowl or a coffee tin as a template to trace your circles. It ensures a professional, symmetrical finish every time.”
Projectile Lab: Crafting the Perfect Bean Bags

You can’t have a target game without ammo. While you could use tennis balls, they tend to bounce wildly and break lamps. We want ‘dead-drop’ projectiles that thud against the cardboard and stay put.
The 5-Minute Upcycled Bean Bag:
- Take an old, clean sock (the ones that lost their partners in the dryer are perfect for this).
- Fill the toe area with approximately 1/2 cup of dried beans, rice, or even small aquarium gravel.
- Tie a tight knot just above the filling.
- Fold the remaining ‘cuff’ of the sock back over the ball to create a second layer of fabric.
- Secure with a single safety stitch or a small piece of matching duct tape.
These DIY bean bags are rugged, washable, and won’t damage your drywall. Plus, using different colored socks allows each player to have their own ‘team colors’ during the tournament.
Advanced Gameplay: Keeping the Energy High
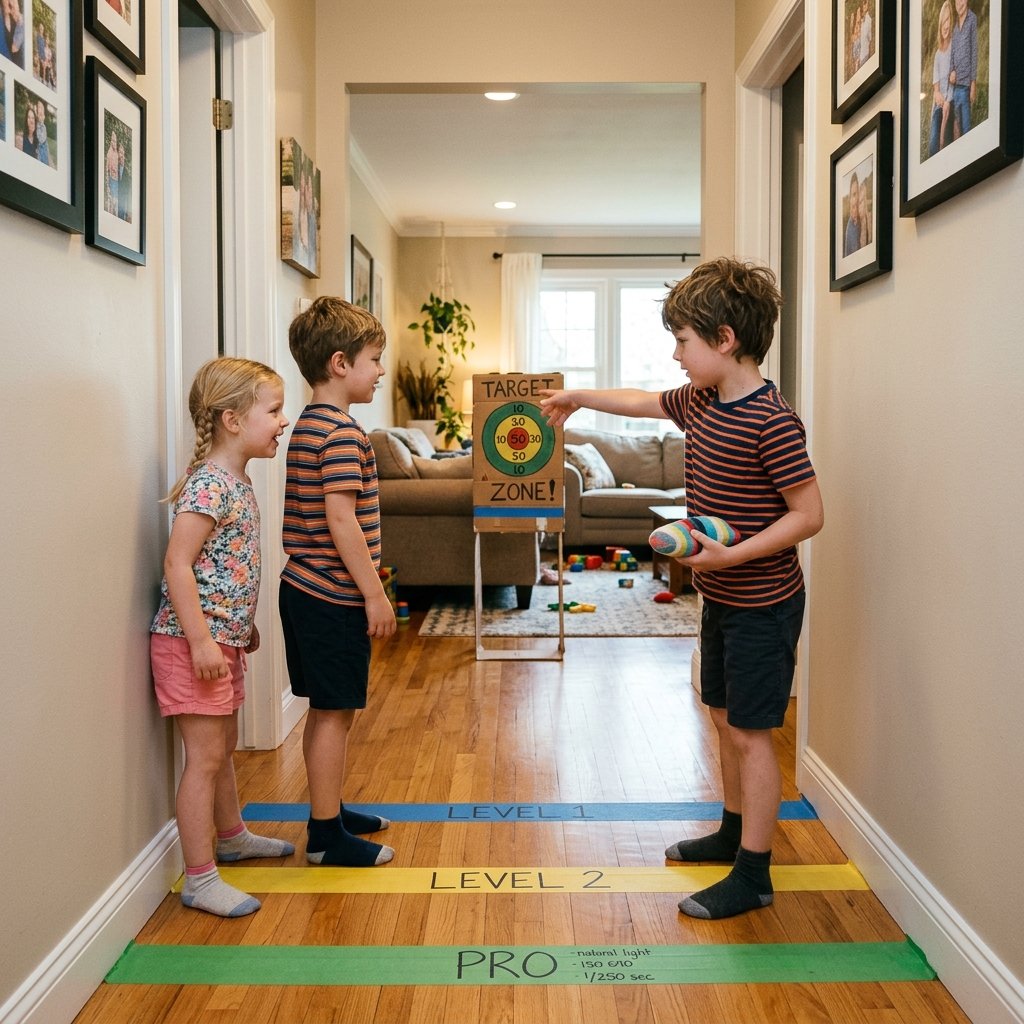
Once the game is built, keep the momentum going by introducing different ‘Game Modes’. This prevents the ‘I’m bored’ refrain from returning 20 minutes later.
Try These Variations:
- The ‘Countdown’ Challenge: Start at 500 points and try to hit exactly 0 by landing in specific holes.
- The ‘Weak Hand’ Round: Players must toss with their non-dominant hand.
- The ‘Distance Dash’: After every successful hit, the player must take one large step backward. See who can hit the 100-point mark from the hallway!
By varying the rules, you turn a simple piece of cardboard into a dynamic sports arena. It’s about more than just tossing; it’s about strategy, coordination, and healthy competition.
Conclusion
Victory Over the Rain
By the time the sun peeks back through the clouds, your kids will have spent hours engaged in active, screen-free play. You’ve successfully upcycled household waste into a high-value toy, saved yourself $40, and demonstrated the power of resourceful creativity. This DIY Cardboard Target Game is a testament to the fact that you don’t need a massive budget to create massive memories. So, next time the forecast looks grim, don’t worry—just grab a box cutter and get to work. You’ve got this!

Makenzie is the founder and lead writer at MoneyHackTips.com — a personal finance blog dedicated to delivering street-smart financial wisdom for real people on real budgets. With 300+ published articles covering everything from debt management to investing fundamentals, Makenzie’s mission is to make every dollar work harder. When not writing about money hacks, Makenzie is testing frugal living strategies, optimizing side hustles, and helping readers build financial freedom from scratch.