
The Million-Dollar Bloom on a Spare-Change Budget
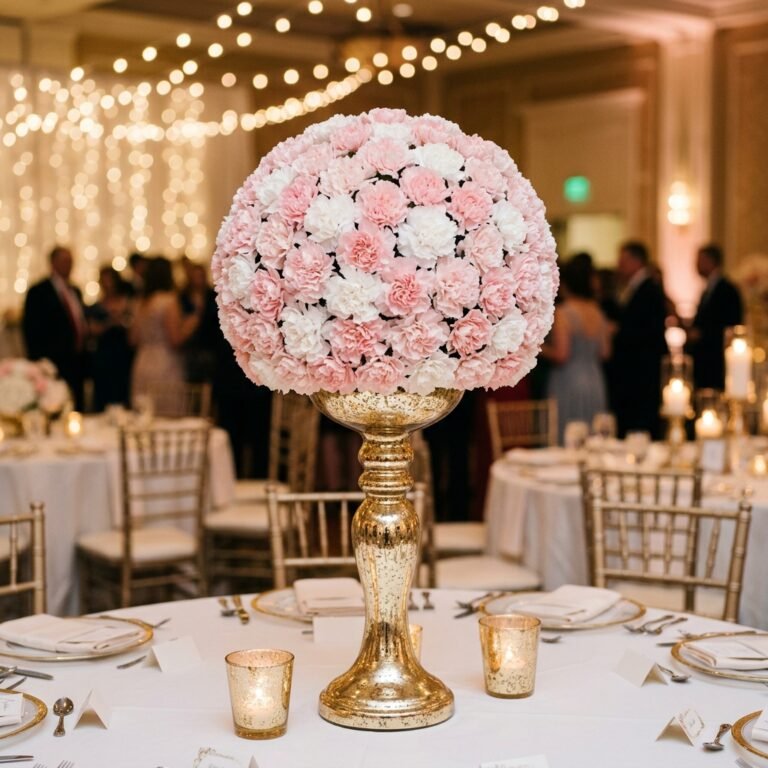
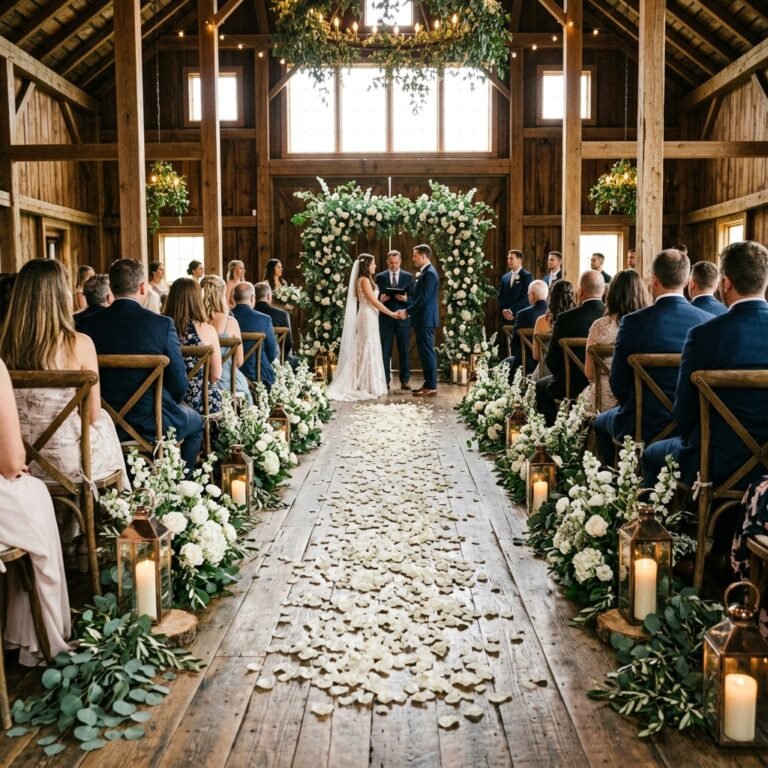
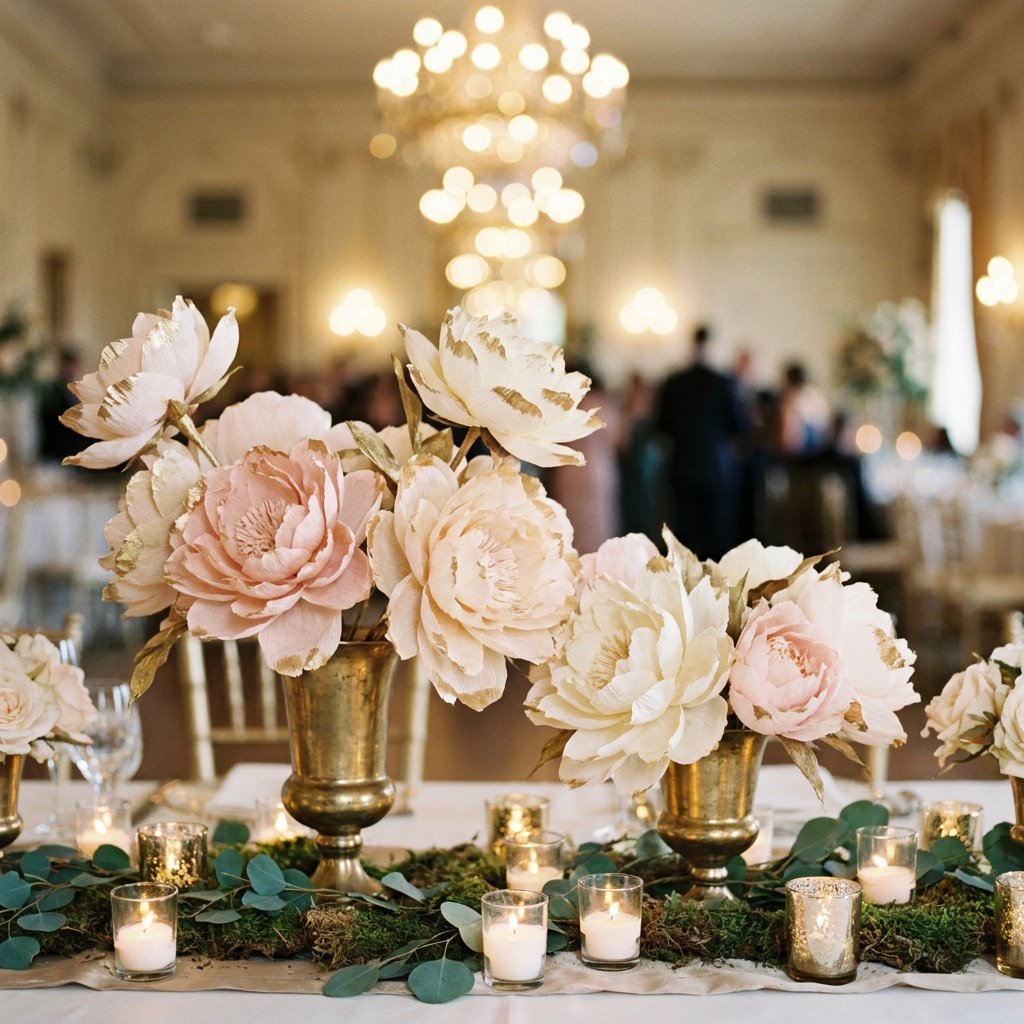
Let’s talk wedding reality: peonies are the crown jewels of the floral world, but their price tag can make even the most stoic groom flinch. For a single, high-season stem, you might find yourself shelling out anywhere from $15 to $35. Now, multiply that by twenty centerpieces, and you’ve just spent your honeymoon fund on things that will wilt in forty-eight hours. But what if I told you that with a bit of grit, some clever engineering, and a few rolls of high-quality crepe paper, you could populate your tables with blooms so realistic your guests will be leaning in for a sniff? This isn’t just ‘crafting’; this is tactical event styling. We are going to build structural masterpieces that defy the limitations of paper, giving you that lush, ‘just-plucked-from-an-English-garden’ aesthetic for a fraction of the cost. Get ready to flex your creative muscles and turn $1.25 materials into million-dollar memories.
The Economics of Elegance: Why Paper Beats Petals
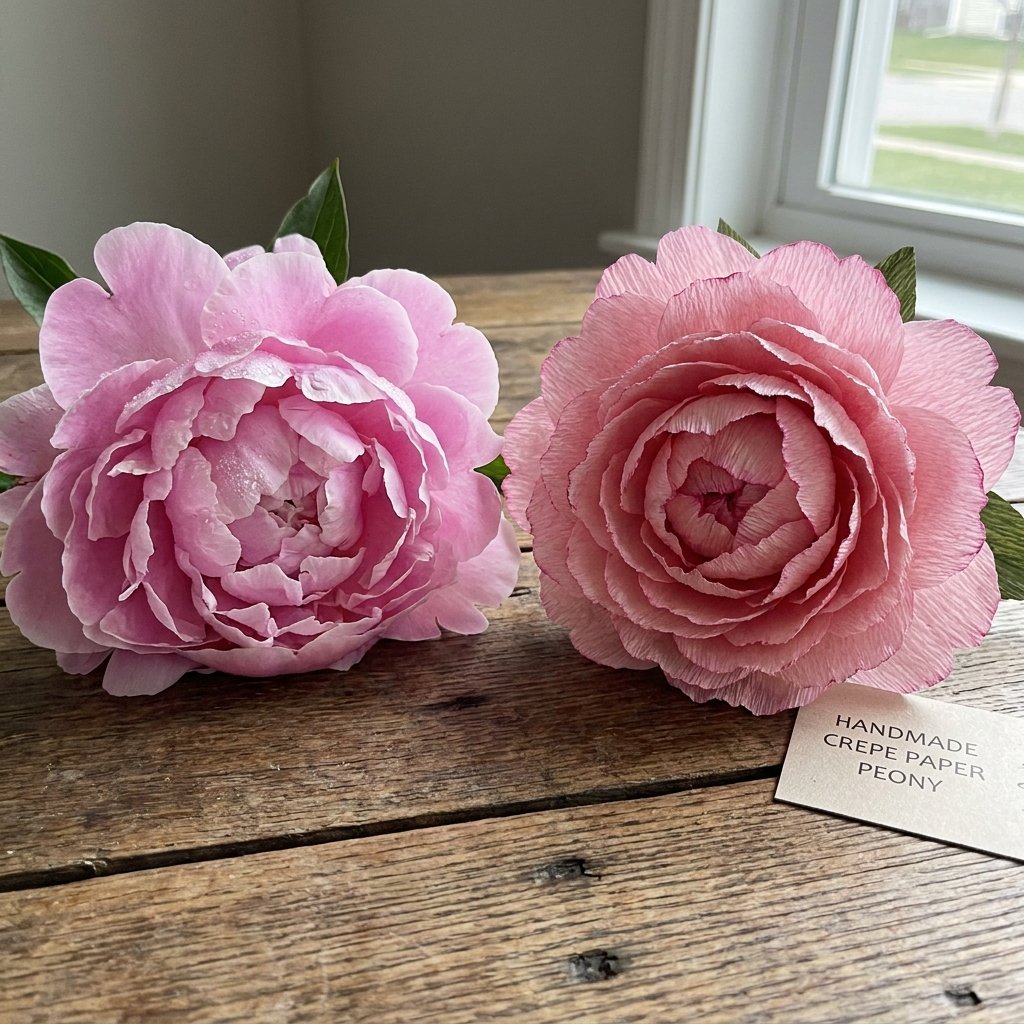
When you’re planning a wedding with a resourceful mindset, you have to look at the ‘Return on Investment’ for every decor piece. Real peonies are notorious for their short shelf life and extreme fragility. A single heatwave or a missed watering can turn your $500 floral order into a pile of brown mush before the ‘I dos’ are even exchanged. DIY crepe paper peonies, however, offer structural integrity and infinite longevity.
| Expense Category | Professional Florist (Per 50 Stems) | DIY Crepe Paper (Per 50 Stems) | |||
|---|---|---|---|---|---|
| Raw Materials | $750 – $1,250 | $45 – $60 | Labor/Assembly | Included in Markup | Free (Your Time) |
| Longevity | 2-4 Days | Indefinite (Keepsake) | |||
| Stress Factor | High (Wilting Risk) | Zero (Pre-made) |
By choosing to DIY, you aren’t just saving money; you’re gaining control. You can customize the exact shade of ‘sunset coral’ or ‘antique ivory’ to match your palette perfectly, something nature doesn’t always guarantee. Plus, these blooms serve as incredible take-home favors for your guests, ensuring your hard work lives on in their homes for years.
The Arsenal: Professional-Grade Materials for High-End Results
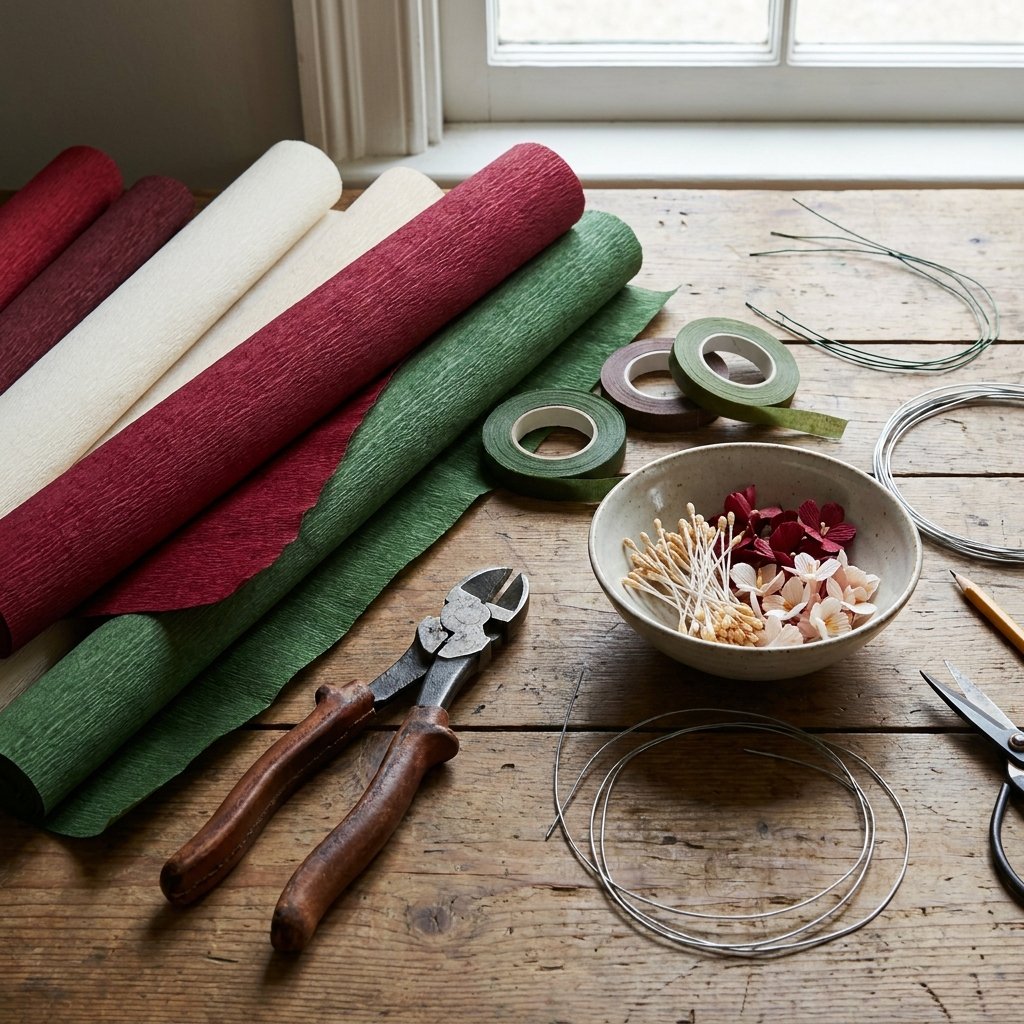
To achieve a ‘million-dollar’ look, you cannot use the flimsy streamers found in the party aisle. You need Heavy Florist Crepe Paper, specifically the 180-gram variety often imported from Italy or Germany. This paper has the ‘memory’ needed to hold deep curves and realistic ruffles.
Essential Gear List:
- 180g Italian Crepe Paper: Shades of Blush, Cream, and Deep Green.
- 18-Gauge Floral Wire: For a sturdy, rugged stem that won’t sag under the weight of the bloom.
- Quick-Dry Tacky Glue or High-Temp Hot Glue: For a bond that withstands transport.
- Sharp Fabric Scissors: Precision is key when cutting the ‘fringe’ center.
- Floral Tape: To seamlessly blend the bloom to the stem.
- Chalk Pastels: For adding ‘organic’ depth and shading to the petal bases.
Pro-Tip: Always cut your petals parallel to the grain (the vertical ridges) of the paper. This allows you to stretch the paper into a cup shape without tearing it, which is the secret to that realistic, voluptuous peony volume.
The Anatomy of a Masterpiece: Step-by-Step Construction
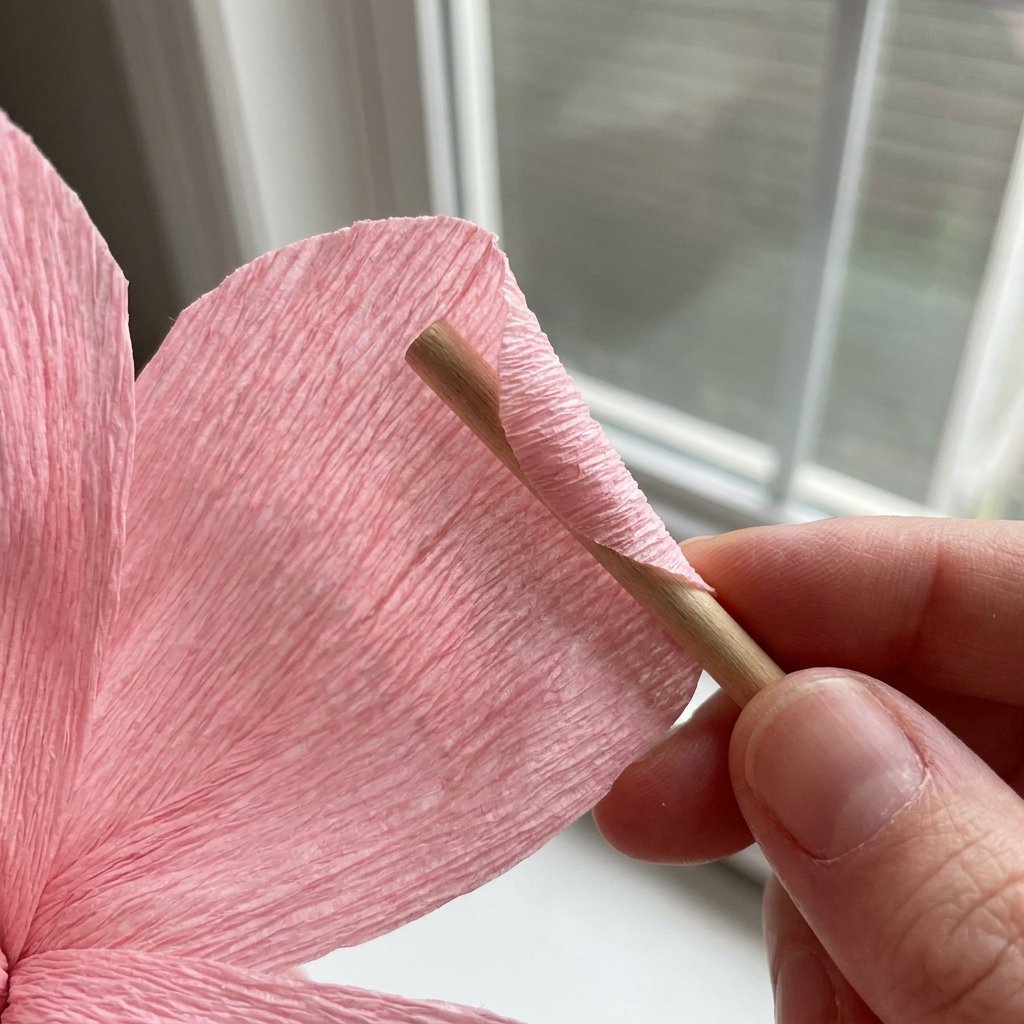
Building a peony is an exercise in layering. We start with a strong core and build outward, just as nature does. Follow these steps for a bloom that stands 4 to 5 inches wide.
- The Heart (The Stamen): Cut a strip of yellow crepe paper 2 inches wide by 6 inches long. Fringe the top edge finely. Roll this tightly around the tip of your 18-gauge wire, securing with glue. This creates the ‘pollen’ center.
- The Inner Petals (The ‘Tucked’ Layer): Cut 5 small teardrop-shaped petals. Use your thumbs to stretch the center of each petal, creating a tiny bowl. Glue these around the stamen, overlapping them slightly to hide the wire.
- The Mid-Layer (The Volume): Cut 10 heart-shaped petals. Use a pencil to curl the top edges outward. Stretch the middle of the petal vigorously to create a deep cup. Attach these in two staggered rows of five.
- The Outer Guard Petals (The Foundation): Cut 5 large, wide petals. These should be slightly lighter or darker in shade. Only stretch the very center of these, leaving the edges crisp. Glue them to the base, ensuring they support the inner layers.
- The Finishing Touch (The Calyx): Cut a jagged green strip and wrap it around the base of the petals where they meet the wire. Secure with floral tape, winding it all the way down the stem for a professional, uniform finish.
Total assembly time: Approximately 12 minutes per flower once you find your rhythm.
Styling Like a Pro: From Single Blooms to Tablescapes

A single flower is a craft; a dozen flowers is a design statement. To make your DIY peonies look expensive, you must consider the ‘vessel’ and the ‘environment.’ Avoid cheap plastic vases. Instead, look for thrifted brass, heavy glass, or even upcycled wine bottles spray-painted in a matte stone finish.
Centerpiece Composition Ratios:
| Vessel Type | Peony Count | Filler Elements |
|---|---|---|
| Bud Vase | 1 Large Bloom | 1 Sprig of Dried Lavender |
| Mason Jar (Rustic) | 3 Blooms | Burlap wrap and Baby’s Breath |
| Low Compote Bowl | 7-9 Blooms | Flowing Eucalyptus and Faux Berries |
To add a ‘rugged elegance’ to your tables, integrate natural textures. Place your paper peonies on a cheesecloth runner or alongside unscented pillar candles. The contrast between the delicate paper and the raw textures of wood or stone will elevate the entire aesthetic.
Budget Mantra: Luxury isn’t about what you spend; it’s about the intentionality of the arrangement. A single, perfectly crafted paper peony in a vintage glass bottle beats a cluttered, cheap bouquet every time.
The Master’s Touch: Adding Realism with Shading and Scent
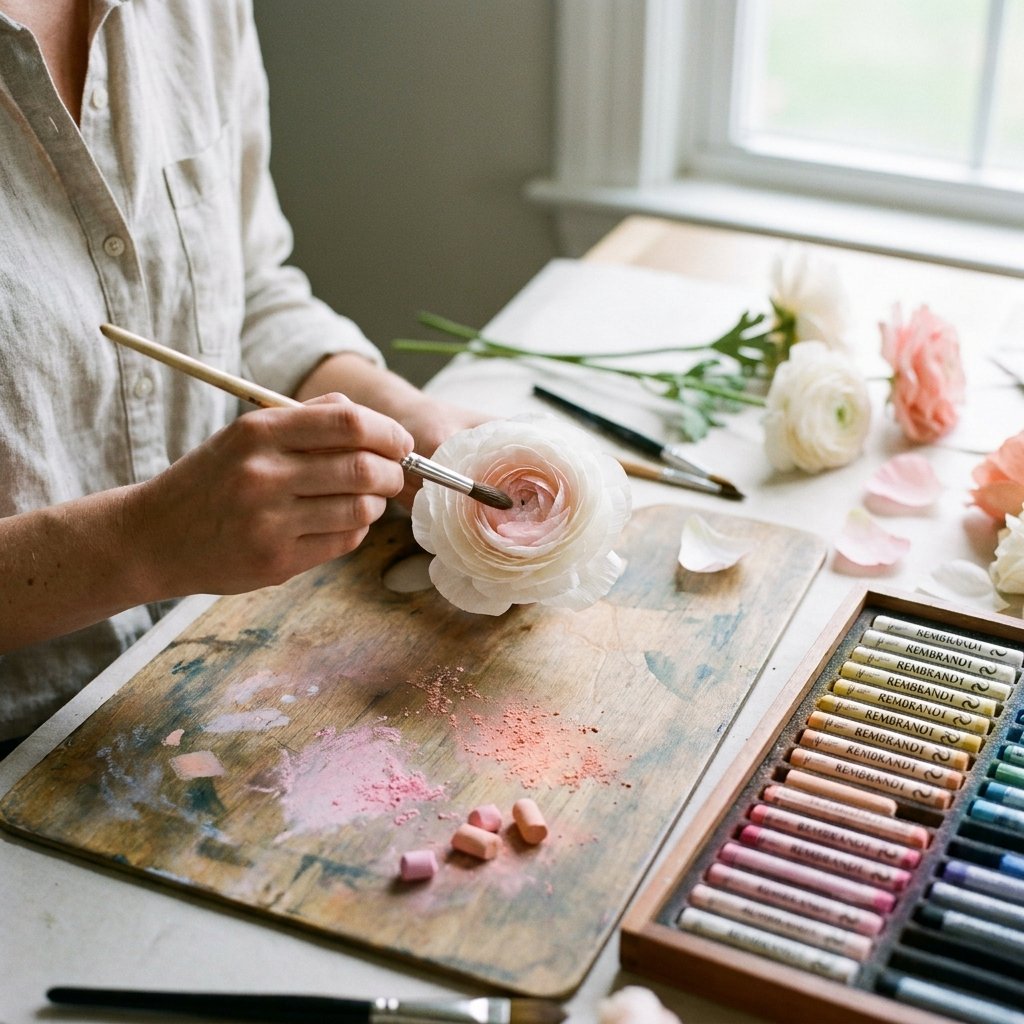
If you want to truly fool the eye, you need to add ‘imperfections.’ Real flowers aren’t a solid, flat color. They have gradients, veins, and subtle shadows. This is where your inner artist comes out.
Advanced Realism Techniques:
- The Pastel Trick: Take a pink or peach chalk pastel and rub it onto a scrap piece of paper. Use a soft makeup brush to pick up the pigment and dust it onto the base and edges of your petals before assembly. This creates a soft, ‘living’ glow.
- Water Traps: Use a spray bottle on the ‘mist’ setting to lightly dampen the very edges of the petals. As they dry, they will crinkle slightly, mimicking the natural dehydration of a real bloom.
- The Scent Factor: Since these won’t have a natural fragrance, hide a small cotton ball soaked in peony or rose essential oil at the very base of the vase. When guests lean in, the olfactory illusion will be complete.
By applying these small, clever details, you move from ‘paper flowers’ to botanical art. Your guests won’t be asking if they are real; they’ll be asking which high-end florist you hired.
Conclusion
The Final Flourish
Creating your own wedding florals is more than just a way to save thousands of dollars; it is a labor of love that adds a deeply personal touch to your celebration. These DIY crepe paper peonies represent the best of the frugal mindset: they are resourceful, stunningly beautiful, and practically indestructible. Whether you are a bride on a budget, a crafty parent helping with decor, or a DIY enthusiast looking for your next challenge, these blooms prove that with a little patience and the right technique, you can create a high-end atmosphere that looks like a million bucks. So, grab your scissors, put on your favorite podcast, and start building your garden. Your wedding tables—and your bank account—will thank you.

Makenzie is the founder and lead writer at MoneyHackTips.com — a personal finance blog dedicated to delivering street-smart financial wisdom for real people on real budgets. With 300+ published articles covering everything from debt management to investing fundamentals, Makenzie’s mission is to make every dollar work harder. When not writing about money hacks, Makenzie is testing frugal living strategies, optimizing side hustles, and helping readers build financial freedom from scratch.