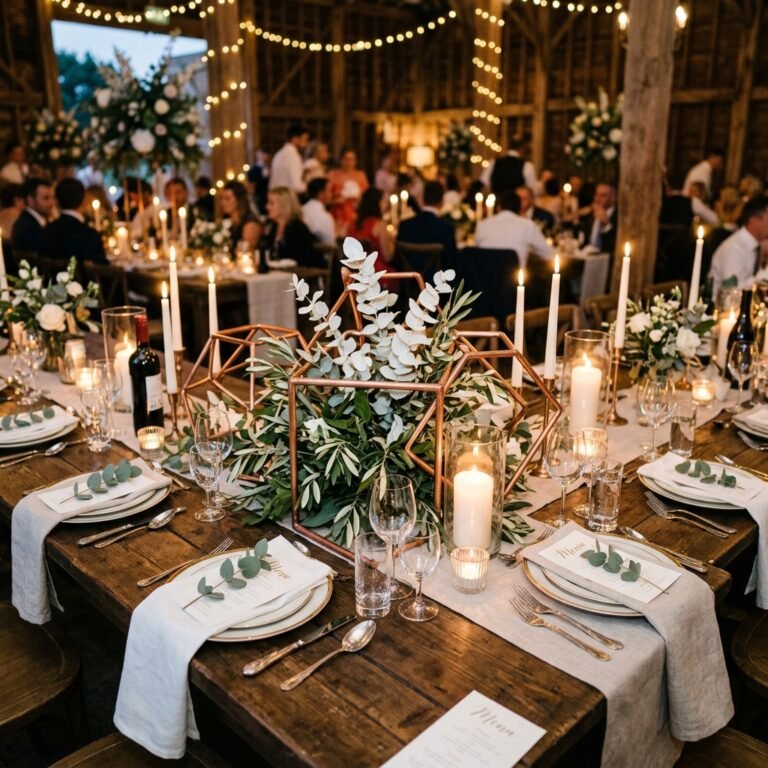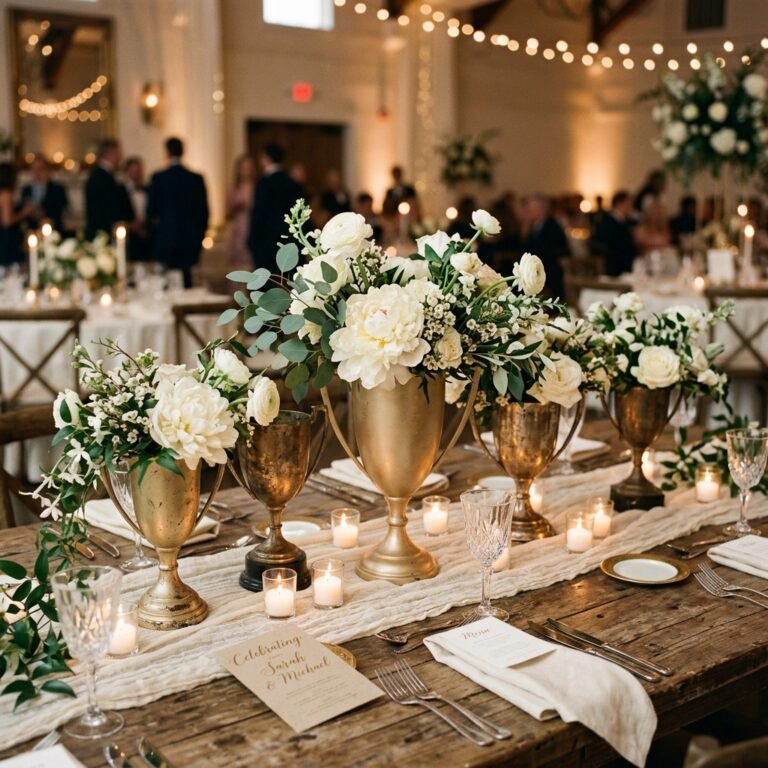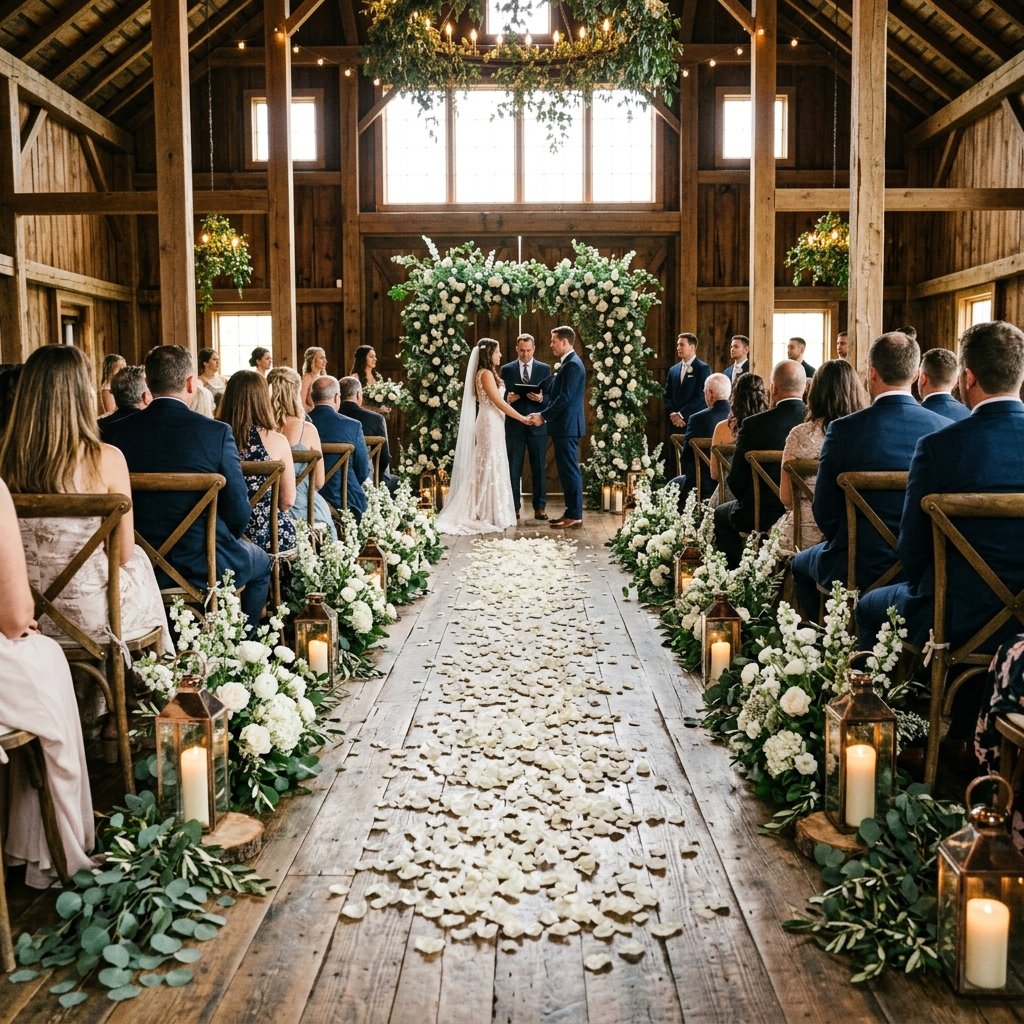

The Great Florist Heist: Why Your Aisle Shouldn’t Cost a Fortune
Let’s be honest: the wedding industry is designed to make you feel like you need to spend a down payment on a house just to walk down a path for 30 seconds. As a resourceful DIYer, you know better. You see the $1,500 quote for ‘aisle greenery’ and your internal ‘crafty-expert’ alarm goes off. Why pay for a florist’s overhead when you have the creative vision and the rugged determination to build something even better yourself? In this guide, we are diving deep into the art of the ‘Trash-to-Treasure’ wedding. We’re talking about taking $1.25 items, upcycled glass, and nature’s freebies to create a ceremony space that looks like it was plucked from the pages of a high-end editorial. Whether you’re a budget bride, a handy dad helping with the big day, or a frugal stylist, these 10 ideas will prove that elegance isn’t about the price tag—it’s about the cleverness of the craft.
Budget Mantra: A beautiful wedding is built on love and creativity, not on credit card debt. If you can glue it, paint it, or find it in the woods, you can make it legendary.
The Financial Reality Check: DIY vs. Professional Florist
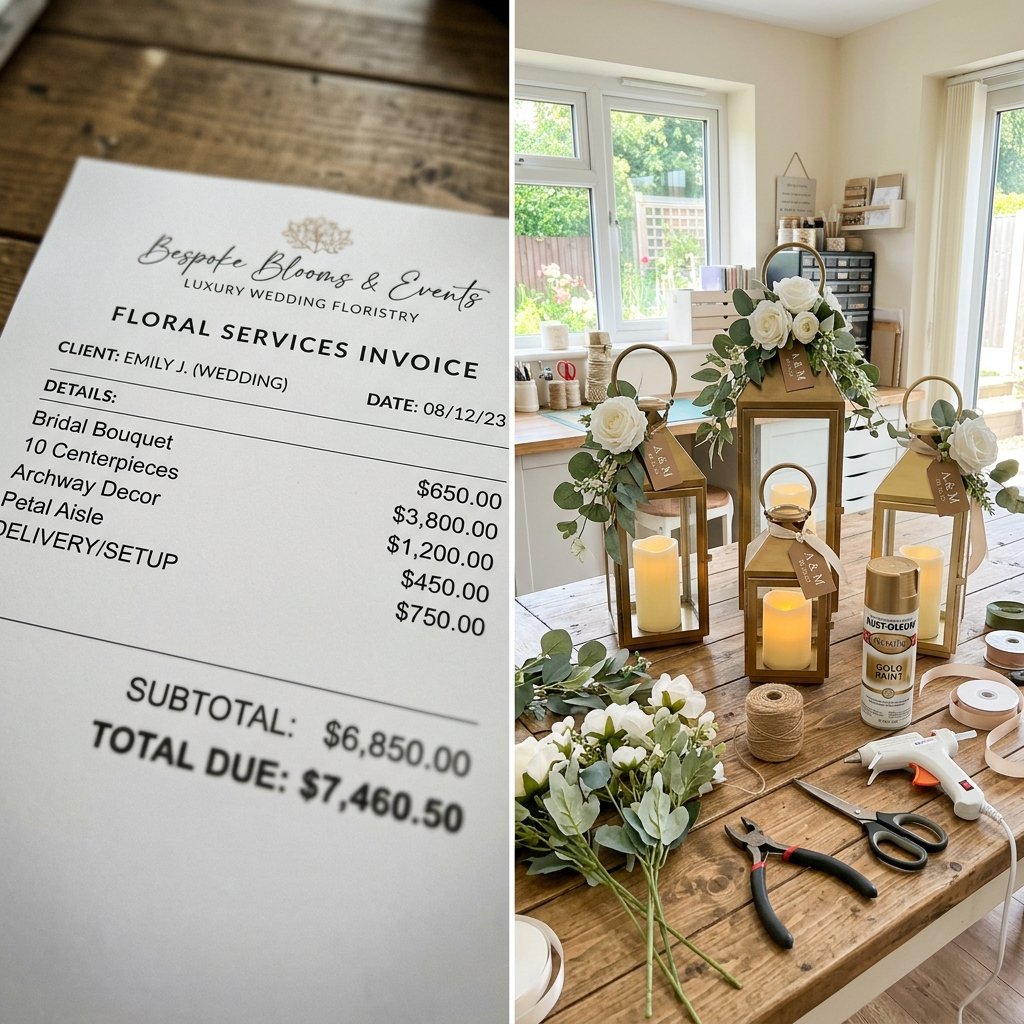
Before we pick up a glue gun, let’s look at the hard numbers. The average florist charges for labor, transportation, markup on stems, and the ‘wedding tax.’ By sourcing your own materials and using these budget-savvy techniques, you can save upwards of 90% on your ceremony decor.
| Decor Item | Professional Florist Price | DIY Resourceful Cost | Total Savings |
|---|---|---|---|
| 10 Aisle Lanterns with Florals | $600 – $800 | $45 – $60 | $550+ |
| Greenery Chair Swags (20 chairs) | $400 – $700 | $30 – $50 | $370+ |
| Petal Path (Heavy Coverage) | $200 – $300 | $15 – $25 | $185+ |
| Custom Signage & Floral Base | $150 – $250 | $10 – $20 | $140+ |
By taking the DIY route, you aren’t just saving money; you’re ensuring that every piece of your wedding has a personal touch and a story behind it. Ready to get your hands dirty? Let’s start building.
1. The Floating Petal Lantern: Dollar Store Magic
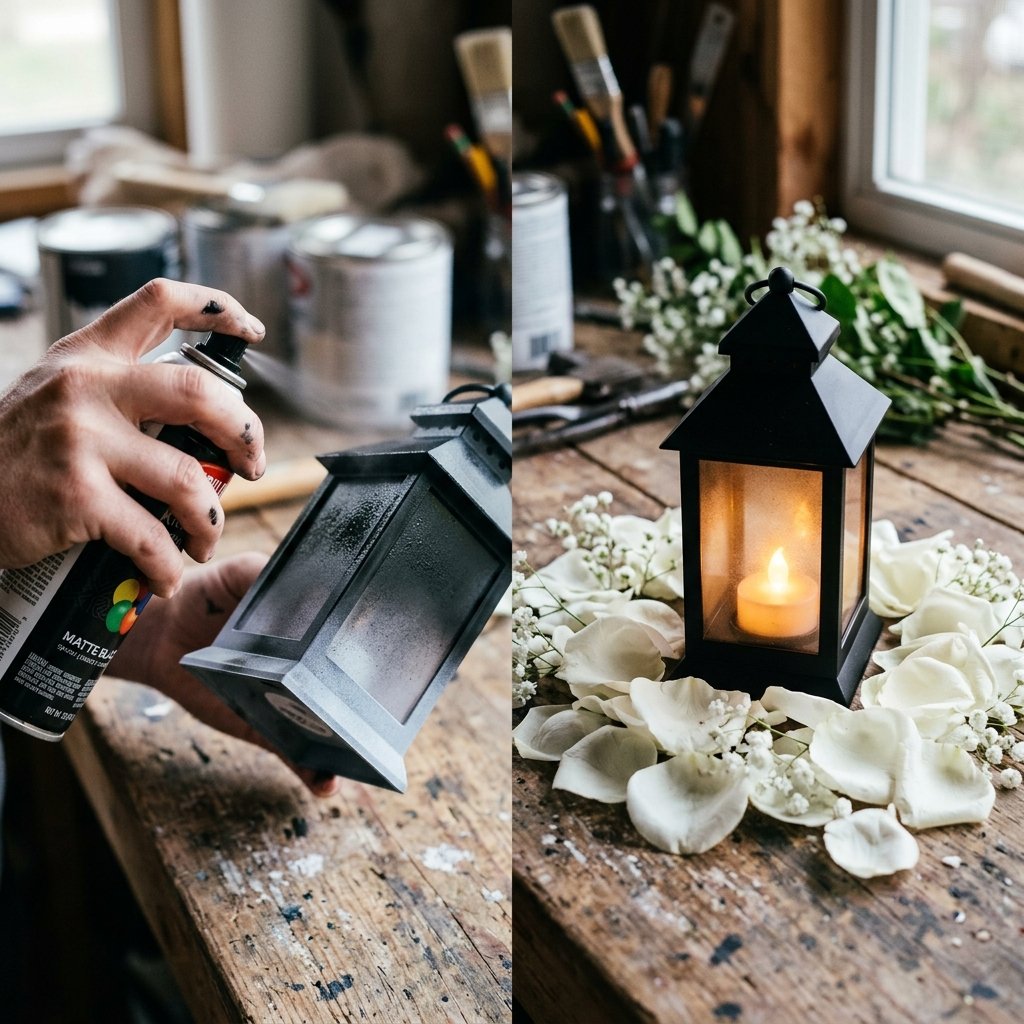
The High-End Look for Less
The secret to an expensive-looking aisle is repetition and lighting. You can find basic black or white plastic lanterns at the Dollar Tree or local discount shops. On their own, they look cheap. But with a little resourceful creativity, we can turn them into chic, matte-finished focal points.
- Step 1: Purchase 10-12 plastic lanterns. Lightly sand the plastic to help the paint adhere.
- Step 2: Use a high-quality matte black or metallic gold spray paint. Pro Tip: Apply two thin coats rather than one thick one to avoid drips.
- Step 3: Instead of expensive real candles, use LED flickering tea lights. They are safer for venues and last all night.
- Step 4: Surround the base with bulk silk petals or ‘real touch’ greenery.
Pro-Hack: To make silk petals look real, give them a quick steam to remove the factory creases. It takes 5 minutes and doubles the perceived value instantly.
2. Rustic Log Pedestals & Wildflower Jars
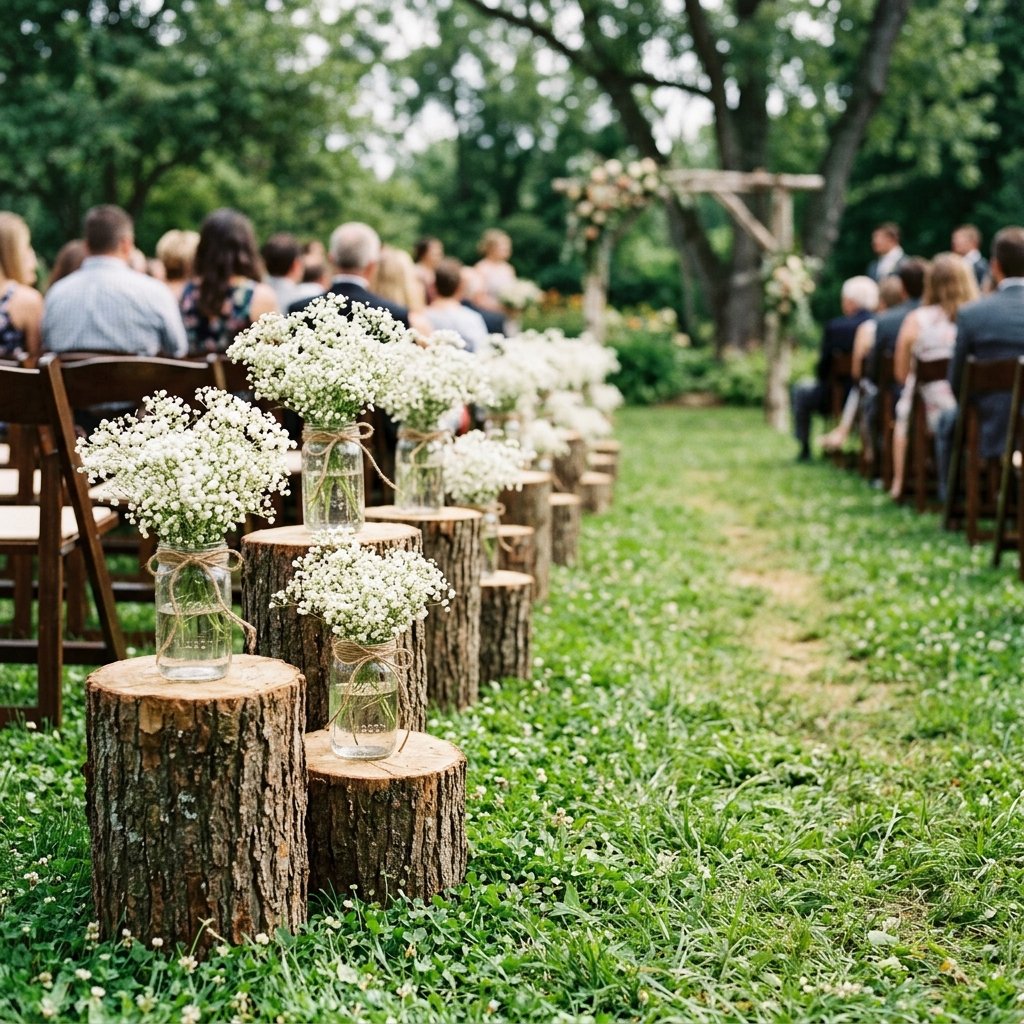
Rugged Masculine Elegance
For a barn or outdoor wedding, nothing beats the rugged elegance of natural wood. This project is 100% free if you have access to a fallen tree or a local tree removal service.
| Material | Source | Cost |
|---|---|---|
| Tree Stumps/Logs | Nature/Tree Service | $0 |
| Mason Jars | Upcycled Pasta Sauce Jars | $0 |
| Wildflowers | Grocery Store/Garden | $10 |
| Twine | Hardware Store | $2 |
To execute this, have your handy dad or partner cut logs into varying heights (8″, 12″, and 16″). Sand the tops smooth for a professional finish. Wrap the necks of upcycled jars with twine and fill them with baby’s breath or local wildflowers. The contrast between the rough bark and delicate flowers creates a stunning visual balance.
3. The Cheesecloth & Eucalyptus Drape

The Boho-Chic Masterclass
Cheesecloth is a DIYer’s best friend. It’s airy, romantic, and incredibly cheap when bought in bulk. You can transform standard folding chairs into Pinterest-worthy ceremony seating with this simple drape.
- Measure: You need about 2 yards per chair row end.
- Dyeing: For a vintage look, soak the cheesecloth in a strong tea or coffee bath for 20 minutes. This gives it a beautiful ‘antique ivory’ hue for just pennies.
- The Hang: Drape the cloth over the corner of the aisle chairs, letting it pool slightly on the floor.
- The Accent: Secure the drape with a single sprig of silver dollar eucalyptus (available in bulk at Trader Joe’s or wholesale).
Safety Note: Ensure the draped fabric is tucked slightly away from the actual walking path to prevent guests (or the bride!) from tripping during the processional.
4. Upcycled Wine Bottle Vases: The Baking Soda Trick
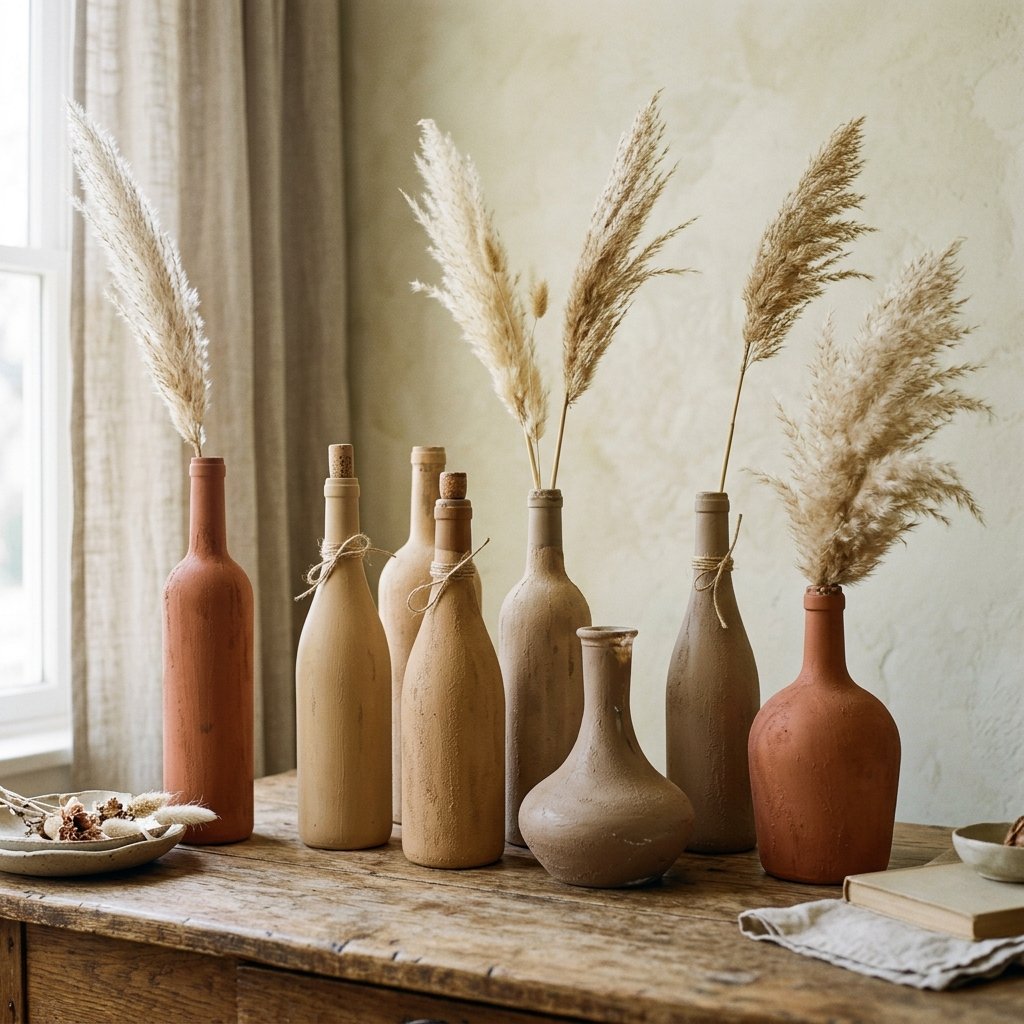
Turning Trash into Ceramic Treasures
Don’t throw away those wine or sparkling cider bottles! With the ‘Baking Soda Paint’ hack, you can make glass look like expensive matte ceramic or stoneware. This is a favorite for frugal crafters who want a modern, minimalist aesthetic.
- The Formula: Mix 1 cup of acrylic paint with 1/4 cup of baking soda. The mixture will become thick and textured.
- Application: Use a sponge brush to ‘dab’ the paint onto the bottle. This creates a stone-like texture.
- Styling: Use these in clusters of three at the end of every other row. Insert a single long-stemmed dried flower or a pampas grass plume.
The result is a masculine-elegant look that mimics high-end boutique decor for the price of a bottle of craft paint.
5. Oversized Paper Blooms: The Dramatic Statement
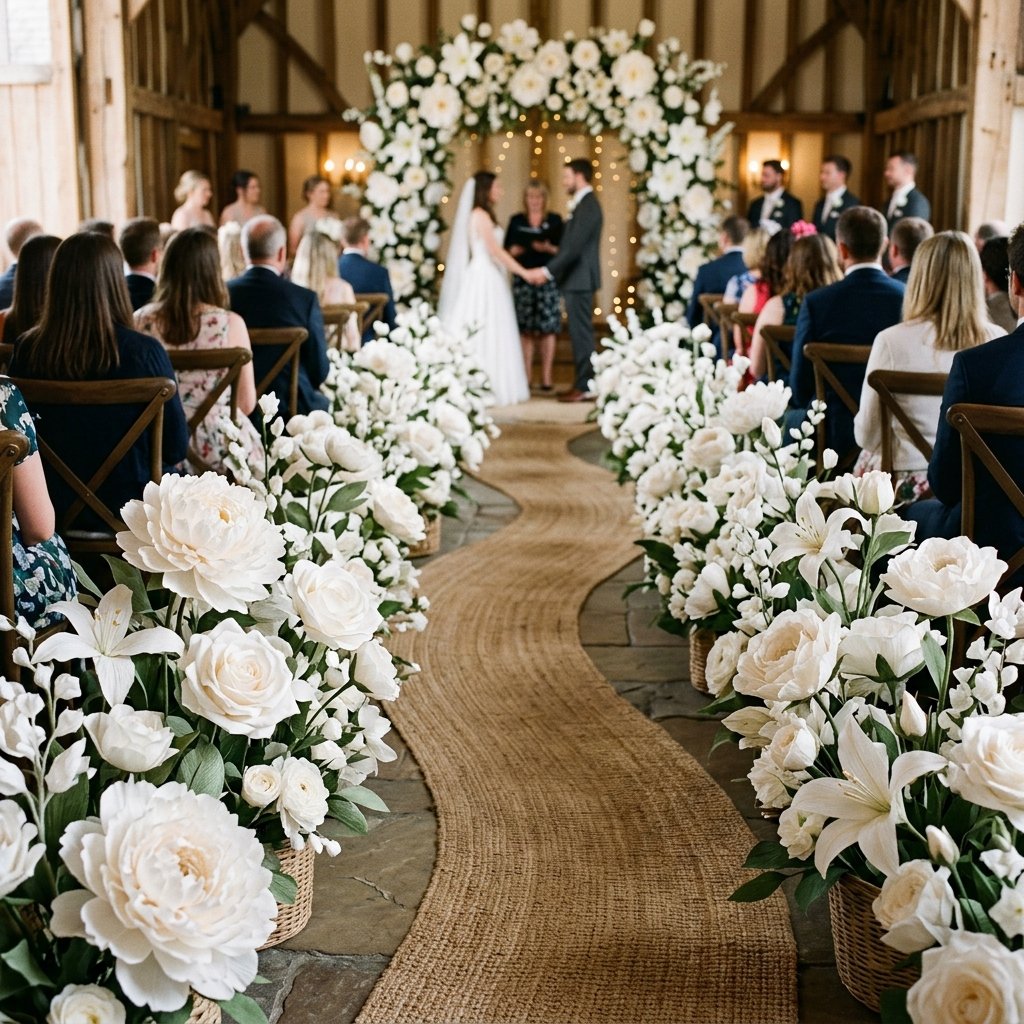
Origami-Level Precision on a Budget
If you want a ‘wow’ factor without the ‘ow’ price tag, oversized paper flowers are the answer. Using heavy cardstock or crepe paper, you can create blooms that are 12-18 inches wide.
| Paper Type | Best For | Visual Impact |
|---|---|---|
| Crepe Paper | Realistic Peonies/Roses | High (Soft) |
| Cardstock | Modern/Geometric Blooms | High (Bold) |
| Tissue Paper | Fluffy Pom-Poms | Medium (Playful) |
Line the entire aisle floor with these ‘growing’ out of the ground. It creates a whimsical, fairytale atmosphere. Since they are paper, you can make them months in advance, saving you from the ‘morning-of’ stress that real flowers cause.
6. The Faux Stone Planter Hack
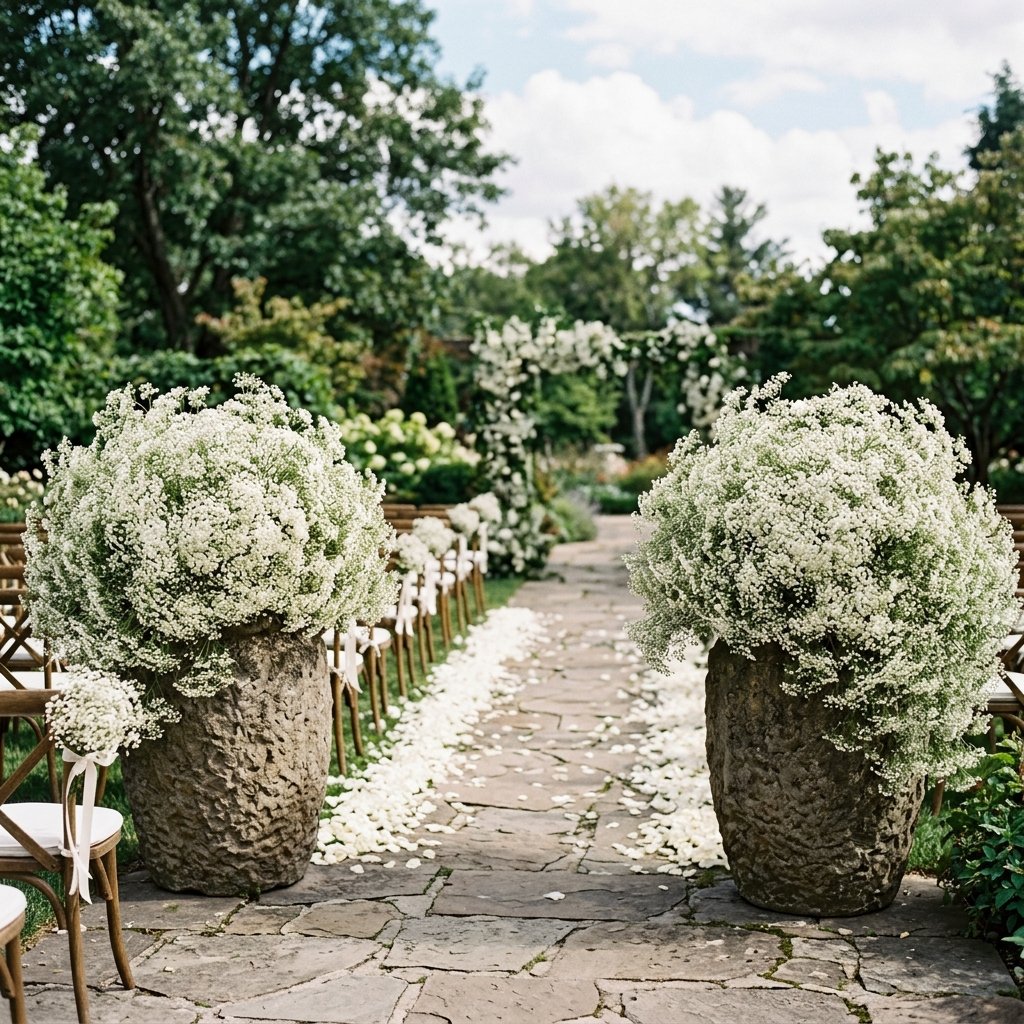
Dollar Tree Transformation
Plastic garden pots from the dollar store are often bright orange or cheap green. We’re going to give them a Pottery Barn makeover. Using a ‘stone’ textured spray paint or a mixture of grey paint and actual sand, you can create heavy-looking urns for the start of your aisle.
Crafty Expert Tip: To add weight so they don’t tip over, fill the bottom of the plastic pot with a few rocks or a small bag of sand before adding your floral foam and greenery.
Fill these ‘stone’ urns with large bundles of baby’s breath. It’s the cheapest filler flower, but when used in mass quantities, it looks like a white, fluffy cloud. It’s a clever, budget-savvy way to create a high-impact entrance.
Conclusion
Your Dream Wedding is Within Reach
Walking down the aisle should be one of the most beautiful moments of your life, and that beauty shouldn’t be overshadowed by the stress of a massive florist bill. By using these resourceful and crafty techniques, you’ve proven that you are a master of the ‘Trash-to-Treasure’ philosophy. You’ve turned $1 bottles into ceramic art, free logs into rustic pedestals, and simple paper into dramatic blooms. You are not just a bride, groom, or parent—you are an event stylist on a dime. Now, take that saved money and put it toward your honeymoon, your first home, or a spectacular dinner. You’ve earned it! Go forth and create something stunning.

Makenzie is the founder and lead writer at MoneyHackTips.com — a personal finance blog dedicated to delivering street-smart financial wisdom for real people on real budgets. With 300+ published articles covering everything from debt management to investing fundamentals, Makenzie’s mission is to make every dollar work harder. When not writing about money hacks, Makenzie is testing frugal living strategies, optimizing side hustles, and helping readers build financial freedom from scratch.