
Welcome, budget-savvy brides, crafty grooms, and resourceful event stylists! If you have ever walked through a thrift store and seen those dusty, tattered plastic and metal trophies from the 1980s and thought, “Who would ever buy these?”—the answer is you. As a professional trash-to-treasure guru, I am here to tell you that those discarded relics of junior high soccer games are actually the secret ingredient to a $10,000 wedding look on a $50 budget.
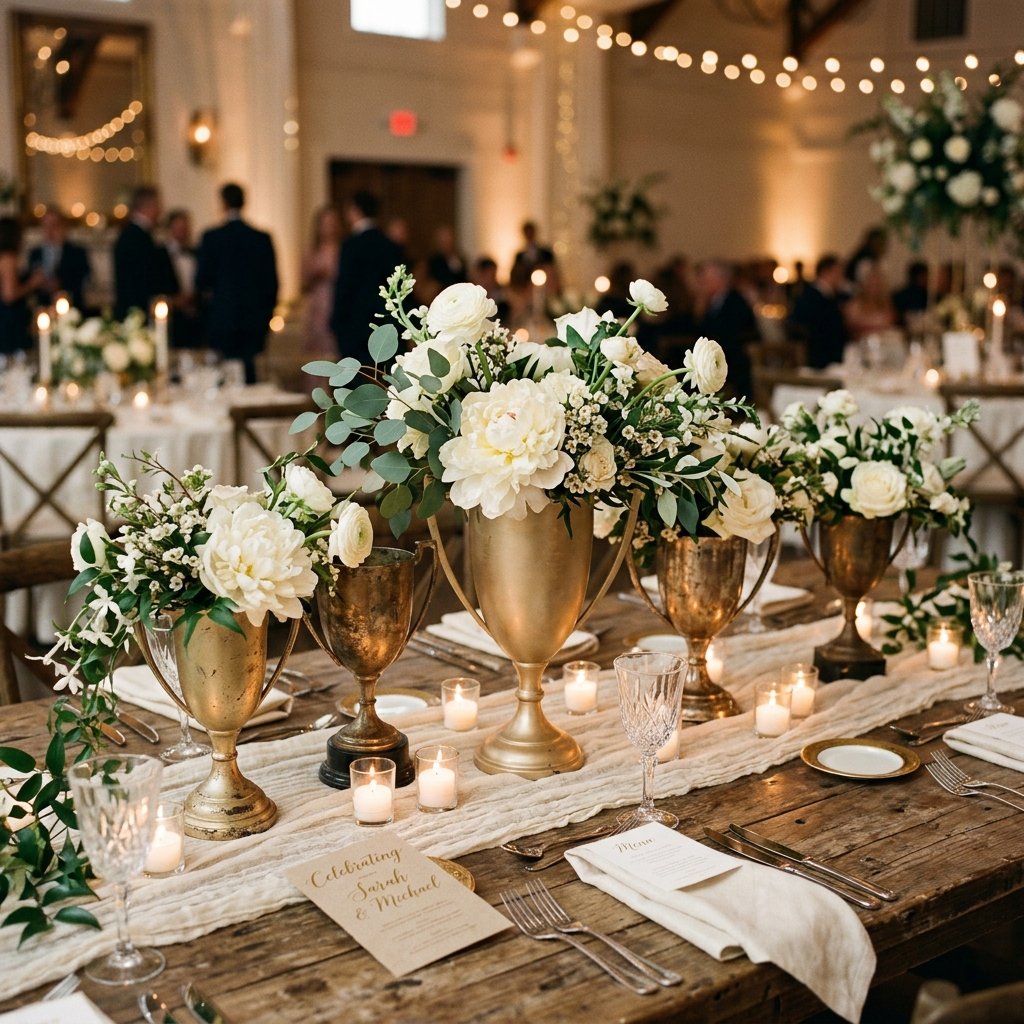
High-end weddings often feature heavy, ornate silver or gold urns and chalices that cost a fortune to rent, let alone buy. By upcycling thrifted trophies, we can achieve that same regal, mismatched vintage aesthetic for almost nothing. This guide will walk you through the rugged and practical process of sourcing, prepping, and finishing these pieces to create centerpieces that will have your guests asking which high-end florist you hired.
The Hunt: Sourcing the Perfect Vessels for Pennies
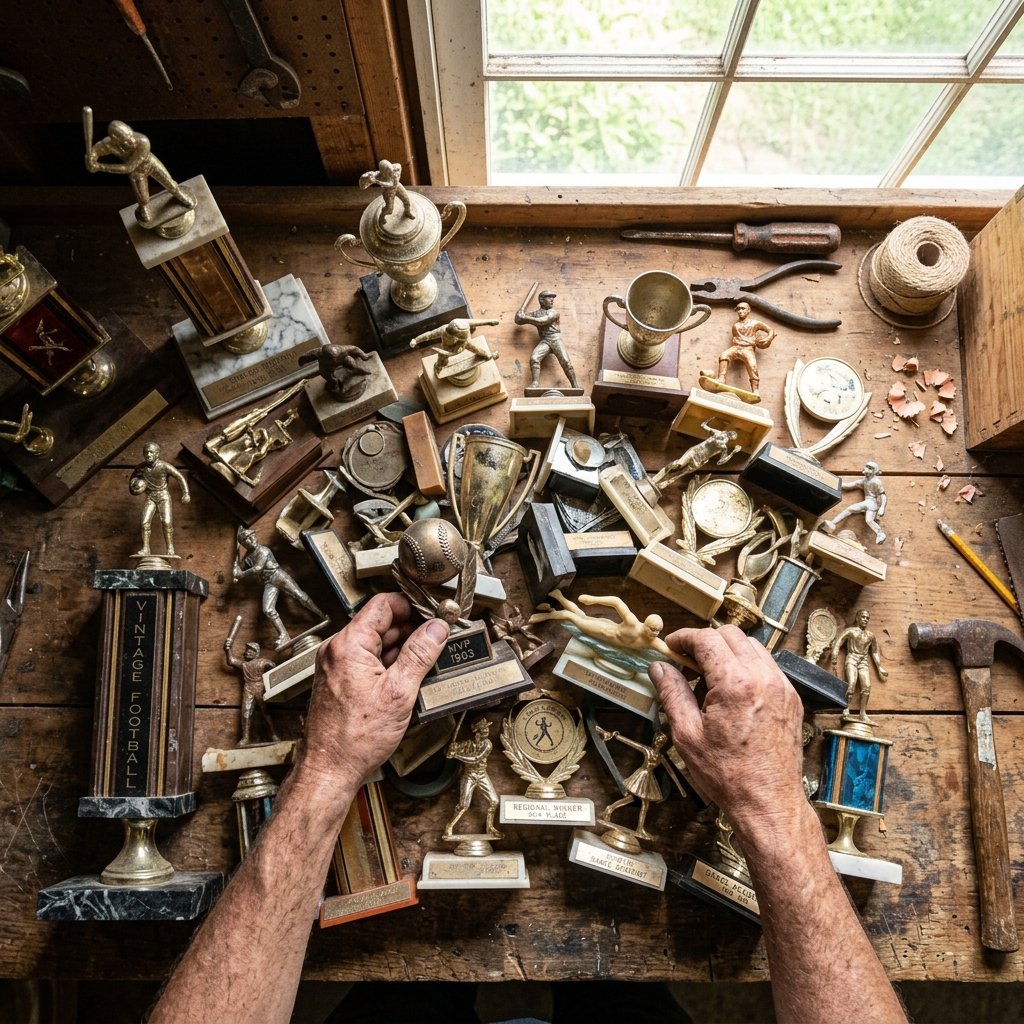
The first step in our mission is the hunt. You aren’t looking for pristine antiques; you are looking for shape and silhouette. When you are at Goodwill, the Salvation Army, or scouring Facebook Marketplace, ignore the peeling gold plastic or the engraved names of 1994 bowling champions. Focus on the handles, the pedestals, and the overall height.
What to Look For
- Classic Urn Shapes: These provide a timeless, elegant base for large floral arrangements.
- Loving Cups: These are the trophies with two large handles on the side, perfect for a balanced, symmetrical look.
- Mismatched Heights: A dynamic tablescape needs variety. Look for trophies ranging from 4 inches to 14 inches tall.
- Weight: If the trophy is top-heavy or feels flimsy, don’t worry—we can weight the base later with inexpensive plaster or stones.
Aim to spend no more than $1.00 to $3.00 per trophy. Many thrift stores struggle to move these items and will often bundle them if you ask for a bulk discount for a wedding project.
The Deconstruction: Stripping Away the ‘Cheesy’ Elements
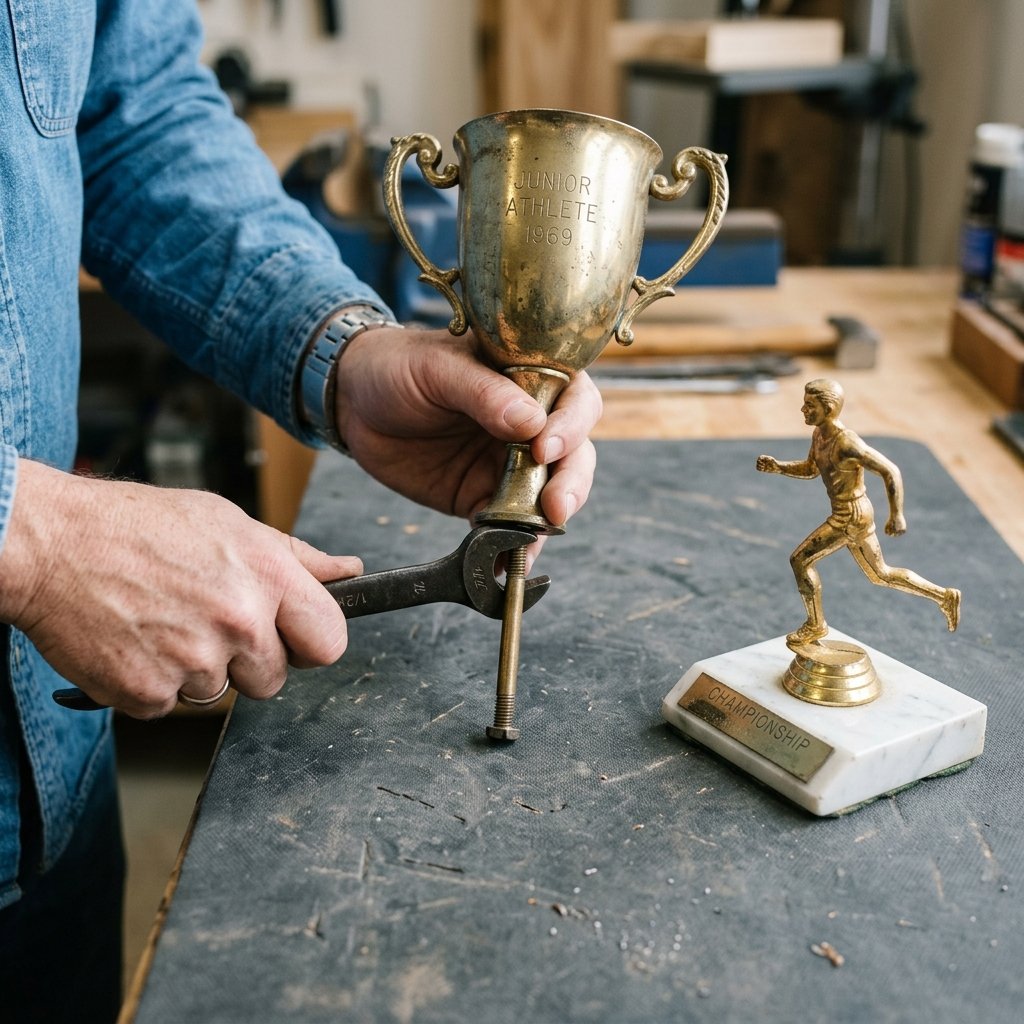
Before we can make these look like high-end decor, we have to remove the elements that scream “middle school participation award.” This is where our practical, crafty expertise comes in.
Removing Plaques and Figurines
Most trophies are held together by a single long threaded rod that runs from the top figurine down through the base. To deconstruct them:
- Turn the trophy upside down and locate the nut at the bottom of the base.
- Use a socket wrench or pliers to loosen the nut.
- Slide the components off the rod. You can often discard the plastic figurines (the little gold soccer players or bowlers) and keep the cups and pedestals.
- If there is an engraved plaque on the base, use a flat-head screwdriver or a putty knife to gently pry it off. Most are held on with simple adhesive.
Pro Tip: If the trophy has a marble base, keep it! Real marble adds incredible weight and a high-end feel, even if the cup on top is plastic. We can paint the cup and leave the marble natural for a sophisticated contrast.
The High-End Finish: Painting and Texturizing
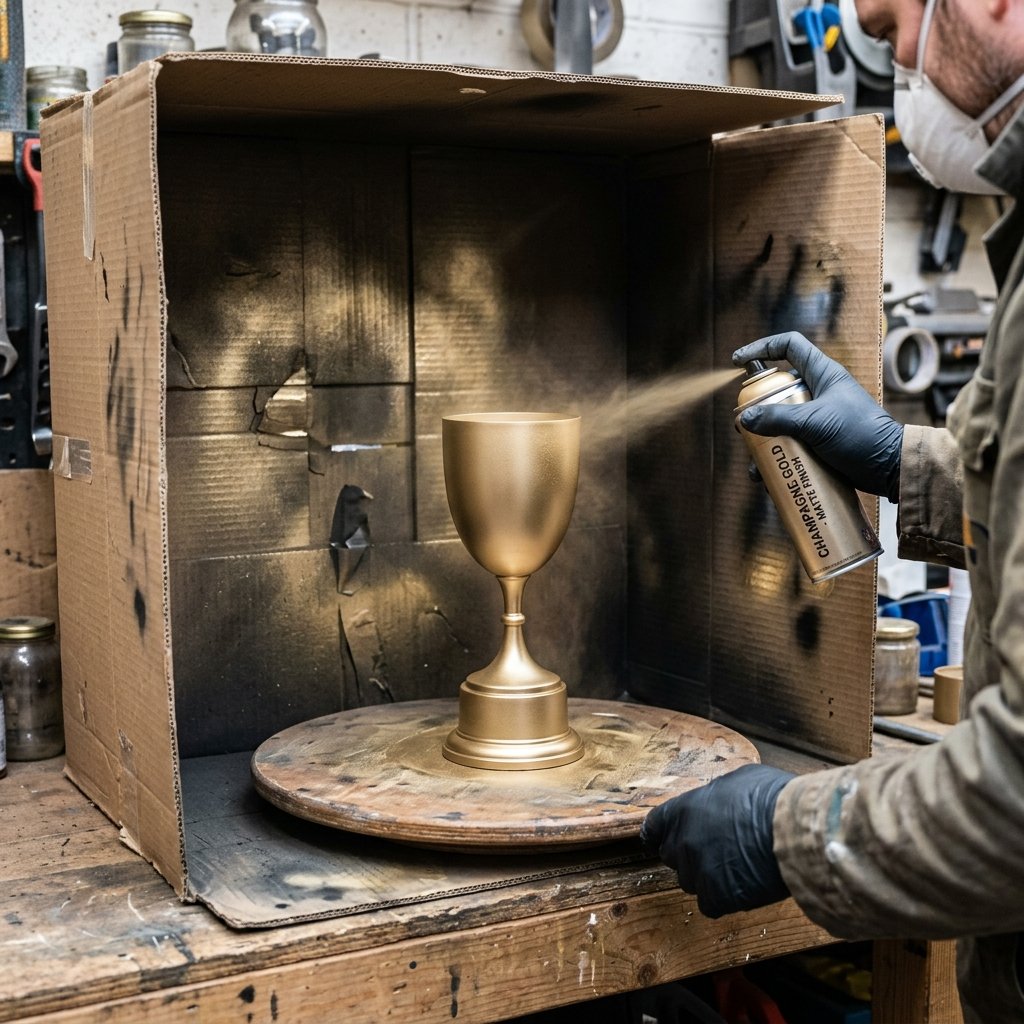
This is where the magic happens. We are going to use a combination of spray paint and a secret “stone” technique to give these trophies a heavy, metallic, or ceramic appearance. The goal is to hide the plastic seams and create a unified look across your mismatched collection.
The Materials & Cost Breakdown
| Material | Purpose | Estimated Cost |
|---|---|---|
| Metallic Spray Paint | Base coat (Gold, Bronze, or Silver) | $6.00 |
| Baking Soda | Added to paint for ceramic texture | $1.00 |
| Matte Clear Coat | Protects the finish | $5.00 |
| E6000 Adhesive | Reassembling components permanently | $4.00 |
The ‘Faux Stone’ Technique
If you want a trendy, matte ceramic look that resembles expensive pottery, mix 1 part acrylic paint with 1/2 part baking soda. Brush this onto the trophy in thick, vertical strokes. The baking soda creates a gritty, stone-like texture that completely disguises the fact that the vessel is made of cheap plastic. For a metallic look, use a high-quality “Champagne Gold” or “Antique Bronze” spray paint, applying multiple thin coats to avoid drips.
Floral Engineering: Designing for Deep Vessels
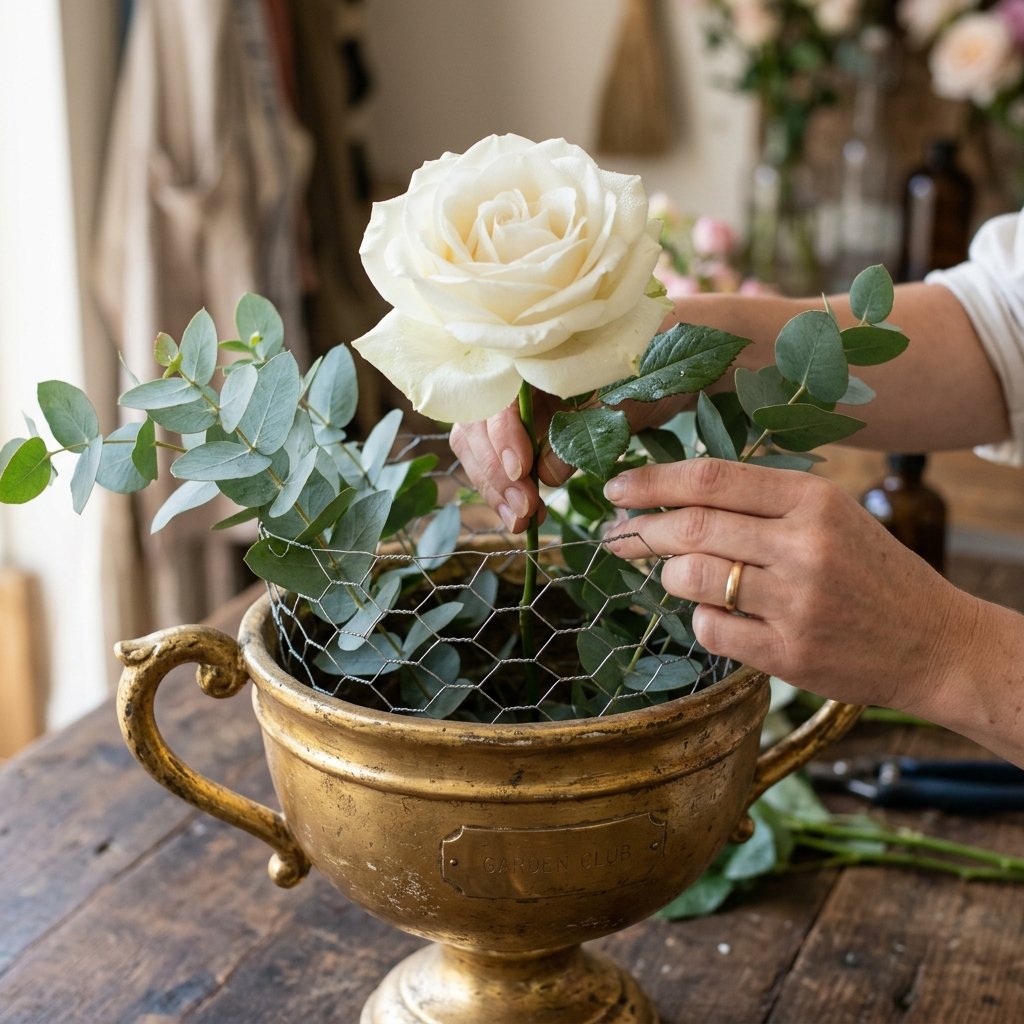
Because trophies are often narrow and deep, they require a bit of internal structure to hold flowers in place. You don’t want your blooms falling to the bottom of the cup where no one can see them.
Creating the Grid
- Floral Foam: Cut a block of wet floral foam (for real flowers) or dry foam (for silk) to fit snugly inside the cup. Ensure it sticks up about 1 inch above the rim to allow for horizontal stem placement.
- Chicken Wire: For a more sustainable, rugged approach, crumple a small piece of chicken wire into a ball and wedge it into the cup. Secure it with waterproof floral tape in a grid pattern across the top.
Budget Mantra: “Don’t buy expensive filler; forage it!” Use greenery from your backyard or local woods—like ivy, fern, or pine—to bulk out the arrangement before adding your ‘statement’ flowers.
When arranging, start with your “spillers” (vines that hang over the handles), then your “thrillers” (large blooms like roses or dahlias), and finally your “fillers” (small sprigs of baby’s breath or waxflower).
Styling the Tablescape: The Professional Touch

A single trophy in the middle of a table can look a bit lonely. To achieve that high-end, editorial wedding look, you need to style the trophies in “vignettes.” This creates visual interest and makes the mismatched nature of the trophies look intentional and curated.
The Rule of Three
Group your trophies in sets of three on each table. Use one tall “statement” trophy and two smaller, shorter ones. This creates a triangular focal point that is pleasing to the eye. Surround the base of the trophies with votive candles or loose flower petals to soften the edges of the display.
Check out this cost comparison to see how much you are saving by taking the DIY route:
| Item | Professional Rental/Purchase | DIY Thrifted Version |
|---|---|---|
| Large Metal Urn | $45.00+ | $2.50 |
| Medium Loving Cup | $30.00 | $1.50 |
| Small Trophy Cup | $15.00 | $0.75 |
| TOTAL PER TABLE | $90.00 | $4.75 |
By doing it yourself, you are saving over 90% on your decor budget, which can be redirected toward your honeymoon or a better photographer!
Conclusion
Turning thrifted trophies into high-end wedding centerpieces is the ultimate “trash-to-treasure” win. It combines the rugged satisfaction of a DIY project with the elegant payoff of a luxury event. By looking past the dated plastic and seeing the potential in the silhouette, you’ve created something truly unique that tells a story of resourcefulness and creativity. Now, go forth to your local thrift stores, grab those forgotten awards, and start crafting the wedding of your dreams for almost nothing. Happy upcycling!

Makenzie is the founder and lead writer at MoneyHackTips.com — a personal finance blog dedicated to delivering street-smart financial wisdom for real people on real budgets. With 300+ published articles covering everything from debt management to investing fundamentals, Makenzie’s mission is to make every dollar work harder. When not writing about money hacks, Makenzie is testing frugal living strategies, optimizing side hustles, and helping readers build financial freedom from scratch.