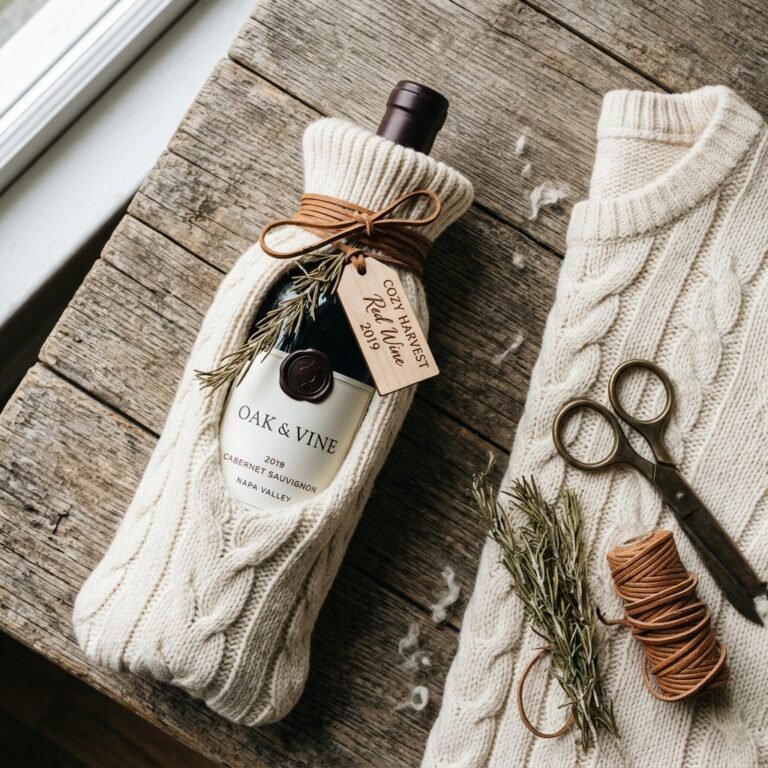

The Art of the Winter Transformation
As the mercury drops and the wind begins to whistle through the eaves, there is a primal urge to cocoon our homes in warmth. But let’s be honest: high-end seasonal decor can take a staggering bite out of your wallet. Those lush, cable-knit wreaths you see in boutique windows often carry price tags ranging from $45 to $85. Why spend your hard-earned cash on a store-bought imitation when you likely have the raw materials sitting in your donation bin? Today, we are reclaiming the ‘discarded’ and elevating it to the ‘designer.’ We are taking that shrunken wool sweater or the one with the snagged elbow and turning it into a ruggedly elegant statement piece for your front door. This isn’t just a craft; it’s a resourceful victory for the frugal DIYer who values both aesthetics and a $0 budget. By the time we’re done, your neighbors will be asking which high-end catalog you ordered from, and you’ll have the quiet satisfaction of knowing it cost you absolutely nothing but 45 minutes of your time.
Sourcing and Scavenging: The Material Audit
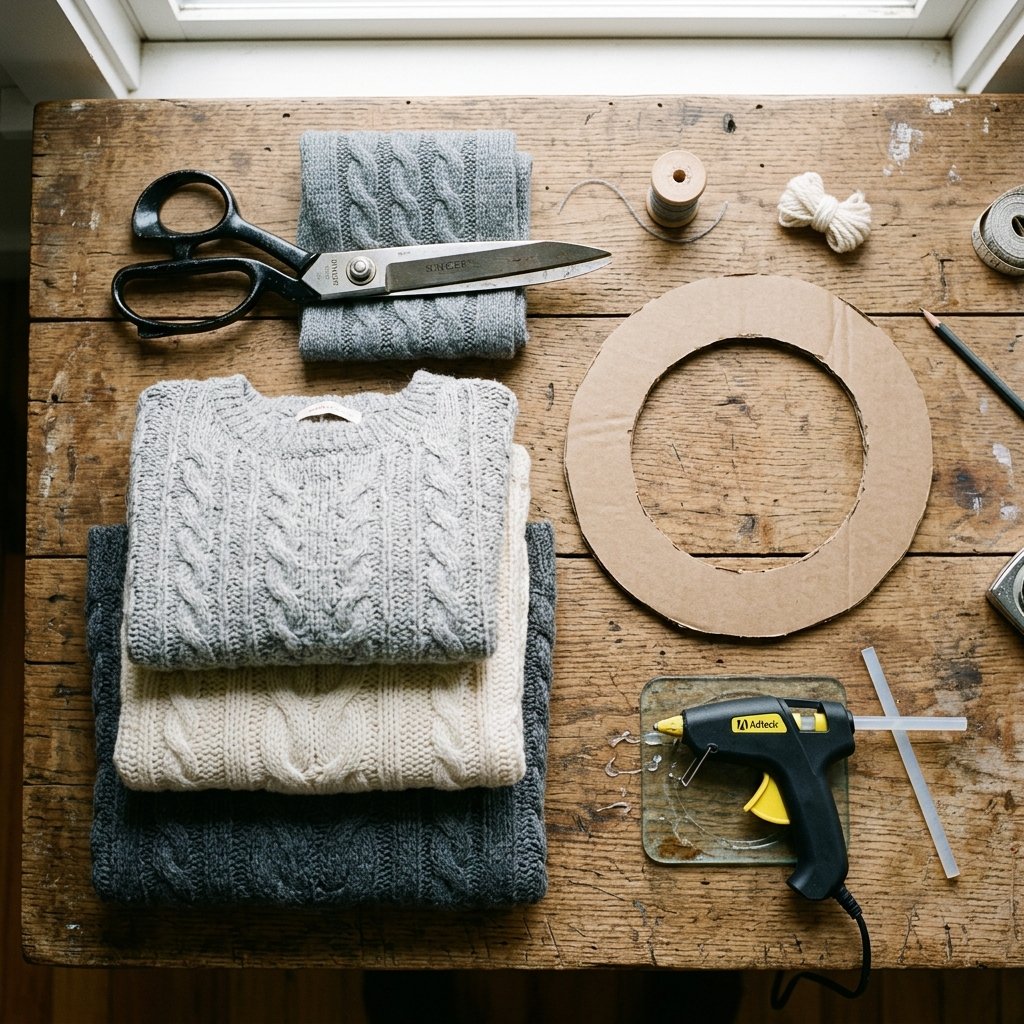
Finding Treasure in the Trash
The first rule of the budget-savvy crafter is to never buy what you can scavenge. For this project, we are looking for specific textures and weights. A chunky cable knit is the gold standard here—it provides the depth and shadows that make the wreath look expensive. However, don’t overlook thinner wool blends or even ribbed turtlenecks. If you don’t have an old sweater at home, a quick trip to a local thrift store during a ‘fill-a-bag’ sale can net you enough material for five wreaths for under $5.
The Essential Toolkit
Before you begin, gather your supplies. We aren’t just making a wreath; we are engineering a piece of decor that must withstand the elements.
| Material | Upcycled Source | Estimated Retail Cost |
|---|---|---|
| Wreath Form | Corrugated Cardboard Box | $7.99 |
| Fabric | Old Wool/Acrylic Sweater | $35.00 |
| Adhesive | High-Temp Hot Glue | $2.50 |
| Accents | Dried Pinecones/Twine | $12.00 |
| TOTAL | $0.00 – $2.00 | $57.49 |
“The secret to a rugged, masculine-elegant look is to stick to a neutral palette: creams, charcoal grays, or deep forest greens. These colors bridge the gap between cozy cabin and sophisticated manor.”
The Foundation: Engineering a Sturdy Wreath Form

Building the Bones
Many tutorials suggest buying a foam or straw wreath form. We suggest otherwise. A foam form can cost $8 or more, and they are notoriously bad for the environment. Instead, we are going to use the ‘Double-Layer Cardboard’ method. This provides a lightweight yet rigid structure that won’t warp under the weight of the fabric.
Step-by-Step Frame Construction
- Find a large cardboard box (shipping boxes are perfect).
- Use a large kitchen plate to trace the outer circle, approximately 12 to 14 inches in diameter.
- Use a smaller bowl to trace the inner circle, leaving a rim width of about 3 inches.
- Cut out two identical rings using a sharp utility knife.
- Glue the two rings together, alternating the grain of the cardboard for maximum strength.
Safety Note: When using a utility knife, always cut away from your body. Cardboard can be surprisingly resistant, and a slip is easy to avoid with a slow, steady hand.
The Sweater Slice: Tailoring the Fabric
Maximizing Your Yardage
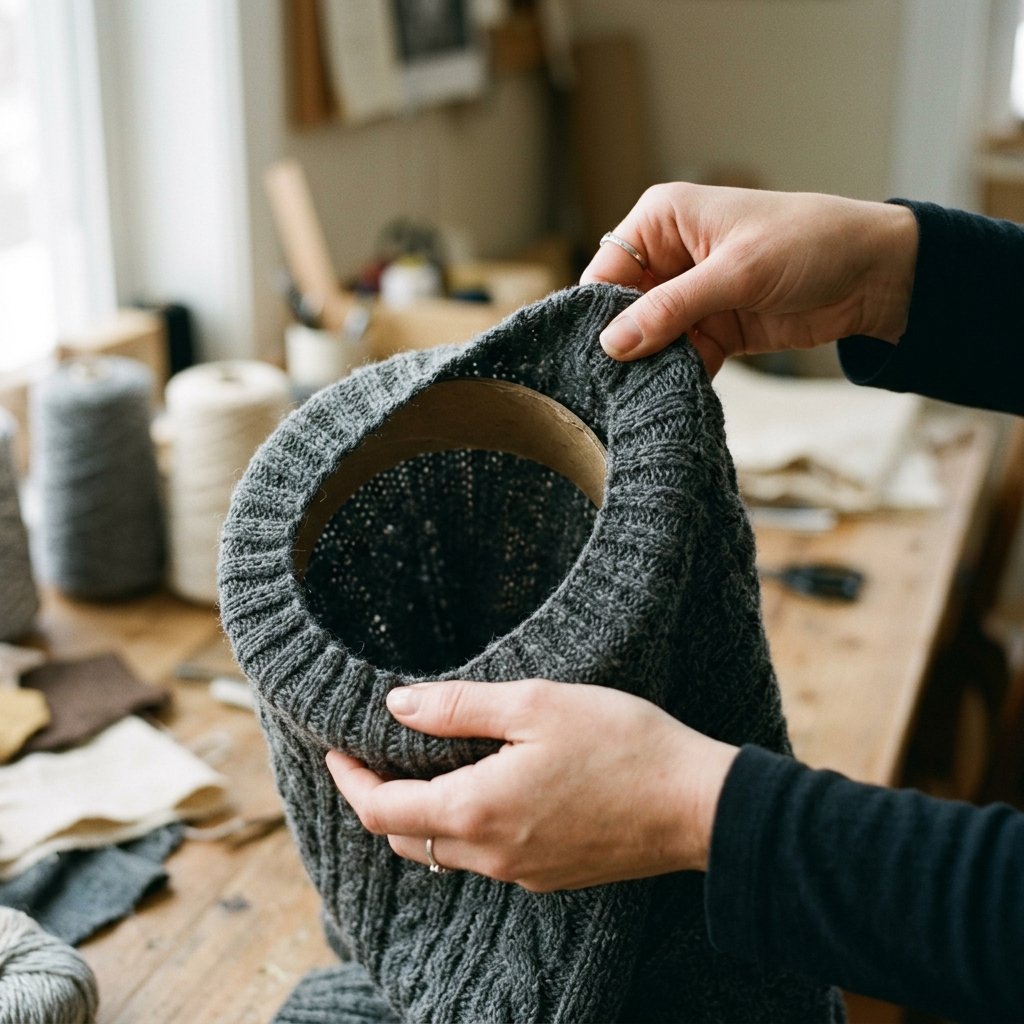
To get the most out of one sweater, you need to be strategic. The sleeves are your best friend—they are already tubes of fabric that can be easily slid over your frame. The torso can be cut into strips for a ‘wrapped’ look or used to create decorative rosettes.
The ‘Tube’ Technique
If your wreath form is thin enough, you can cut the sleeves off the sweater and slide the cardboard ring directly into the sleeve. This creates a seamless, professional finish that hides the edges of the fabric perfectly. If the sleeve is too narrow, simply slit it up the seam to create a long, wide strip of knit fabric. Aim for strips that are 5 inches wide to ensure full coverage of the 3-inch cardboard rim.
Pro Tip: If the sweater is 100% wool, you can ‘felt’ it first by washing it on a hot cycle. This tightens the fibers and prevents fraying when you cut it, giving the wreath a dense, high-end felted look.
Assembly: The Seamless Wrap Method
Mastering the Wrap
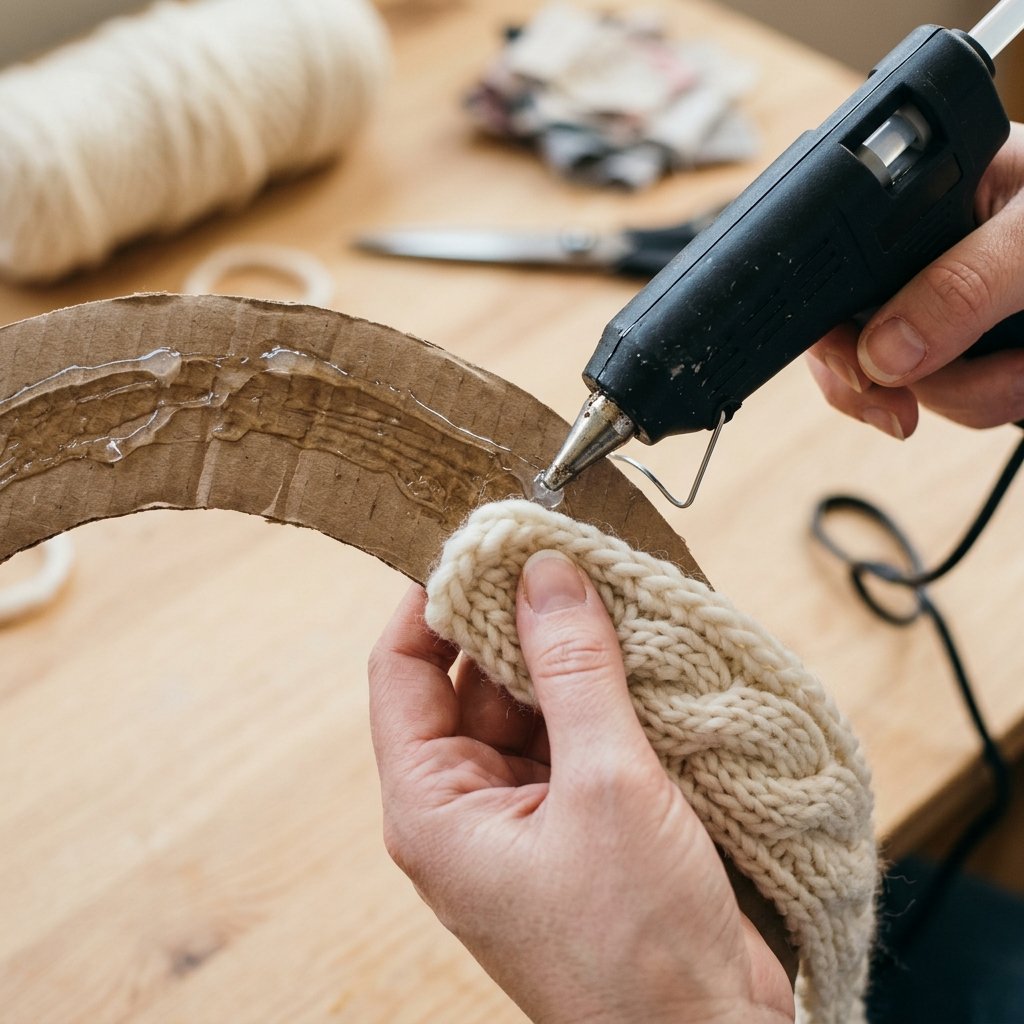
This is where the magic happens. The goal is to hide all cardboard while maintaining the direction of the knit pattern. A messy wrap looks like a craft project; a precise wrap looks like a piece of art.
The Execution
- Apply a 1-inch bead of hot glue to the back of the frame.
- Secure the end of your sweater strip at a slight angle.
- Wrap the fabric tightly around the ring, overlapping each layer by about 0.5 inches. This ensures no cardboard peeks through when the fabric shifts.
- Every three wraps, apply a small dot of glue on the back to prevent slipping.
- Continue until the entire ring is covered. If you run out of one strip, tuck the end under the next strip for a hidden transition.
By the end of this process, you should have a plush, soft ring that feels substantial in your hands. The total time for this stage is usually about 15 minutes.
Rugged Accents: The Designer’s Finishing Touch
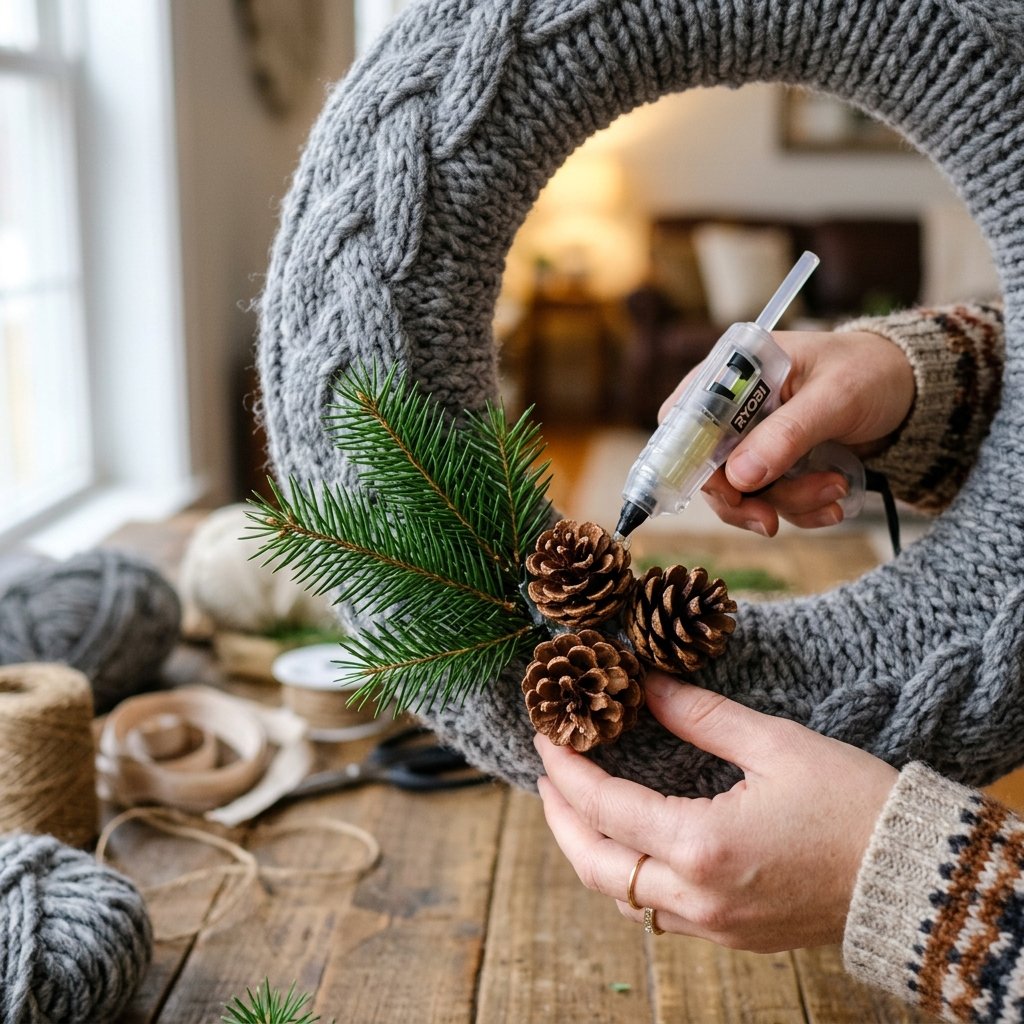
Adding Character and Contrast
A plain sweater wreath is cozy, but it needs contrast to truly pop against your door. We want to balance the softness of the wool with the ruggedness of natural elements. This is the ‘Masculine-Elegant’ phase of the project.
Decoration Ratios
Follow the ‘Rule of Thirds.’ Don’t center your decorations. Instead, cluster them at the 4 o’clock or 8 o’clock position for a modern, asymmetrical look.
- Natural Elements: Use 3 to 5 pinecones of varying sizes. Glue them in a tight cluster.
- Textural Contrast: Add a sprig of dried eucalyptus or a few cinnamon sticks tied with twine.
- The Hanger: Skip the cheap metal over-the-door hangers. Instead, use a 20-inch length of thick jute rope or a strip of weathered leather for a rugged, high-end feel.
| Accent Item | Quantity | Placement Tip |
|---|---|---|
| Large Pinecones | 3 | Primary focal cluster |
| Cinnamon Sticks | 2 | Tied with twine for scent |
| Leather Strap | 1 | Top center for hanging |
| Dried Berries | Small Bunch | Tucked into the knit folds |
Longevity and Weatherproofing
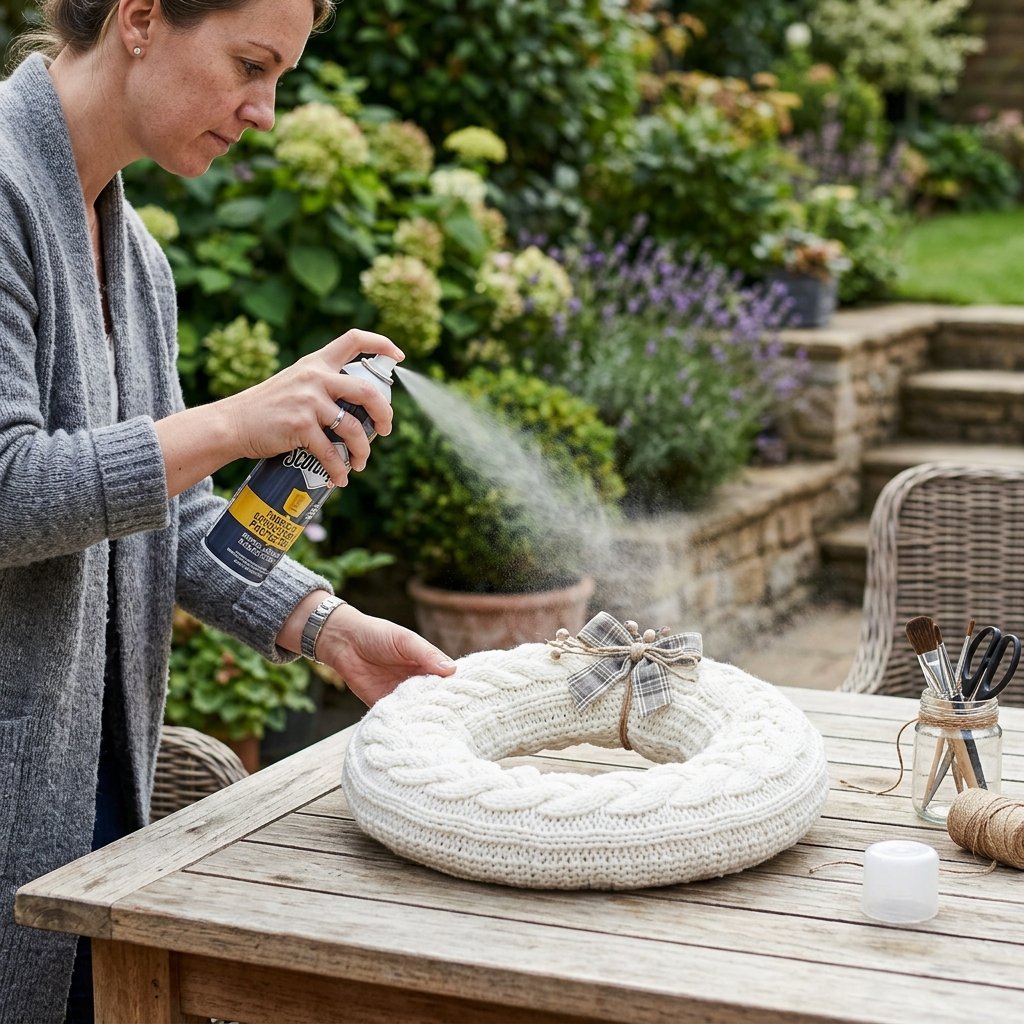
Protecting Your Investment
Since this wreath is made of fabric, it requires a little extra care if it’s going to live outdoors. If you have a covered porch, you’re in the clear. If your door is exposed to the elements, you must take steps to prevent the wool from becoming a soggy mess.
The Frugal Pro’s Maintenance Guide
- Spray Shield: Give the finished wreath a light coating of fabric protector spray (like Scotchgard). This helps repel moisture and prevents dust from settling into the knit.
- Storage: When winter ends, do not throw this in a plastic bin where it can be crushed. Hang it in a garment bag or a large paper bag to allow the natural fibers to breathe.
- Pest Control: If you used real wool, tuck a small cedar block or a few cloves behind the decorations to keep moths away while in storage.
“Budget-savvy isn’t just about making things for free; it’s about making things that last so you don’t have to spend money replacing them next year.”
Conclusion
The Satisfaction of the Upcycle
There you have it—a stunning, boutique-quality winter wreath for the grand total of $0. By looking at an old sweater not as ‘trash’ but as ‘raw material,’ you’ve saved yourself over $50 and kept textiles out of the landfill. This wreath is more than just decor; it’s a testament to your resourcefulness and your eye for rugged elegance. Whether you’re a handy parent looking to spruce up the house or a frugal crafter making gifts for friends, the upcycled sweater wreath is the ultimate winter win. Now, hang that masterpiece on your door, grab a hot coffee, and enjoy the view. You earned it.

Makenzie is the founder and lead writer at MoneyHackTips.com — a personal finance blog dedicated to delivering street-smart financial wisdom for real people on real budgets. With 300+ published articles covering everything from debt management to investing fundamentals, Makenzie’s mission is to make every dollar work harder. When not writing about money hacks, Makenzie is testing frugal living strategies, optimizing side hustles, and helping readers build financial freedom from scratch.