
In an era where every cent counts and environmental stewardship is no longer optional, the resourceful crafter looks at a pile of old laundry and sees a goldmine. We have all been there: standing at the grocery checkout, realizing we forgot our reusable bags, and being forced to pay $0.10 or $0.25 for a flimsy plastic bag that will inevitably end up in a landfill. It is time to deploy a bit of tactical upcycling. By repurposing those soft, broken-in T-shirts that are too stained for the donation bin but too sentimental to toss, you can create a fleet of heavy-duty, washable grocery bags for a total cost of $0.00.
This isn’t just about saving pennies; it’s about engineering a better solution. T-shirt fabric (jersey knit) is uniquely suited for this task because it doesn’t fray when cut, it stretches to accommodate bulky items, and it is incredibly easy to clean. Whether you are a frugal parent looking to cut household expenses or a crafty minimalist aiming for a zero-waste lifestyle, this guide will show you how to turn ‘trash’ into a rugged, masculine-elegant accessory that handles 20+ pounds of groceries with ease.
The Tactical Inventory: Materials and Cost Analysis
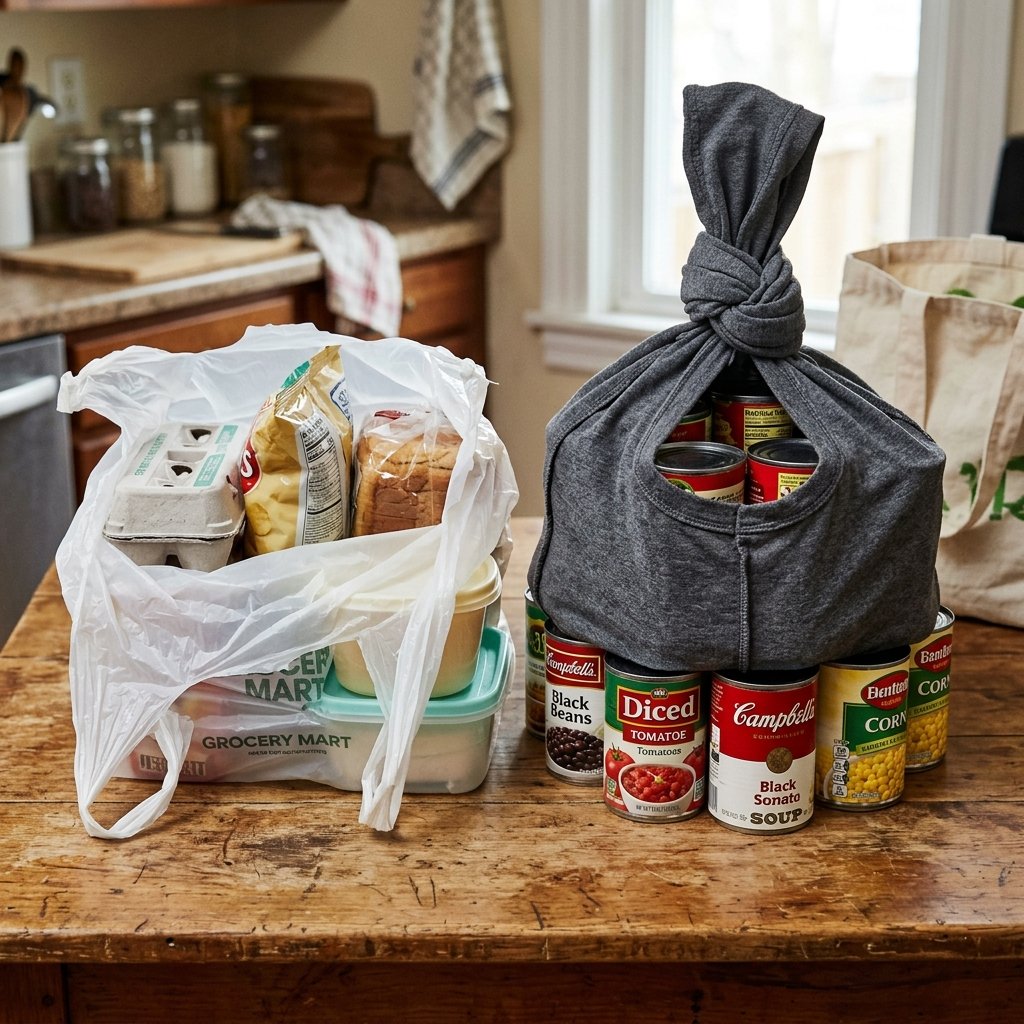
Before we dive into the construction, let’s look at the logistics. Most ‘store-bought’ reusable bags are made of non-woven polypropylene—essentially a type of plastic that eventually shreds and cannot be easily washed. A high-quality cotton canvas bag can cost anywhere from $10 to $20. Our DIY solution utilizes materials you already own, making the ROI (Return on Investment) immediate.
Required Gear
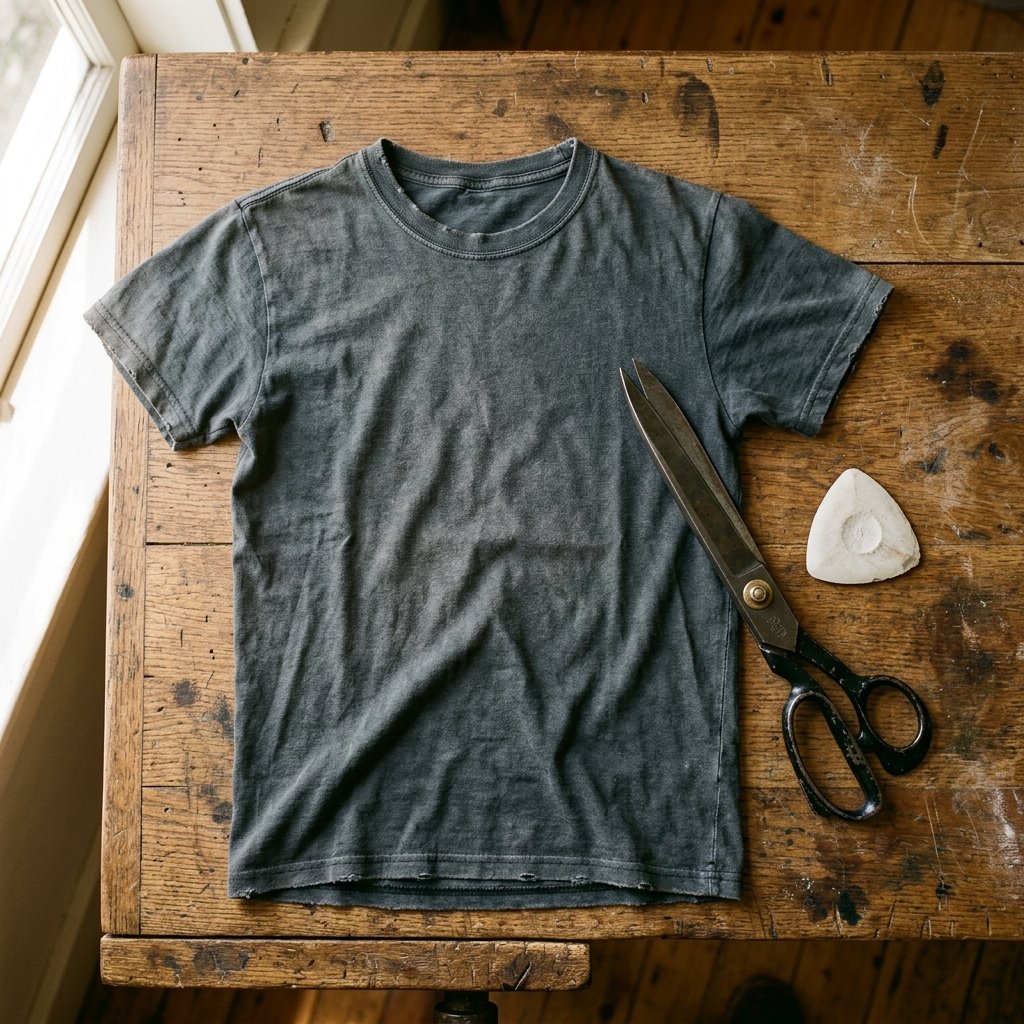
- One Old T-Shirt: 100% cotton works best for durability. Heavyweight ‘streetwear’ style tees are ideal for heavy groceries.
- Fabric Shears: A sharp pair of scissors is non-negotiable. Dull blades will chew the fabric and leave jagged edges.
- Marking Tool: Use tailor’s chalk, a washable marker, or even a sliver of dry soap to outline your cuts.
- Measuring Tape or Ruler: To ensure your fringe is consistent for a level bottom.
| Item | Store-Bought Canvas Bag | DIY Upcycled T-Shirt Bag |
|---|---|---|
| Initial Cost | $5.00 – $15.00 | $0.00 |
| Washability | Often shrinks/warps | 100% Machine Washable |
| Durability | Standard seams can pop | Reinforced knot-base construction |
| Customization | Generic logos | Fully unique and personal |
| Time to Make | N/A (Travel time to store) | 10 – 15 minutes |
Budget Mantra: The most sustainable and cheapest item is the one you already own. Don’t buy new; build better.
Step-by-Step Engineering: The No-Sew Transformation
Follow these steps with precision. We are going to modify the architecture of the shirt to shift the weight-bearing load from the shoulders to a reinforced knotted base.
1. The De-Sleeving Process
Lay your shirt flat on a hard surface. Smooth out all wrinkles. Cut off the sleeves, following the seam slightly on the inside (towards the body of the shirt). This creates the handles. Pro Tip: Cut both sleeves at once by folding the shirt in half vertically to ensure perfect symmetry.
2. The Neckline Expansion
The original neckline is too small for a bag opening. Cut a deep ‘U’ or ‘V’ shape around the neck. The deeper you cut, the longer your handles will be, but be careful not to go too low, or items might fall out. Aim for a depth of 3 to 5 inches below the original collar.
3. Preparing the Base Fringe
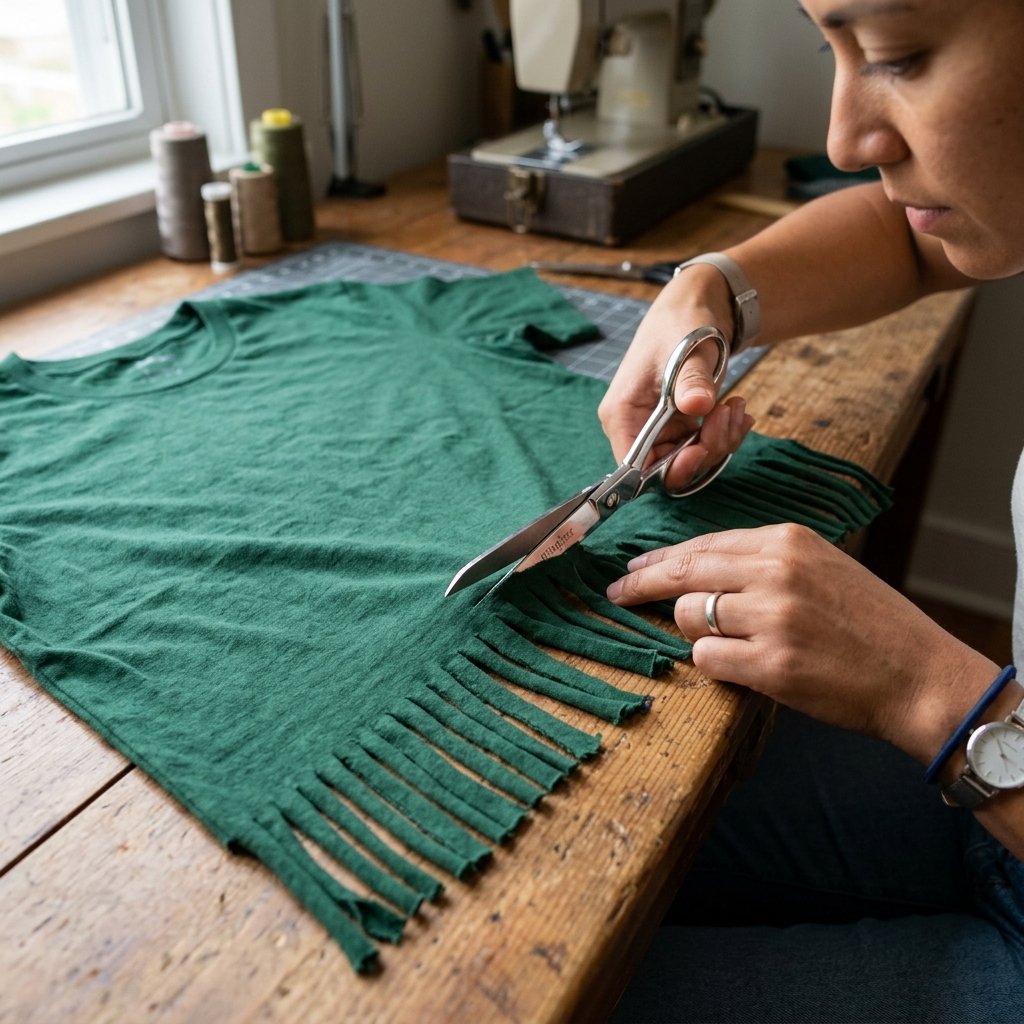
Turn the shirt inside out. This is crucial if you want the ‘fringe’ to be hidden inside the bag for a cleaner look. If you prefer a ‘Boho’ or rugged fringe look on the outside, keep it right-side out. Determine how deep you want the bag to be and draw a horizontal line across the bottom. Cut vertical slits from the bottom hem up to that line, spaced about 1 inch apart.
4. The Strategic Knotting
This is where the magic happens. Tie the front fringe piece to the corresponding back fringe piece using a double knot. Work your way from left to right.
Knotting Formula: (Front Strip A + Back Strip A) x 2 Knots = Secure Base. For extra security, tie a second row of knots using one strand from one pair and one strand from the adjacent pair to close any small gaps.
Stress-Testing and Load Management
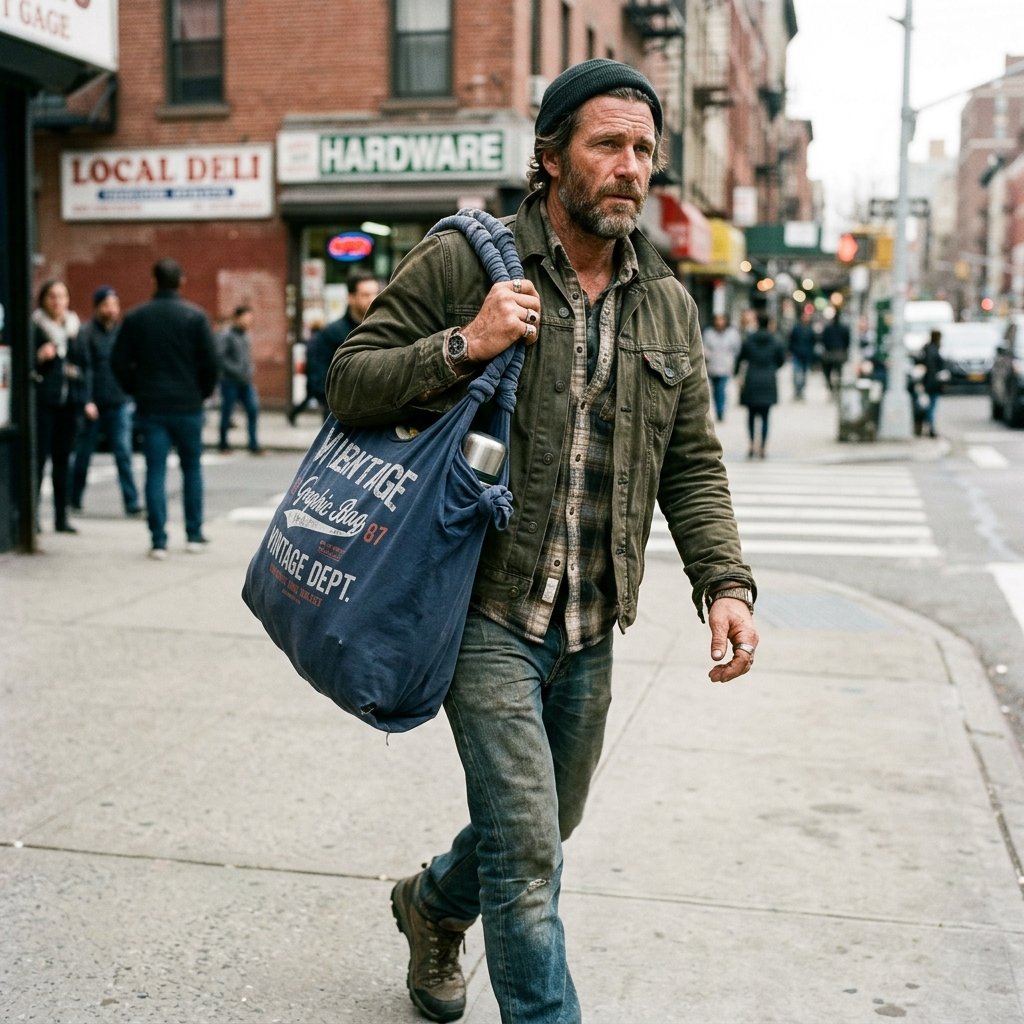
A bag is only as good as its weakest point. In a no-sew T-shirt bag, the weak point is usually the handles if the fabric is too thin. For those planning to carry ‘heavy metal’ (canned goods, cast iron pans, or a gallon of milk), reinforcement is key.
Testing Your Build
Once your knots are tight, turn the bag right-side out (if you hid the knots). Give the handles a firm tug. Jersey fabric will roll inward when stretched—this is a feature, not a bug! It makes the handles more comfortable on your hands as they form a soft, rope-like grip. To test the capacity, start by adding 5 pounds of weight, then 10, then 20.
Fabric Compatibility Guide
| Fabric Type | Weight Capacity | Best Use Case |
|---|---|---|
| Thin Undershirt | 3-5 lbs | Produce, bread, herbs |
| Standard Graphic Tee | 10-15 lbs | General groceries, snacks |
| Heavyweight/Beefy Tee | 20-30 lbs | Canned goods, liquids, books |
| Synthetic Blend | Variable | Gym gear, wet towels (fast drying) |
If you find your handles are stretching too long, simply tie a small knot at the top of each handle to shorten the ‘drop’ of the bag.
Style Hacks: From Rags to Masculine-Elegant Totes
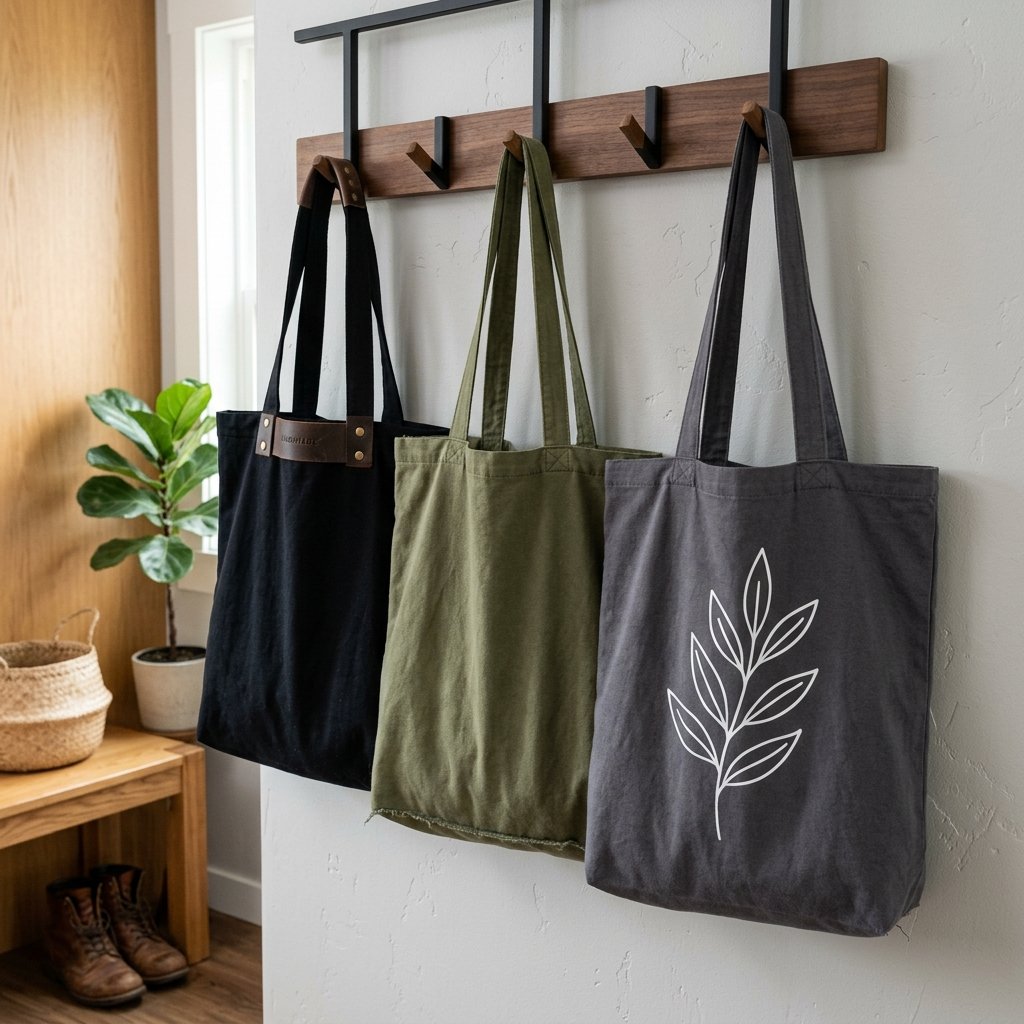
Just because it’s free doesn’t mean it has to look cheap. You can elevate the aesthetic of your upcycled bag with a few clever tricks. A monochromatic palette (blacks, greys, navy, olive) instantly makes the bag look more like a high-end ‘tote’ and less like a craft project.
Customization Techniques
- The Stencil Move: Use a piece of cardboard and some fabric paint (or even a Sharpie) to add a minimalist geometric design or your initials.
- The Dip-Dye: If you are using a white shirt that has pit stains, dip the bottom half in a navy or charcoal fabric dye. The ‘Ombre’ effect hides stains and looks intentional.
- The Handle Wrap: For a truly ‘rugged’ look, wrap the top of the handles in a small piece of scrap leather or paracord. This prevents stretching and adds a premium feel.
By choosing shirts with interesting textures—like a heathered tri-blend or a waffle knit—you add visual depth that rivals expensive boutique bags. Remember, the goal is to make people ask, ‘Where did you buy that?’ so you can proudly say, ‘I made it for zero dollars.’
Conclusion
The DIY T-shirt grocery bag is a masterclass in frugal living. It solves three problems at once: it clears out your closet, it saves you money at the register, and it reduces your reliance on single-use plastics. In less than 15 minutes, you’ve transformed a piece of ‘trash’ into a functional tool that can serve you for years. These bags are rugged enough for the hardware store, stylish enough for the farmer’s market, and practical enough for every parent’s trunk. So, before you toss that old concert tee or that faded work shirt, grab your scissors and start cutting. Your wallet—and the planet—will thank you.

Makenzie is the founder and lead writer at MoneyHackTips.com — a personal finance blog dedicated to delivering street-smart financial wisdom for real people on real budgets. With 300+ published articles covering everything from debt management to investing fundamentals, Makenzie’s mission is to make every dollar work harder. When not writing about money hacks, Makenzie is testing frugal living strategies, optimizing side hustles, and helping readers build financial freedom from scratch.