
The Rite of Passage: Mastering the Knot Without the Meltdown
Every parent knows the morning struggle: the frantic rush to get out the door, the stubborn velcro straps that are finally getting too small, and the inevitable realization that it is time for the Great Shoe Tying Milestone. While there are dozens of expensive wooden ‘practice shoes’ available at high-end toy boutiques, the most effective tool for this developmental leap isn’t something you buy—it is something you rescue from your recycling bin. As a resourceful DIYer, you know that the best solutions are often the ones that cost $0 and take less than 10 minutes to assemble.
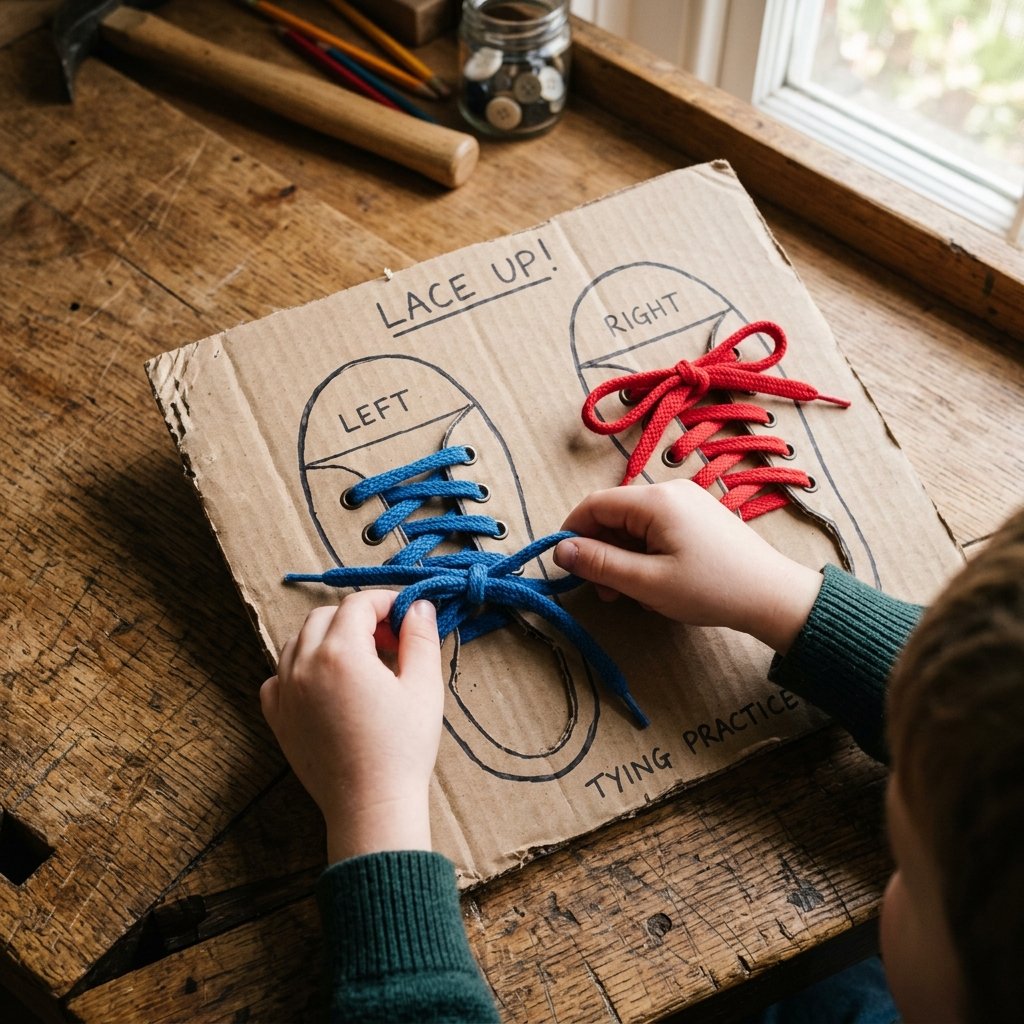
This DIY Cardboard Shoe Tying Board is more than just a piece of trash; it is a precision-engineered learning tool. By laying the ‘shoe’ flat on a table rather than on a moving foot, we remove the ergonomic frustration that causes most kids to give up. We are going to take a standard shipping box and transform it into a rugged, masculine-elegant training station that builds confidence, fine motor skills, and independence. Let’s dive into how you can save your sanity and your wallet with this clever upcycling project.
Why the Flat-Board Method Beats Traditional Practice
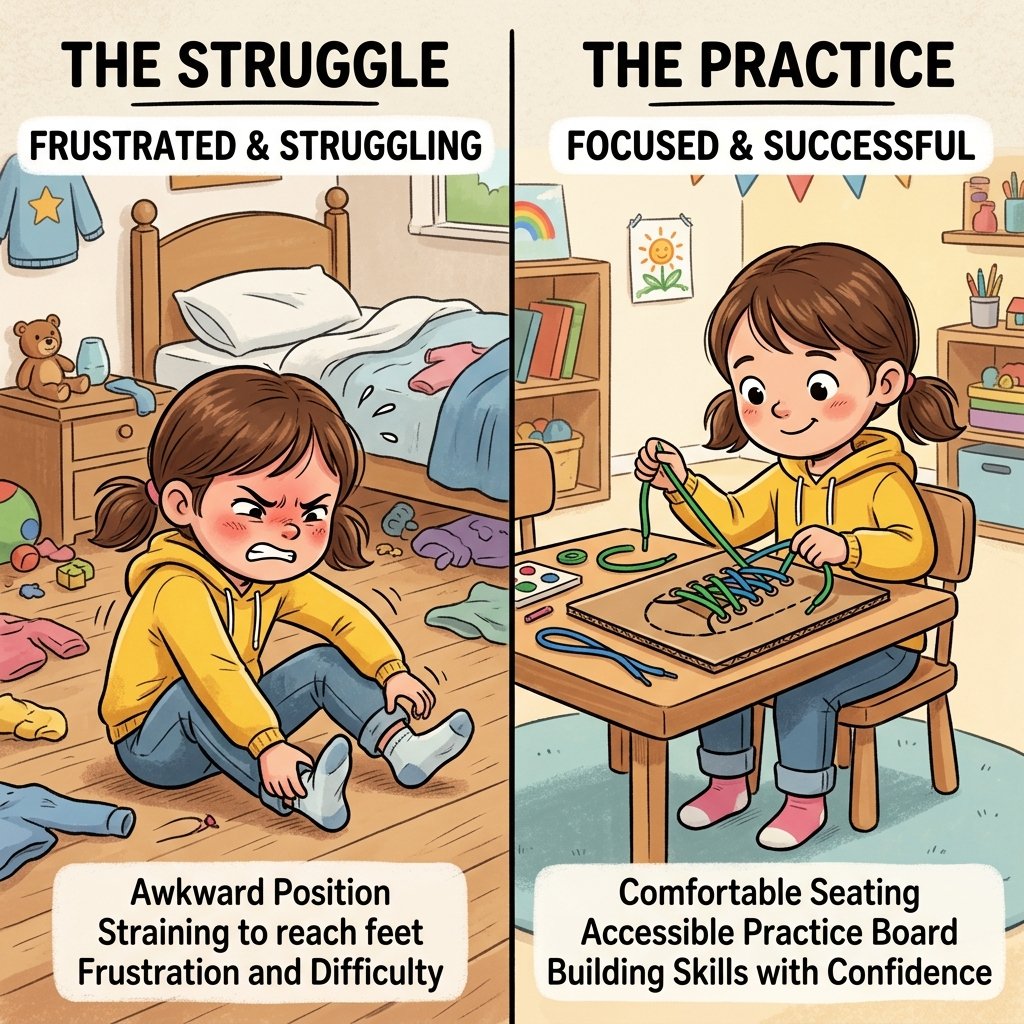
When a child attempts to tie their own shoe while wearing it, they are fighting against several physiological hurdles. They are leaning over, which restricts their breathing and sightlines; they are dealing with a foot that moves; and they are working at an awkward angle. The Cardboard Training Board solves all of these issues by providing a stable, 2D environment for 3D skill building.
The Science of Tactile Learning
- Visual Clarity: By using high-contrast laces against a plain cardboard background, the child can clearly see the ‘over-under’ patterns.
- Ergonomic Advantage: The board sits flat on a desk, allowing the child to use their full range of arm motion without straining their neck.
- Pressure-Free Environment: Practice happens during ‘quiet time,’ not during the 7:00 AM school rush.
Budget Guru Mantra: The best educational tools aren’t defined by their price tag, but by how effectively they bridge the gap between ‘I can’t’ and ‘I did.’
Materials Needed: The Zero-Budget Breakdown
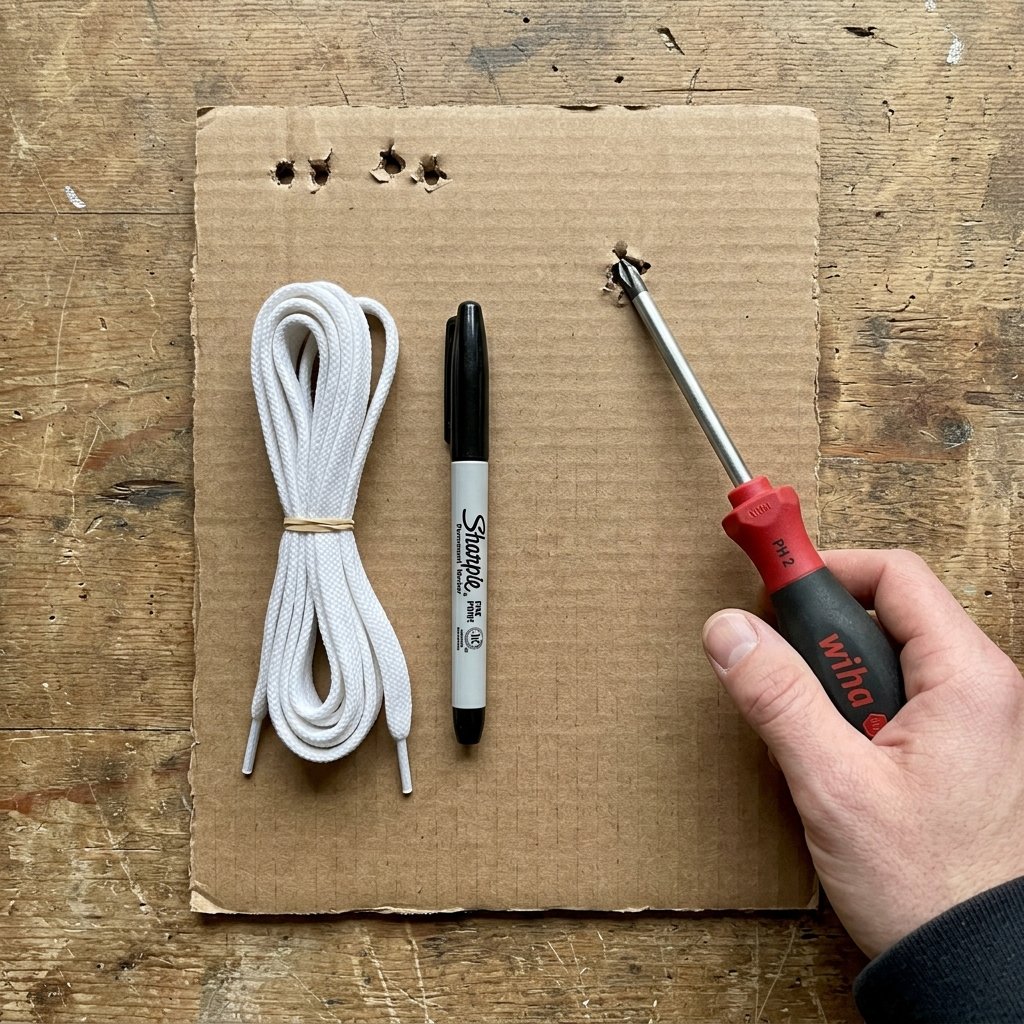
You don’t need a trip to the craft store for this one. In fact, if you’ve had a delivery recently, you already have 100% of the components. We are looking for high-density corrugated cardboard—think shipping boxes rather than thin cereal boxes—to ensure the board survives the ‘tugging’ phase of learning.
| Material | Source | Estimated Cost |
|---|---|---|
| Corrugated Cardboard | Amazon/Shipping Box | $0.00 |
| Old Shoelaces | Retired Sneakers | $0.00 |
| Marker/Sharpie | Junk Drawer | $0.00 |
| Hole Punch/Screwdriver | Toolbox | $0.00 |
| Total Investment | The Recycling Bin | $0.00 |
Pro-Tip for Rugged Durability
If you want this board to last through multiple siblings, consider double-layering your cardboard. Glue two sheets together with the grain running in opposite directions. This creates a plywood-like strength that won’t bend when your little one pulls those laces tight for the perfect ‘double knot.’
Step-by-Step Construction: Building the Trainer
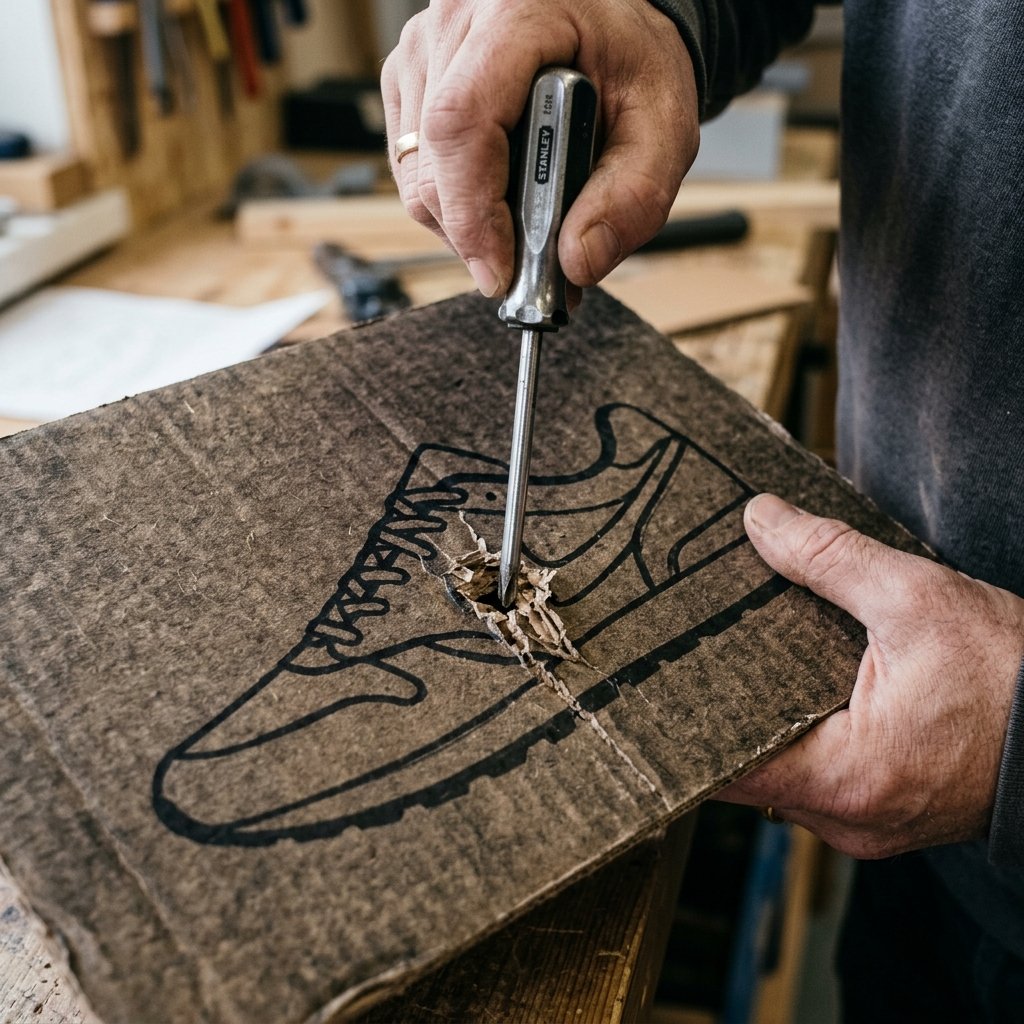
Crafting the Foundation
Follow these steps to create a trainer that looks as good as it functions. We’re going for a clean, minimalist aesthetic that wouldn’t look out of place in a boutique Montessori classroom.
- The Cut: Cut a rectangle of cardboard approximately 10 inches by 12 inches. Use a utility knife for clean, straight edges.
- The Template: Place one of your child’s shoes in the center of the board. Trace the outline with a heavy marker. For a more ‘elegant’ look, use a stencil or freehand a classic sneaker silhouette.
- The Eyelets: Mark 4 to 6 dots where the lace holes should go. Space them about 1 inch apart.
- The Punch: Use a screwdriver or a heavy-duty hole punch to create the holes. Note: Make the holes slightly smaller than the plastic tip (aglet) of the shoelace for a snug fit.
- The Threading: Start from the bottom and lace the board exactly like a real shoe.
Safety Note: When using a utility knife or a sharp screwdriver to punch holes, always work on a self-healing mat or a scrap piece of wood to protect your surfaces. Keep fingers clear of the exit path of the tool.
The Master Class: Teaching the Two Most Effective Methods
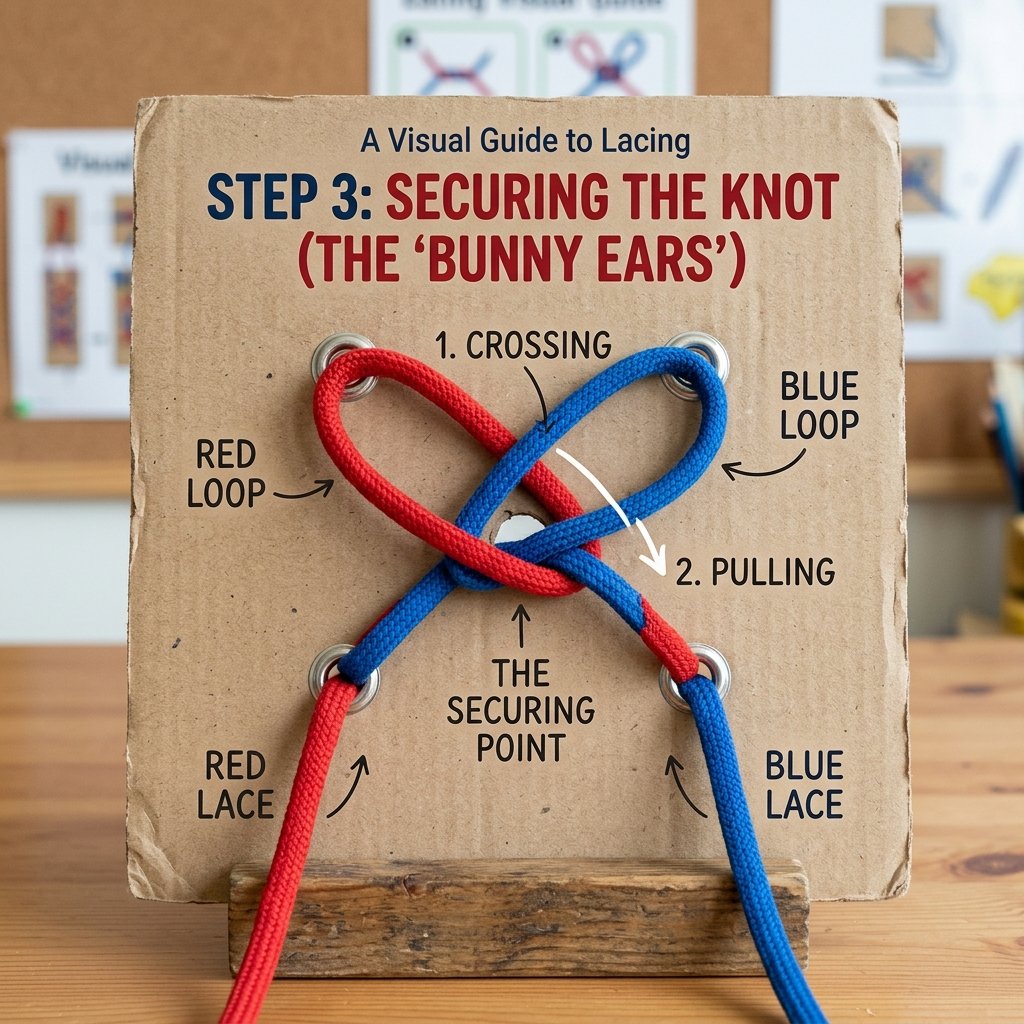
Now that the board is built, it’s time for the ‘Clever Teacher’ phase. There are two primary ways to teach shoe tying, and this board accommodates both perfectly. Use two different colored laces (or color one half of a white lace with a marker) to help the child distinguish between the ‘left’ and ‘right’ sides of the knot.
Method A: The ‘Bunny Ears’ (Beginner)
- Make two loops (the ears).
- Cross the ears to make an ‘X’.
- Tuck one ear under the ‘bridge’ and pull tight.
Method B: The ‘Loop-de-Loop’ (Advanced)
- Make a single knot (the base).
- Create one loop.
- Wrap the other lace around the ‘tree’ and through the ‘cave.’
| Method | Complexity | Best For |
|---|---|---|
| Bunny Ears | Low | Toddlers (3-4) |
| Loop-de-Loop | Medium | School-Age (5+) |
| Double Knot | High | Sports/Active Play |
Customization: Making it ‘Masculine-Elegant’ and Fun
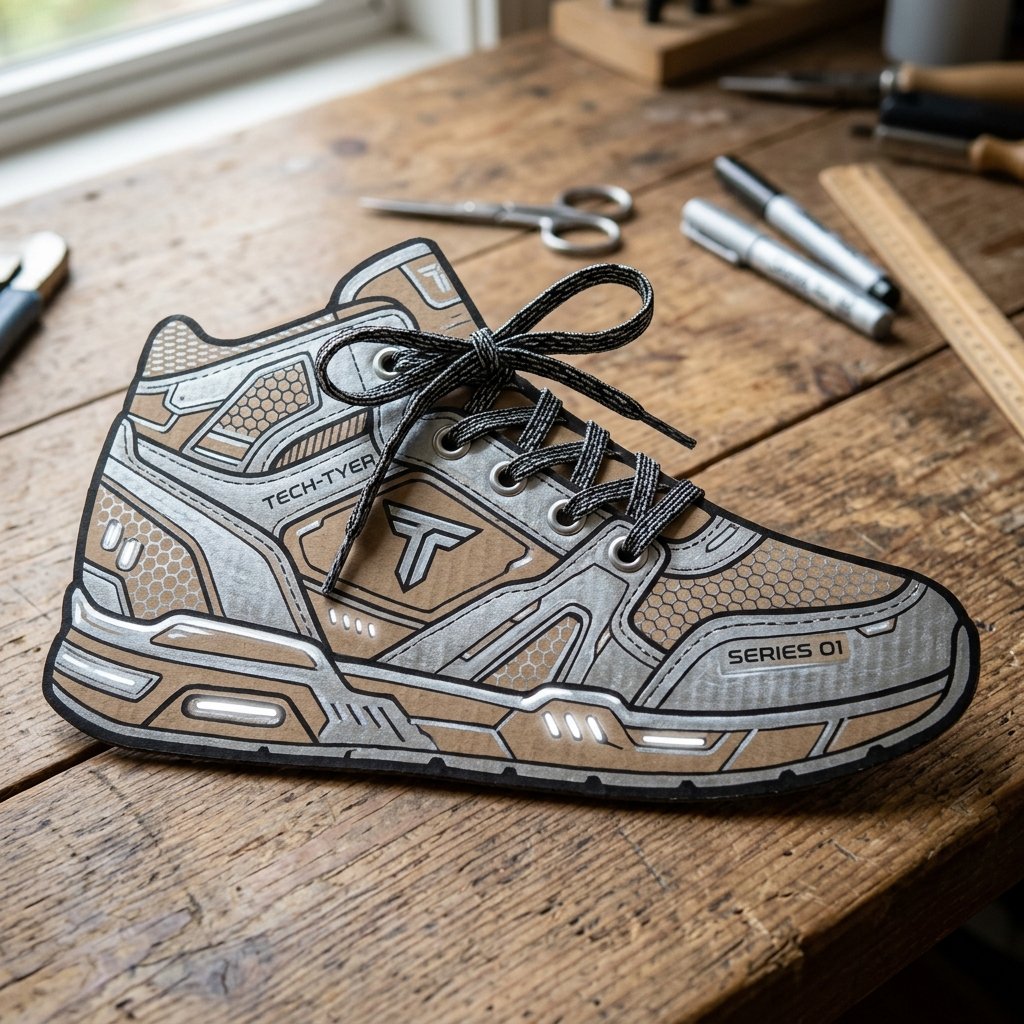
Just because it’s cardboard doesn’t mean it has to look like trash. A few crafty touches can turn this into a gift-worthy item or a ‘cool’ tool that a child is proud to use. As a budget-savvy DIYer, you know that presentation matters.
Styling Options
- The ‘Leather’ Look: Use a brown marker to create faux-stitching around the edge of the shoe outline.
- The ‘High-Top’ Upgrade: Draw logos or ‘cool’ patterns on the side of the cardboard shoe to mimic their favorite brand of sneakers.
- The Grip Factor: If the board slides around on the table, glue four small circles of hot glue to the bottom corners. Once dry, they act as non-slip rubber feet.
By involving the child in the decoration process, you give them ownership of the project. A child who helped ‘design’ their training board is 10 times more likely to use it without being nagged.
Conclusion
The $0 Victory
Teaching a child to tie their shoes is one of those small but monumental parenting wins. It signals the end of a certain kind of dependency and the beginning of a new phase of ‘I can do it myself.’ By choosing to build this DIY Cardboard Shoe Tying Board, you’ve proven that you don’t need to spend $20 or $30 on a plastic toy that will eventually end up in a landfill. You’ve used your resourcefulness to create a custom, effective, and eco-friendly solution.
Keep the board in a visible spot, perhaps near the front door or at the kitchen table. Encourage 5 minutes of practice a day, and you’ll be amazed at how quickly those ‘bunny ears’ turn into perfectly tied bows. Remember: in the world of frugal DIY, the most valuable tool you have isn’t your wallet—it’s your creativity. Happy crafting, and happy tying!

Makenzie is the founder and lead writer at MoneyHackTips.com — a personal finance blog dedicated to delivering street-smart financial wisdom for real people on real budgets. With 300+ published articles covering everything from debt management to investing fundamentals, Makenzie’s mission is to make every dollar work harder. When not writing about money hacks, Makenzie is testing frugal living strategies, optimizing side hustles, and helping readers build financial freedom from scratch.