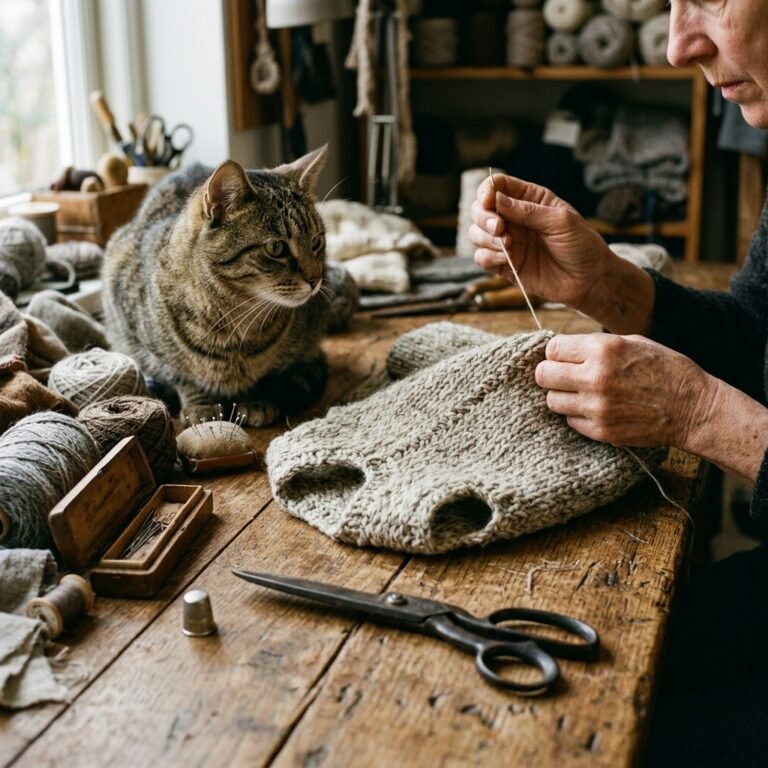
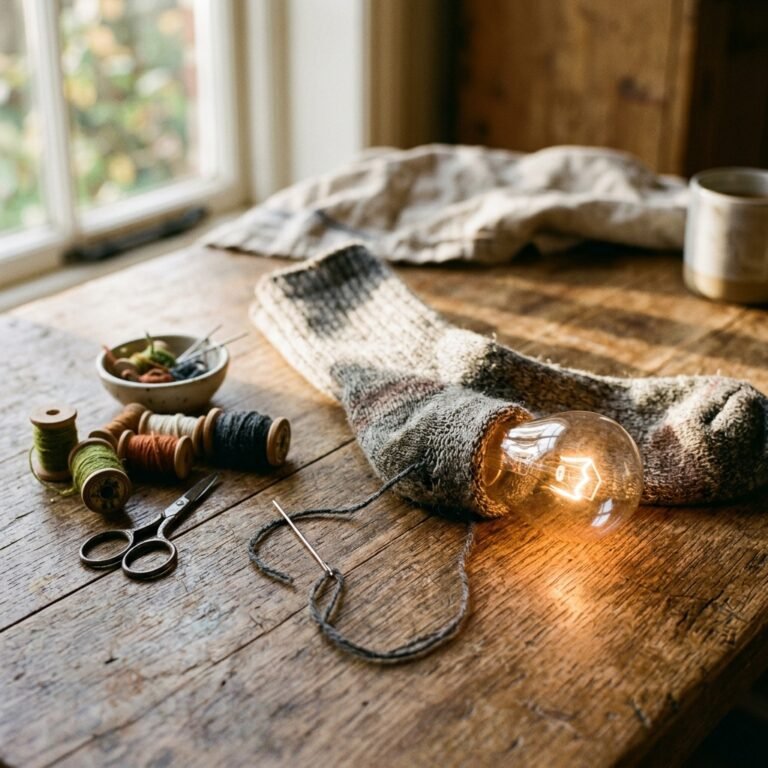
There is a specific kind of heartbreak that occurs when you pull your favorite wool sweater out of storage, only to find the elbows have worn thin or, worse, developed a gaping hole. But before you relegate that cashmere or heavy-knit cardigan to the rag bin, let’s talk about heritage-style restoration. Patching isn’t just about hiding a flaw; it’s about adding character. The “Professor Look” is a timeless aesthetic that screams masculine elegance and practicality. By adding a leather patch, you aren’t just fixing a garment; you are upgrading it into a bespoke piece that looks like it walked off a Ralph Lauren mood board.
In this guide, we are going to master the art of the leather elbow patch. We’ll cover how to source high-quality leather for pennies on the dollar, the exact needles you need to pierce through hide without breaking your tools, and the stitches that ensure your repair lasts another decade. Whether you are a handy parent saving your kid’s school sweater or a frugal crafter looking for that rugged edge, this is your masterclass in trash-to-treasure tailoring.
The Budget-Savvy Scavenger: Sourcing Leather for Less
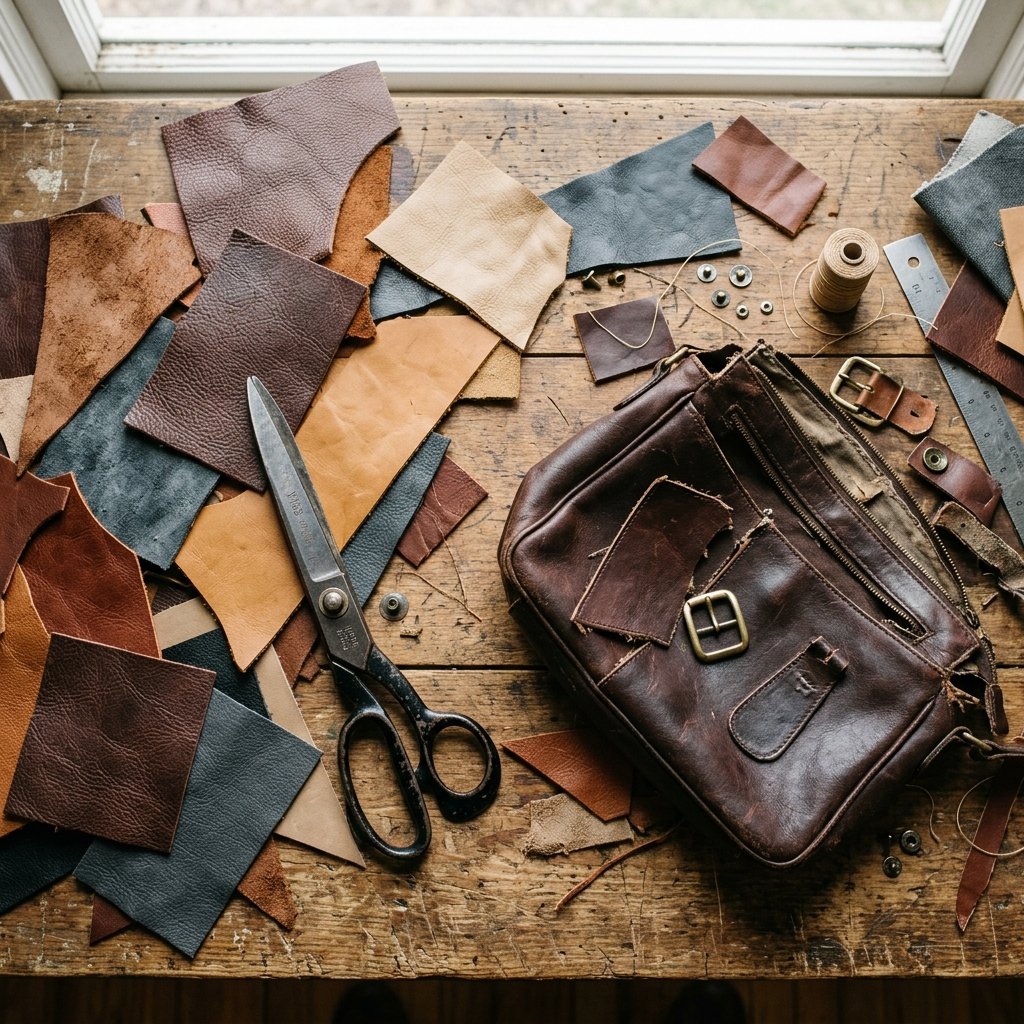
You don’t need to head to an expensive specialty leather shop to find the materials for this project. In fact, the best leather for elbow patches is often found in items that have already lived a full life. Look for supple, thin leathers that won’t weigh down the knit of your sweater. If the leather is too heavy, it will pull on the yarn and eventually create even larger holes around the perimeter of the patch.
Where to Find ‘Free’ or Cheap Leather
- Thrift Store Belts: Look for wide, soft leather belts. One belt can often provide enough material for two small patches.
- Old Handbags: A discarded leather tote with a broken zipper is a goldmine. You can cut large, clean sections of leather from the side panels.
- Sample Swatches: Furniture stores often discard leather upholstery swatches when a line is discontinued. These are perfectly sized for elbow patches.
- Leather Skirts/Pants: Check the clearance rack at your local charity shop. A single pair of out-of-style leather trousers can provide enough material to patch every sweater in your closet.
| Material Source | Estimated Cost | Pros |
|---|---|---|
| Thrifted Leather Bag | $3.00 – $7.00 | Massive amount of material; various textures. |
| Upholstery Scraps | $0.00 (Free) | Zero waste; heavy-duty and durable. |
| Pre-Cut Craft Strips | $12.00 – $18.00 | Convenient but more expensive. |
| Discarded Leather Jacket | $5.00 – $10.00 | Best for soft, thin garment-grade leather. |
“The goal is to find leather that is roughly the same weight as your sweater. If you can’t easily bend the leather with your fingers, it’s too thick for a knit garment.”
The Essential Toolkit for Rugged Mending
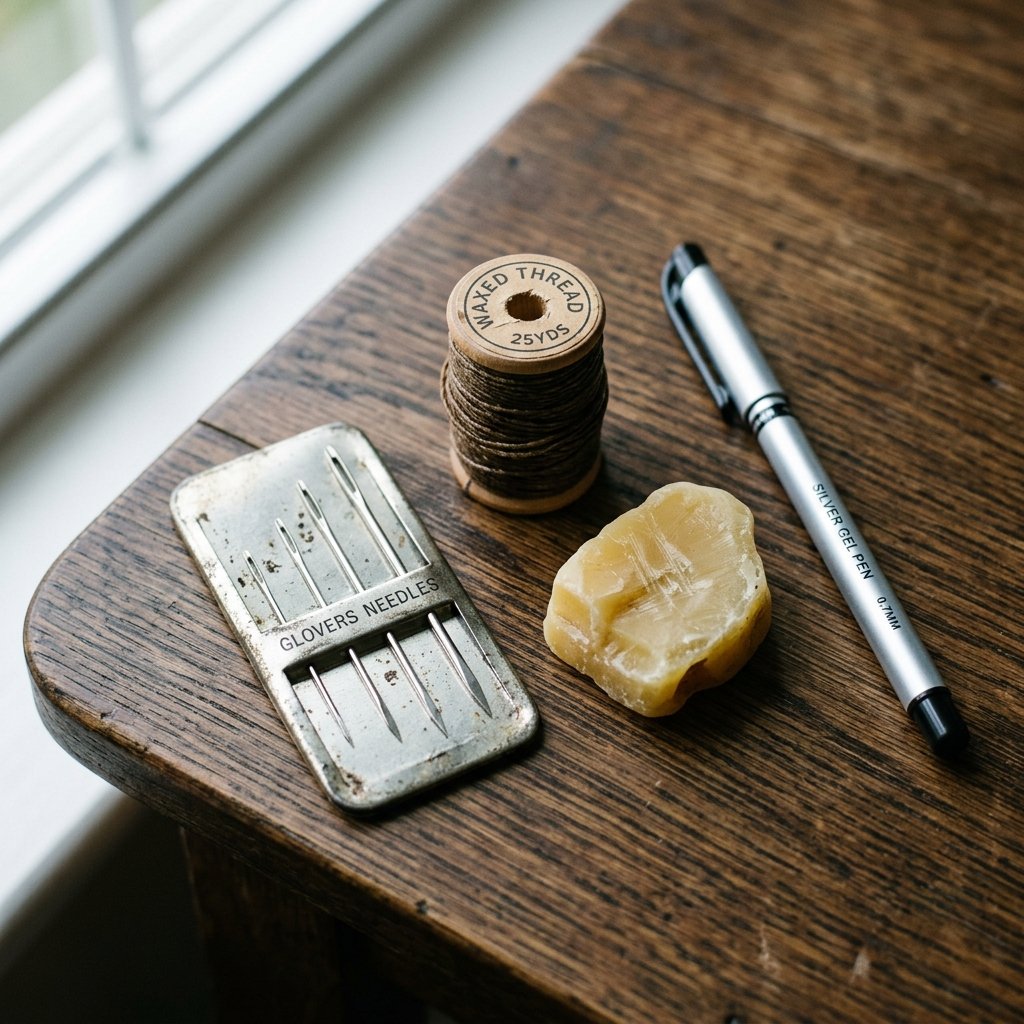
When you are working with leather and knits, your standard sewing kit might need a few reinforcements. You aren’t just sewing through fabric; you are navigating the structural integrity of wool and the density of animal hide. Here is what you need to gather on your workbench before you start.
Tools You’ll Need
- Leather Needles (Glovers Needles): These have a triangular point designed to cut through leather as they pass through, preventing the leather from tearing.
- Waxed Thread or Embroidery Floss: For a masculine-elegant look, use a thicker thread. Waxed polyester or heavy-duty nylon is best for longevity.
- A Thimble: Do not skip this. Pushing a needle through leather requires force, and your fingertips will thank you.
- Tailor’s Chalk or a Silver Gel Pen: To mark your cutting lines on the back of the leather.
- Rotary Cutter or Sharp Shears: To ensure your ovals are crisp and professional.
| Tool | Purpose | Budget Tip |
|---|---|---|
| Glovers Needle | Piercing leather easily | Buy a multi-pack for $2.00. |
| Waxed Thread | Heavy-duty durability | Run regular thread over a piece of beeswax. |
| Cardboard Template | Symmetry | Cereal boxes make the best templates. |
| Awl or Leather Punch | Pre-making holes | Use a large nail and a hammer if you’re in a pinch. |
Step-by-Step: Crafting the Perfect Oval Patch
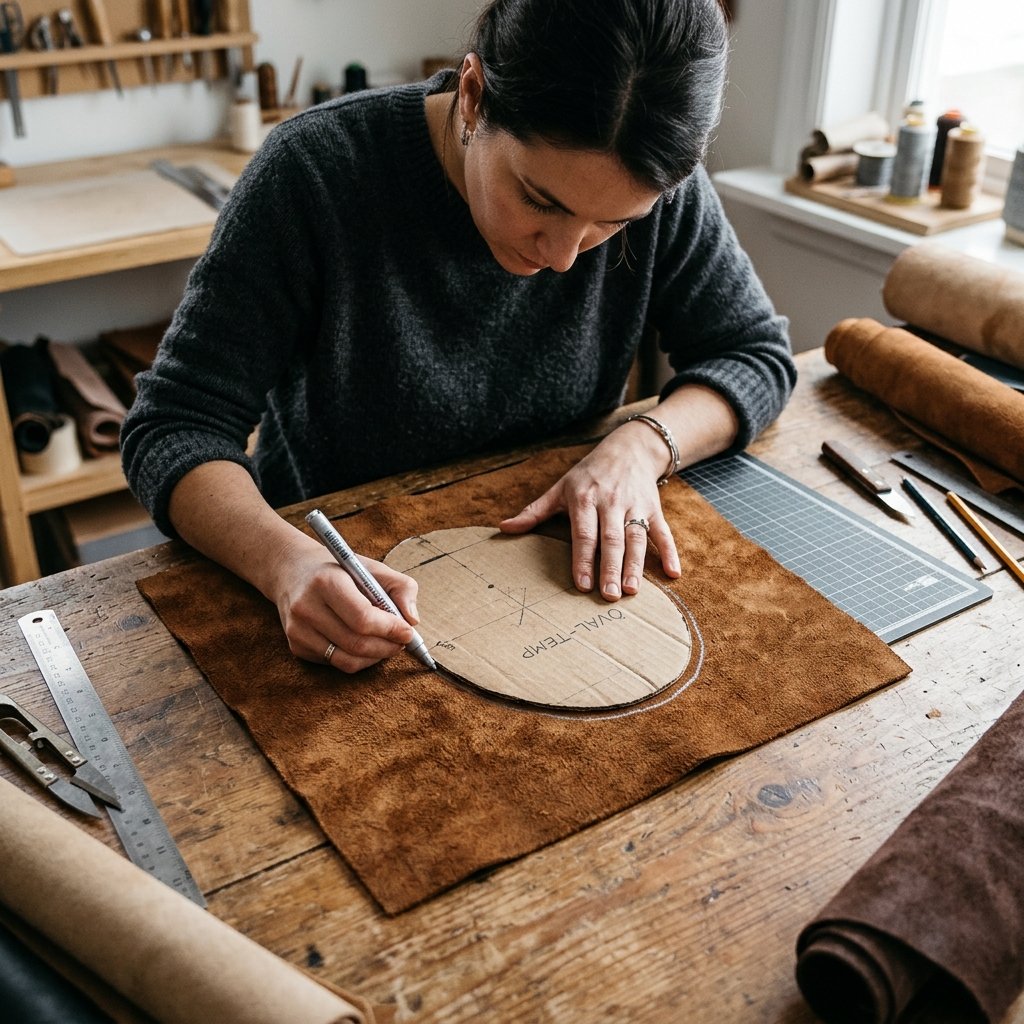
Symmetry is the difference between a “home-made” look and a “hand-crafted” look. Follow these steps to ensure your patches look identical and professional.
- Create a Template: Fold a piece of cardstock in half. Draw half an oval (usually about 4 inches wide by 5.5 inches tall for adults). Cut it out and unfold. This ensures your oval is perfectly symmetrical.
- Trace and Cut: Place your template on the back (suede side) of the leather. Trace with your silver pen or chalk. Cut slowly using sharp shears. Pro Tip: Cut two at once if your leather is thin enough to ensure they are identical.
- The Secret Step – Pre-Punching: If you aren’t using a glovers needle, or if your leather is thick, use an awl or a small leather punch to create holes every 1/4 inch around the perimeter. This makes the actual sewing process 100% easier.
- Positioning: Put the sweater on. Have a friend mark the exact point of your elbow with a piece of tape or chalk. Remove the sweater and center the patch over that mark.
“Measure twice, cut once, and always align the patch while the arm is slightly bent to ensure it covers the area that actually takes the most friction.”
The Master Stitch: Securing the Patch with Style
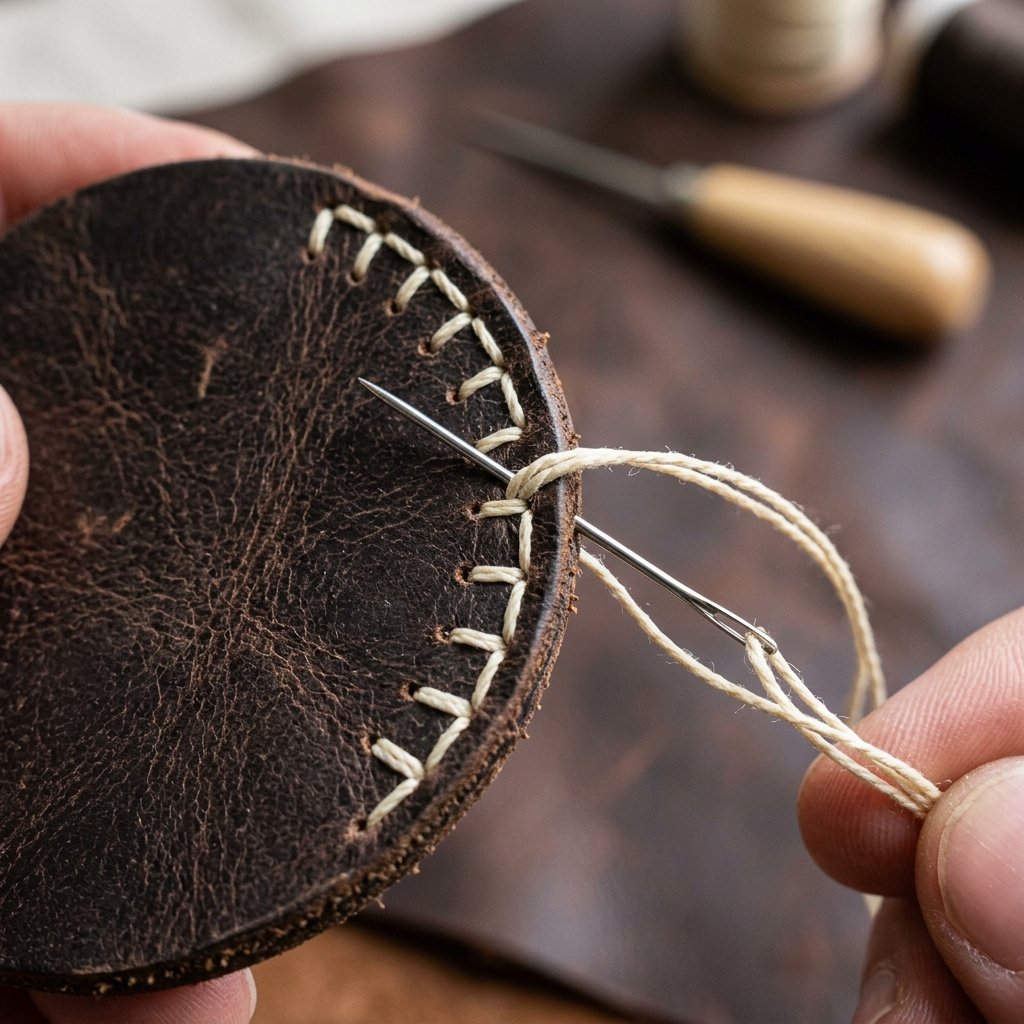
Now for the main event. There are several stitches you can use, but for a rugged, heritage look, the Blanket Stitch or a simple Whip Stitch are the gold standards. These stitches protect the edges of the leather and provide a decorative frame.
The Blanket Stitch Method
The blanket stitch is favored because it creates a beautiful “ladder” effect along the edge of the leather. It’s incredibly secure and looks very high-end.
- Start from the inside: Knot your thread and bring the needle up through the sweater and the leather about 1/8 inch from the edge.
- The Loop: Poke the needle back down through the leather and sweater a short distance away. Before pulling the thread tight, pass your needle through the loop of thread.
- Consistency: Keep your stitches evenly spaced. This is where the crafty-expert look comes from. Aim for 1/4 inch spacing.
The Whip Stitch Method
If you want a more minimalist look, the whip stitch is faster. You simply wrap the thread over the edge of the leather and back up through the sweater. It’s practical, fast, and very budget-savvy for quick repairs.
| Stitch Type | Difficulty | Visual Style |
|---|---|---|
| Blanket Stitch | Intermediate | Decorative, framed, heritage. |
| Whip Stitch | Easy | Minimalist, clean, utilitarian. |
| Running Stitch | Easy | Internal (if patch is applied from inside). |
“Safety Note: When sewing through heavy knits, be careful not to catch the opposite side of the sleeve. Insert a small piece of cardboard inside the sleeve to act as a barrier.”
Troubleshooting & Fabric Compatibility Guide

Not all sweaters are created equal. A chunky cable-knit requires a different approach than a fine-gauge merino wool. Use the table below to determine the best approach for your specific garment.
| Fabric Type | Patch Material Recommendation | Thread Choice |
|---|---|---|
| Chunky Wool/Cable Knit | Medium-weight Suede | Waxed Cotton or Wool Yarn |
| Fine Merino/Cashmere | Ultra-thin Lambskin | Silk Thread or Single Strand Embroidery Floss |
| Cotton Sweatshirt | Synthetic Leather or Denim | All-purpose Polyester Thread |
| Synthetic Blends | Lightweight Pigskin | Nylon Thread |
Pro Tips for Success
- Stabilize the Hole: If the hole in the sweater is unraveling, use a matching thread to do a quick “running stitch” around the hole to stop the loops from dropping further before you cover it with the patch.
- Avoid Tension: Do not pull your stitches too tight. Knits need to stretch. If your stitches are too tight, the sweater will pucker around the patch, looking messy and feeling uncomfortable.
- Wash with Care: Once you add leather patches, you can no longer toss the sweater in the machine. Hand wash only and avoid soaking the leather for long periods. Condition the leather with a tiny bit of mink oil after it dries to keep it supple.
Conclusion
Repairing a sweater with a leather patch is more than a simple fix; it’s a statement of resourcefulness and style. In a world of fast fashion where clothes are often treated as disposable, taking the time to mend a garment by hand is a radical act of budget-savvy wisdom. You’ve saved a favorite piece from the landfill, saved $50-$100 on a replacement, and created something uniquely yours.
Now that you’ve mastered the elbow patch, look around your wardrobe. Those old jeans? They might need some Sashiko mending. That worn-out coat? Maybe it’s time for some custom leather trim. The skills you’ve practiced here—sourcing materials, templating, and hand-stitching—are the foundation of a lifetime of creative upcycling. Wear your patched sweater with pride; you look like a million bucks, and it only cost you a few scraps and a little bit of time.

Makenzie is the founder and lead writer at MoneyHackTips.com — a personal finance blog dedicated to delivering street-smart financial wisdom for real people on real budgets. With 300+ published articles covering everything from debt management to investing fundamentals, Makenzie’s mission is to make every dollar work harder. When not writing about money hacks, Makenzie is testing frugal living strategies, optimizing side hustles, and helping readers build financial freedom from scratch.