
In an era dominated by disposable fast fashion, there is something profoundly rebellious—and incredibly satisfying—about fixing what is broken. We have all been there: you pull on your favorite, most comfortable pair of heavy-duty wool hiking socks or those plush cashmere dress socks, only to feel the dreaded draft of a hole in the heel or toe. For many, this signals a trip to the trash bin and another $20 spent at the store. But for the frugal DIYer, the handy upcycler, and the budget-savvy crafter, a hole is not an end; it is an opportunity.
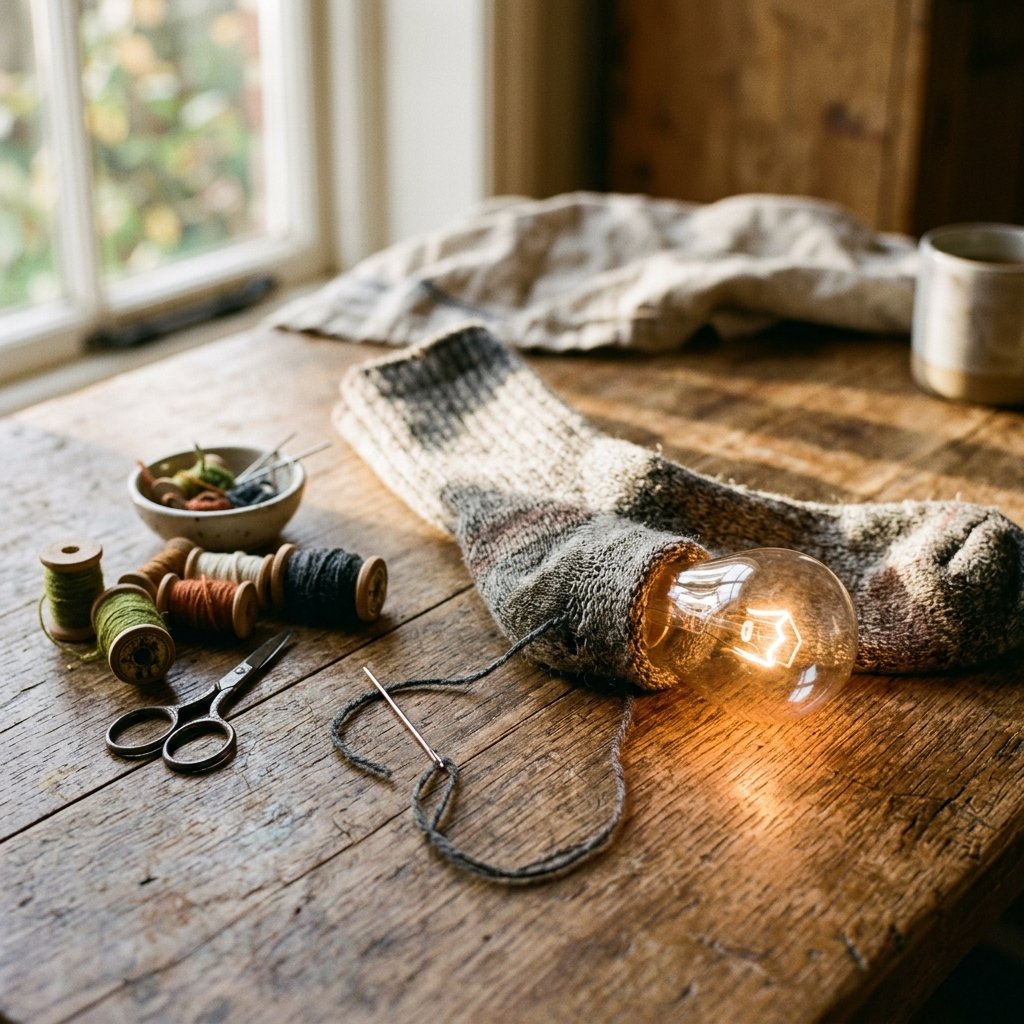
Welcome to the rugged, practical, and highly rewarding world of darning. Long before the invention of cheap synthetic blends, our grandmothers and great-grandfathers relied on a brilliant, resourceful trick to keep their gear in top shape: using a standard household lightbulb as a darning mushroom. This vintage hack provides the perfect tension, a smooth surface, and a brilliant way to upcycle an item you already have in your junk drawer. By mastering this simple, 100% free technique, you can extend the life of your wardrobe, save hundreds of dollars a year, and wear your visible mending as a badge of crafty honor.
Resurrecting the Lost Art of Rugged Mending
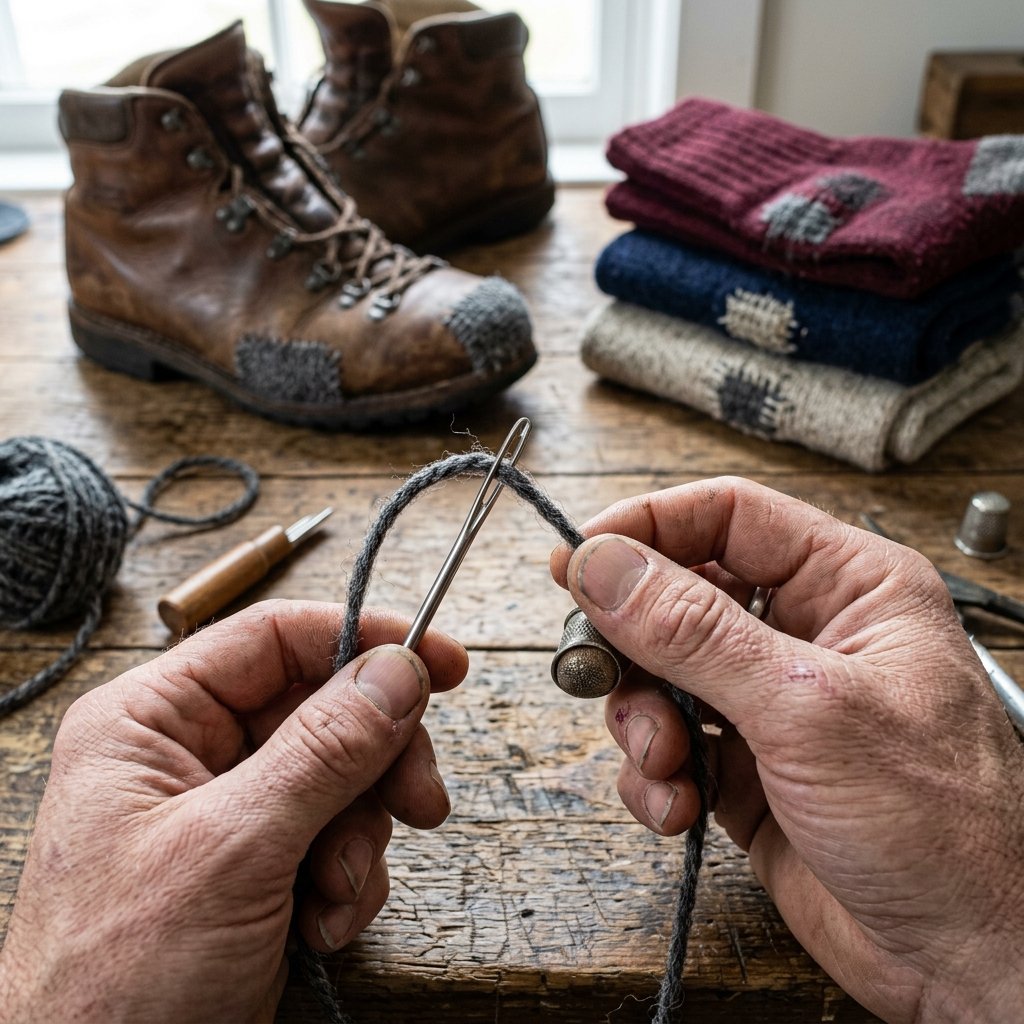
There is a distinct, masculine elegance in maintaining one’s gear. Whether it is oiling a leather work boot, sharpening a pocket knife, or mending a favorite garment, taking care of what you own is the ultimate sign of resourcefulness. Hand-sewing and darning are often misunderstood as delicate tasks, but in reality, they are structural engineering on a micro-scale. When you darn a sock, you are literally weaving a new piece of fabric directly into the existing matrix of the garment.
The Financial and Environmental Impact
Let us talk numbers. A high-quality pair of merino wool socks can easily cost between $20 and $35. If you are an avid hiker, a tradesman on your feet all day, or just someone who appreciates warm feet in the winter, you might cycle through a dozen pairs. Throwing them away at the first sign of a blowout is a massive drain on your budget. By investing just 15 minutes into learning the lightbulb darning trick, you effectively reset the lifespan of that garment. Over a decade, this simple habit can keep hundreds of dollars in your pocket and keep textile waste out of our overflowing landfills.
“Mending is not just about saving money; it is a quiet rebellion against a throwaway culture. Every stitch is a testament to the value of the things we own and the labor it took to create them.”
The Frugal Mender’s Arsenal: Gathering Your Gear
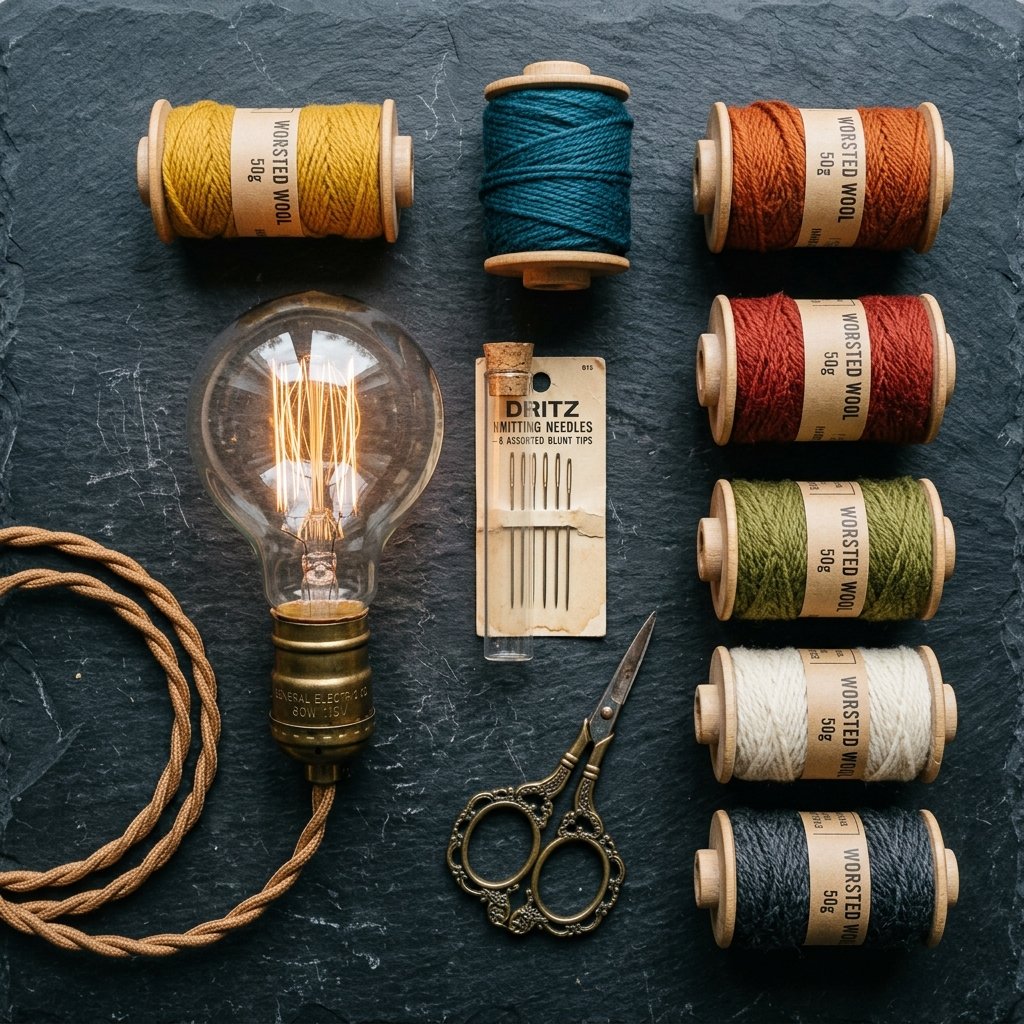
Before we dive into the mechanics of the weave, we need to assemble our toolkit. The beauty of this vintage grandma trick is that it requires almost zero financial investment. You likely have everything you need scattered around your home right now. The goal here is budget-savvy perfection.
Essential Tools for the Job
- The Lightbulb: An old, burnt-out incandescent lightbulb is the star of the show. Its smooth glass surface prevents the needle from catching, and its curvature perfectly mimics the human heel or toe.
- Darning Needle: Unlike sharp sewing needles, a darning needle has a blunt tip and a large eye. The blunt tip ensures you weave between the existing threads rather than piercing and weakening them.
- Darning Yarn or Thread: The golden rule of darning is to match the weight and fiber of your yarn to the sock. Using a bulky wool yarn on a thin dress sock will create an uncomfortable lump.
- Small Scissors: For snipping threads flush against the fabric.
To help you choose the right materials, here is a breakdown of fabric compatibility to ensure your mending is as rugged and durable as possible:
| Sock Material | Recommended Darning Yarn | Durability Rating | Estimated DIY Cost |
|---|---|---|---|
| Heavy Wool Hiking Socks | Worsted Wool Blend (with 20% Nylon) | 10+ Years | $0.50 per fix |
| Cotton Athletic Crew Socks | Mercerized Cotton Embroidery Floss | 3-5 Years | $0.25 per fix |
| Cashmere/Fine Dress Socks | Silk or Fine Wool Thread | 2-4 Years | $0.75 per fix |
| Synthetic Work Boot Socks | Polyester/Nylon Darning Thread | 5-7 Years | $0.20 per fix |
Safety Note: When using a glass lightbulb, ensure it is clean and free of cracks. Do not squeeze the glass tightly while working. If you are mending thick, heavy-duty fabrics that require forceful needle pushing, consider wrapping the base of the bulb in painter’s tape for extra grip and shatter protection.
The Illuminating Secret: Why Use a Lightbulb?
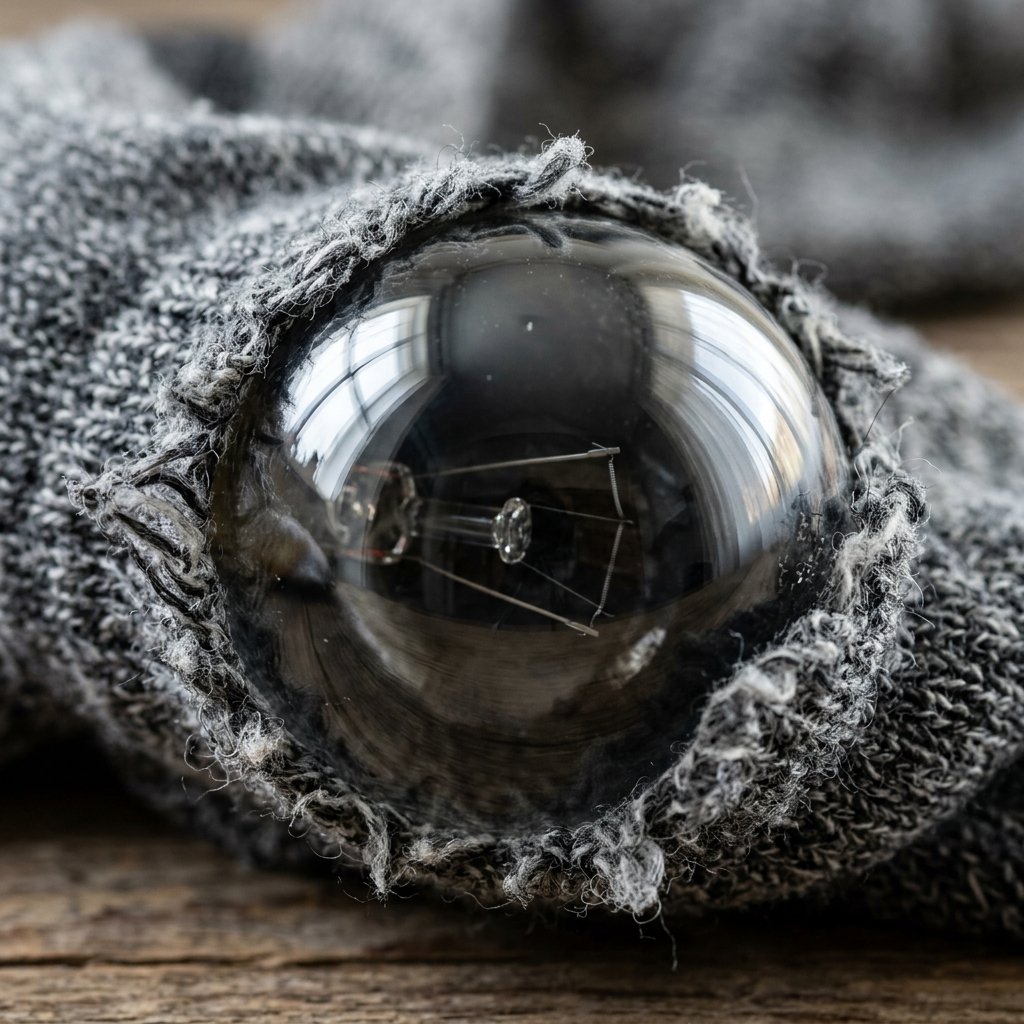
You might be wondering, why a lightbulb? Why not just stretch the sock over your hand or use a modern plastic tool? The answer lies in the ingenious practicality of our ancestors. A traditional wooden darning mushroom can cost upwards of $15 to $30 at a specialty craft store. A burnt-out lightbulb, on the other hand, is 100% free.
The Physics of the Perfect Stretch
When repairing a hole, the most critical factor is tension. If the fabric is too loose while you sew, the resulting patch will pucker and bunch up, creating a blister-inducing nightmare when you wear the sock. If the fabric is stretched too tightly, the patch will restrict the sock’s natural elasticity, causing it to tear at the edges of your repair the moment you put it on your foot.
The rounded, bulbous end of a standard lightbulb perfectly mimics the volume of a heel or a toe. The smooth glass allows the fabric to glide, ensuring even tension across the hole. Furthermore, the glass provides a hard, impenetrable backing. When you are weaving your needle back and forth, the blunt tip glides effortlessly over the glass, ensuring you never accidentally stitch the front and back of the sock together—a rookie mistake that has ruined many a mending project.
Step-by-Step: Executing the Perfect Woven Darn
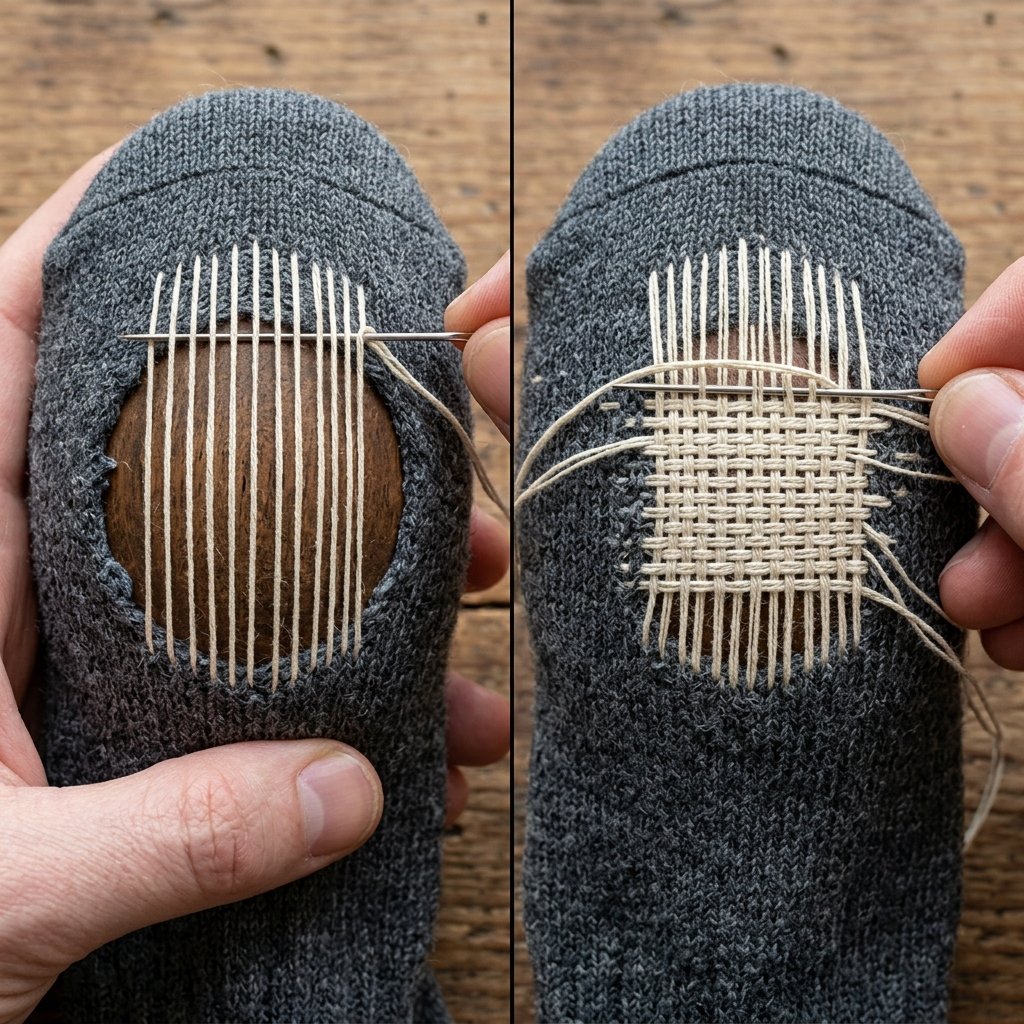
Now comes the deeply satisfying, crafty part. Darning is essentially miniature loom weaving done directly onto your garment. It requires no sewing machine, no electricity, and no prior tailoring experience. Grab a cup of coffee, sit by a well-lit window, and let’s get to work.
Phase 1: Preparation and the Warp
- Insert the Bulb: Slip the lightbulb into the sock, positioning the rounded glass directly beneath the hole. Gather the excess fabric around the metal base of the bulb and secure it with a rubber band or a hair tie. The fabric over the hole should be taut but not over-stretched.
- Clean the Edges: Using your small scissors, carefully snip away any loose, wispy, or severely degraded threads around the hole. You want a relatively clean perimeter to anchor your new stitches.
- Thread the Needle: Cut a piece of darning yarn about 18 inches long. Do not use a piece too long, or it will tangle. Thread your blunt darning needle. Do not tie a knot at the end. Knots cause blisters.
- Create the Warp (Vertical Threads): Starting about 1/4 inch outside the edge of the hole (in the healthy, strong fabric), make a small running stitch. Leave a 2-inch tail of yarn hanging loose. Stitch vertically across the hole to the healthy fabric on the opposite side. Continue going back and forth, creating a series of parallel vertical threads that completely cover the hole. These should be spaced about the width of a single thread apart.
Phase 2: Weaving the Weft
- Change Direction: Once your vertical warp threads are laid down, turn your work 90 degrees. You are now going to weave horizontally.
- The Weave: Starting in the healthy fabric beside the hole, run your needle over the first vertical thread, under the second, over the third, and so on. When you reach the other side, anchor the stitch into the healthy fabric.
- Return Trip: On the way back, alternate your pattern. If you went over a vertical thread on the last pass, go under it on this pass. Use the tip of your needle to gently push the horizontal threads closely together, creating a dense, solid patch of new fabric.
- Finishing: Once the entire hole is filled with this tight checkerboard weave, run your needle through the healthy fabric for a few stitches to secure it. Snip the yarn, leaving a short tail. The friction of the woven wool will lock the threads in place—no knots required!
“The secret to a blister-free darn is tension and patience. Let the needle do the work, glide over the glass, and watch as you literally weave new life into your favorite gear.”
Beyond the Basics: Swiss Darning and Visible Mending

Once you have mastered the classic woven darn over your trusty lightbulb, you can begin to explore the highly creative and aesthetic side of mending. For the frugal DIYer with a flair for design, mending doesn’t have to be invisible. In fact, “visible mending” has become a massive trend, celebrating the repair as a beautiful, rugged scar that tells the story of the garment.
Swiss Darning (Duplicate Stitch)
If the fabric of your sock is thinning but hasn’t completely blown out into a hole, Swiss darning is your best friend. This technique involves tracing the path of the existing knit stitches with a new, contrasting thread. It reinforces the weak area while maintaining 100% of the sock’s original stretch. Using the lightbulb as your backing, you simply follow the “V” shape of the knit, looping your needle through the exact same path as the original yarn. It is incredibly meditative and creates a reinforced, double-thick layer.
Sashiko-Inspired Patches
For larger blowouts on thicker work socks or even the knees of your rugged denim, you can combine the lightbulb trick with Sashiko stitching. This traditional Japanese mending technique uses simple, geometric running stitches to bind a patch to the weakened fabric. By using a bright, contrasting thread—like a bold orange thread on a charcoal gray wool sock—you turn a point of failure into a custom, high-end design feature. It takes a $0 budget and turns your standard workwear into a bespoke, artisan-crafted piece.
Long-Term Care: Maximizing Your Budget-Savvy Repairs
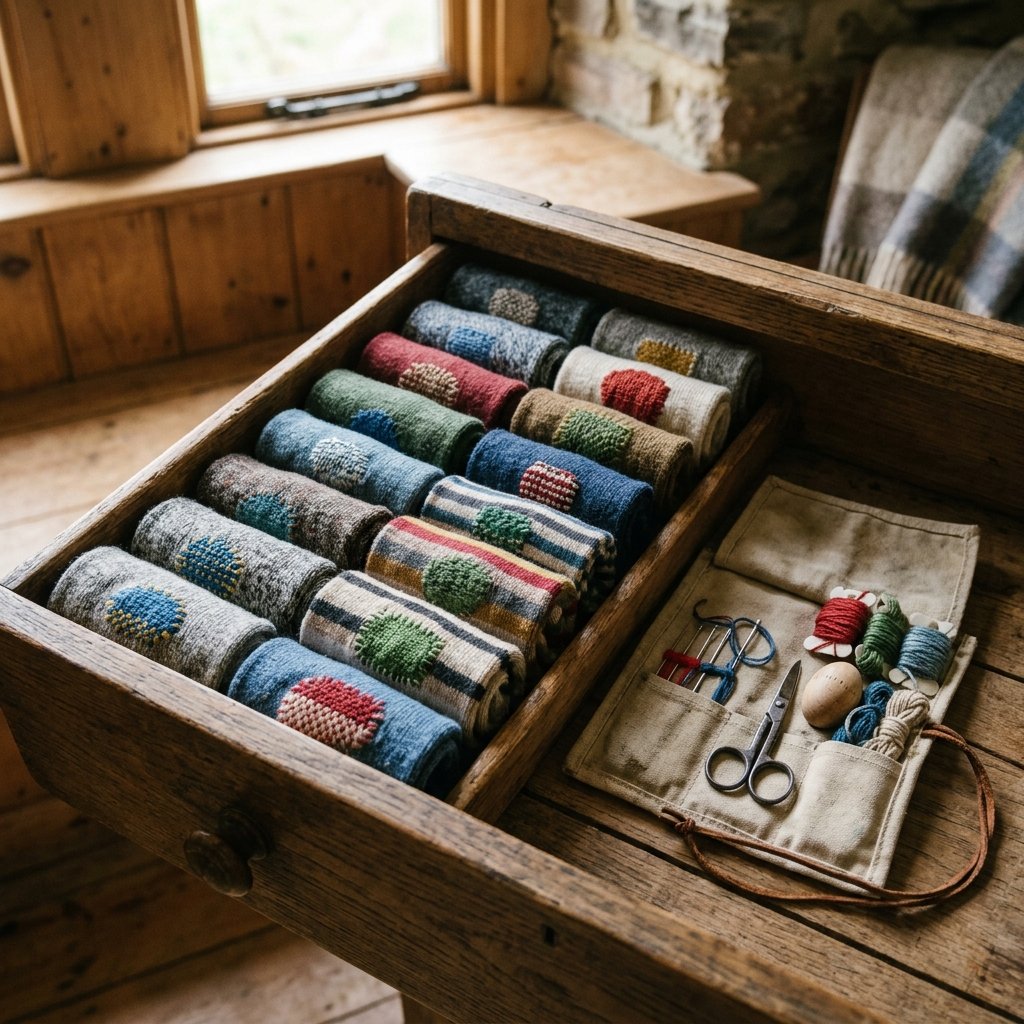
You have successfully executed the vintage grandma lightbulb trick. Your socks are mended, your wallet is heavier, and you have unlocked a new level of rugged self-reliance. But how do you ensure that your brilliant handiwork stands the test of time and miles on the trail?
Washing and Maintenance
Newly darned socks, especially those repaired with natural wool fibers, require a bit of respect. While the friction of wearing them will actually help felt and lock the woven threads together, aggressive machine washing can agitate the loose tails before they have fully settled. For the first wash after a repair, consider hand-washing your socks in cold water with a gentle detergent. If you must machine wash, turn the socks inside out and use a delicate cycle. Avoid high-heat dryers, as extreme heat can cause the new yarn to shrink at a different rate than the old sock, leading to puckering.
Preventative Mending
The ultimate frugal hack is fixing a hole before it even becomes a hole. Keep an eye on the high-wear areas of your socks—typically the heel, the ball of the foot, and the big toe. When you notice the fabric beginning to thin and the “webbing” of the knit becoming transparent, slip your lightbulb in and reinforce the area with a quick Swiss darn or a light woven patch. Reinforcing a thinning spot takes just 5 minutes, whereas rebuilding a massive blowout can take 20 minutes. Stay vigilant, keep your darning kit handy, and you will never have to throw away a perfectly good pair of socks again.
Conclusion
The vintage grandma lightbulb trick is more than just a clever clothing hack; it is a mindset. It is a commitment to resourcefulness, a nod to the practical skills of past generations, and a highly effective way to keep your hard-earned money in your wallet. By transforming a burnt-out piece of glass into a precision tailoring tool, you elevate yourself from a mere consumer to a frugal, crafty expert. So the next time you feel a draft on your heel, don’t toss that sock in the trash. Raid the recycling bin, thread your needle, and embrace the rugged, deeply satisfying art of the darn. Happy mending!

Makenzie is the founder and lead writer at MoneyHackTips.com — a personal finance blog dedicated to delivering street-smart financial wisdom for real people on real budgets. With 300+ published articles covering everything from debt management to investing fundamentals, Makenzie’s mission is to make every dollar work harder. When not writing about money hacks, Makenzie is testing frugal living strategies, optimizing side hustles, and helping readers build financial freedom from scratch.