
The Ultimate Trash-to-Treasure Garden Hack
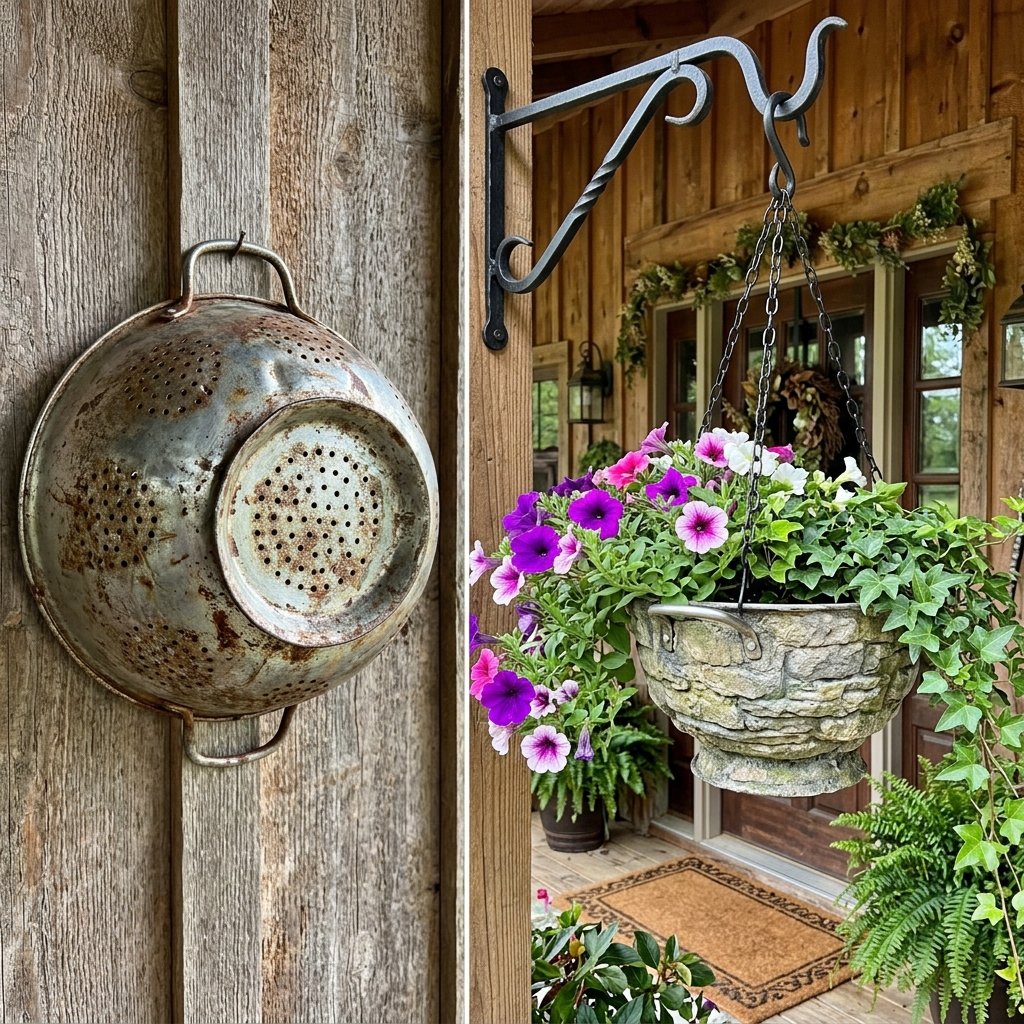
Before you toss that dinged-up, rusty metal colander into the recycling bin, or walk past the plastic kitchenware aisle at your local dollar store, stop right there. You are looking at the foundational architecture for one of the most rugged, durable, and breathtaking hanging planters you will ever craft. In the world of frugal upcycling, we do not see trash; we see raw potential waiting for a clever, budget-savvy transformation. High-end garden centers and boutique home decor shops are charging astronomical prices for faux-stone, rustic hanging baskets. We are talking upwards of $40 to $60 for something you can build in your garage for less than $5.
This is where practical craftsmanship meets masculine-elegant design. A colander, by its very design, is an engineering marvel for horticulture. It is pre-drilled with hundreds of drainage holes, ensuring your plant roots never suffer from rot, and it is structurally reinforced to hold heavy, wet pasta—meaning it will easily hold heavy, wet potting soil. Whether you are a handy parent looking for a weekend project, a frugal DIYer wanting to spruce up the front porch, or someone who appreciates a rugged, zero-waste lifestyle, this project is your golden ticket.
“True craftsmanship isn’t about buying the most expensive materials; it’s about seeing the hidden utility in the everyday objects around us and elevating them through sheer resourceful ingenuity.”
In this comprehensive masterclass, we are going to take you step-by-step through the process of prepping, painting, rigging, and planting a colander. We will employ a classic artisan trick—the baking soda paint technique—to give cheap plastic or rusted metal the heavy, textured, high-end look of aged concrete or terracotta. Roll up your sleeves, grab your painting supplies, and let us turn kitchen clutter into a botanical masterpiece.
The Frugal Genius Behind Colander Planters
Why Colanders Make the Ultimate Planters
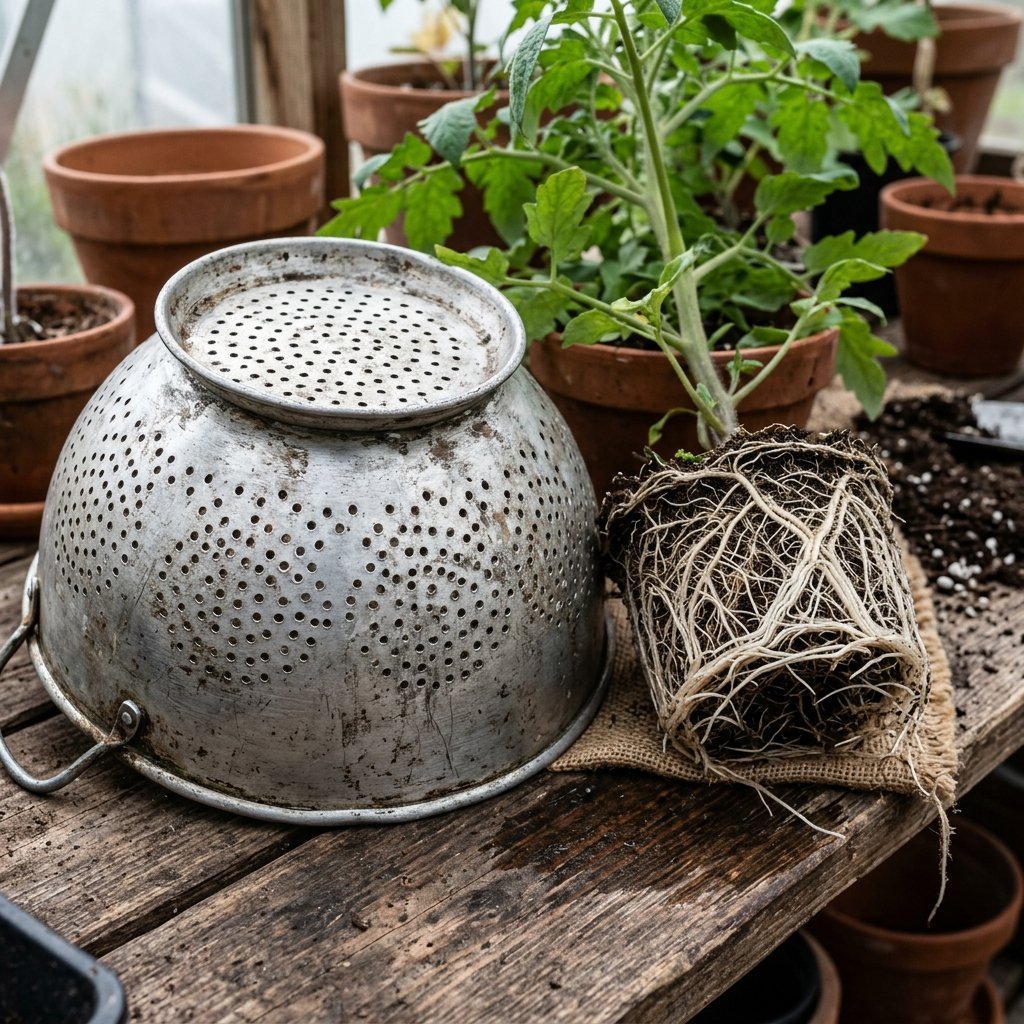
If you take a moment to analyze the anatomy of a standard kitchen colander, you will quickly realize it is practically begging to be a planter. Traditional store-bought planters often fail because they lack adequate drainage. Water pools at the bottom, creating a swampy environment that leads to root rot—the number one killer of porch plants. A colander eliminates this problem entirely. The perforated bowl allows for 360-degree aeration, mimicking the expensive air-pruning pots used by professional nurseries. This encourages a dense, fibrous root system rather than a root-bound, suffocating plant.
Comparing the Costs: Store-Bought vs. Upcycled DIY
Let us look at the raw numbers. When you are styling a porch on a dime, every dollar counts. Why hand your hard-earned cash to a big-box retailer when you can craft something customized and superior at home?
| Feature / Item | High-End Store-Bought Planter | Upcycled Colander Planter |
|---|---|---|
| Base Vessel Cost | $25.00 – $45.00 | $0.00 (Upcycled) or $1.25 (Dollar Tree) |
| Drainage Quality | Often requires drilling yourself | Superior 360-degree built-in drainage |
| Hanging Mechanism | Flimsy plastic hooks | Heavy-duty chain or rugged macrame twine |
| Aesthetic Appeal | Mass-produced, generic plastic | Custom faux-stone, rustic, artisan finish |
| Total Estimated Cost | $40.00+ | Under $5.00 |
The math is undeniable. By utilizing an item you already own or sourcing a cheap blank from the dollar store, you are retaining 100% of the functional value while slashing the budget. Furthermore, the durability of an enameled or stainless steel colander far outlasts the brittle, sun-baked plastic of commercial hanging baskets.
Gathering Your Arsenal: Materials & Budget Breakdown
Equipping Your Workshop for the Build
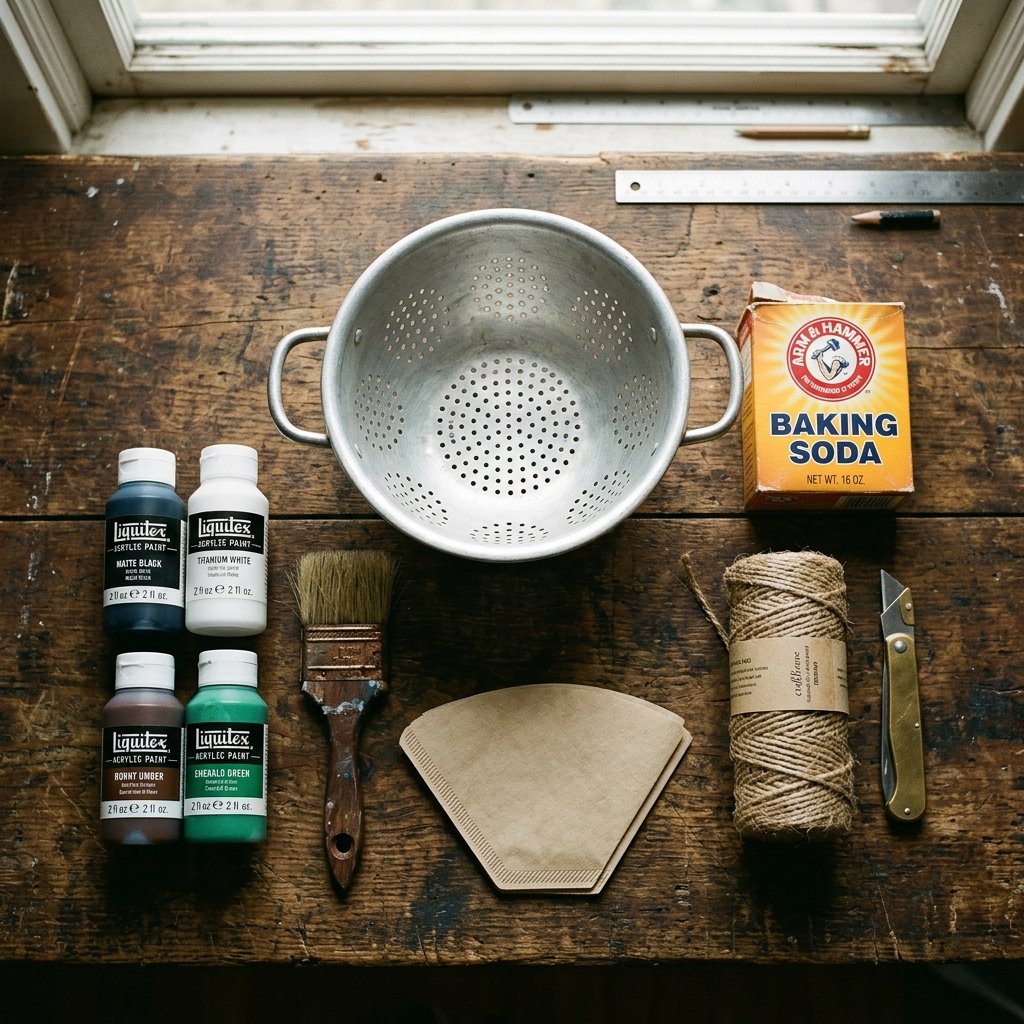
Every successful project begins with proper staging. You do not need a fully equipped woodshop for this; a sturdy workbench or a newspaper-lined kitchen table will do the trick. We are combining basic household staples with a few inexpensive craft supplies to achieve a premium look. Here is the exact arsenal you need to assemble.
The Master Materials List
- The Vessel: An old metal colander from your kitchen, a thrift store find, or a plastic colander from Dollar Tree.
- The Primer: A basic spray primer (especially crucial if you are using slick plastic).
- The Texture Medium: Standard household baking soda. This is the secret weapon for faux-stone.
- The Paint: Acrylic craft paint or leftover interior latex paint. Choose earthy tones like charcoal, terracotta, or slate gray.
- The Applicator: A cheap, stiff-bristled chip brush or a sea sponge.
- The Rigging: Heavy-duty jute twine, paracord, or a metal plant-hanging chain.
- The Liner: Large basket-style coffee filters or a scrap of landscaping fabric.
| Material | Purpose | Estimated Cost |
|---|---|---|
| Old/Dollar Store Colander | The main structural vessel | $0.00 – $1.25 |
| Baking Soda (1/2 cup) | Creates the heavy stone texture | $0.50 |
| Acrylic Paint (2 oz) | Color and coverage | $1.00 – $2.00 |
| Coffee Filters (3-4) | Soil retention liner | $0.10 |
| Jute Twine / Chain | Rugged hanging suspension | $1.50 |
For a grand total of less than $5.00, you are gathering the ingredients to forge a piece of decor that looks like it was excavated from an old-world European garden. If you are using leftover paint from a previous room makeover, your cost drops even closer to zero.
Prep and Prime: Cleaning and Sanding Your Canvas
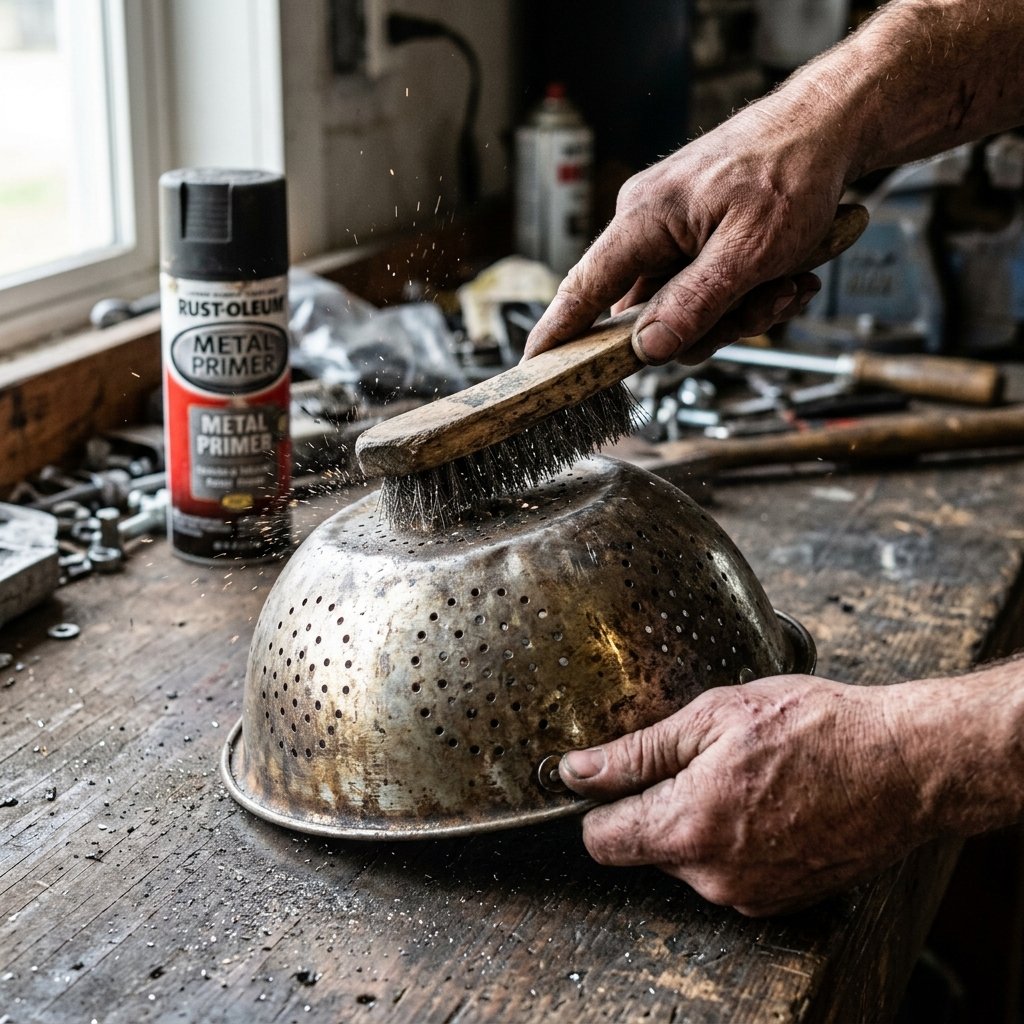
Laying the Groundwork for Adhesion
Do not skip the prep work. Any master painter or auto-body specialist will tell you that the finish is only as good as the foundation. Whether you are dealing with a greasy, decades-old spaghetti strainer or a brand-new, ultra-slick plastic dollar store bowl, you must prepare the surface to accept the paint.
Tackling Metal Colanders
If your colander is metal and showing signs of rust, do not panic. Rust adds character, but loose, flaking rust will cause your paint to peel. Take a wire brush or a piece of medium-grit sandpaper (around 120-grit) and aggressively scuff the exterior. You do not need to remove all the rust, just the loose flakes. Wipe it down with a rag soaked in rubbing alcohol or white vinegar to degrease it. If the colander is enameled, scuff the shiny surface vigorously to give the primer something to bite into.
Tackling Plastic Colanders
Plastic is notoriously difficult to paint because it is non-porous. Take your sandpaper and rough up the entire exterior of the plastic colander. You want it to look cloudy and scratched. Wipe away the plastic dust with a damp cloth. Once dry, apply a light, even coat of a high-quality bonding primer (like Rust-Oleum 2X). Hold the can about 10 inches away and use sweeping motions. Let it dry for exactly 20 minutes before proceeding.
“Prep work is the invisible labor that guarantees visible perfection. Scuff it, clean it, prime it—never rush the foundation.”
The Faux-Stone Magic: The Baking Soda Paint Trick
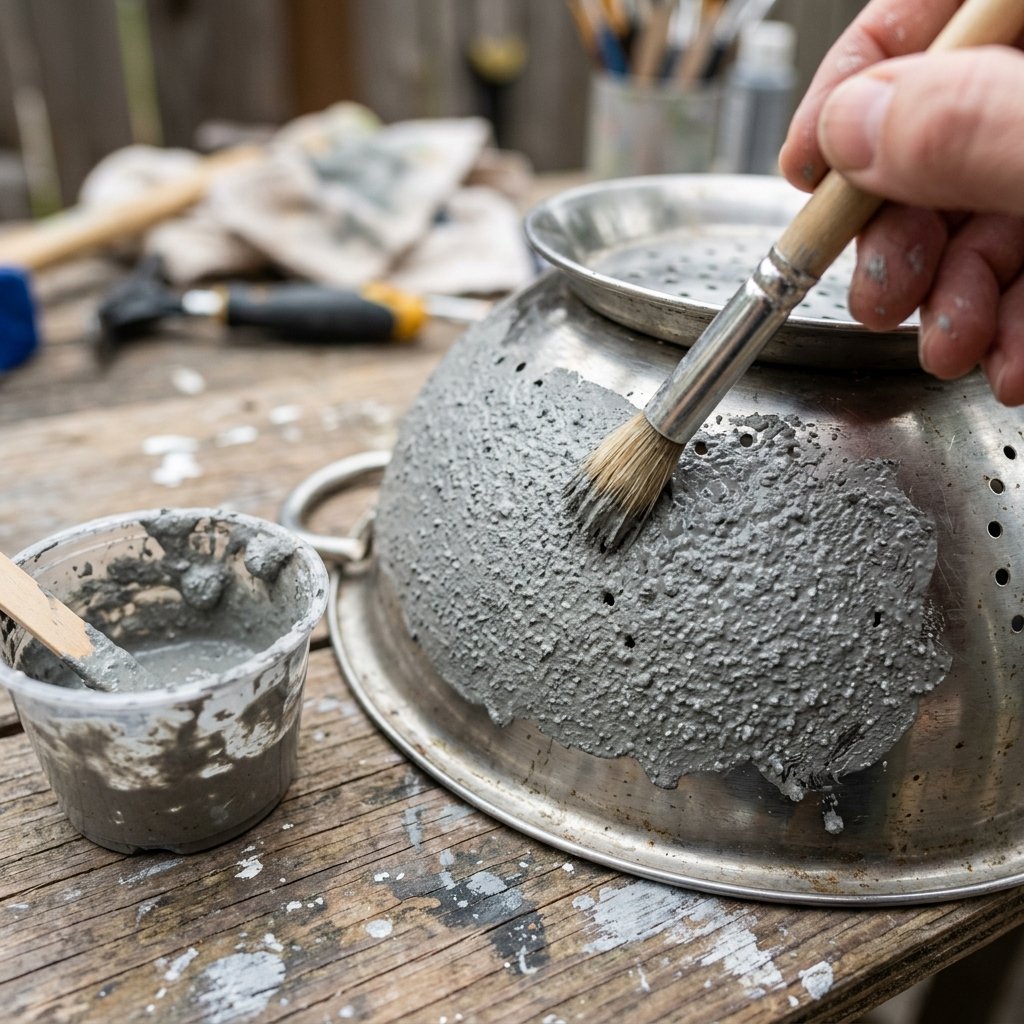
Alchemizing Paint into Stone
Now we enter the realm of high-end home decor dupes. The baking soda paint trick is a legendary technique among budget DIYers and thrifty interior designers. By mixing baking soda into standard paint, a chemical and physical reaction occurs. The paint thickens into a frosting-like consistency, drying with a chalky, porous, matte finish that is indistinguishable from aged concrete, limestone, or raw terracotta.
The Golden Ratio Recipe
You do not need exact scientific measurements, but you do need the right consistency. Here is the foolproof formula for faux-stone paint:
| Ingredient | Ratio | Resulting Texture |
|---|---|---|
| Standard Paint | 2 Parts | Provides the color base and liquid binder |
| Baking Soda | 1 Part | Provides the grit, volume, and matte finish |
| Water (Optional) | Drops as needed | Thins the mixture if it becomes too clumpy |
Mix the paint and baking soda in a disposable cup using a stir stick. You want it to feel like thick pancake batter. If it is too thin, add more baking soda. If it clumps into a ball, add a few drops of water.
The Stippling Technique
Do not brush this mixture on with smooth strokes. To achieve the rugged look of stone, you must use a technique called stippling. Take your stiff-bristled chip brush, dip the very ends into the thick paint, and aggressively dab or pounce the brush onto the colander. Work in small sections. The stippling motion leaves behind tiny peaks and valleys of texture. As it dries, these peaks will harden, creating a hyper-realistic stone facade.
Adding Depth with Dry Brushing
Once your base coat is completely dry (usually takes about 45 minutes due to the thickness), it is time to add age and weathering. Take a slightly darker or lighter shade of your base color. Dip a dry brush into the paint, then wipe almost all of it off onto a paper towel. Lightly dust this nearly dry brush over the raised textures of your colander. This catches the high points, adding incredible depth, shadows, and a weathered, masculine-elegant patina.
Rigging It Up: Creating a Rugged Hanging Mechanism

Suspending Your Masterpiece Safely
A planter is only as good as its rigging. Wet soil is incredibly heavy, and a flimsy string will snap under the tension, sending your beautiful upcycled creation crashing to the porch floor. We need to engineer a suspension system that is both ruggedly handsome and structurally sound.
Identifying the Anchor Points
Most metal colanders have sturdy handles riveted to the sides. These are your primary anchor points. If your colander does not have handles, or if you are using a plastic dollar store version, you will need to utilize the existing drainage holes near the rim. Select three or four holes spaced evenly around the circumference to ensure the planter hangs level.
Choosing Your Rigging Material
- Heavy-Duty Steel Chain: For an industrial, masculine look, pick up a lightweight steel chain from the hardware store. Cut it into three equal lengths. Use small S-hooks or carabiners to attach the chains to the colander handles or holes. Bring the three chains together at the top and secure them to a heavy-duty O-ring.
- Jute Twine or Paracord: If you prefer a rustic, farmhouse, or nautical vibe, use thick jute twine or 550 paracord. Cut three or four lengths of 36 inches each. Thread one end of each cord through your anchor holes. Tie a secure, heavy-duty knot (a bowline knot works exceptionally well here, as it will not slip under load). Gather the cords at the top, ensure the planter is level, and tie them into a sturdy overhand loop knot.
“A true craftsman knows that the hardware is just as important as the finish. Never trust a cheap knot with a heavy load. Tie it right, hang it once.”
If you are hanging this outdoors, consider spraying your jute twine with a clear waterproofing spray to prevent rot over the seasons, or stick to weather-resistant paracord or galvanized chain.
Lining and Planting: The Secret to Soil Retention

Keeping the Dirt In and the Water Flowing
Now we face the obvious engineering challenge: a colander is literally full of holes. While these holes are perfect for drainage, they are also a fast track for your expensive potting soil to wash out all over your porch every time you water your plants. We need a barrier that holds the soil matrix intact while allowing water to pass through freely.
The Frugal Coffee Filter Hack
You do not need to buy expensive moss or custom coco liners. Head straight to your kitchen pantry. Large basket-style coffee filters are the ultimate budget-savvy liner. They are designed specifically to hold fine grounds while letting liquid pass through—exactly what we need for our planter.
Take three or four large coffee filters and fan them out inside the bottom of the colander, overlapping the edges so the entire interior surface up to the soil line is covered. If you have a massive colander, you can use a scrap piece of porous landscaping fabric or even an old, clean cotton t-shirt cut to size.
The Planting Strategy
Once your liner is in place, it is time to build your soil profile.
- Step 1: The Base Layer. Add a 1-inch layer of small pebbles, broken terracotta pieces, or even crushed aluminum cans at the very bottom. This ensures the bottom holes never get fully compacted with mud.
- Step 2: The Soil. Fill the colander halfway with a high-quality, lightweight potting mix formulated for container gardens. Avoid heavy topsoil, as it will weigh down your rigging.
- Step 3: The Flora. For hanging planters, the “Thriller, Filler, Spiller” method is foolproof. Plant a tall, striking plant in the center (Thriller). Surround it with mounding, colorful plants (Filler). Finally, plant trailing vines like Sweet Alyssum, Creeping Jenny, or Ivy around the edges so they cascade beautifully over the faux-stone sides (Spiller).
- Step 4: The Top-Off. Fill in the remaining gaps with soil, pressing firmly but not packing it too tight. Water thoroughly until you see the water draining freely from the bottom holes.
| Planting Component | Recommended Frugal Option | Benefit |
|---|---|---|
| Liner | Large Coffee Filters | Costs pennies, allows perfect water flow |
| Drainage Base | Crushed Soda Cans / Twigs | Free, lightweight, prevents soil compaction |
| Potting Medium | DIY Mix (Peat, Perlite, Dirt) | Cheaper than premium bagged mixes |
| Trailing Plants | Propagated Ivy Cuttings | 100% free if clipped from existing plants |
Styling Your Upcycled Masterpiece
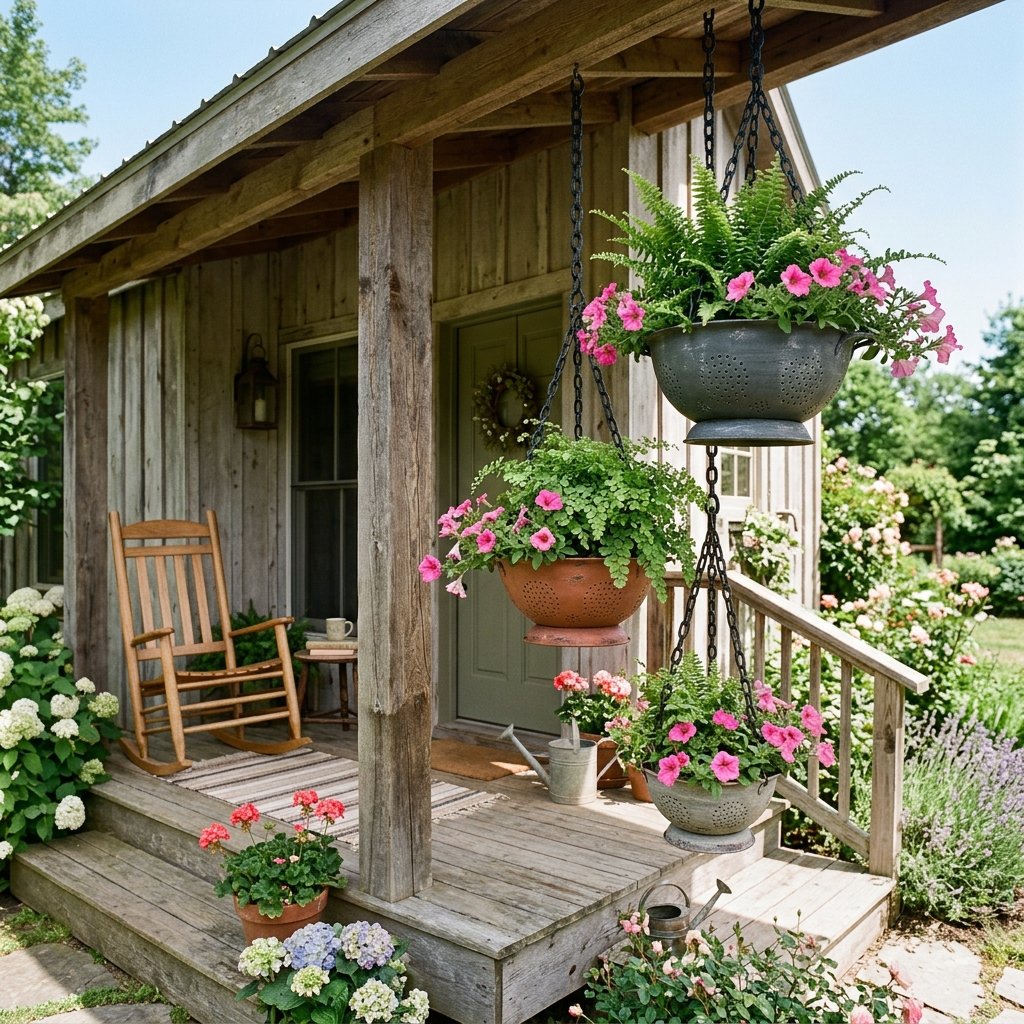
Elevating Your Porch Aesthetics on a Dime
You have successfully engineered, painted, rigged, and planted your upcycled colander. Now comes the final step: integration. The difference between a craft project and a piece of high-end home decor lies entirely in how you style it. Your new faux-stone planter has a rugged, masculine-elegant charm that pairs perfectly with industrial, farmhouse, or rustic-chic aesthetics.
Strategic Placement
Do not just hang your planter in an isolated corner. Groupings create visual impact. Hang your colander planter alongside a vintage metal watering can, or position it next to a heavy, wooden porch rocking chair. If you made multiple colander planters (perhaps utilizing different sizes from a cheap dollar store nesting set), hang them at staggered heights—one at 6 feet, one at 5 feet, and one at 4 feet. This creates a cascading waterfall of greenery that looks professionally designed.
Seasonal Adaptability
The beauty of this sturdy planter is its year-round utility. Because it is highly durable, you can easily swap out the contents as the seasons change.
- Spring/Summer: Vibrant trailing petunias, fuchsias, and lush ferns.
- Autumn: Rustic mums, ornamental cabbage, and trailing mini-pumpkins woven into the foliage.
- Winter: For a zero-maintenance holiday look, fill the colander with floral foam and insert fresh pine boughs, cedar clippings, and oversized pinecones. The faux-stone finish looks incredible dusted with a little bit of artificial snow.
By applying a little resourceful creativity, you have saved money, diverted waste from the landfill, and upgraded your home’s curb appeal. You have proven that with a bit of baking soda, some cheap paint, and a whole lot of ingenuity, true style does not require a massive budget.
Conclusion
The Final Verdict on Frugal Upcycling
Transforming an old colander into a stunning, high-end faux-stone planter is the absolute pinnacle of budget-savvy DIY. It perfectly encapsulates the resourceful spirit of taking something discarded and breathing entirely new life into it through clever techniques and a little bit of elbow grease. For less than the cost of a cup of coffee, you have engineered a piece of garden decor that rivals the expensive inventory of luxury home goods stores. The built-in drainage ensures your plants will thrive, the heavy-duty rigging guarantees longevity, and the baking soda paint trick provides an artisan finish that will fool anyone who walks onto your porch.
So, the next time you are cleaning out your kitchen cabinets or wandering the aisles of the dollar store, look at those mundane objects through the lens of a crafty expert. Do not throw away that old colander. Grab your paint, mix up some baking soda, and start creating. Your porch—and your wallet—will thank you.

Makenzie is the founder and lead writer at MoneyHackTips.com — a personal finance blog dedicated to delivering street-smart financial wisdom for real people on real budgets. With 300+ published articles covering everything from debt management to investing fundamentals, Makenzie’s mission is to make every dollar work harder. When not writing about money hacks, Makenzie is testing frugal living strategies, optimizing side hustles, and helping readers build financial freedom from scratch.