
The Quiet Tragedy of the Blown-Out Knee (And the Rugged Rebirth)
There is a distinct, quiet tragedy in retiring a favorite pair of denim jeans. Whether it is the inevitable blown-out knee from hours spent kneeling in the garden dirt, a frayed hem that finally gave way, or simply a shifting waistline, tossing that heavy-duty cotton twill into the landfill feels like a betrayal of good material. For the frugal DIYer, the handy parent, and the resourceful crafter, waste is the enemy. But here is the brilliant, budget-savvy truth: your ruined jeans are not trash. They are high-grade, heavy-duty raw materials waiting for their second act.
Welcome to the ultimate zero-budget gardening hack. Today, we are going to channel our inner tailor and rugged upcycler to transform that discarded denim into a highly functional, heavy-duty garden tool apron. Canvas tool aprons from high-end garden centers can easily run you upwards of $60 to $100, but by utilizing the built-in structural integrity of your old jeans—specifically those glorious, pre-sewn back pockets—you can engineer a bespoke tactical rig for exactly $0.00.
The Upcycler’s Mantra: Never pay for what you can make, and never throw away what you can repurpose. The best gear is the gear you build with your own two hands.
This project is designed for everyone from the crafty gift-giver looking to make a thoughtful Father’s Day or Mother’s Day present, to the rugged outdoorsman who needs a reliable place to stash pruning shears, seed packets, and a trusty trowel. We will cover step-by-step deconstruction, clever pocket placement, and even how to integrate an old leather belt for a touch of masculine-elegant craftsmanship. Grab your heavy-duty shears, clear off the workbench, and let us turn that trash into a lifelong gardening treasure.
Section 1: The Economics of Upcycling and the Power of Denim
Before we make our first cut, it is crucial to understand why denim is the undisputed king of blue-collar, heavy-duty fabric. Originally designed in the late 19th century for miners and manual laborers, denim is a rugged cotton twill textile where the weft passes under two or more warp threads. This diagonal ribbing makes it incredibly resistant to tearing and abrasion—exactly what you need when you are wading through thorny blackberry bushes or kneeling on gravel.
Store-Bought vs. Zero-Budget DIY Comparison
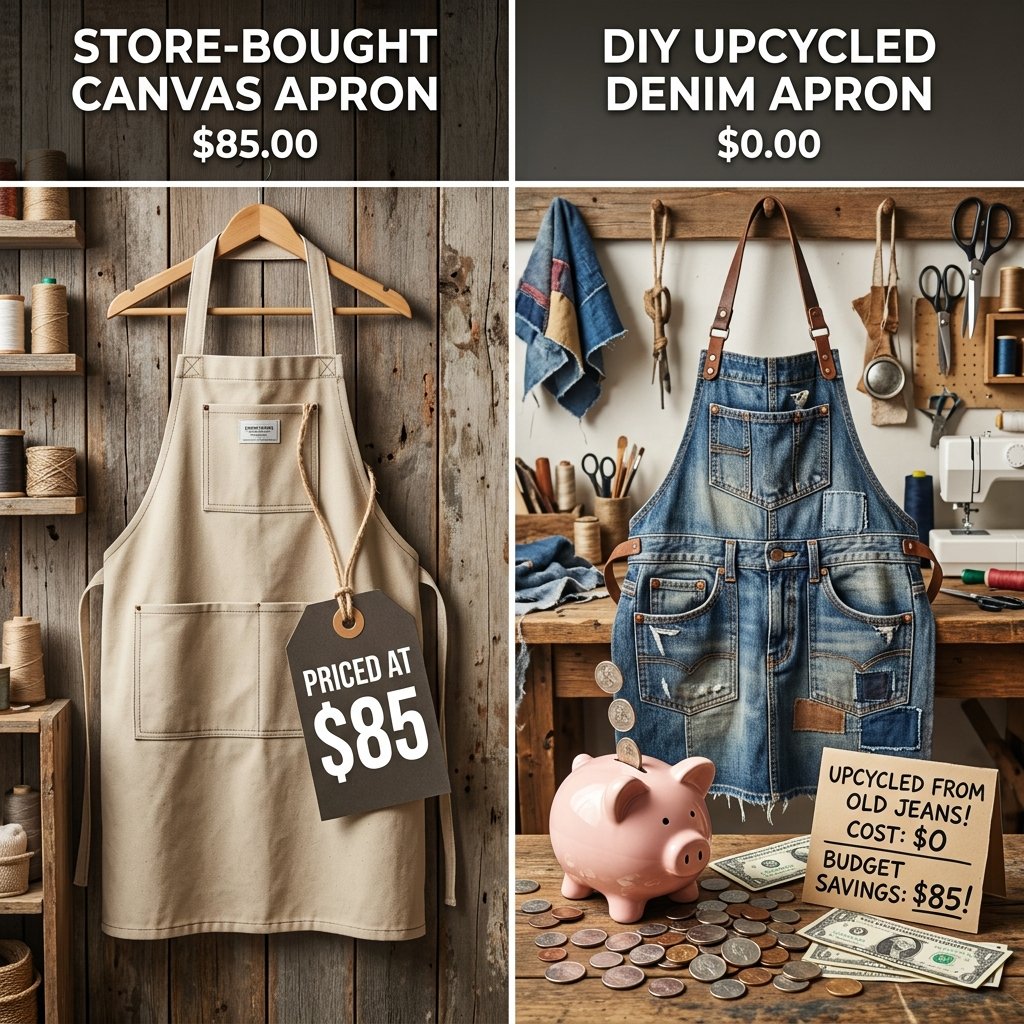
Let us look at the raw numbers. Being budget-savvy is not just about saving pennies; it is about reallocating your hard-earned money toward things that matter (like rare heirloom seeds or a high-quality shovel), rather than overpaying for basic gear.
| Feature | High-End Store-Bought Canvas Apron | DIY Upcycled Denim Apron |
|---|---|---|
| Base Material Cost | $45.00 – $85.00 | $0.00 (Repurposed Jeans) |
| Hardware Cost | $10.00 (Rivets/Buckles) | $0.00 (Upcycled Leather Belt) |
| Pocket Durability | Standard single-stitch canvas | Heavy-duty double-stitched denim pockets |
| Customization | None (Mass-produced layout) | 100% Custom (Tailored to your specific tools) |
| Environmental Impact | High (New manufacturing/Shipping) | Zero Waste (Keeps textiles out of landfills) |
| Total Estimated Cost | $55.00 – $95.00 | $0.00 – $5.00 (Thread only) |
By undertaking this project, you are not only saving nearly a hundred dollars, but you are also creating a personalized piece of gear that carries the history and comfort of your favorite clothes.
Section 2: Gathering Your Scavenger’s Arsenal (Tools & Materials)

A true craftsman knows that preparation is half the battle. You do not need an expensive sewing machine to pull this off—though it makes the job faster. This project can be entirely hand-sewn using basic mending techniques, or even assembled using heavy-duty fabric glue and rivets for a rugged, no-sew approach.
The Resourceful Materials List
- One Pair of Old Jeans: Non-stretch, 100% cotton heavy-weight denim works best, but any pair with intact back pockets will do. Men’s jeans often yield larger aprons, but use whatever you have!
- Heavy-Duty Thread: Upholstery thread, button-and-carpet thread, or even waxed dental floss (a classic frugal mender’s secret) for extreme durability.
- Needles: A heavy-duty denim needle (size 100/16 or 110/18 if using a machine) or a thick darning needle for hand-sewing.
- Fabric Shears: Do not use your kitchen scissors. Sharp fabric shears will prevent the denim from fraying wildly during the cut.
- An Old Leather Belt (Optional but Highly Recommended): For the waist strap. This adds incredible structural support and a high-end, rugged aesthetic.
- Chalk or a Bar of Soap: For marking your cut lines. (Yes, the sliver of soap left in your shower is perfect for marking dark fabric without staining it!)
Safety & Crafting Disclaimer: Denim is thick. If you are hand-sewing, always use a metal thimble to push the needle through multiple layers. Pushing a needle through thick seams without a thimble can result in the eye of the needle piercing your finger. Work slowly, and respect the tools.
Section 3: Anatomy of the Cut (Deconstructing Your Denim)
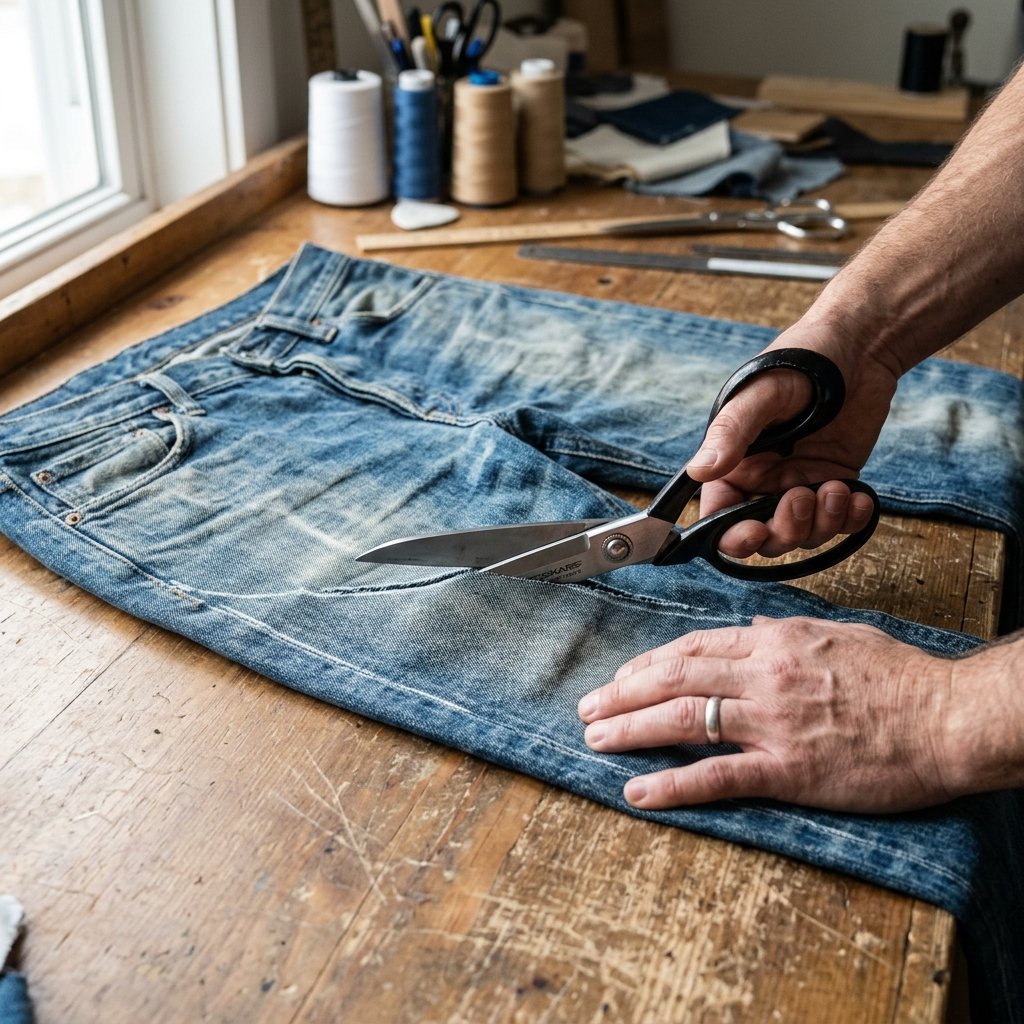
This is where the magic happens. We are going to surgically dismantle these jeans to harvest the best parts. The goal is to utilize the existing waistband, the front button closure, and the back pockets to minimize the amount of sewing we actually have to do. Work smart, not hard.
Step-by-Step Deconstruction
- The Initial Layout: Lay your jeans flat on a large table or the floor, front side facing up. Smooth out all the wrinkles. You are going to map out the cuts using your chalk or soap sliver.
- The Leg Amputation: Measure down approximately 2 to 3 inches below the bottom of the front pockets. Draw a straight line across both legs. Cut cleanly across this line. (Do not throw the legs away! We will use them later for extra pockets). You now have a pair of extremely short denim cut-offs.
- The Inseam Split: Flip the cut-offs over so you are looking at the back pockets. Carefully cut up the inner leg seams (the inseam) right up to the crotch junction. You want to open the shorts up so they lay completely flat.
- Removing the Front Panel (Optional based on style): For a classic half-apron (a tool belt style), you only need the back half of the jeans. Cut up the side seams, detaching the front panel from the back panel, but leave the waistband intact! Carefully cut the front fabric away from the waistband just below the lower stitching of the waistband itself.
- The Final Shape: You should now be holding a continuous denim waistband (with the button and buttonhole intact at the front) attached to the two back pockets and the back panel of the jeans. This is the main body of your new heavy-duty garden apron.
By keeping the waistband intact, you have completely bypassed the hardest part of making an apron: creating a structural belt. The jeans’ original button and buttonhole will serve as your apron closure!
Section 4: Engineering the Apron Body and Edge Finishing
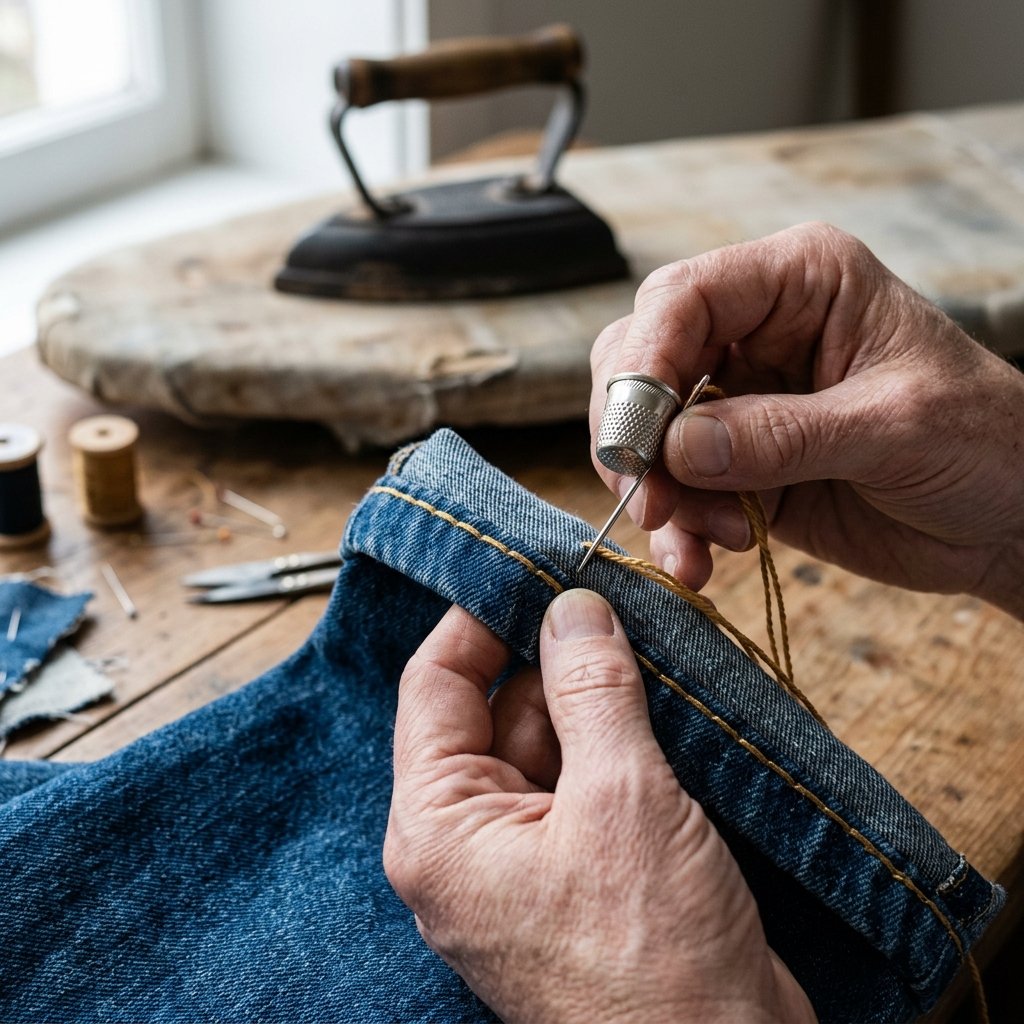
Now that we have the raw body of the apron, we need to secure the raw edges so they do not unravel in the washing machine or while you are trekking through the garden. Frayed edges might look rock-and-roll, but they weaken the structural integrity of a tool belt.
The Hand-Hemming Technique (Grandma’s Secret)
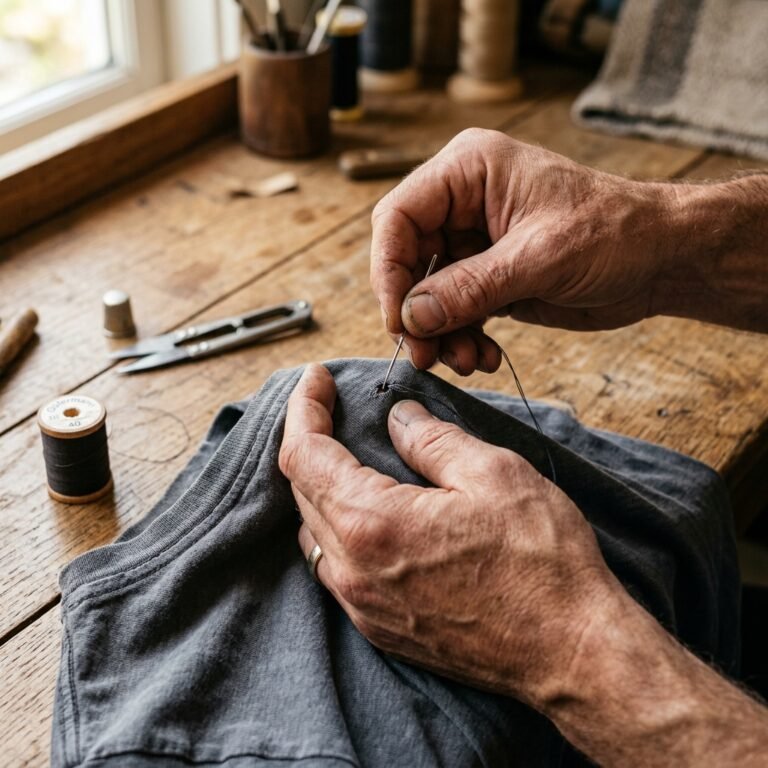
If you do not have a sewing machine, fear not. You can hand-sew a durable hem using a simple backstitch or a blanket stitch.
- Fold and Press: Fold the raw edges of the denim under by 1/2 inch, and then fold them under again another 1/2 inch to completely hide the raw edge. Pin this in place.
- Iron it Flat: Use a hot iron with plenty of steam to press this fold flat. Denim has a memory; a good hot press will hold the fold in place even if you remove the pins.
- The Stitch: Thread your heavy-duty needle with your upholstery thread (or waxed dental floss). Knot the end. Push the needle up from the back of the hem. Use a backstitch (stitching backward over your previous stitch before moving forward) for maximum strength. This mimics a machine lockstitch and will never pull apart.
The No-Sew Alternative: Hem Tape and Rivets
If sewing is entirely off the table, you can use heavy-duty iron-on hem tape. Simply place the tape inside the fold you created and press with a hot iron for 10 to 15 seconds until the adhesive melts and fuses the fabric. For the corners, punch a hole and set a copper rivet using a hammer. This not only secures the hem but adds an incredibly rugged, masculine-elegant detail that looks like a high-end mercantile product.
Section 5: Tactical Pocket Science (Customizing Your Tool Rig)
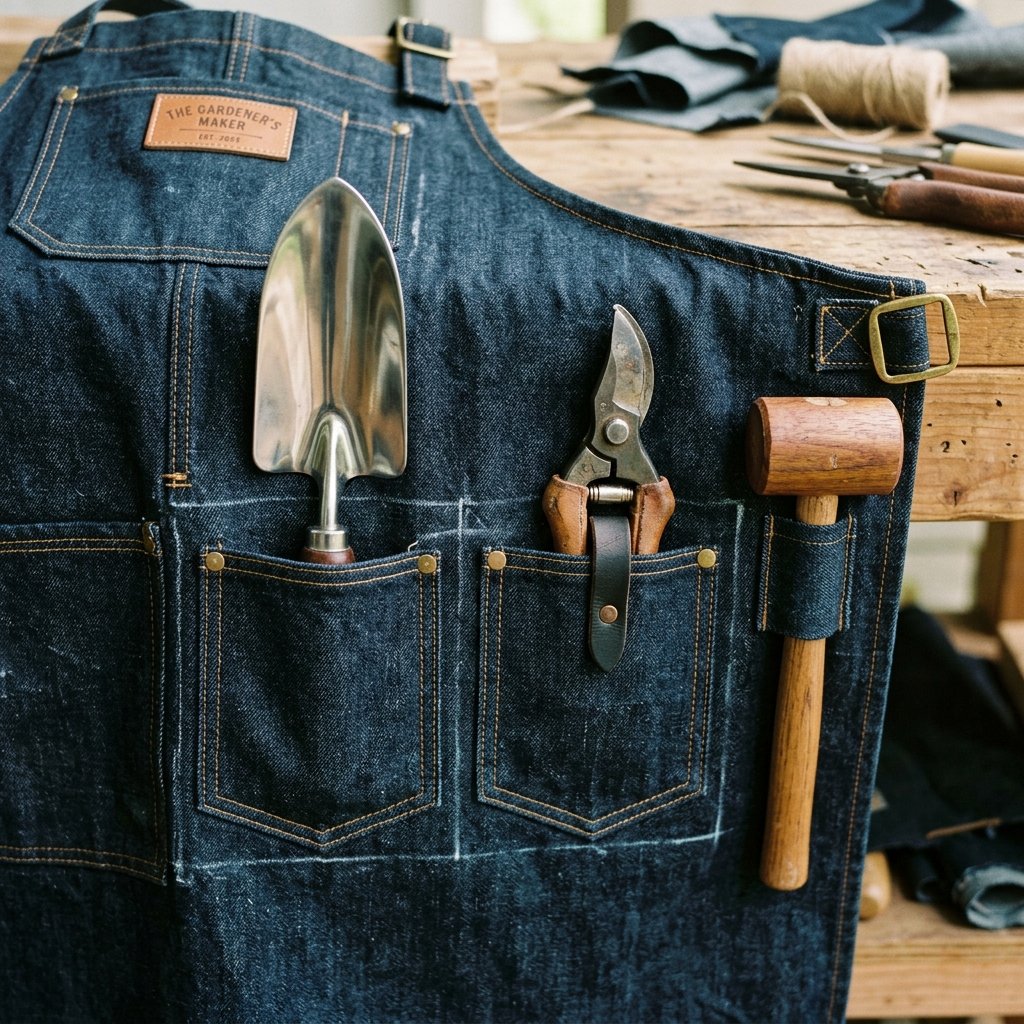
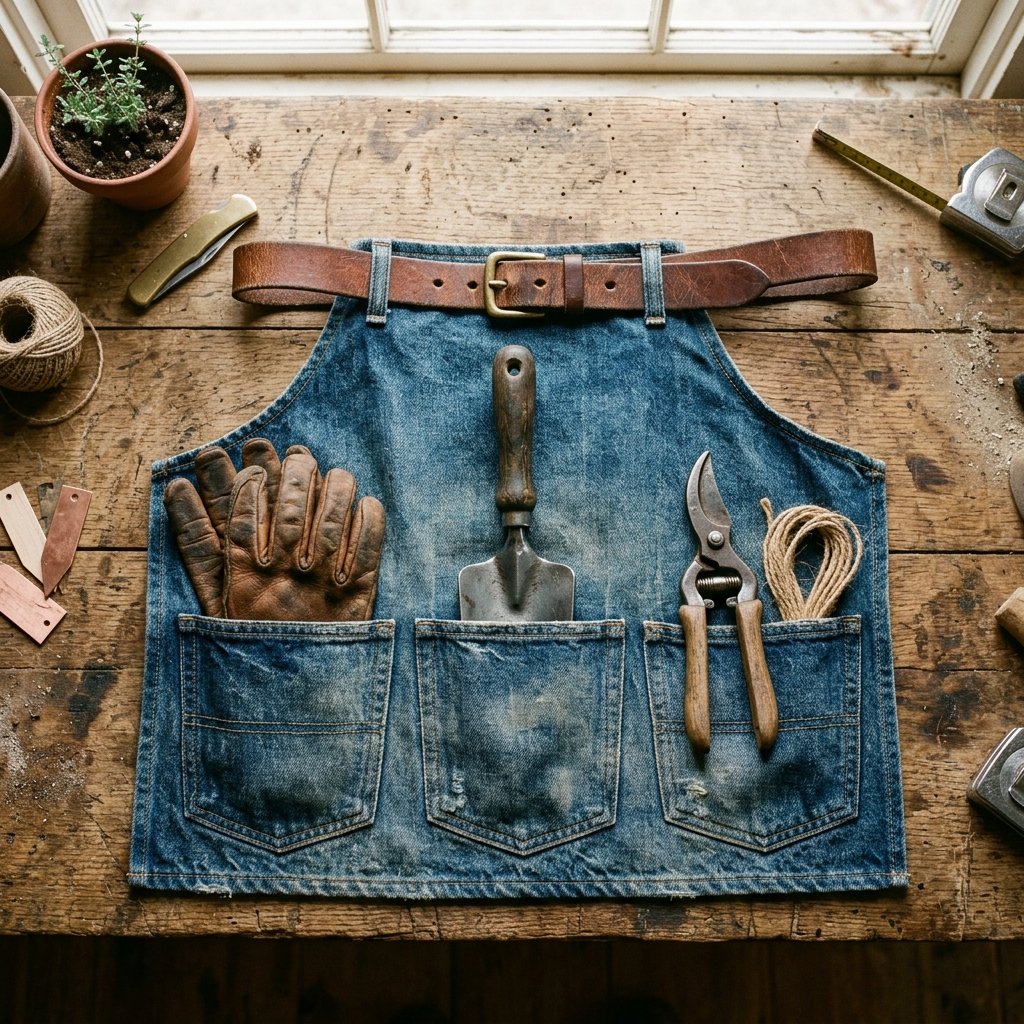
The beauty of this upcycle is that your apron already has two perfectly placed, double-stitched back pockets. These are ideal for holding seed packets, a cell phone, or a small notebook. But a true gardener needs holsters for heavy artillery: trowels, hori-hori knives, and pruning shears.
Harvesting and Attaching Extra Pockets
Remember those leftover jean legs we chopped off in Section 3? It is time to harvest them.
- Cut Custom Panels: Cut a square of denim from the leftover legs measuring roughly 6 inches by 8 inches. Hem the top edge.
- Placement Strategy: Put the apron on. Take your favorite heavy tool (like your pruning shears) and hold it against the apron where your hand naturally falls. Mark this spot with chalk. This is ergonomic, bespoke tailoring at its finest!
- Attaching the Holster: Pin the new pocket onto the apron body. Sew around the sides and bottom using a double row of backstitching.
The Hammer/Shear Loop Hack
To create a loop for long-handled tools, cut a 2-inch wide by 6-inch long strip from the scrap denim. Fold the edges in and sew it flat to make a sturdy strap. Attach this strap to the side of the apron, sewing only the top and bottom down, leaving a loop in the middle. Slip your hammer or heavy shears right through the loop. You have just engineered a custom carpenter-style tool loop for zero dollars.
Pro-Tip for Sharp Tools: If you frequently carry sharp pruners pointing down, the tips can eventually wear a hole through the bottom of the denim pocket. To prevent this, cut a small piece of scrap leather (from an old boot or purse) or thick cardboard, and drop it into the bottom of the pocket before putting your tools in. It acts as an impenetrable shield!
Section 6: Strapping In (Upcycling Leather Belts for a High-End Finish)
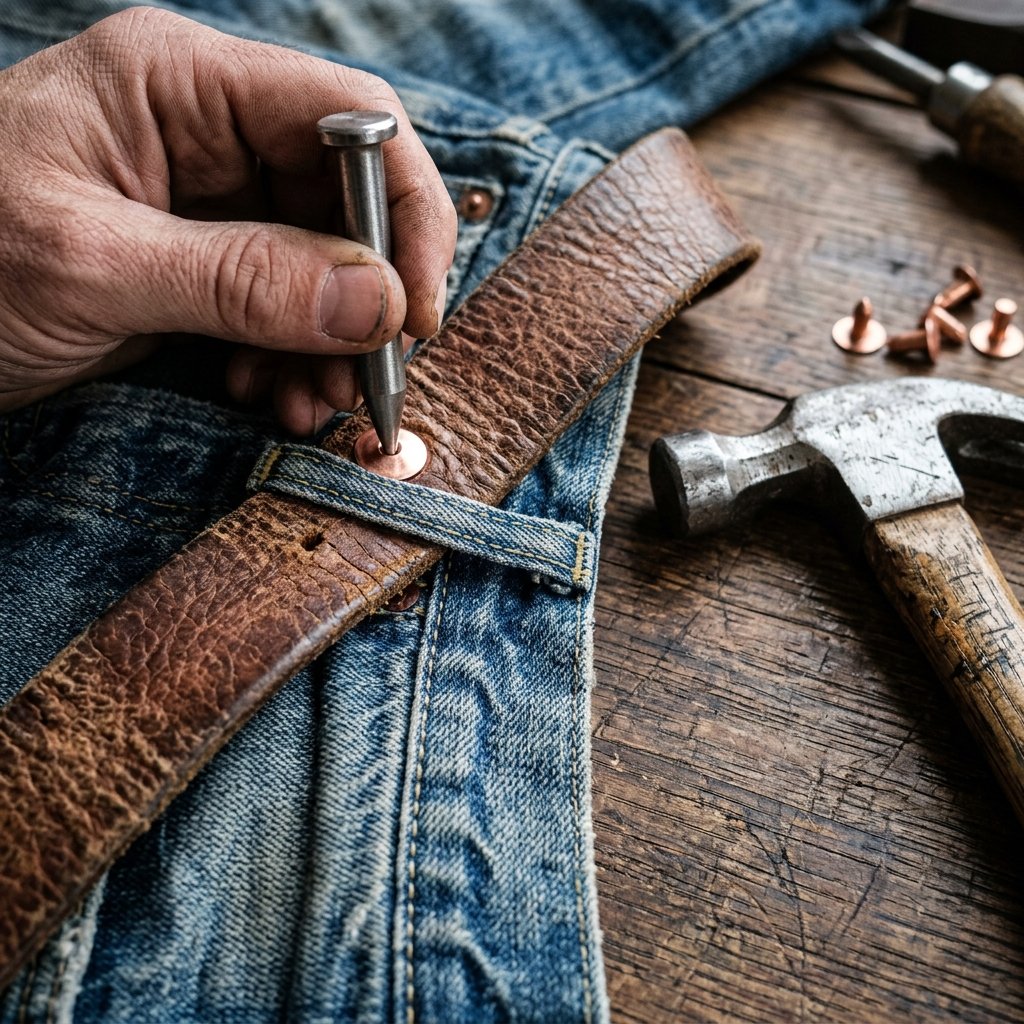
While the original jeans button and buttonhole work perfectly as a waist closure, sometimes our waists fluctuate, or we want to wear the apron over bulky winter coats when doing cold-weather pruning. Upgrading the waist strap with an old leather belt transforms this project from a simple craft into a rugged, high-end piece of functional fashion.
Integrating the Leather Belt
If you have an old leather belt that has seen better days, it is the perfect candidate for this upgrade.
- Remove the Denim Button: Carefully cut off the original metal jean button and sew the buttonhole shut.
- Cut the Belt: Cut the leather belt in half. You will have one piece with the buckle, and one piece with the holes.
- Attach the Belt Halves: Align the cut end of the buckle-half of the belt with the left edge of the apron waistband. Using a leather punch or a drill with a small bit, punch two holes through both the leather and the denim. Secure them together using copper rivets and a hammer. Repeat this process on the right side with the hole-half of the belt.
Now, you have a fully adjustable, heavy-duty leather and denim tool belt. The juxtaposition of the weathered brown leather against the faded blue denim offers a beautifully rugged, masculine-elegant aesthetic that looks like it belongs in a boutique artisan catalog for $120.
Section 7: Weatherproofing (How to Hand-Wax Your Denim)

Gardeners know that morning dew, wet soil, and muddy knees are part of the job. Untreated cotton denim will soak up water quickly. To make your new tool apron truly heavy-duty and water-resistant, we are going to borrow a trick from 19th-century sailors and lumberjacks: waxing the canvas.
The Frugal Waxing Recipe
You do not need expensive commercial fabric wax. You can make your own using common household items.
| Ingredient/Tool | Purpose | Budget Alternative |
|---|---|---|
| Beeswax | Provides the main waterproofing barrier | Melted down leftover unscented candle stubs |
| Paraffin Wax | Adds flexibility so the apron isn’t too stiff | Canning wax from the grocery store ($3) |
| Double Boiler | To melt the waxes safely | A glass jar sitting in a pot of simmering water |
| Heat Gun | To melt the wax into the fabric fibers | A standard household hair dryer on the highest setting |
The Application Process
- Melt the Wax: Create a 50/50 mixture of beeswax and paraffin wax in your makeshift double boiler. Melt them down until fully liquid. Safety note: Never melt wax directly over an open flame, as it is highly flammable.
- Paint it On: Lay your finished apron flat on a piece of cardboard. Using a cheap, natural-bristle paintbrush, paint the melted wax directly onto the denim. It will go on thick and turn white as it cools. Do not panic; this is normal!
- Melt it In: Take your hair dryer or heat gun and apply hot air directly to the waxed denim. You will watch the white, crusty wax magically melt and disappear into the weave of the fabric. The denim will turn a shade darker and become slightly stiff.
- Cure: Hang the apron in a warm, dry place for 24 hours to let the wax cure.
The result? A gorgeous, water-repellent, waxed-denim tool apron that mud and water will simply bead up and roll off of. As you wear it, the wax will crease and create beautiful, individualized patina lines.
Section 8: Bonus Build (The Zero-Waste Pruner Roll)

A frugal DIYer leaves nothing behind. You still have the lower halves of the jeans legs left over! Let us turn those scraps into a rugged tool roll for your delicate carving knives, specialized pruners, or even artist paintbrushes.
Constructing the Tool Roll
- Slit the Leg: Take one of the cut-off jean legs and cut up the seam so it lays flat into a large rectangle.
- The Bottom Fold: Fold the bottom edge up by about 4 inches to create a long pouch across the entire bottom of the fabric. Pin the sides.
- Sew the Slots: Sew vertical lines down through the folded pouch every 2 to 3 inches. These vertical seams create individual slots for your tools.
- The Tie Strap: Cut a long, thin strip from the remaining scrap denim (or use a piece of twine/paracord). Sew it to the middle of the outside edge.
To use it, simply slide your tools into the slots, roll the fabric up into a tight cylinder, and wrap the tie strap around it to secure it. You have just created a highly practical, zero-waste storage solution that perfectly matches your new apron. This makes a phenomenal, thoughtful gift for the handy person in your life.
Section 9: Maintenance, Mending, and Field Care

Your upcycled heavy-duty garden apron is built to take a beating, but like all good tools, it requires a little maintenance to ensure it lasts a lifetime. The beauty of a homemade item is that you know exactly how to repair it when the time comes.
Cleaning Waxed Denim
If you chose to wax your apron, do not put it in the washing machine! The hot water and detergent will strip the wax completely and ruin your machine. To clean a waxed apron, simply wait for the mud to dry, then brush it off with a stiff-bristled scrub brush. If there is a stubborn stain, wipe it with a damp sponge and cold water. Once a year, you can reapply a light coat of wax and melt it in with your hair dryer to restore its water resistance.
Visible Mending (Sashiko)
If a sharp tool eventually pokes a hole in your apron, embrace the Japanese art of Sashiko mending. Instead of trying to hide the tear, patch it with a contrasting piece of fabric (like a scrap of red flannel or patterned cotton) placed behind the hole. Use thick white embroidery thread to sew running stitches back and forth over the patch. This not only repairs the hole, making it stronger than before, but it adds a beautiful, personalized, crafty element that tells the story of your hard work in the garden.
The Craftsman’s Code: A patch is not a sign of weakness or poverty; it is a badge of honor. It proves the item is loved, used, and respected enough to be saved.
Conclusion
Wear Your Hard Work with Pride
By taking an hour out of your weekend and utilizing a few basic tools, you have successfully rescued a pair of worn-out jeans from the landfill and engineered them into a premium, heavy-duty garden tool apron. You have bypassed the exorbitant markups of boutique garden centers, customized the pocket layout to fit your specific arsenal of tools, and created a rugged, handsome piece of gear that will serve you for years.
This is the essence of frugal, budget-savvy crafting. It is about seeing the hidden potential in the everyday items around us. Whether you are gifting this upcycled masterpiece to a handy parent for Father’s Day, or strapping it on to tackle your own spring planting, you can wear it with the profound pride that comes from building something useful with your own two hands. Now, get out there, get your knees dirty, and let your new apron take the brunt of the work. Happy gardening, and happy upcycling!

Makenzie is the founder and lead writer at MoneyHackTips.com — a personal finance blog dedicated to delivering street-smart financial wisdom for real people on real budgets. With 300+ published articles covering everything from debt management to investing fundamentals, Makenzie’s mission is to make every dollar work harder. When not writing about money hacks, Makenzie is testing frugal living strategies, optimizing side hustles, and helping readers build financial freedom from scratch.