
Let us face a hard, expensive truth: the craft spirits industry has convinced us that we need to spend upwards of $80 to $150 for a bottle of uniquely flavored, small-batch whiskey. Whether it is a spiced apple bourbon for autumn evenings, a coffee-infused rye for after-dinner sipping, or a smoky campfire blend, the markup on these “artisanal” bottles is absolutely staggering. But what if you could gift the rugged gentleman in your life that exact same top-shelf experience for pennies on the dollar?
Welcome to the ultimate frugal crafter’s secret: the DIY Whiskey Infusion Kit. This isn’t just a clever way to save money; it is a deeply thoughtful, highly personalized, and handsomely rugged gift that looks like it came straight out of a bespoke gentleman’s catalog. By curating your own botanicals, sourcing budget-friendly glassware, and providing a solid mid-tier base spirit, you are giving him more than just a drink—you are giving him an experience. He gets to play master distiller in his own kitchen, experimenting with flavor profiles that suit his exact palate.
Whether you are a budget-savvy bride looking for unique groomsmen gifts, a handy partner crafting the perfect Father’s Day surprise, or simply a creative gift-giver tired of buying the same old neckties and generic gift cards, this guide is your blueprint. We are going to transform inexpensive spices, thrifted wooden boxes, and a humble bottle of booze into a high-end, masculine-elegant masterpiece. Grab your mason jars and let’s get crafting!
The Economics of Craft Whiskey: Why DIY Always Wins
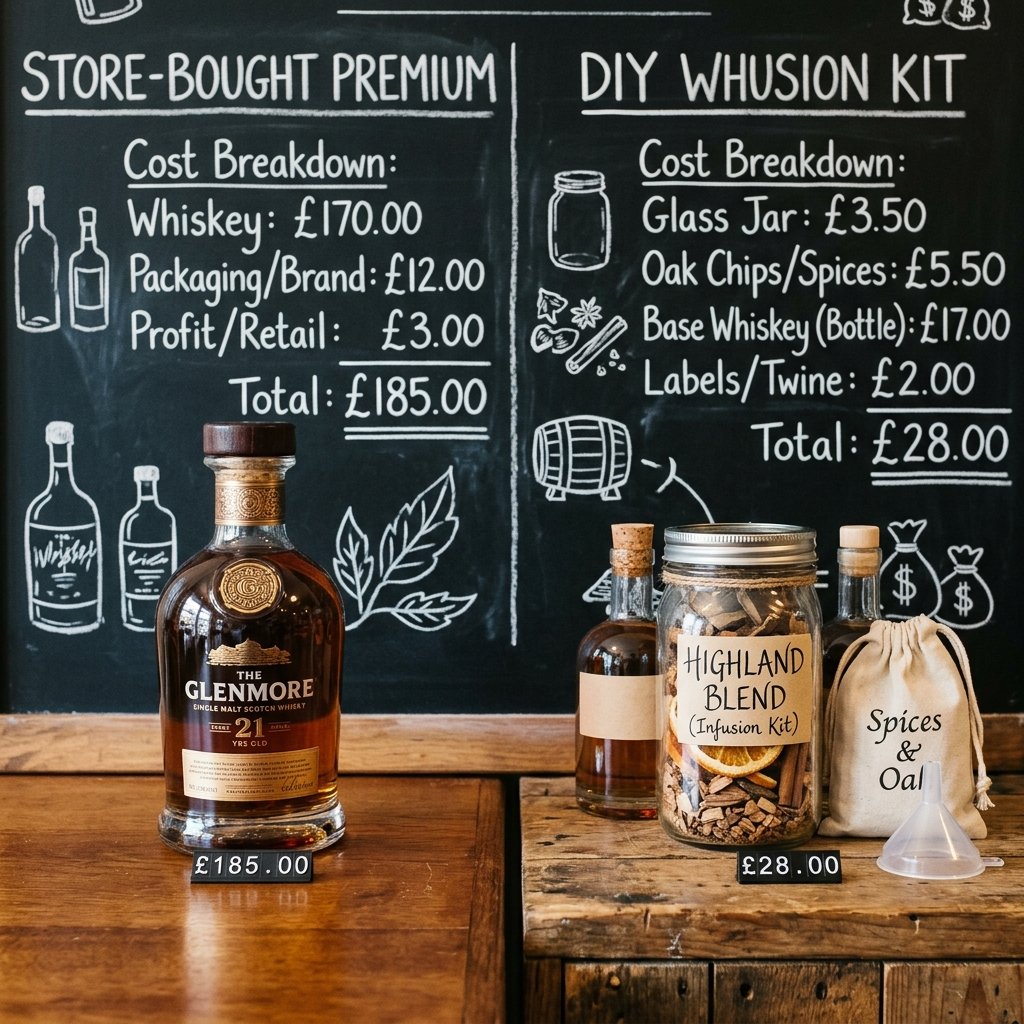
Before we dive into the fun part—the spices, the wood chips, the wax-sealed bottles—let us talk numbers. As a budget-savvy crafter, you know that the true value of a DIY project lies in the intersection of high quality and low cost. When you purchase a pre-infused “craft” whiskey, you are primarily paying for marketing, fancy packaging, and the brand name. The actual ingredients (the base alcohol and the flavoring agents) cost a fraction of the retail price.
By building a DIY Infusion Kit, you flip the script. You control the aesthetic, you control the ingredients, and most importantly, you control the budget. You can source incredible botanicals from your local international market or bulk food store for mere cents per ounce. Let us break down the staggering difference in cost.
| Expense Category | Store-Bought Artisanal Whiskey | DIY Infusion Kit (Per Batch) |
|---|---|---|
| Base Spirit (750ml) | $75.00 – $150.00+ (Included) | $15.00 – $25.00 (Mid-tier bourbon/rye) |
| Botanicals & Spices | Included in markup | $2.00 – $5.00 (Bulk sourcing) |
| Packaging & Bottles | Included in markup | $4.00 – $8.00 (Dollar Tree/Thrifted) |
| Customization | None (Mass produced) | Priceless (Tailored to his taste) |
| Total Estimated Cost | $75.00 – $150.00+ | $21.00 – $38.00 |
As you can see, assembling a kit yourself yields a savings of over 60%, while delivering a gift that carries infinitely more sentimental value. Plus, the kit you build will likely contain enough spices to infuse three or four bottles over time, stretching your dollar even further.
Curating the Kit: Bottles, Botanicals, and Budget Finds
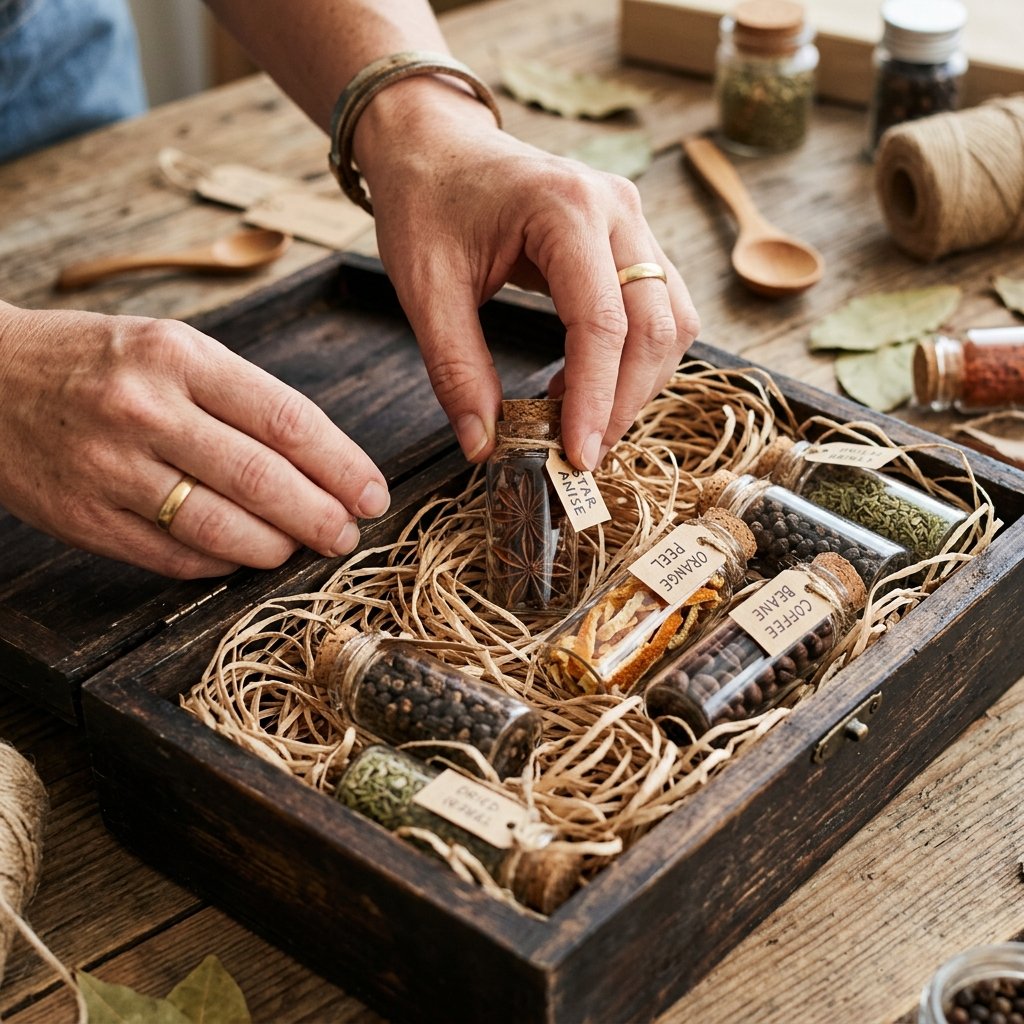
The secret to making a budget gift look expensive lies entirely in the presentation and the sourcing of materials. You do not need to spend a fortune at specialty kitchen boutiques to build a masculine, elegant kit. Here is how to source your materials like a true upcycling expert.
1. The Glassware (The Apothecary Look)
Your infusion kit needs two types of containers: small jars for the dry spices and a larger, handsome bottle for the actual infusing process.
- Spice Jars: Head to your local Dollar Tree. They often carry mini glass jars with cork stoppers or metal clasp lids in their craft aisle. You can get a pack of 4 for $1.25. Alternatively, save up baby food jars or small jam jars, remove the labels with equal parts baking soda and cooking oil, and spray paint the lids matte black or hammered copper.
- The Infusion Bottle: Look for a 500ml or 750ml clear glass bottle with a swing-top lid (Grolsch style). Thrift stores are goldmines for these, often selling them for $1.00 to $2.00. Just be sure to sterilize them thoroughly with boiling water.
2. Sourcing the Botanicals on a Dime
Do not buy the tiny, overpriced jars of spices in the regular grocery aisle. Instead, visit your local ethnic markets (Mexican, Indian, or Asian grocers). You can buy massive bags of cinnamon sticks, star anise, dried chilies, and cardamom pods for a fraction of the supermarket price.
“A true frugal craftsman knows that the bulk bins are the gateway to top-shelf flavor. Buy only what you need, and let the raw, rustic look of whole spices do the decorating for you.”
3. The Presentation Box
To give this gift that rugged, “gentleman’s study” vibe, presentation is key. Skip the cardboard gift bags. Keep an eye out for wooden cigar boxes at local tobacco shops (they often sell empties for $2 to $5, or even give them away). You can also upcycle a simple wooden clementine crate by staining it with a cheap DIY stain made from steel wool soaked in white vinegar and leftover coffee.
Selecting the Base Spirit: The Blank Canvas
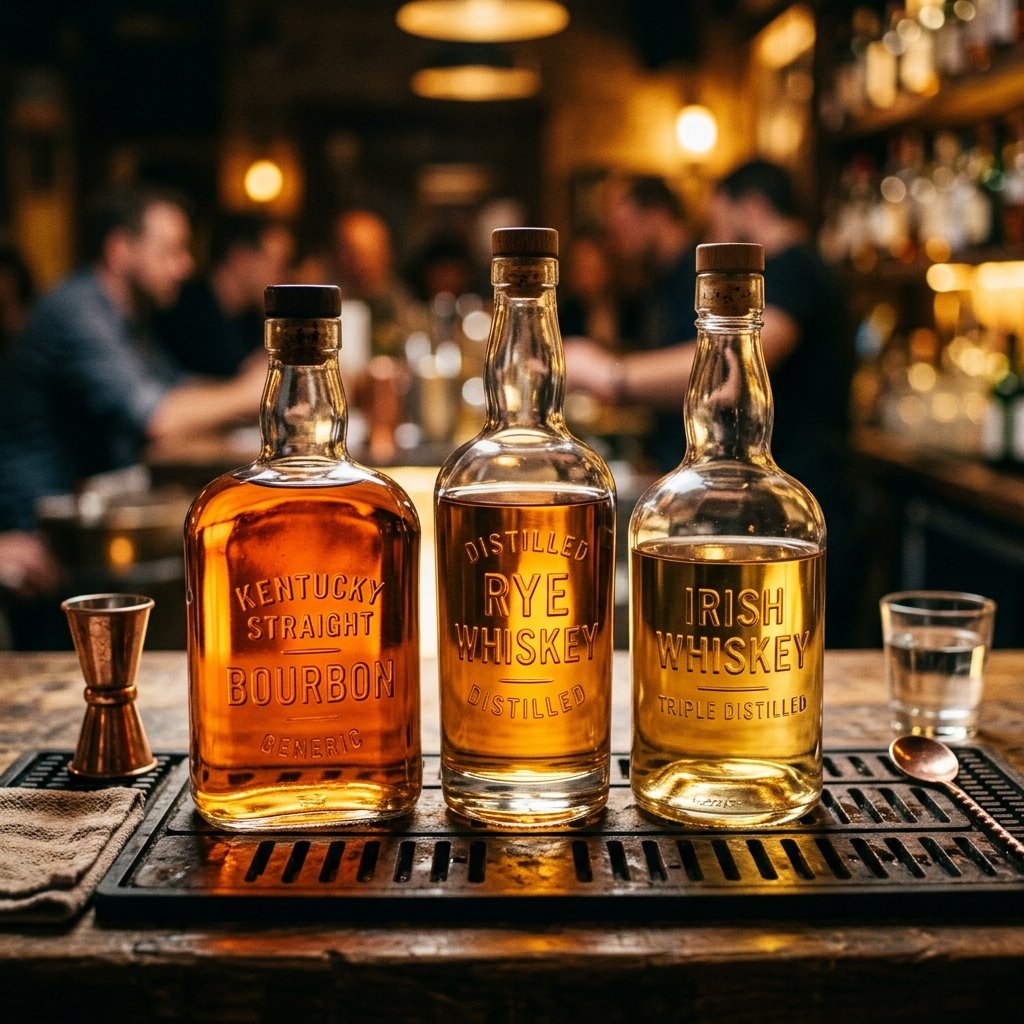
One of the most common mistakes beginners make is buying an expensive bottle of whiskey to infuse. This is a waste of money! The infusion process will drastically alter the flavor profile, masking the nuanced notes that make top-shelf whiskey expensive. Your goal is to find a solid, smooth, mid-tier “blank canvas.”
The Best Budget-Friendly Bases:
- Wheated Bourbons: These are generally sweeter and smoother, making them perfect for fruit and spice infusions (think apples, cinnamon, and vanilla). Look for budget staples in the $15 to $20 range.
- Rye Whiskey: Rye has a natural peppery, spicy kick. It pairs exceptionally well with robust, dark flavors like coffee, cacao nibs, and toasted oak. A solid budget rye can be found for around $20 to $25.
- Irish Whiskey: Known for being exceptionally smooth and light, Irish whiskey is a great base if you want delicate flavors like chamomile, honey, or citrus to shine through without fighting the heavy barrel char of a bourbon.
Safety & Quality Note: Avoid the absolute bottom-shelf “plastic bottle” liquors. While we are budget-savvy, we still want a drinkable product. A rough rule of thumb: if it comes in glass and costs around $15, it is perfectly suitable for infusing.
Rugged Recipe Blends: 5 Masculine Flavor Profiles
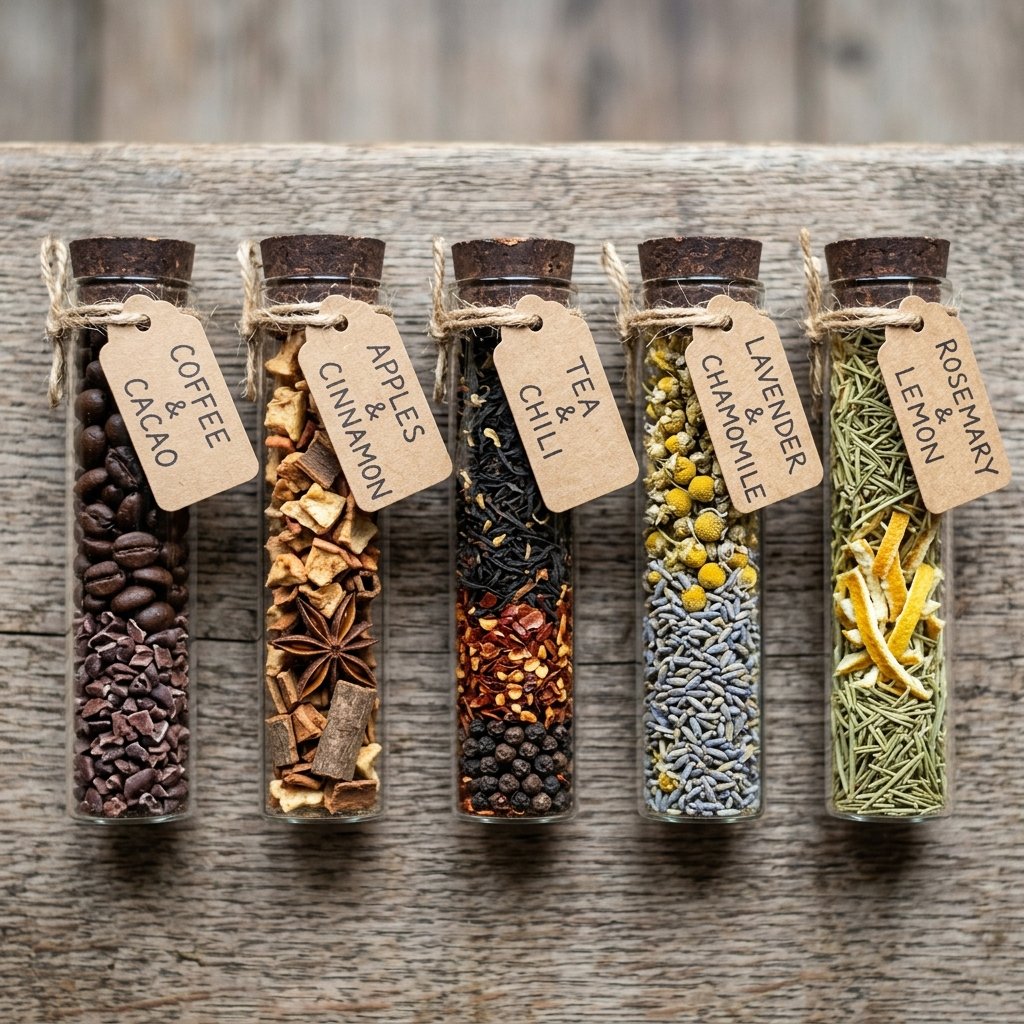
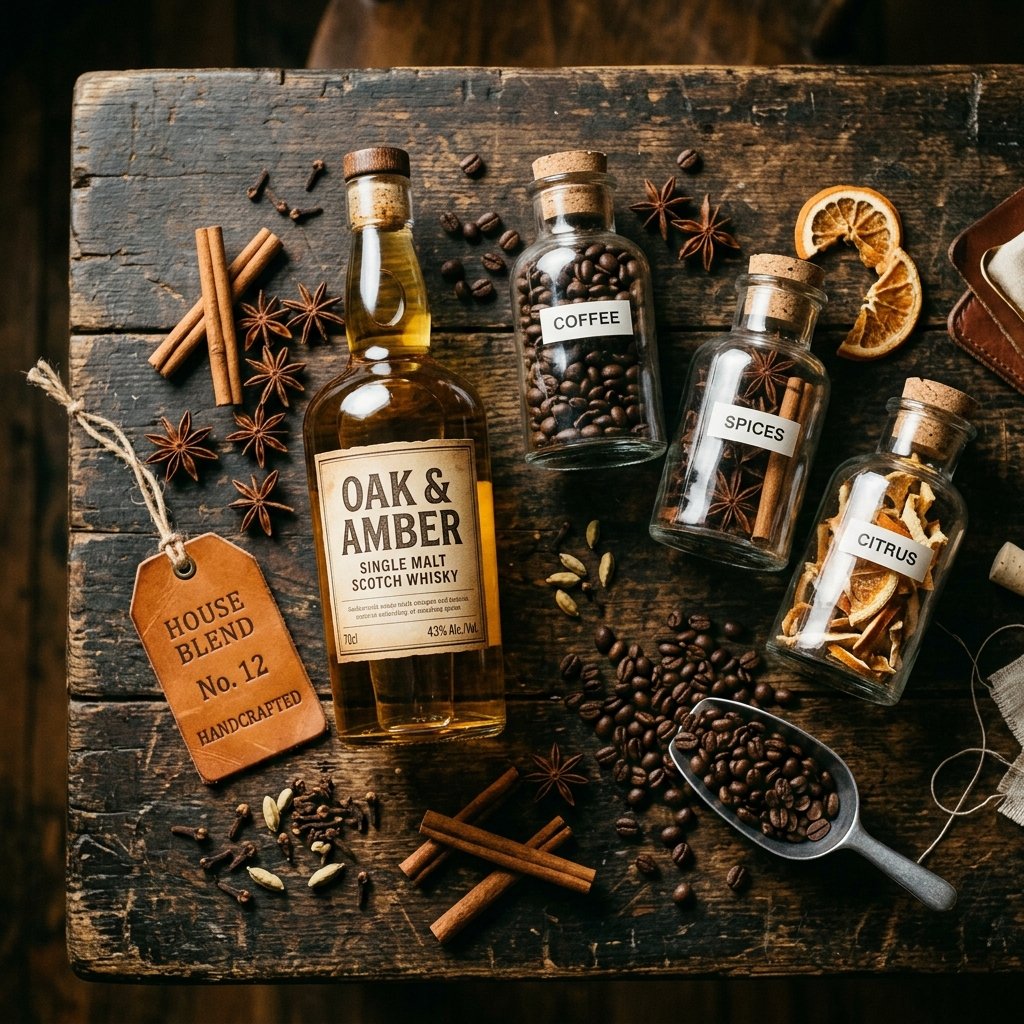
This is where your kit comes to life. Instead of just giving him random spices, you are going to pre-measure “flavor profiles” into your small vials. Include a handsome, handwritten or printed recipe card for each blend. Here are five foolproof, rugged recipes designed for a standard 2 cups (16 oz) of base whiskey.
| The Blend Name | The Ingredients (Per 16 oz of Whiskey) | Best Base Spirit | Infusion Time |
|---|---|---|---|
| The Campfire Smoke | 1 tbsp Lapsang Souchong tea leaves, 1 dried chipotle pepper, 1 charred oak spiral | Rye or Bourbon | 24 – 48 Hours |
| The Spiced Orchard | 1/4 cup dried apple rings, 2 cinnamon sticks, 3 whole cloves, 1 star anise | Wheated Bourbon | 3 – 5 Days |
| The Morning After | 2 tbsp whole dark roast coffee beans, 1 tbsp cacao nibs, 1 split vanilla bean | Rye Whiskey | 24 – 36 Hours |
| The Gentleman’s Citrus | Peel of 1 navel orange (no pith), 1 sprig fresh rosemary, 1 tsp black peppercorns | Irish Whiskey | 2 – 3 Days |
| The Lumberjack’s Maple | 1/4 cup toasted pecans, 1 tbsp real maple syrup, 1 cinnamon stick | Bourbon | 4 – 6 Days |
Crafting the Vials:
For the kit, measure the dry ingredients of these blends into your Dollar Tree glass vials. Label each vial with the name of the blend (e.g., “The Campfire Smoke Blend”). When he is ready to use it, all he has to do is dump the vial into his infusion jar and pour the whiskey over it!
The Infusion Process: A Step-by-Step Guide for Him
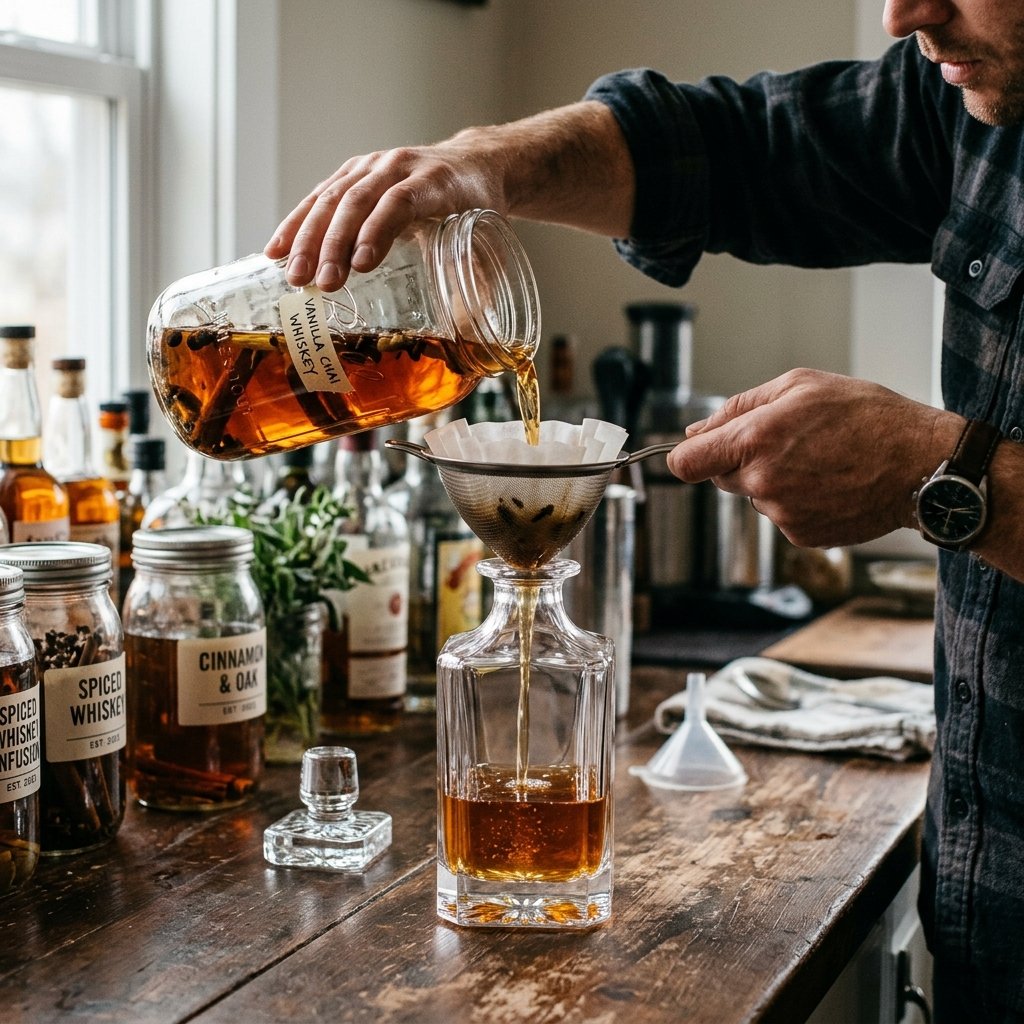
To make this kit truly foolproof, you need to include an instruction card. You can print this out on heavy cardstock, burn the edges slightly with a lighter for a vintage treasure-map look, and tuck it into the box. Here is the step-by-step masterclass he needs to follow to achieve liquid gold.
- Combine and Conquer: Pour your chosen botanical blend into the large, empty infusion bottle. Pour 16 oz (2 cups) of your base whiskey over the ingredients. Seal the bottle tightly.
- The Dark Room: Give the bottle a good, vigorous shake. Store the bottle in a cool, dark place (like a liquor cabinet or pantry). Sunlight is the enemy of a good infusion, as it can degrade the flavors and alter the color.
- The Daily Shake & Taste: Once a day, take the bottle out and give it a gentle swirl. Crucial Step: Taste it daily! Infusion times are just guidelines. Ingredients like hot peppers or coffee can overpower a whiskey in a matter of hours. Once the flavor hits your perfect sweet spot, it is time to strain.
- The Double Strain: Do not just pour it straight into a glass. Set a fine-mesh sieve over a clean bowl or measuring cup. For an ultra-clear, professional-looking spirit, line the sieve with a standard paper coffee filter or a piece of clean, unbleached cheesecloth. Pour the infused whiskey through. This removes all the tiny grit and sediment.
- Bottle & Enjoy: Rinse out your infusion bottle to remove any leftover spice residue, then pour your newly crafted, bespoke whiskey back in. It is now ready to be sipped neat, poured over a large ice cube, or mixed into a killer Old Fashioned.
“Patience is a virtue, but vigilance is a necessity. A coffee infusion left for 12 hours is a masterpiece; left for 72 hours, it is a bitter mistake. Taste daily!”
Next-Level Packaging: Wax Seals, Leather Tags, and Masculine Elegance
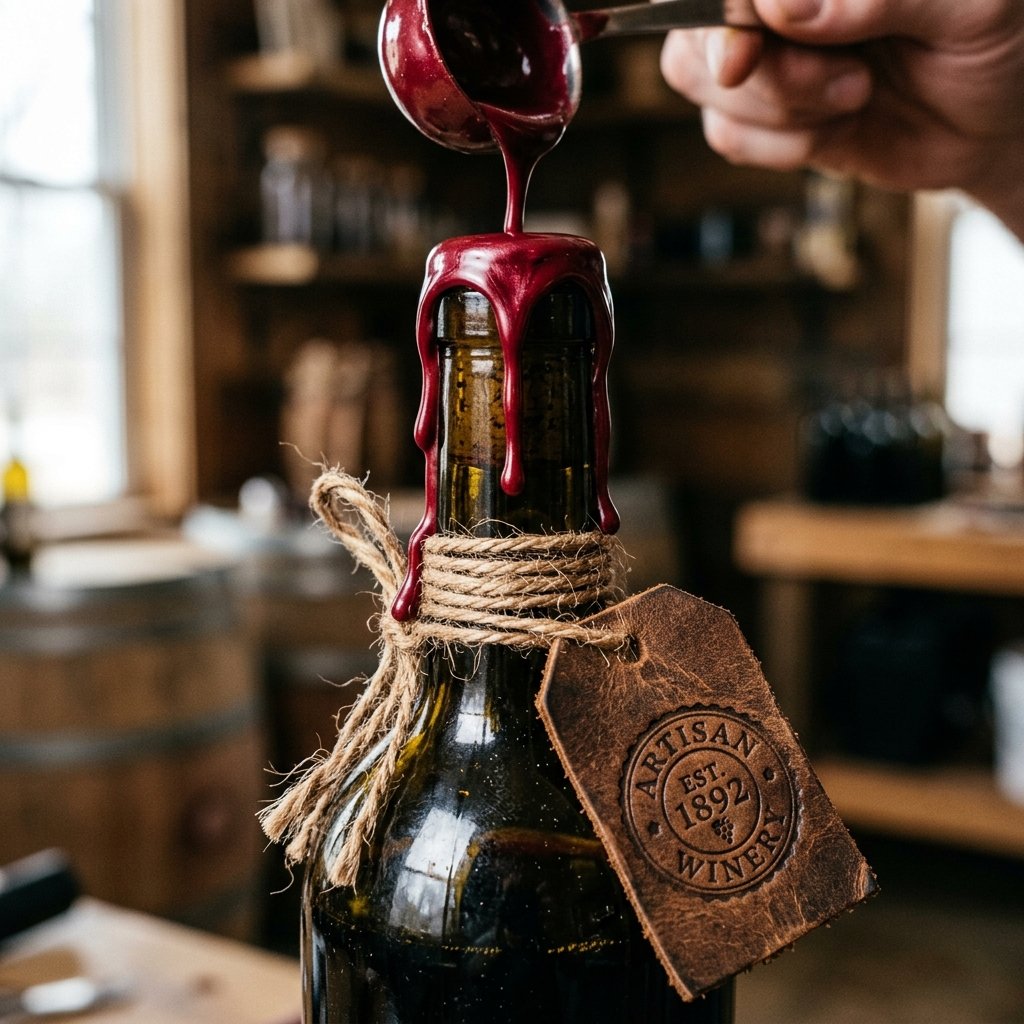
The difference between a “craft project” and a “high-end bespoke gift” is entirely in the finishing touches. Since we saved so much money on the materials, we can afford to spend a little extra time on the aesthetics. Let us dress this kit up to look like it belongs on the top shelf of a speakeasy.
1. DIY Faux Wax Seals
Nothing says “premium” like a wax-sealed bottle. You do not need expensive sealing wax for this. You can use standard hot glue and a crayon! Take a cheap hot glue gun, push a colored crayon (black, deep red, or metallic gold) through the chamber, and let it melt over the cork or swing-top of your empty infusion bottle. While it is still warm, press a decorative button or a coin into the wax to create a custom crest.
2. Upcycled Leather Labels
Instead of paper labels that might peel off, create rugged leather tags. Head to a thrift store and buy an old, beat-up leather belt or purse for $1.00. Cut the leather into small rectangles. Use a metal hole punch to create a hole at the top, and thread a piece of jute twine through it. You can write on the leather with a metallic gold or silver Sharpie, or if you have a cheap set of metal stamping tools, stamp the name of the blends directly into the leather.
3. The Box Assembly
Take your wooden cigar box or stained crate. Fill the bottom with wood excelsior (wood shavings) or crinkle paper. Nestle the large empty infusion bottle in the center. Arrange your spice vials neatly around the bottle. Tuck your burned-edge instruction card and recipe list into the lid. For a final touch, you can include a small, inexpensive stainless steel funnel (often found at the Dollar Tree in sets of three) to help him pour the liquor without spilling.
Troubleshooting & Pro Tips: The Master Crafter’s FAQ
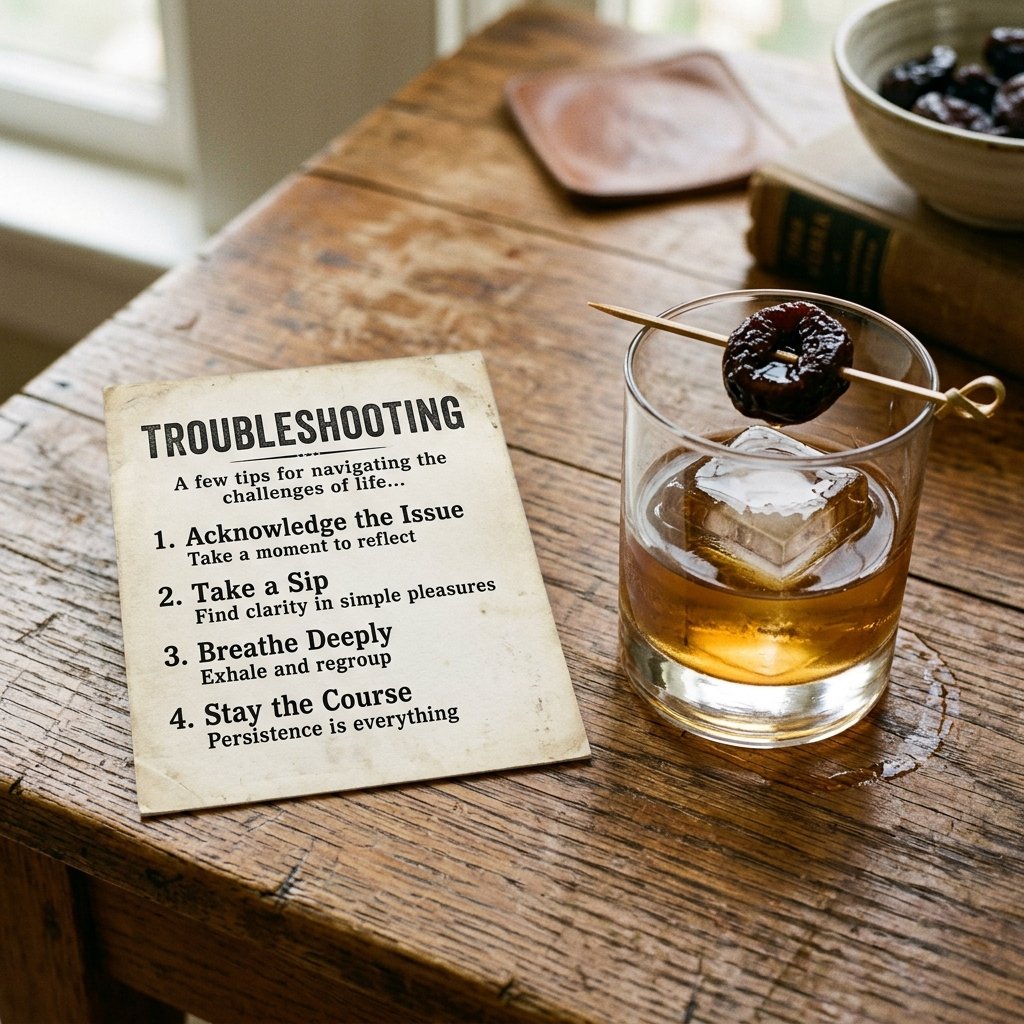
Even with the best instructions, DIY projects can sometimes go awry. Include a small “Troubleshooting” section on the back of his instruction card to ensure his whiskey turns out perfectly every time.
What if the infusion is too bitter?
If he left the coffee beans or the oak chips in too long and the whiskey became overly tannic or bitter, do not throw it away! Tell him to create a simple syrup (equal parts water and sugar dissolved over heat) and add it to the whiskey one teaspoon at a time until the bitterness is balanced out. He has accidentally (but successfully) made a bottled cocktail!
What if the flavor is too weak?
If the 5 days have passed and the apple/cinnamon flavor is barely there, the spices might have been old, or the ambient temperature was too cold. Simply tell him to add a fresh batch of the botanical blend and wait another 48 hours. Infusing at a slightly warmer room temperature helps extract oils faster.
Can he eat the fruit afterwards?
Absolutely! The “drunken” dried apples, cherries, or pecans left over from the infusion process are incredible. They can be chopped up and baked into brownies, used as a garnish for his cocktails, or spooned over vanilla ice cream for a decadent, boozy dessert.
Conclusion
Creating a DIY Whiskey Infusion Kit is the ultimate exercise in clever, budget-savvy gifting. By upcycling thrifted finds, sourcing bulk spices, and understanding the simple science behind flavor extraction, you have bypassed the massive retail markups of the craft liquor industry. More importantly, you have created a deeply personal, interactive gift that speaks to his rugged tastes and provides him with a fun, hands-on hobby.
The next time a holiday, anniversary, or birthday rolls around, skip the crowded mall and the overpriced liquor store. Roll up your sleeves, grab your mason jars, and start building. Not only will you save a small fortune, but you will give him a top-shelf experience that he will be bragging about to his buddies for years to come. Cheers to frugal crafting, and cheers to a perfectly poured, custom-blended glass of whiskey!

Makenzie is the founder and lead writer at MoneyHackTips.com — a personal finance blog dedicated to delivering street-smart financial wisdom for real people on real budgets. With 300+ published articles covering everything from debt management to investing fundamentals, Makenzie’s mission is to make every dollar work harder. When not writing about money hacks, Makenzie is testing frugal living strategies, optimizing side hustles, and helping readers build financial freedom from scratch.