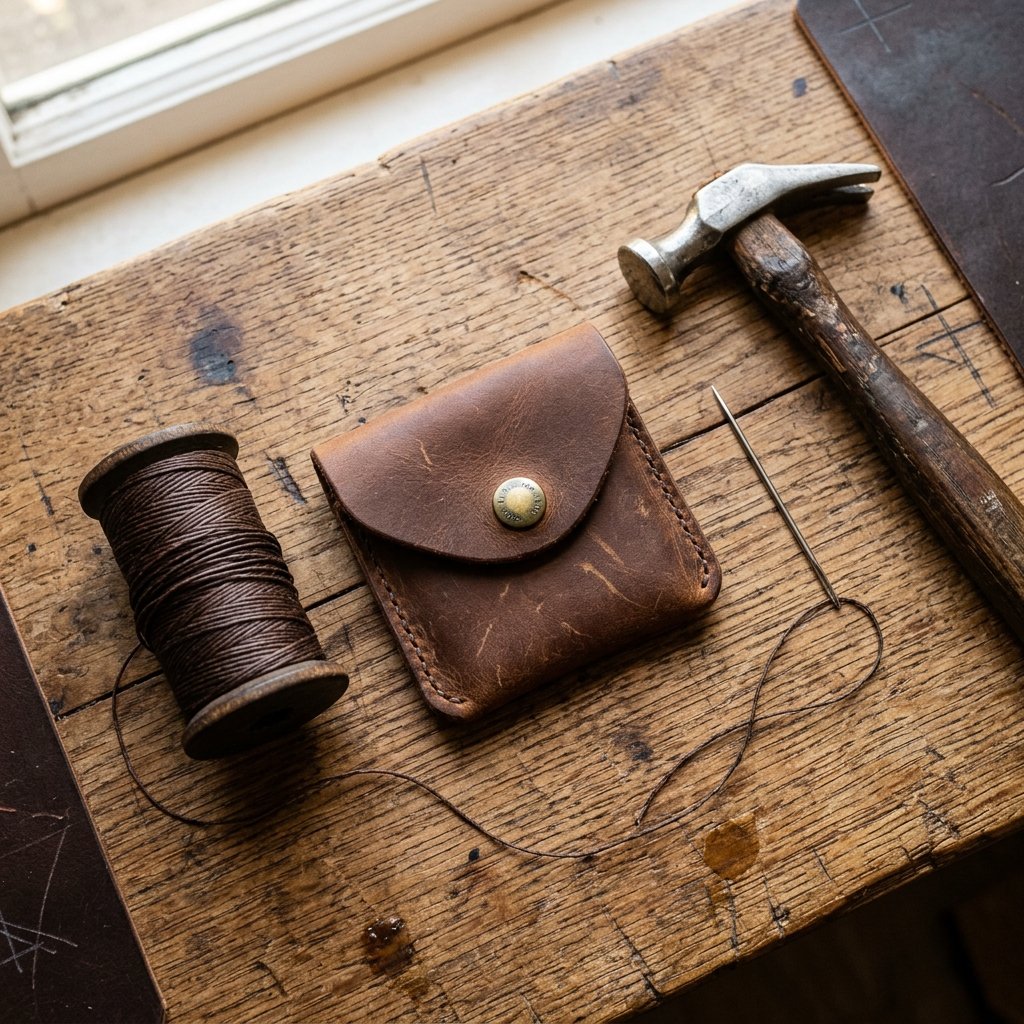

Finding a gift for the man who has everything—or the man who claims he wants nothing—is a perennial challenge for the frugal crafter. We want something that feels substantial, looks expensive, and serves a practical purpose without cluttering a drawer. Enter the DIY leather coin pouch. This isn’t just a craft project; it is an exercise in rugged elegance and utilitarian design. In a world of plastic and disposability, a hand-stitched leather accessory carries a weight of intentionality that store-bought items simply cannot match. Whether he needs a place for loose change, guitar picks, or those tiny EDC (Everyday Carry) items that always get lost in his pockets, this pouch is a solution he will actually reach for every single morning.
As a budget-savvy maker, you don’t need a thousand-dollar workshop to produce professional-grade leather goods. By sourcing scraps resourcefully and mastering a few basic hand-sewing techniques, you can create a piece that rivals high-end boutique brands retailing for $50 to $85. We are going to dive deep into the art of the saddle stitch, the secret to glass-smooth edges, and the clever ways to personalize leather so it tells a story. Grab your coffee, clear off the workbench, and let’s build something that will last a lifetime.
The Thrifty Scavenger’s Guide to Premium Leather
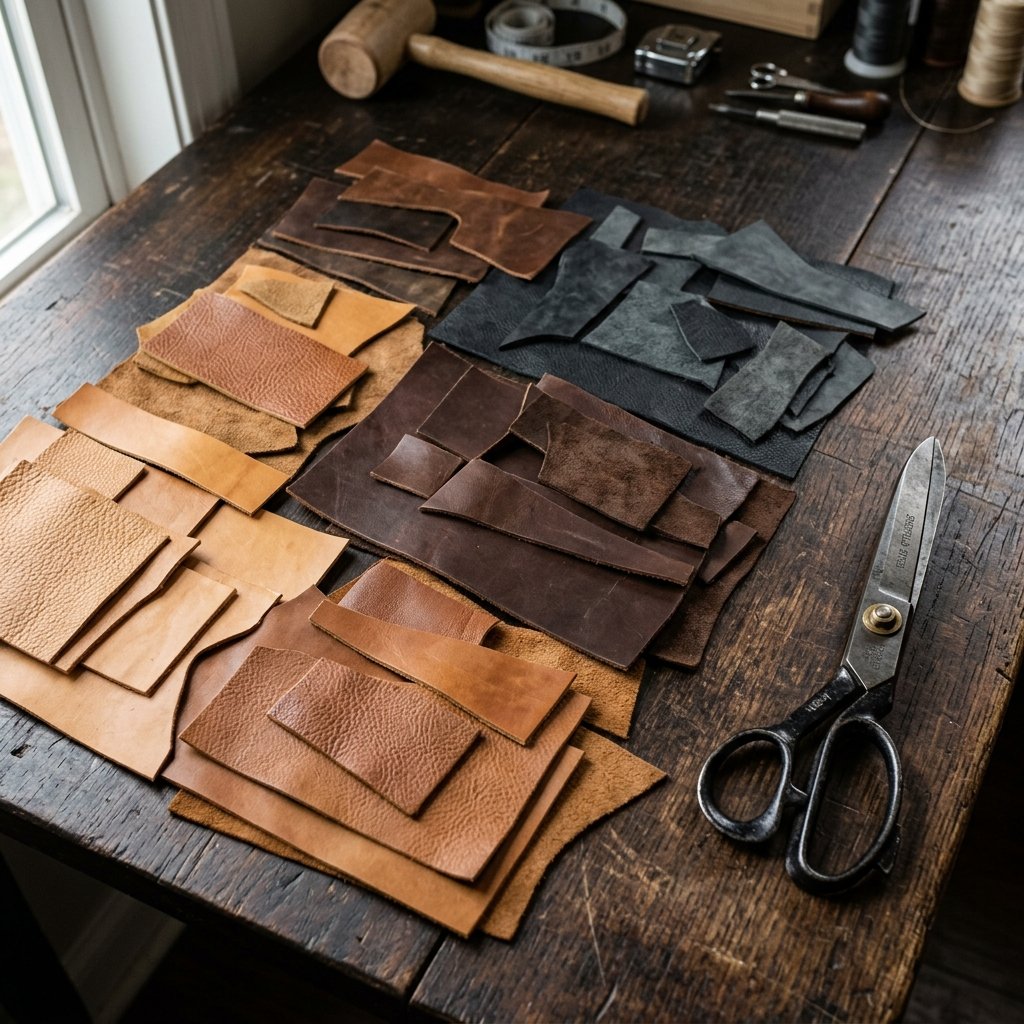
The biggest hurdle for most beginners is the perceived cost of leather. However, the clever crafter knows that leather is everywhere if you know where to look. You do not need to buy a full hide from a specialty tannery to make a small coin pouch. In fact, some of the most beautiful patinas come from upcycled sources.
Where to Find Budget-Friendly Leather
- Thrifted Leather Jackets: Look for heavy-duty, older leather coats at thrift stores. One jacket can provide enough material for dozens of pouches, often for less than $10.
- Upholstery Scraps: Visit local furniture repair shops. They often have bins of high-quality leather remnants from sofas that are too small for them but perfect for us.
- Sample Books: Interior design showrooms occasionally discard leather sample books when colors are discontinued. These are the gold mine of the frugal leatherworker.
- Etsy Scrap Bags: Many professional makers sell their ‘scraps’ by the pound. Look for ‘Vegetable Tanned’ or ‘Oil Tanned’ remnants for that classic rugged look.
| Source Type | Estimated Cost | Best For… |
|---|---|---|
| Thrifted Jacket | $5 – $15 | Soft, supple pouches and lining |
| Upholstery Remnants | $0 – $5 | Durability and variety of colors |
| Craft Store Scraps | $8 – $12 | Convenience and small projects |
| Hobbyist ‘Belly’ Leather | $15 – $20 | Structured, high-end finishing |
“The beauty of leather is that it only gets better with age. A scratch or a scuff isn’t a flaw; it’s a memory. When sourcing, look for character, not perfection.”
The Essential Rugged Toolkit: Professional Results on a Budget
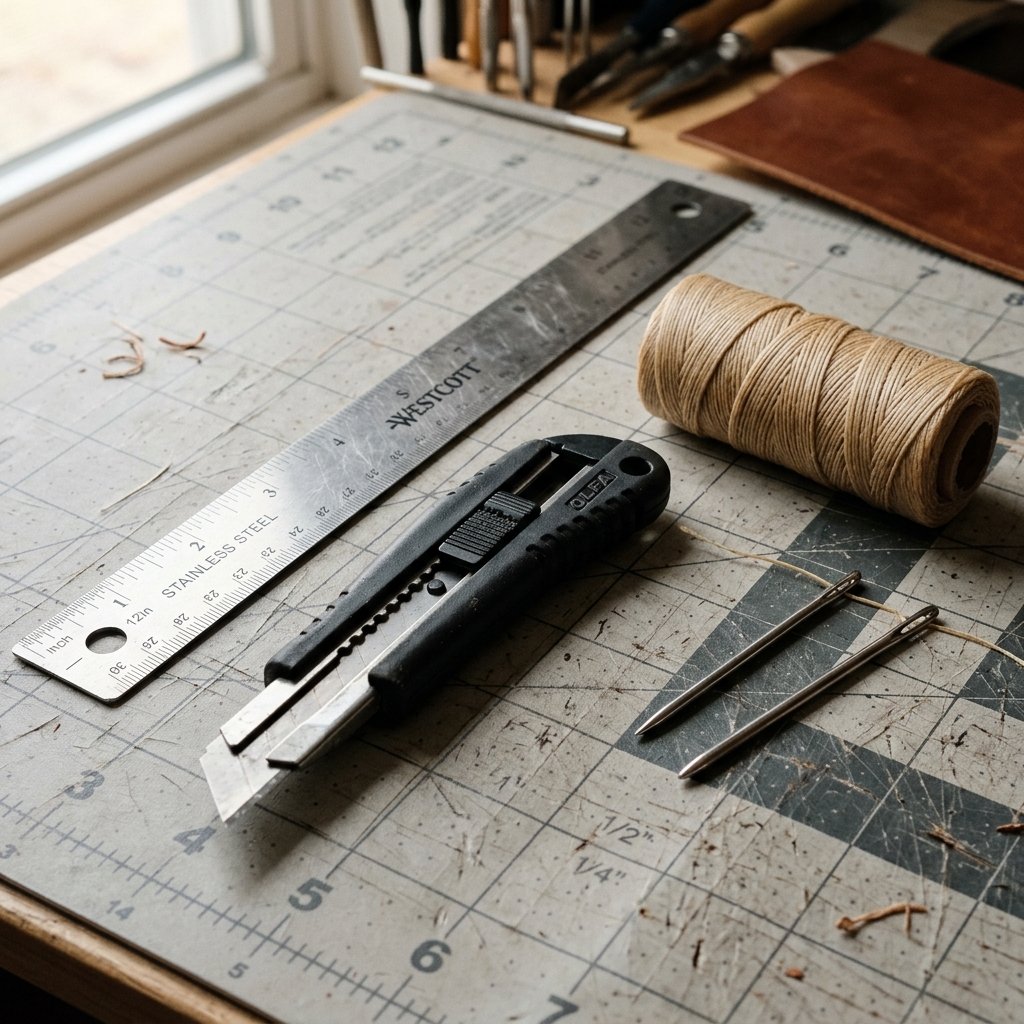
You might see elaborate leatherworking kits online for hundreds of dollars, but for a coin pouch, we can strip it down to the absolute essentials. Many of these items are already in your junk drawer or can be substituted with household tools.
The DIY Leather Kit Checklist
- Rotary Cutter or Utility Knife: A sharp blade is non-negotiable for clean edges.
- Waxed Polyester Thread: This is much stronger than standard thread and gives that iconic ‘hand-stitched’ look.
- Two Harness Needles: We use two needles simultaneously for the saddle stitch.
- A Metal Ruler: For straight cuts and as a guide for your stitching line.
- A Stitching Chisel (or a Fork!): To create evenly spaced holes. If you are on a zero-budget, a heavy-duty kitchen fork and a mallet can mark your spots.
- Contact Cement: This holds the leather pieces together while you sew, ensuring nothing shifts.
Safety Tip: Always cut away from your body and use a self-healing mat or a thick piece of scrap wood to protect your table. Leather tools are deceptively sharp!
Designing the Silhouette: Three Masculine Styles
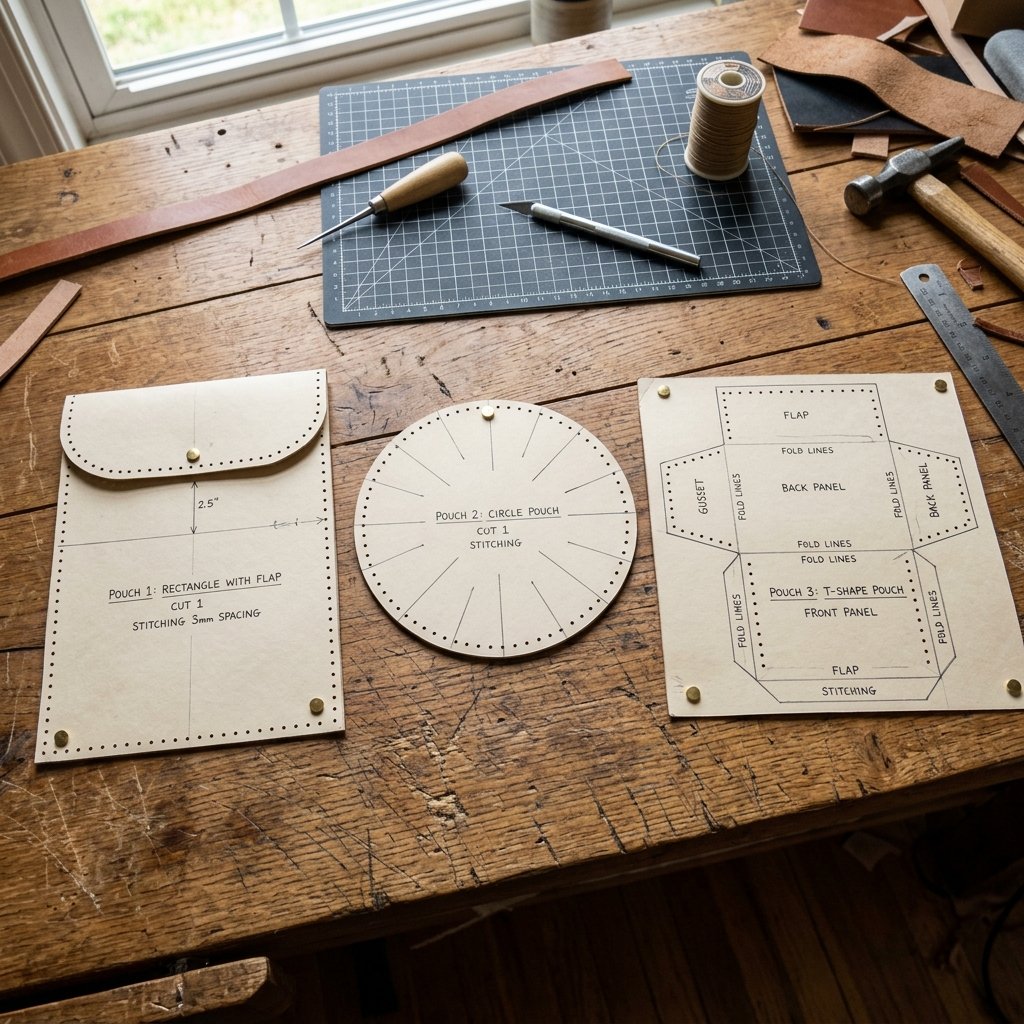
Before we cut, we must decide on the ‘vibe.’ Men’s accessories usually lean toward minimalism and functionality. Here are three designs that are easy to execute but look incredibly sophisticated.
1. The Minimalist Envelope
A single piece of leather folded over itself and secured with a single snap. This is the easiest for beginners and fits perfectly in a front pocket. It’s sleek, slim, and very modern.
2. The Rugged ‘Taco’ Pouch
A circular piece of leather folded in half with a zipper or snaps along the curve. This style allows for more ‘expansion’ if he carries a lot of coins or small tools like hex bits.
3. The Boxed Valet Pouch
Using two side gussets to create a rectangular shape. This is more advanced but offers the most ‘luxury’ feel, resembling high-end designer coin purses. It sits flat on a nightstand, making it a great ‘catch-all’ at the end of the day.
| Style | Difficulty | Material Usage | Estimated Time |
|---|---|---|---|
| Envelope | Beginner | Low (Small scrap) | 45 Mins |
| Taco | Intermediate | Medium | 1.5 Hours |
| Boxed Valet | Advanced | High (Multiple pieces) | 3 Hours |
Step-by-Step Construction: The Master’s Method
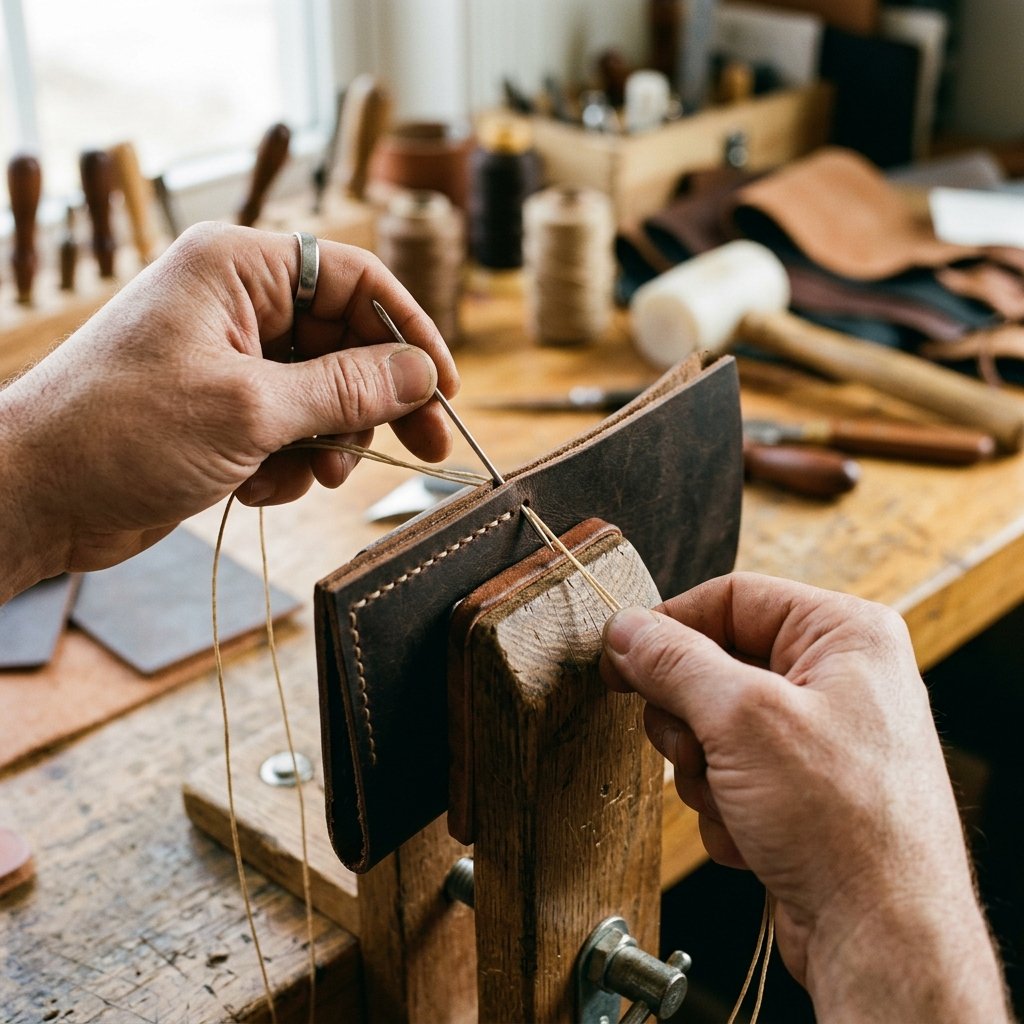
Let’s build the Minimalist Envelope Pouch. This design is timeless and highlights the quality of the leather and your stitching.
Step 1: The Template and Cut
- Create a paper template: a rectangle 3 inches wide by 7 inches long. Round the corners of one end to create the top flap.
- Trace the template onto the ‘flesh’ (back) side of the leather using a silver pen or a scratch awl.
- Cut slowly using your utility knife and metal ruler. One steady pass is better than five jagged ones.
Step 2: Preparing the Fold
Fold the bottom 2.5 inches up toward the top. Use a bone folder or the back of a spoon to crease the bottom edge. Apply a thin layer of contact cement to the side edges where the leather will meet. Let it get ‘tacky’ (about 5 minutes) before pressing the sides together.
Step 3: Punching the Stitching Holes
Using your stitching chisel or a hammer and nail, punch holes through both layers of leather along the glued side edges. Space them about 4mm apart. Stay 1/8th of an inch away from the edge to prevent tearing.
Step 4: The Saddle Stitch
The Saddle Stitch Formula: Measure your thread to be 4 times the length of the seam. Thread a needle on both ends. Pass one needle through the first hole until the thread is centered. Then, pass both needles through every subsequent hole from opposite sides, creating an interlocking ‘X’ inside the leather. This stitch will never unravel, even if one thread breaks.
The Finishing Touches: From ‘Homemade’ to ‘Handcrafted’
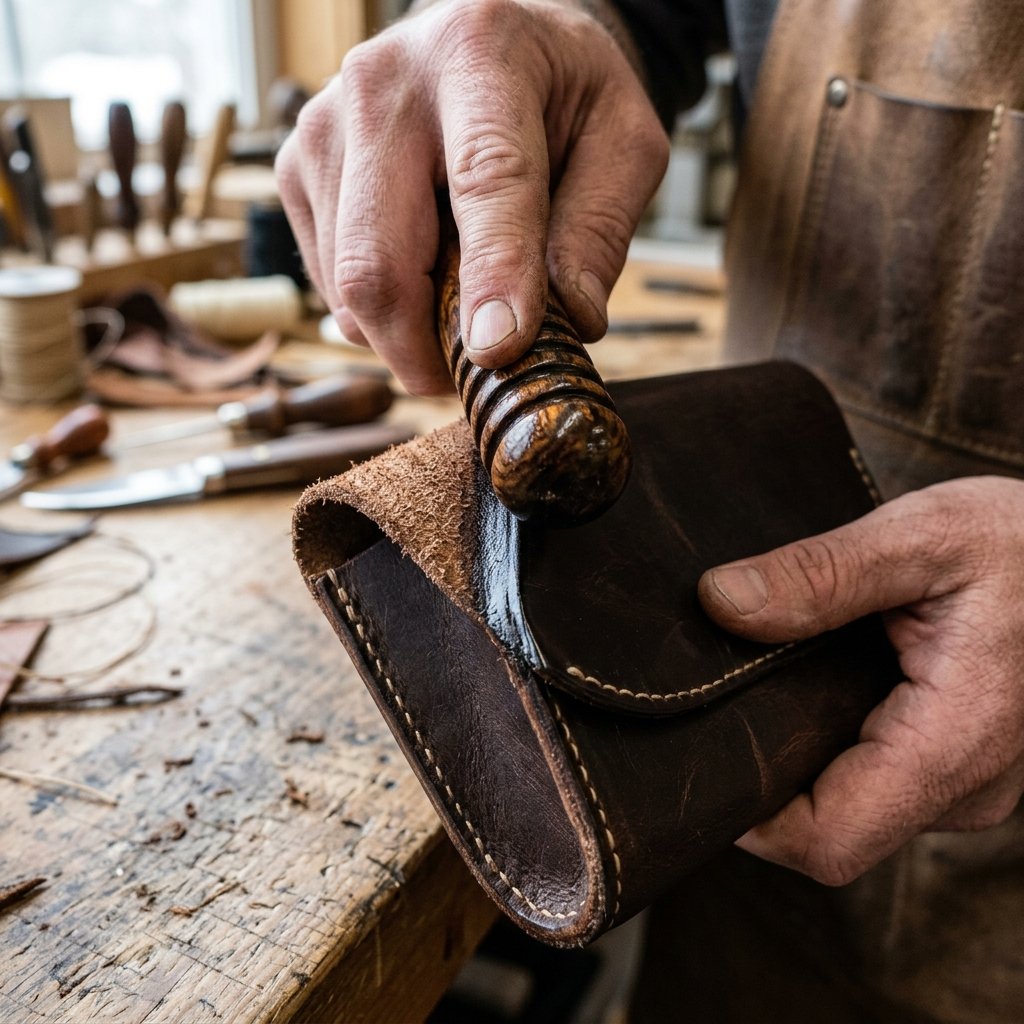
The difference between a craft project and a professional product is in the edges. Raw, fuzzy leather edges look cheap. We want them to look like polished wood.
Edge Burnishing for a Glass Finish
You don’t need expensive edge paint. Simply dampen the edges of the leather with a little bit of water or even wood slicker. Rub the edge vigorously with a piece of canvas or a smooth wooden dowel. The friction creates heat, which compresses the fibers and creates a shiny, hard, professional edge. This process takes about 10 minutes but adds $30 of perceived value.
Installing the Hardware
A rugged brass snap is the perfect closure. You can buy a simple snap-setting kit for under $10. Center the snap on the flap and the body of the pouch. A quick strike with a mallet, and you have a satisfying ‘click’ every time he opens it.
Personalization: The ‘Heirloom’ Factor
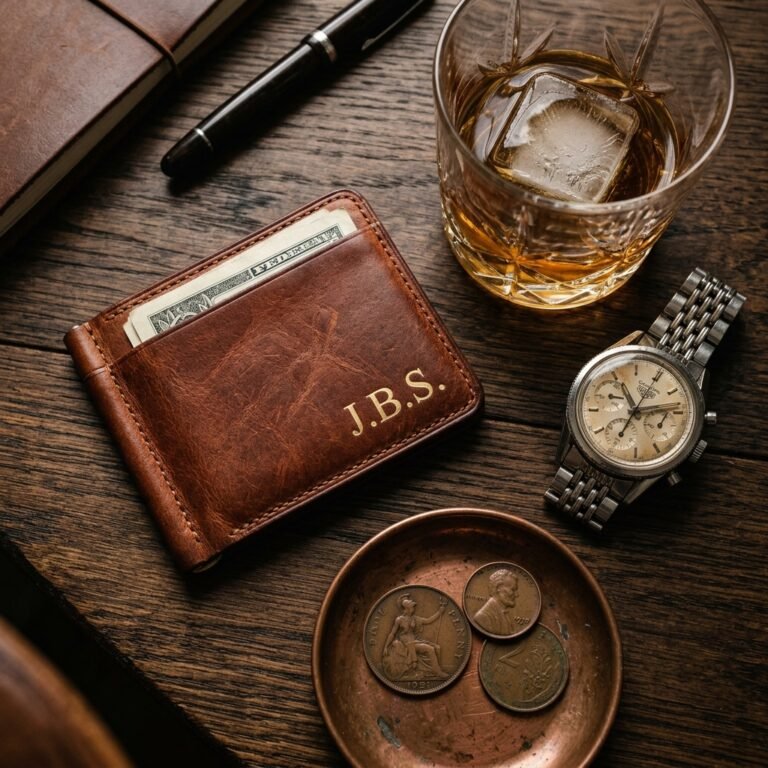
- Hand-Stamping: Use a cheap set of metal alphabet stamps to indent his initials into the leather while it is slightly damp.
- Custom Dyeing: If you used natural veg-tan leather, you can use a bit of coffee or tea to give it a unique, ‘aged’ stain before sealing it with beeswax.
Cost Analysis: DIY vs. High-End Retail
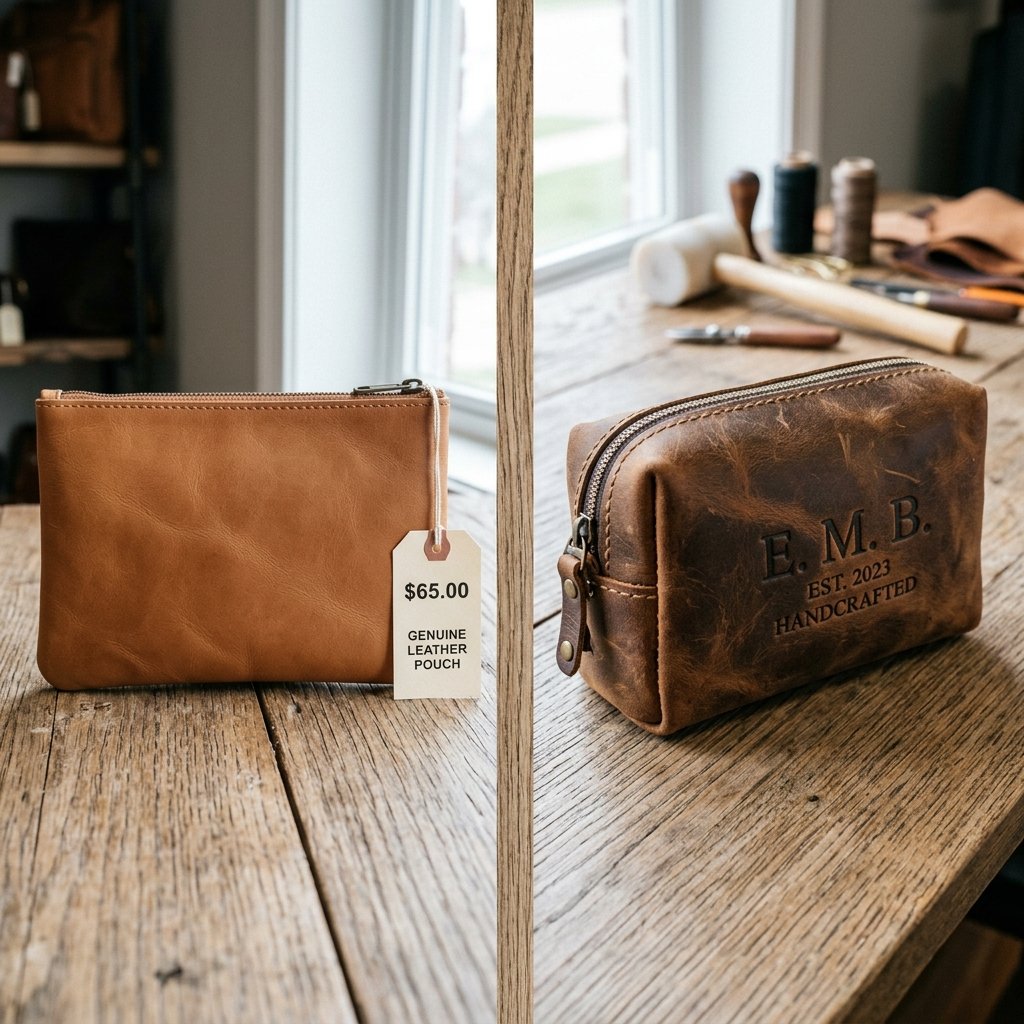
Why do we do this? Besides the joy of creating, the savings are astronomical. When you make it yourself, you aren’t paying for a brand name; you are paying for the quality of the hide and your own skill.
| Item | Boutique Retail Price | DIY Frugal Cost |
|---|---|---|
| Premium Leather | Included | $2.00 (Scraps/Upcycled) |
| Hardware (Snap/Zipper) | Included | $0.50 |
| Labor/Craftsmanship | $40 – $60 | $0.00 (Your sweat equity!) |
| Thread & Finishing | Included | $0.25 |
| Total Cost | $65.00+ | $2.75 |
By choosing the DIY route, you are saving over 95% compared to luxury retail prices, and you have the added benefit of knowing exactly how it was made. That is the definition of being budget-savvy.
Conclusion
There is something deeply satisfying about handing a man a gift and watching his face change from polite curiosity to genuine admiration when he realizes you made it by hand. This leather coin pouch is more than just a place to keep nickels and dimes; it is a testament to your resourcefulness and your eye for quality. It’s a piece that will sit in his pocket for years, darkening with the oils of his hands and developing a rich patina that tells the story of his daily life. You didn’t just save $60 today; you created an heirloom. So, go ahead—stamp those initials, burnish those edges until they shine, and give him something he will actually use. Happy crafting!

Makenzie is the founder and lead writer at MoneyHackTips.com — a personal finance blog dedicated to delivering street-smart financial wisdom for real people on real budgets. With 300+ published articles covering everything from debt management to investing fundamentals, Makenzie’s mission is to make every dollar work harder. When not writing about money hacks, Makenzie is testing frugal living strategies, optimizing side hustles, and helping readers build financial freedom from scratch.