
The Art of the Rugged Canine Accessory
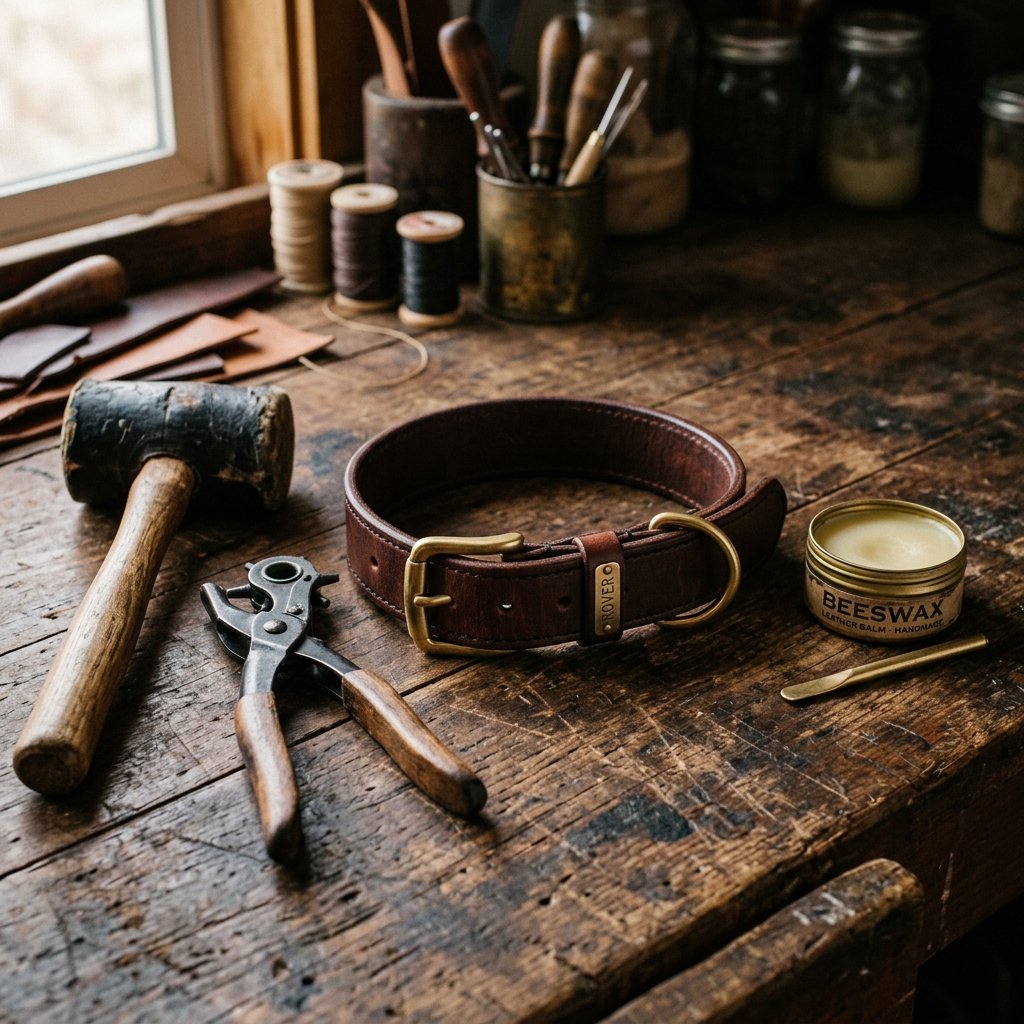
There is something deeply satisfying about the smell of genuine leather and the sound of solid brass hardware clinking together. For the man who treats his dog as his most loyal companion, a store-bought nylon collar just doesn’t cut it. You want something that reflects a rugged, masculine elegance—a piece of gear that ages with character and stands up to every trail, creek, and backyard adventure. In this guide, we are going to dive into the world of leathercrafting to create a custom, high-end dog collar without the $80 boutique price tag. Whether you are upcycling an old belt or working with affordable leather scraps, this project is about combining budget-savvy resourcefulness with expert-level craftsmanship. We aren’t just making a collar; we are crafting a legacy piece for his best friend.
The Master Craftsman’s Inventory: Materials and Budgeting
Sourcing Quality on a Dime
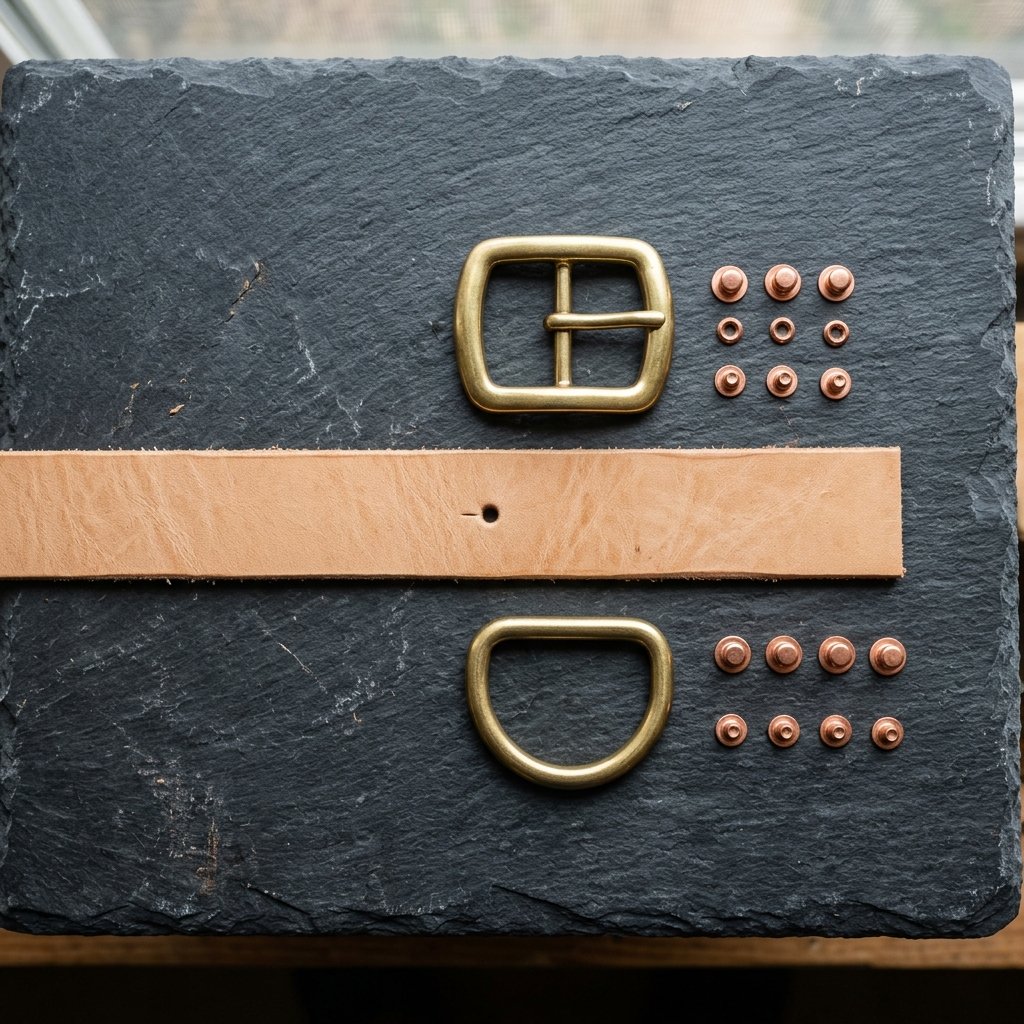
Before we strike the first punch, we need to gather our materials. The secret to a professional look is in the quality of the leather and the weight of the hardware. For a collar that lasts, vegetable-tanned leather is the gold standard because it develops a beautiful patina over time. However, if you are being truly resourceful, you can often find thick, full-grain leather belts at thrift stores for under $5. Just ensure the leather isn’t ‘genuine leather’ (which is often bonded scraps) but rather a solid single piece.
| Material | Estimated DIY Cost | Store-Bought Equivalent |
|---|---|---|
| Full-Grain Leather Strip (1″) | $4.00 – $7.00 | $25.00 |
| Solid Brass Buckle | $2.50 | $15.00 |
| Heavy Duty D-Ring | $1.00 | $8.00 |
| Copper or Brass Rivets (4pk) | $1.50 | $10.00 |
| Leather Finish/Beeswax | $0.50 (per use) | $12.00 (full bottle) |
| Total | $9.50 – $12.50 | $70.00 – $90.00 |
Budget Mantra: A craftsman is not defined by the price of his tools, but by the precision of his hands and the resourcefulness of his spirit.
Precision Prep: Measuring and Cutting for the Perfect Fit
The Golden Rule: Measure Twice, Cut Once
The most common mistake in DIY collar making is a poor fit. We want this collar to be comfortable for the dog while remaining secure. Using a soft measuring tape, measure the dog’s neck where the collar usually sits. Add 2 inches for comfort and an additional 4-6 inches for the ‘tail’ of the collar (the part that goes through the buckle).
- Small Dogs: 5/8″ width leather
- Medium Dogs: 3/4″ width leather
- Large Dogs: 1″ to 1.5″ width leather
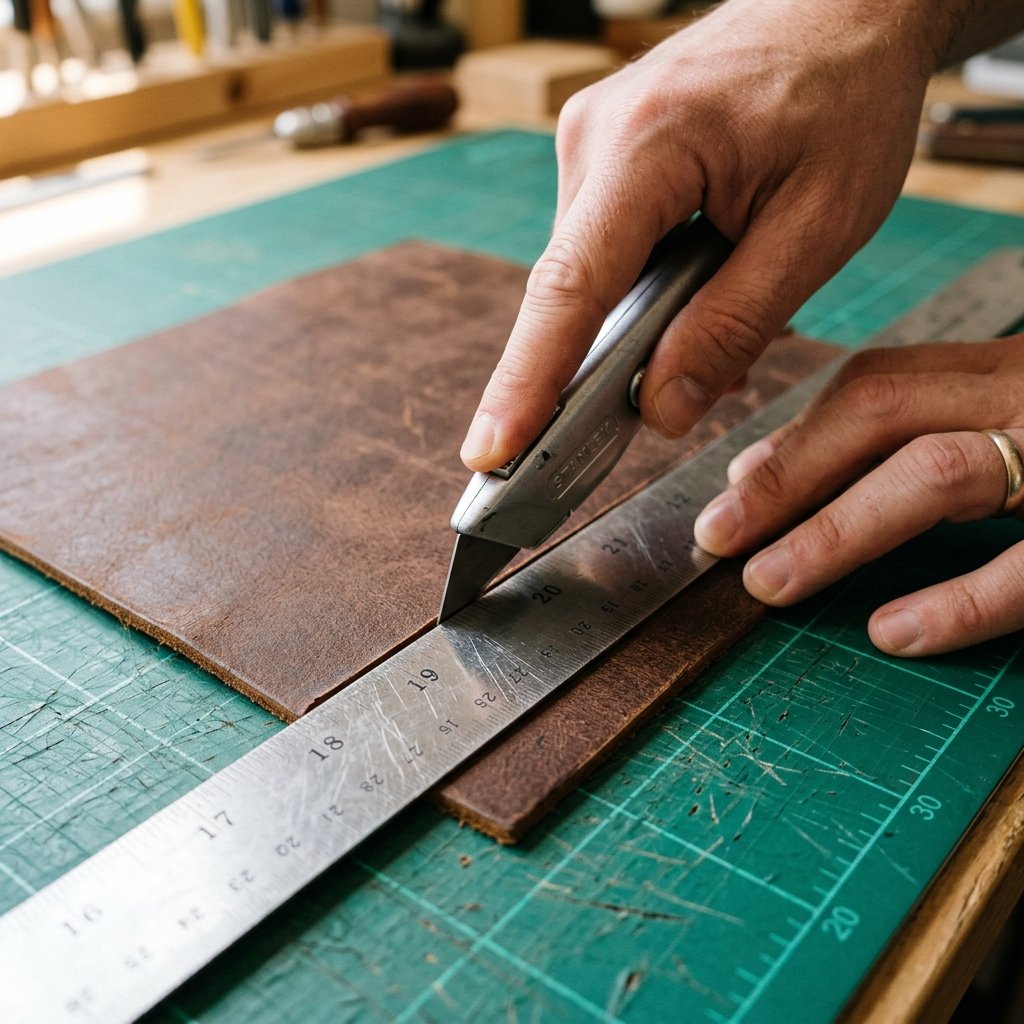
Once you have your length, use a sharp utility knife and a metal straight edge to cut your strip. If you are using a thrifted belt, you may only need to trim it to length. To get that professional rounded end (the ‘English Point’), use a small coin as a template to trace a curve at the end of the strap before cutting. This small detail elevates the piece from ‘homemade’ to ‘handcrafted.’
The Burnish: Achieving That High-End Factory Edge

The Secret of Friction
Raw leather edges look fuzzy and unfinished. To get that sleek, glossy edge found on luxury goods, we use a process called burnishing. You don’t need expensive edge paints. All you need is a little bit of water (or even saliva, in a pinch!) and a piece of scrap canvas or a wooden burnisher.
- Bevel the edges slightly with a piece of sandpaper or an edge beveler tool if you have one.
- Dampen the edge of the leather with a small amount of water.
- Rub the edge vigorously with the wood or canvas until the friction generates heat.
- As the fibers compress, the edge will turn dark and shiny.
- Seal it with a bit of natural beeswax for a waterproof finish.
Safety Note: When using utility knives or sharp bevelers, always cut away from your body and keep your fingers clear of the blade’s path.
Hardware Installation: Rivets and Strength
Setting the Foundation
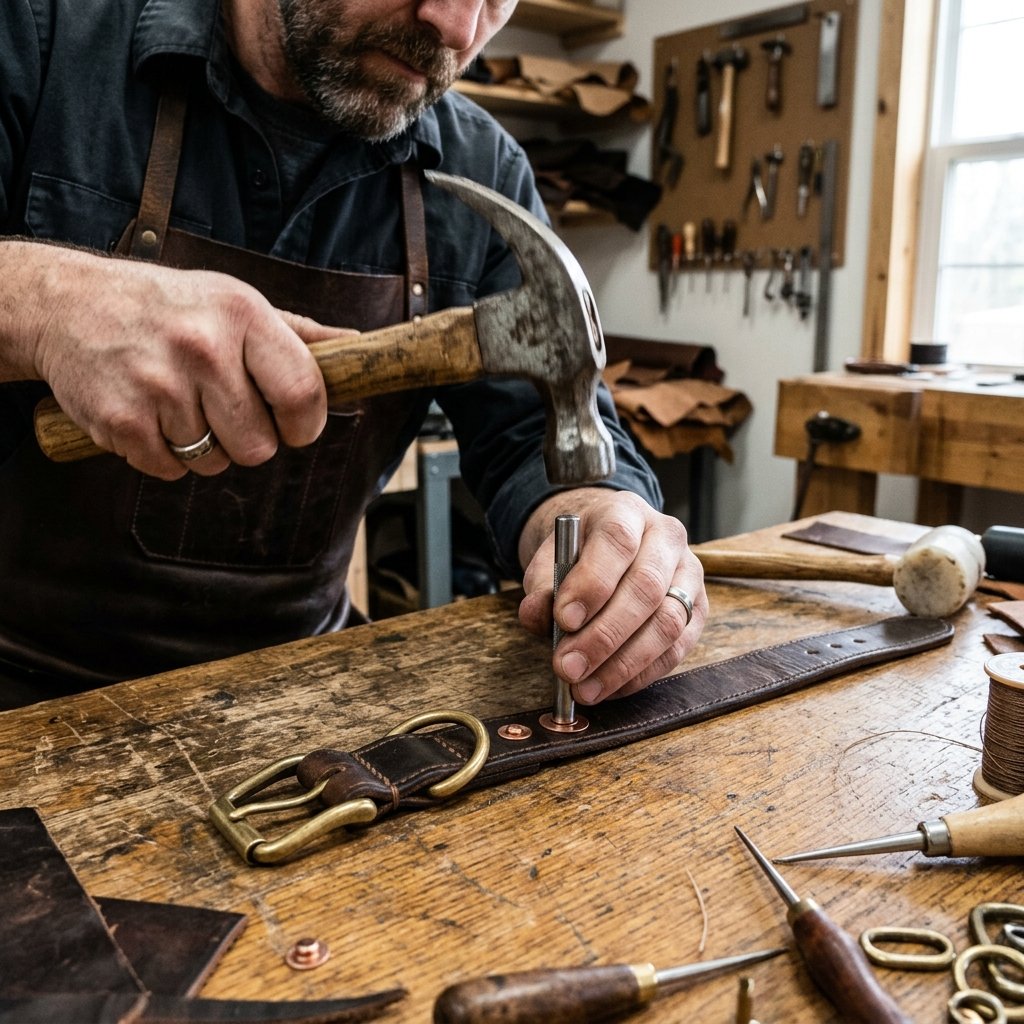
Now comes the ‘rugged’ part. We are going to secure our hardware using rivets. Unlike stitching, which can rot or snap under the pressure of a pulling dog, high-quality rivets provide mechanical strength that is nearly impossible to break. You will need to punch holes for the buckle tongue, the rivets, and the adjustment notches.
The Assembly Sequence
- The Buckle Fold: Slide your buckle onto the leather. Fold the leather back about 2 inches. Mark where the buckle tongue sits and punch an elongated hole (an ‘oblong’ hole) to allow the tongue to move freely.
- The D-Ring: Slide the D-ring into the fold behind the buckle. This is where the leash will attach, so it must be sandwiched securely.
- Punching Rivet Holes: Punch two holes through both layers of leather behind the D-ring.
- Setting the Rivets: Place your rivets in the holes. Use a hammer and a rivet setter (or just a flat, hard surface) to mushroom the metal until the layers are locked tight.
By using solid copper rivets, you ensure that even if the collar gets wet, the hardware won’t rust or fail. This is the difference between a $10 DIY and a professional piece of tactical gear.
Customization: Stamping and Personalization
Making It His Own
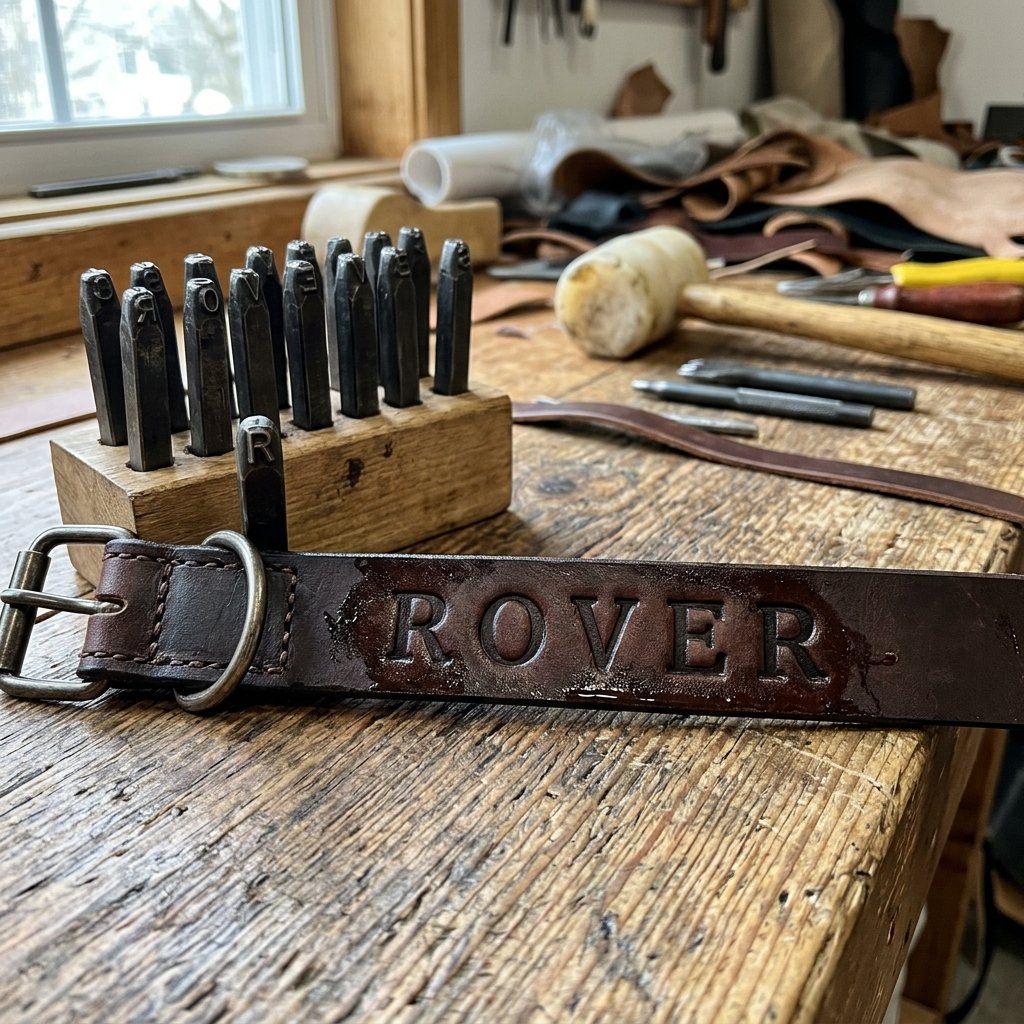
To truly ‘spoil’ him, we need to add a personal touch. Leather stamping is a simple way to add the dog’s name or a phone number directly into the hide. This eliminates the need for jingling metal tags that can get lost in the brush.
Stamping Tips for Beginners
- Case the Leather: Lightly dampen the leather with a sponge. Wait for it to return to its original color but still feel cool to the touch. This makes the leather ‘take’ the stamp much deeper.
- Firm Surface: Always stamp on a heavy, non-resilient surface like a granite block or a sturdy workbench. A bouncy table will result in a faint, uneven impression.
- One Solid Hit: Use a heavy mallet and give the stamp one decisive strike. Multiple hits can cause a ‘ghosting’ effect if the stamp shifts.
For a masculine-elegant look, keep the font simple and clean. A classic serif or block font in a 1/4″ size looks timeless against dark brown or tan leather.
Conclusion
A Gift That Tells a Story
Congratulations! You’ve just turned a simple strip of leather and a few pieces of brass into a custom, artisan-quality dog collar that any outdoorsman would be proud to see on his best friend. Not only have you saved over $60, but you’ve created something with your own two hands that will likely outlast any store-bought alternative. This collar will join them on morning hikes, rainy walks, and lazy afternoons by the fire, developing a unique story through its patina. Whether it’s a gift for a friend, a partner, or your own four-legged companion, this project proves that resourceful creativity and a little bit of elbow grease are the ultimate tools for a budget-savvy lifestyle. Go ahead, put it on him—it’s time for an adventure.

Makenzie is the founder and lead writer at MoneyHackTips.com — a personal finance blog dedicated to delivering street-smart financial wisdom for real people on real budgets. With 300+ published articles covering everything from debt management to investing fundamentals, Makenzie’s mission is to make every dollar work harder. When not writing about money hacks, Makenzie is testing frugal living strategies, optimizing side hustles, and helping readers build financial freedom from scratch.