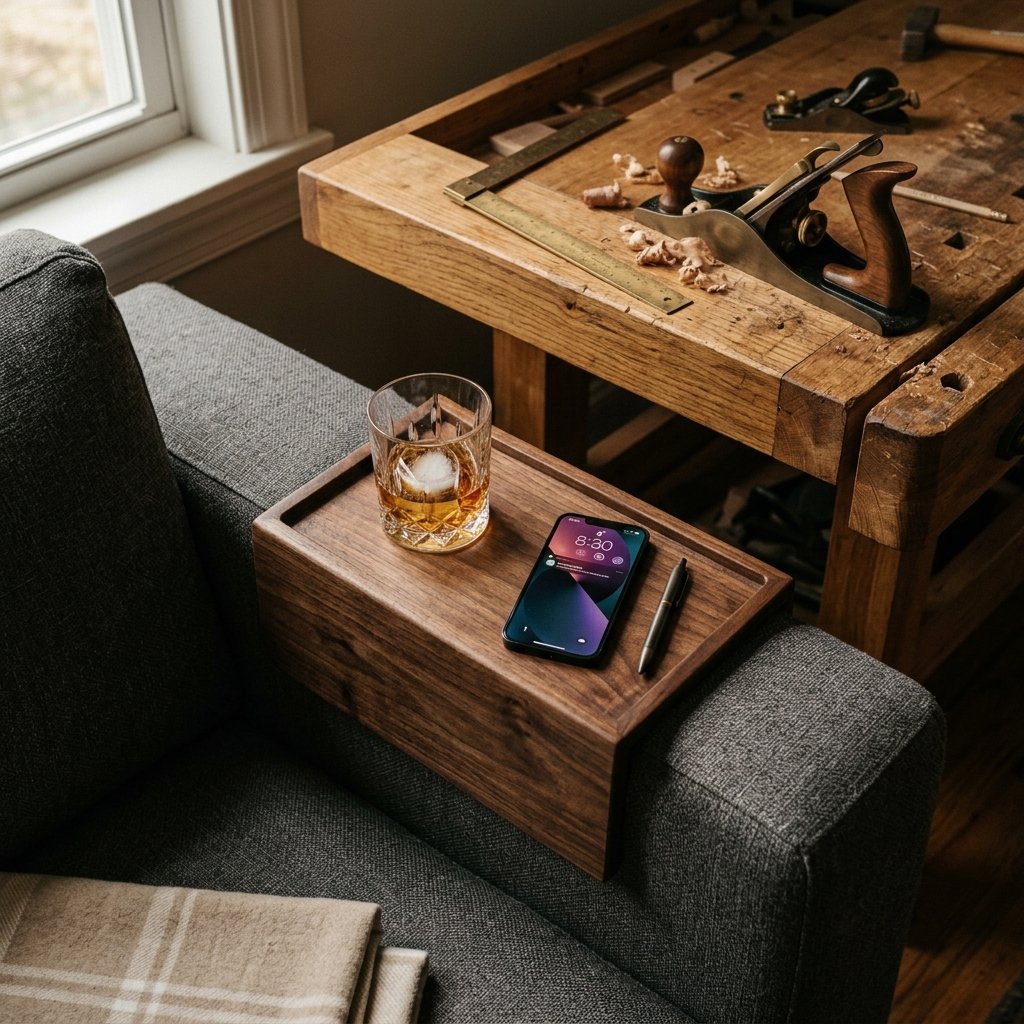

Why is it that the simplest home luxuries often carry the most inflated price tags? You’ve seen them in those high-end catalogs: a sleek piece of wood designed to hug the arm of a sofa, marketed as a ‘bespoke lounging solution’ for a staggering $50 or more. As a resourceful DIYer, you know better. That ‘luxury’ item is essentially three pieces of wood and a bit of ingenuity. Today, we are reclaiming the craft. We are going to build a rugged, masculine-elegant wooden couch arm tray that looks like it belongs in a mahogany-clad library, but costs essentially $0 to $5 to produce.
This project is the ultimate ‘trash-to-treasure’ win. Whether you are raiding your scrap wood pile, upcycling an old shipping pallet, or even repurposing a thick bamboo cutting board from the back of the pantry, the result is a functional masterpiece. It’s the perfect gift for the man who has everything but nowhere to set his coffee (or his bourbon) while watching the game. In this guide, we will bypass the retail markup and dive into a three-step process that emphasizes structural integrity, aesthetic grit, and budget-savvy sourcing.
“True luxury isn’t about what you spend; it’s about the precision of the build and the story behind the materials.”
The Blueprint: Sourcing Your Materials on a Dime
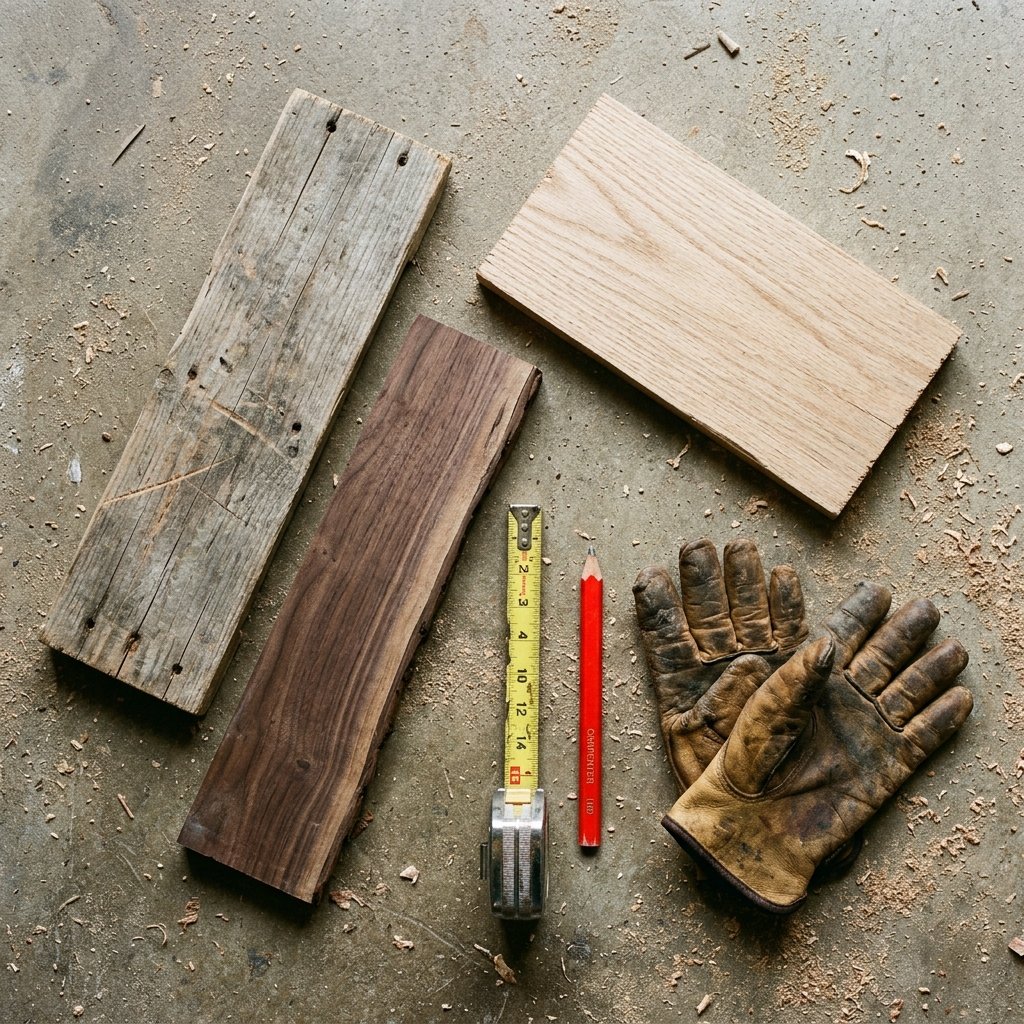
The first rule of frugal crafting is to never buy new what you can find for free. For this luxury tray, we want wood with character. Hardwoods like oak, walnut, or maple are ideal for that ‘expensive’ look, but even common pine can be transformed with the right staining technique. Look for scraps that are at least 1/2 inch to 3/4 inch thick to ensure the tray has enough weight to stay put.
Where to Find Free Luxury Wood
- Cabinet Shops: Visit a local cabinet maker and ask for their ‘offcuts.’ They often throw away beautiful strips of cherry or oak that are perfect for small projects.
- Shipping Pallets: Look for the ‘HT’ (Heat Treated) stamp. Avoid chemically treated wood. Pallet slats provide a rugged, weathered texture that looks incredible when sanded and oiled.
- Thrift Stores: An old, thick wooden cutting board can be sliced into the three pieces needed for this tray, providing instant ‘luxury’ hardwood at a $2 price point.
| Material Source | Estimated Cost | Vibe/Aesthetic |
|---|---|---|
| Scrap Hardwood (Oak/Walnut) | $0.00 | High-End Executive |
| Upcycled Pine Pallet | $0.00 | Rugged Industrial |
| Thrifted Cutting Board | $1.50 – $4.00 | Polished & Modern |
| Big Box Store (Select Pine) | $8.00 | Clean & Minimalist |
Step 1: The Precision Cut – Measuring for a Custom Fit
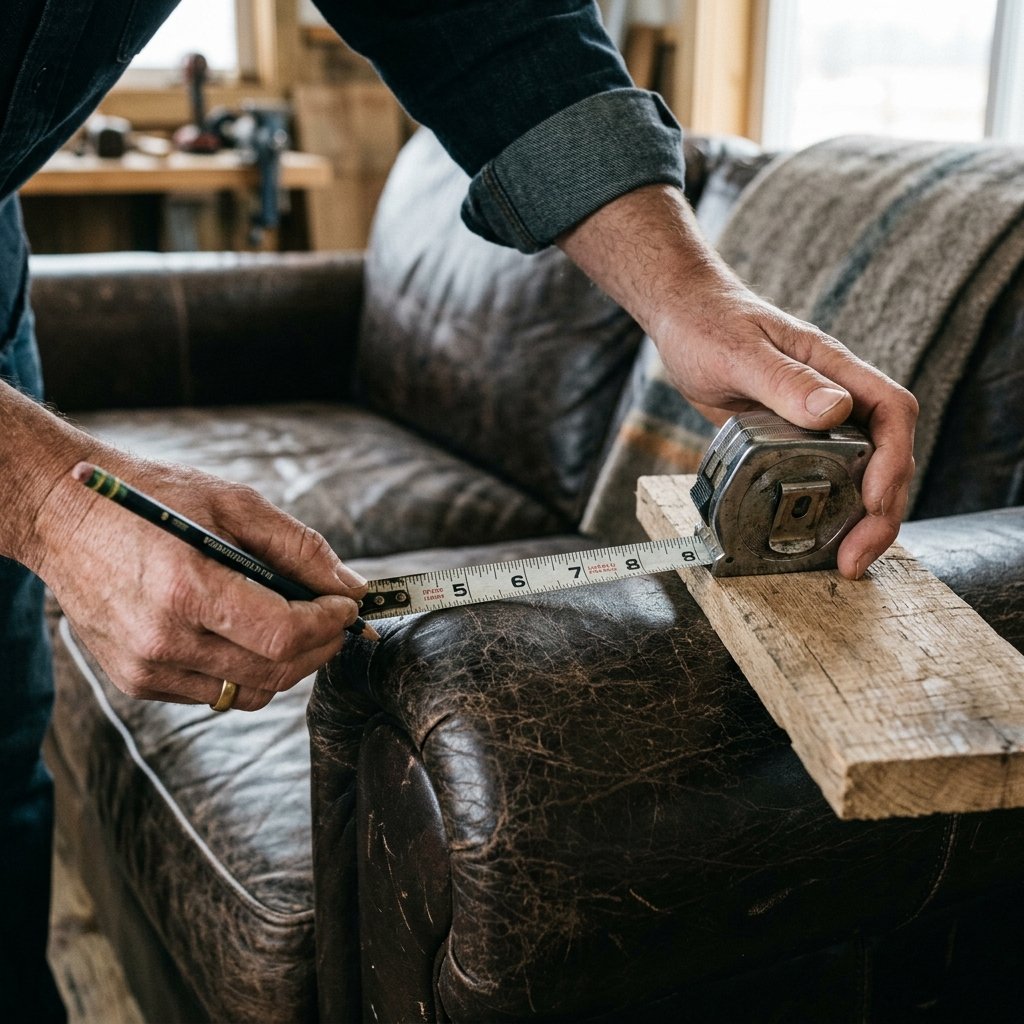
The ‘luxury’ feel comes from a perfect, snug fit. A tray that wobbles feels cheap; a tray that glides onto the armrest feels engineered. You need three pieces: a Top Plate and two Side Flanges. The width of your top plate must match the width of your couch arm plus the thickness of your two side pieces.
The Golden Measurements
- Measure the Width: Use a firm tape measure to find the exact width of your couch arm. Let’s say it is 6 inches.
- Account for the Wood: If your wood is 3/4 inch thick, your top plate needs to be 6 inches + 3/4 inch + 3/4 inch = 7.5 inches wide.
- Determine the Depth: A depth of 10 to 12 inches is standard for holding a plate or a drink comfortably.
- The Side Flanges: These should be at least 4 to 6 inches tall to provide enough leverage to ‘grip’ the armrest.
“Measure twice, cut once, and always sand the edges before you join. A smooth transition is the hallmark of a master crafter.”
Step 2: The Structural Build – Joining with Integrity
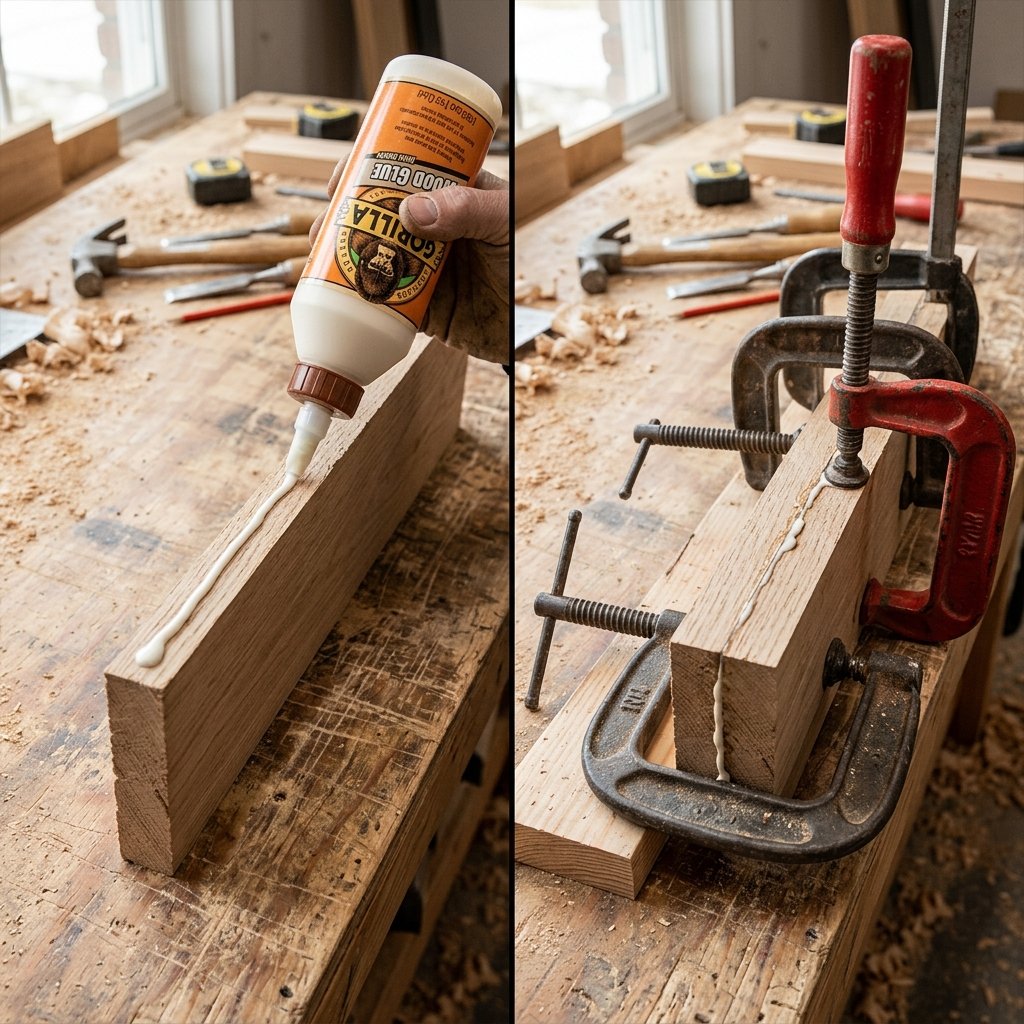
We aren’t just gluing wood together; we are creating a bond that will last for years. For a clean, fastener-free look, we will use a combination of wood glue and internal reinforcement. If you want a more ‘rugged’ look, blackened steel screws can add a nice industrial touch.
Assembly Instructions
- Apply the Bead: Run a thin, consistent bead of high-quality wood glue along the top edges of your side flanges.
- The Alignment: Place the top plate over the flanges. Ensure the edges are perfectly flush. Pro Tip: Use a carpenter’s square to make sure your angles are exactly 90 degrees.
- Clamp It Down: If you don’t have clamps, use heavy books or a gallon of paint to apply pressure while the glue dries (usually 30 minutes for a tack, 24 hours for full cure).
- Reinforce (Optional): For extra strength, drive small finishing nails or use a countersink bit to hide screws beneath wood filler.
| Joining Method | Skill Level | Pros |
|---|---|---|
| Wood Glue & Clamps | Beginner | Clean, invisible seams |
| Glue & Finishing Nails | Intermediate | Added mechanical strength |
| Pocket Hole Screws | Advanced | Maximum durability, hidden |
Step 3: The Luxury Finish – Grit, Stain, and Seal
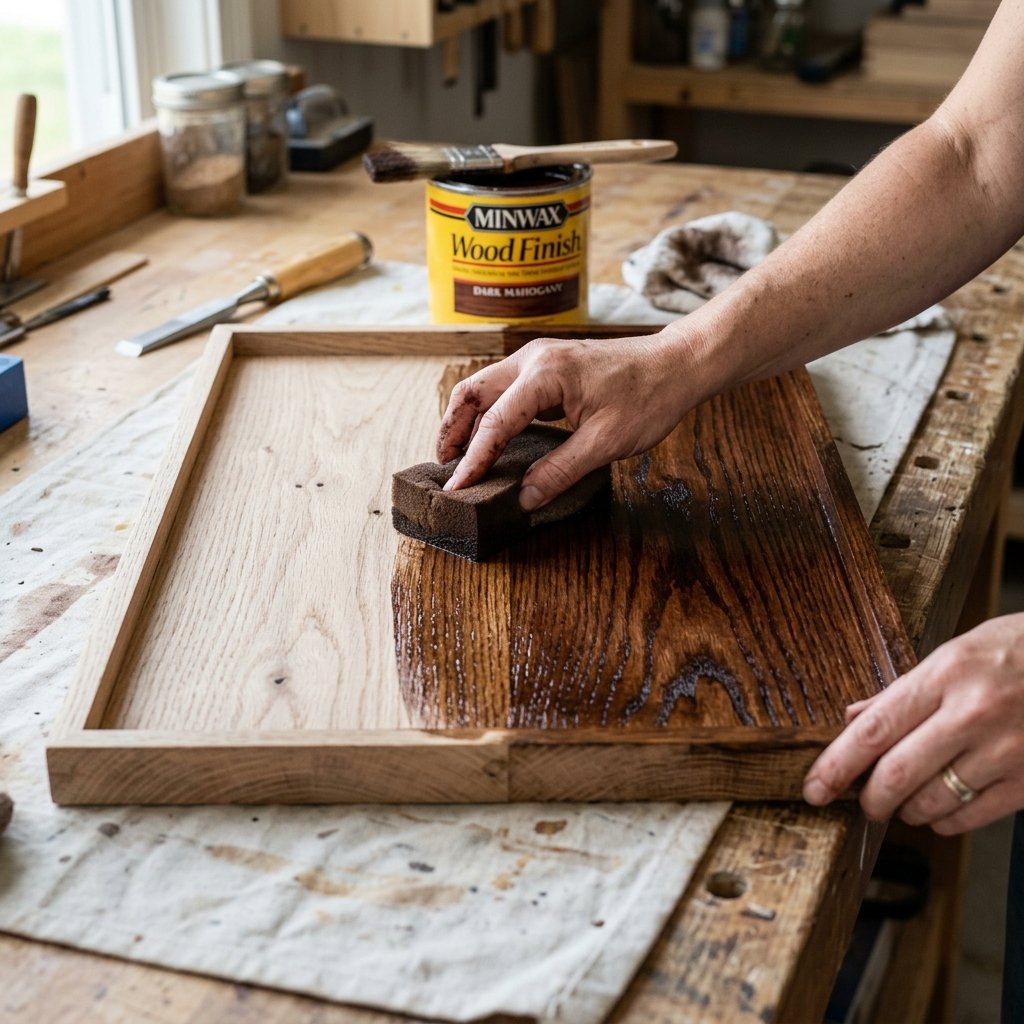
This is where the magic happens. A piece of scrap wood becomes a luxury item through the sanding and finishing process. We want a finish that is water-resistant (for those condensation-heavy drinks) and smooth to the touch.
The Sanding Progression
Don’t skip grits! Start with 80-grit to level the joints, move to 120-grit to remove scratches, and finish with 220-grit for a buttery-smooth surface. Wipe away all dust with a tack cloth before staining.
Choosing Your ‘Him’ Aesthetic
- The ‘Old Money’ Look: Use a Dark Walnut or Espresso oil-based stain. Follow up with a satin polyurethane.
- The ‘Modern Minimalist’: Leave the wood natural and apply three coats of butcher block oil or beeswax. This is food-safe and smells amazing.
- The ‘Industrial Rogue’: Use a grey ‘weathered’ stain and slightly distress the edges with a hammer or chain before sealing.
Safety Note: Always apply stains and polyurethanes in a well-ventilated area. If using oil-based products, dispose of rags properly by soaking them in water to prevent spontaneous combustion.
Bonus: Custom Features for the Modern Man

To really beat that $50 store-bought version, add features they don’t offer. These small touches take only minutes but add massive perceived value.
- The Phone Slot: Use a router or a simple hand saw to create a 1/2 inch deep groove in the top plate. This allows him to prop up his phone for hands-free viewing.
- The Leather Inlay: Glue a piece of scrap leather (from an old belt or thrifted jacket) to the top. It acts as a built-in coaster and looks incredibly sophisticated.
- Non-Slip Grip: Apply small adhesive rubber pads or a strip of felt to the *inside* of the side flanges. This prevents the tray from sliding on leather couches and protects the upholstery.
| Feature | Tool Needed | Benefit |
|---|---|---|
| Phone Groove | Chisel or Router | Hands-free video calls/streaming |
| Leather Coaster | Contact Cement | Prevents water rings, adds texture |
| Felt Lining | Peel-and-Stick Felt | Protects expensive sofa fabric |
Conclusion
There you have it—a bespoke, luxury wooden couch arm tray that looks like a million bucks but cost you almost nothing. By sourcing your materials resourcefully and following these three simple steps, you’ve created a gift that is both practical and deeply personal. You didn’t just ‘buy’ a solution; you engineered one. This tray will serve as a sturdy companion for morning coffees and evening nightcaps for years to come. So, the next time you see a simple wooden accessory with a $50 price tag, just smile, head to your workshop, and make it better yourself. Happy crafting!

Makenzie is the founder and lead writer at MoneyHackTips.com — a personal finance blog dedicated to delivering street-smart financial wisdom for real people on real budgets. With 300+ published articles covering everything from debt management to investing fundamentals, Makenzie’s mission is to make every dollar work harder. When not writing about money hacks, Makenzie is testing frugal living strategies, optimizing side hustles, and helping readers build financial freedom from scratch.