
The High Cost of Rugged Style
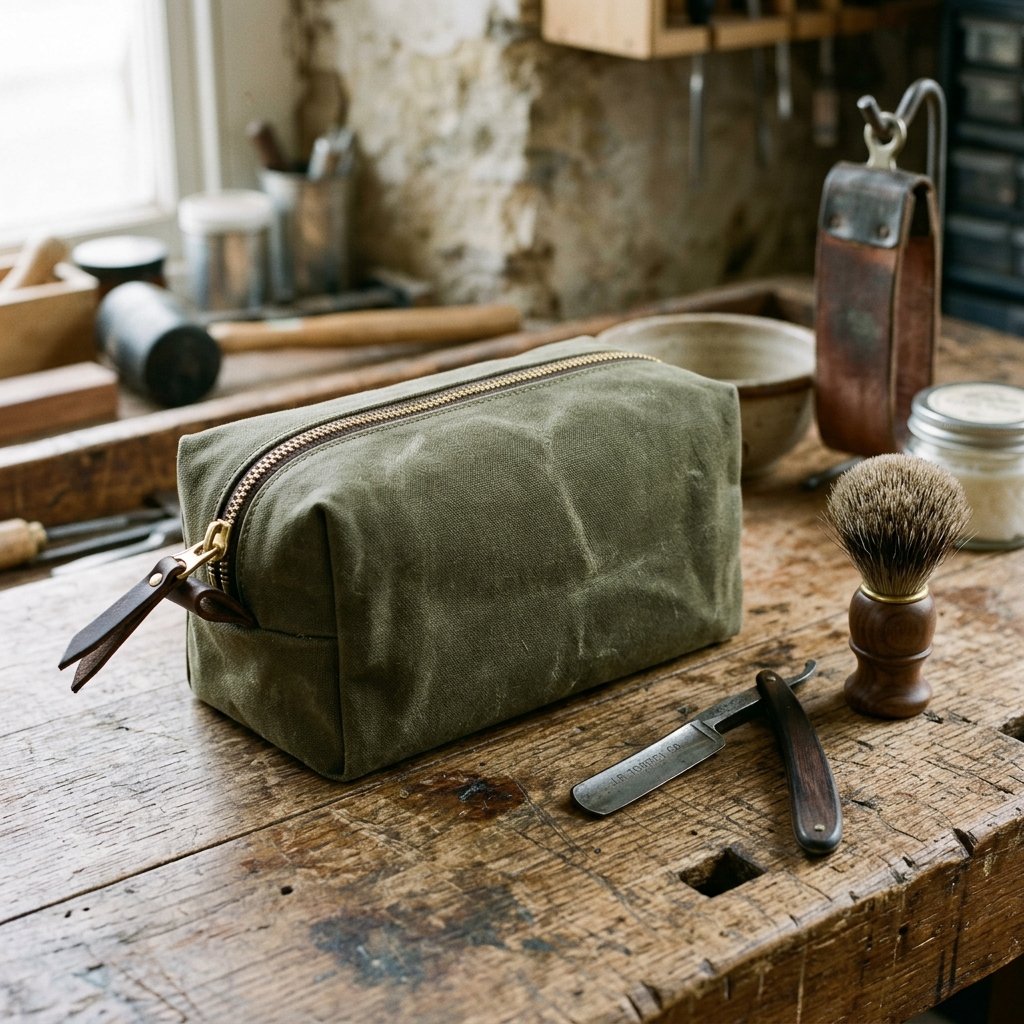
Let’s be honest: walk into any high-end men’s boutique or browse a curated travel site, and you’ll find ‘rugged’ canvas Dopp kits retailing for anywhere between $60 and $150. It’s a staggering price for what is essentially two rectangles of fabric and a zipper. But here’s the secret the big brands don’t want you to know: you can achieve that same masculine, heritage-quality aesthetic for less than the cost of a fancy latte. Whether you are a frugal DIYer looking to upgrade your travel gear or a crafty gift-giver searching for the perfect Father’s Day or groomsman present, this guide is your blueprint. We aren’t just making a bag; we are engineering a durable, water-resistant vessel that looks like it was inherited from a globetrotting grandfather, all while keeping our budget firmly intact. By using resourcefully sourced materials—like heavy-duty canvas drop cloths or thrifted work pants—we’ll create a piece that is as practical as it is elegant.
The Blueprint: Materials and Budget Breakdown
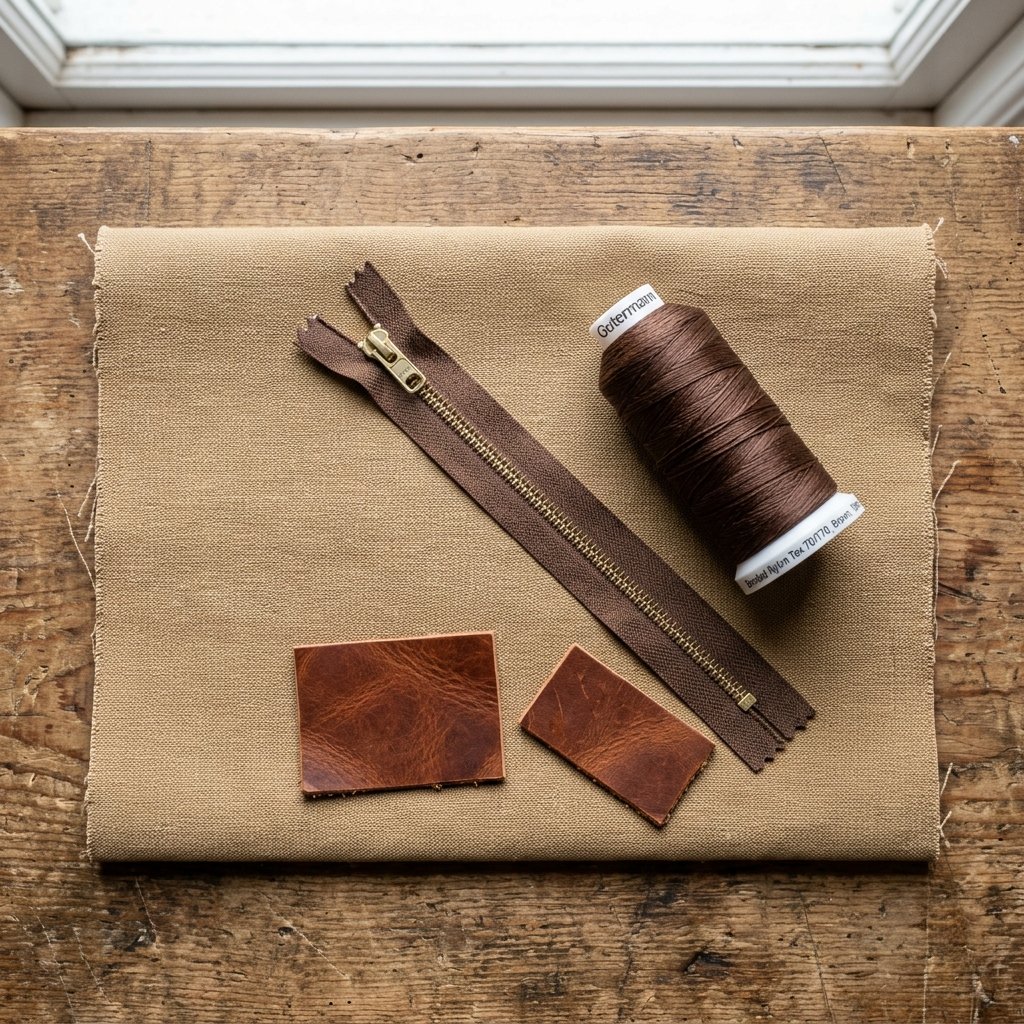
Success in any ‘trash-to-treasure’ project begins with the right foundation. For a Dopp kit that stands the test of time, we need weight and structure. Look for 12oz to 18oz duck canvas. If you’re on a strict zero-budget mission, an old pair of Carhartt-style work pants or a heavy canvas drop cloth from the hardware store works beautifully. These materials offer that rugged, stiff texture that allows the bag to hold its shape even when empty.
Budget Comparison: DIY vs. Retail
| Material Item | DIY Estimated Cost | Source Tip |
|---|---|---|
| Heavy Canvas (1/2 Yard) | $3.00 | Use a canvas drop cloth or thrifted jacket. |
| 9-inch Brass Zipper | $2.50 | Buy in bulk online or salvage from old luggage. |
| Leather Scraps | $1.00 | Repurpose an old leather belt or scrap bag. |
| Nylon Lining (Optional) | $1.50 | Use an old shower curtain or umbrella fabric. |
| Total Investment | $8.00 | Save $72+ compared to boutique brands! |
Pro Tip: When sourcing zippers, always opt for metal (brass or nickel) over plastic. Not only does it look more sophisticated, but it also handles the tension of a stuffed bag much better over years of travel.
Precision Cutting and Preparation
Measuring for Success
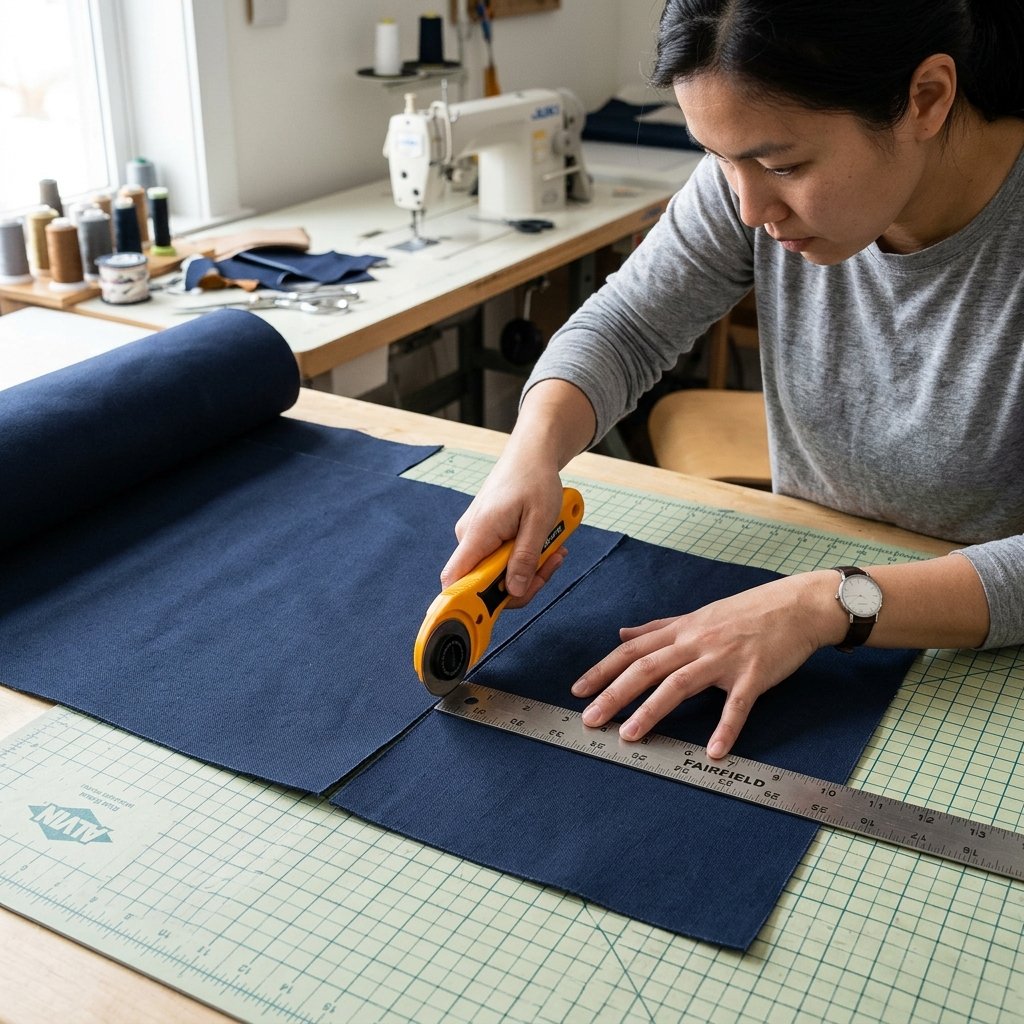
A standard, functional Dopp kit needs to be large enough for a full-sized shaving cream can but compact enough to fit in a carry-on. For this project, we will cut two main body pieces and two lining pieces. If you want a truly rugged look, consider ‘fusing’ your canvas with a heavy interfacing, though a 15oz canvas is usually stiff enough on its own.
The Cut List:
- Main Fabric (Canvas): Two rectangles, 10″ x 12″.
- Lining Fabric (Water-resistant): Two rectangles, 10″ x 12″.
- Leather Tabs: Two pieces, 1″ x 3″.
- Leather Zipper Pull: One thin strip, 1/4″ x 4″.
Before you even touch the sewing machine, ensure your edges are clean. If you are using a repurposed drop cloth, give it a hot wash and dry first to pre-shrink the fibers. This prevents the bag from warping later if it ever gets wet in a bathroom environment.
The Zipper Sandwich Technique
Achieving an Invisible Finish
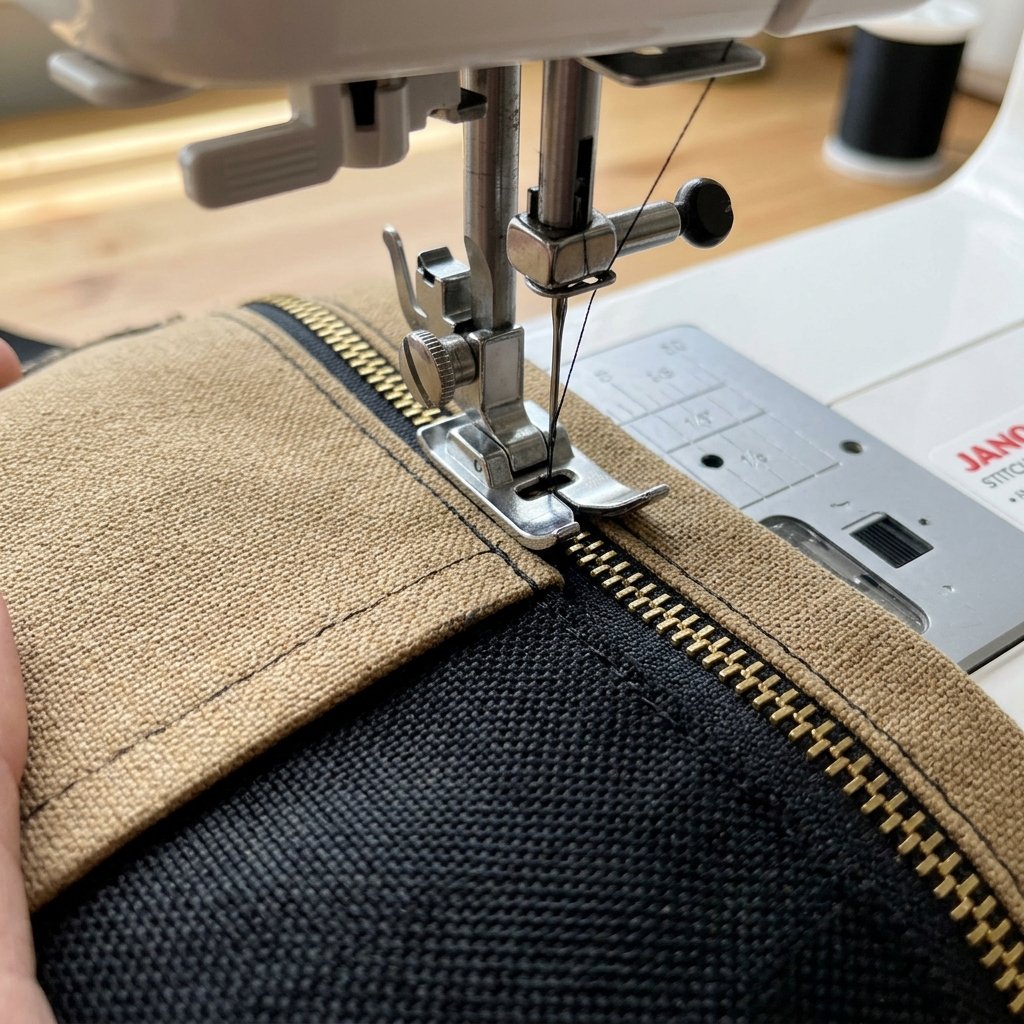
The most intimidating part for many crafters is the zipper, but we’re going to use the ‘sandwich’ method to make it foolproof. This ensures that no raw edges are visible inside the bag, giving it that high-end, professional finish.
Step-by-Step Zipper Assembly:
- Place one lining piece face up on your workspace.
- Lay the zipper face up along the top 12-inch edge of the lining.
- Place one canvas piece face down on top of the zipper.
- Pin or clip all three layers together.
- Using a zipper foot, sew along the edge with a 1/4 inch seam allowance.
- Flip the fabrics back so they are wrong-sides-together, and top-stitch along the zipper edge to keep the fabric from catching in the teeth.
- Repeat for the other side of the zipper with the remaining fabric pieces.
Safety Note: When sewing over the metal teeth of a zipper, manually turn the handwheel of your sewing machine to avoid breaking the needle. Always wear eye protection when working with heavy-duty needles.
Constructing the Box: Creating 3D Volume
The Magic of Boxed Corners
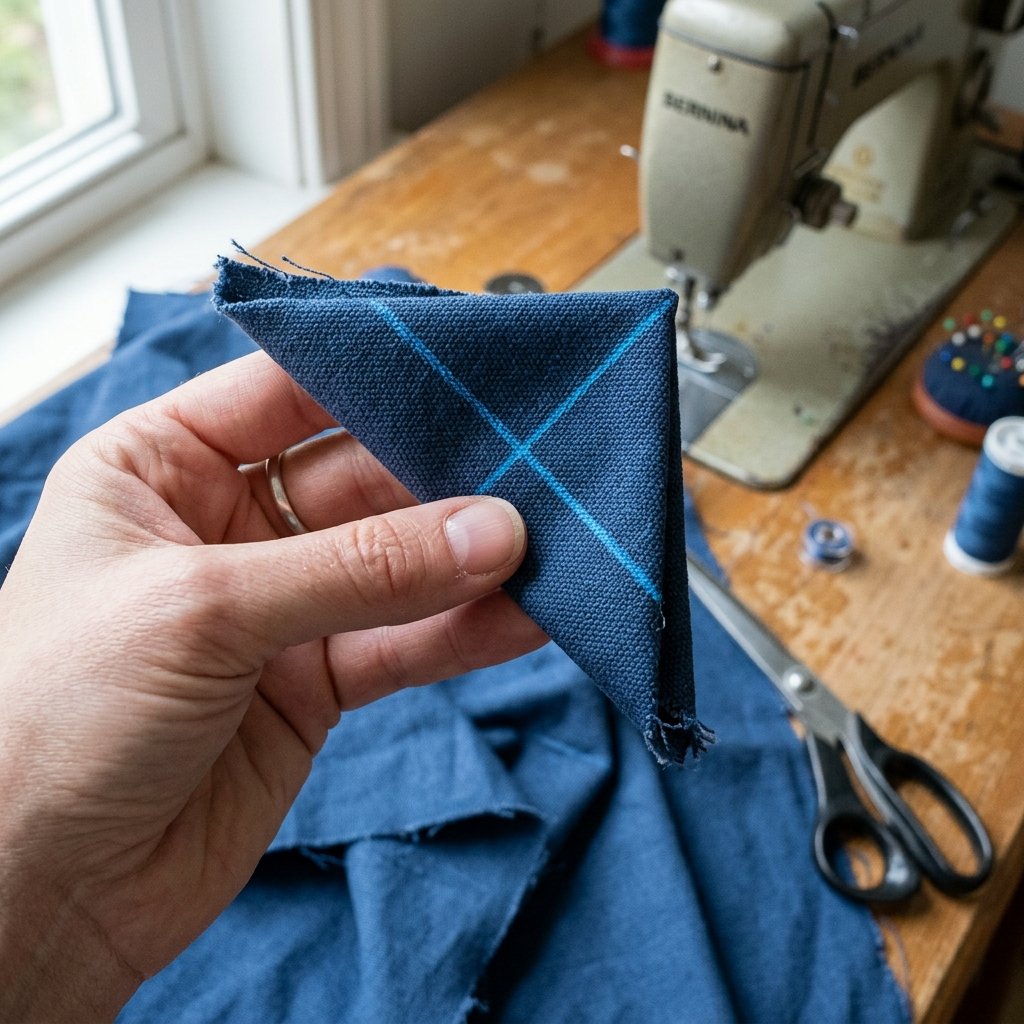
Right now, your bag looks like a flat pancake. To give it that iconic rectangular Dopp kit shape, we need to ‘box’ the corners. This is the hallmark of professional bag-making. After sewing the side seams and the bottom seam (leaving a 4-inch gap in the lining for turning), you will have four corners.
How to Box the Corners:
- Pull the front and back fabric apart at the corner until the side seam and bottom seam lay directly on top of each other, forming a triangle.
- Measure 2 inches down from the point of the triangle and draw a straight line across.
- Sew along this line, backstitching at both ends for maximum durability.
- Trim the excess triangle of fabric, leaving a 1/2 inch seam.
- Repeat this for all four corners of the canvas and all four corners of the lining.
This simple geometric trick creates the depth needed for all his grooming essentials, from beard balms to electric trimmers.
The Master’s Finish: Waxing and Leather Accents
From Basic to Bespoke
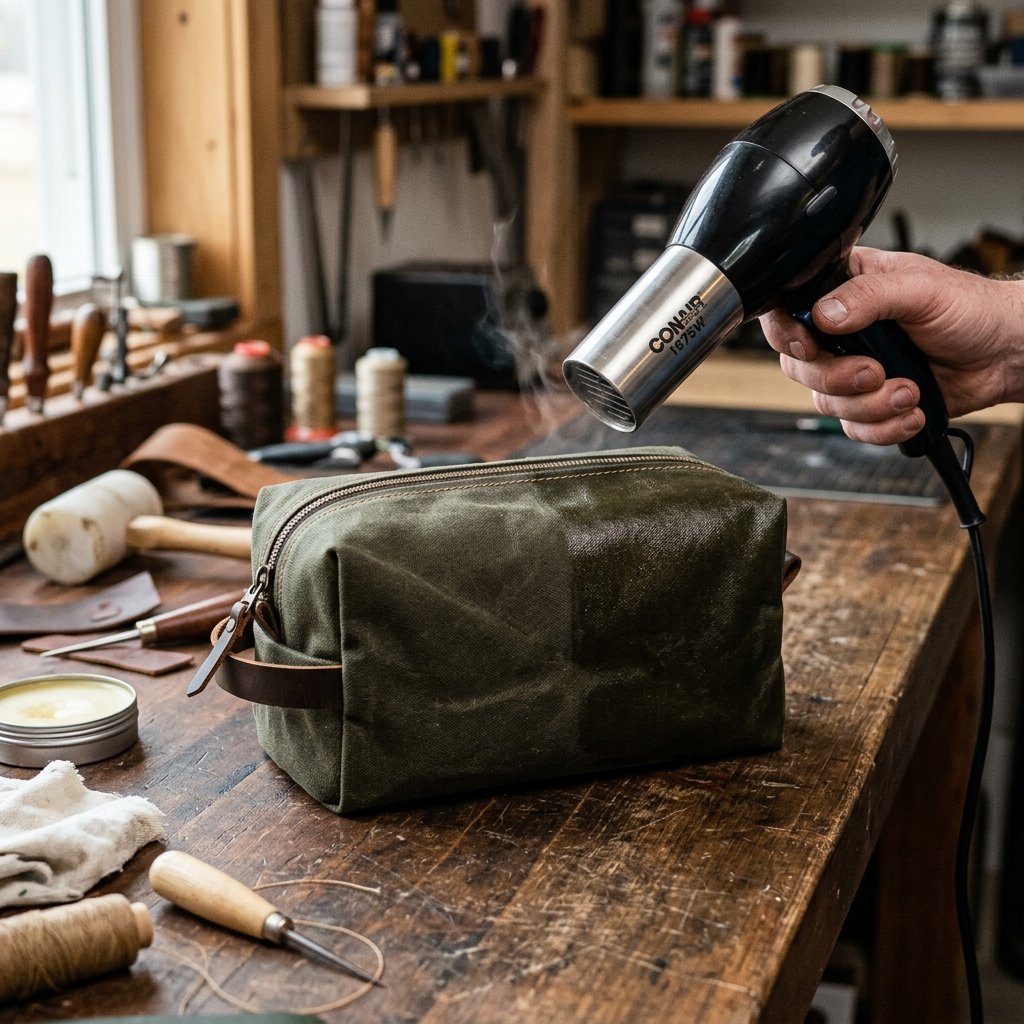
To truly elevate this project from a ‘craft’ to a ‘piece of gear,’ we need to add weatherproofing and texture. Waxed canvas is a staple of heritage brands like Filson or Otter Wax, and you can replicate it for pennies using a mix of beeswax and paraffin.
DIY Fabric Waxing Recipe:
| Ingredient | Ratio | Purpose |
|---|---|---|
| Beeswax | 50% | Provides tack and water resistance. |
| Paraffin Wax | 50% | Adds stiffness and a classic ‘crinkle’ look. |
Melt the waxes in a double boiler, brush the liquid onto the finished bag, and then use a hair dryer to melt the wax into the fibers. This creates a beautiful, rugged patina that only gets better with age. Finally, rivet your leather tabs onto the ends of the bag. Not only do they provide a grip for opening the zipper, but the contrast between the dark leather and the waxed canvas screams ‘high-end luxury.’
Comparison: Store Bought vs. DIY Customization
| Feature | Designer Retail ($100+) | Your DIY Masterpiece ($8) |
|---|---|---|
| Waterproofing | Factory sprayed (wears off) | Hand-waxed (easily reapplied) |
| Lining | Cheap polyester | Custom heavy-duty nylon |
| Personalization | None or expensive monogram | Hand-stamped leather initials |
Conclusion
A Legacy Piece on a Budget
By following this guide, you’ve done more than just save $80 or $90; you’ve mastered the art of rugged construction. You’ve taken humble materials—canvas, a bit of wax, and a simple zipper—and transformed them into a sophisticated travel companion that any man would be proud to carry. This DIY canvas Dopp kit is the ultimate testament to the frugal mindset: that quality isn’t bought, it’s built. Whether it’s sitting on a marble countertop in a hotel or a wooden bench at a campsite, your handmade bag carries a story of resourcefulness and craft that no store-bought item can match. Now, go forth and gift it, or better yet, pack it for your next adventure!

Makenzie is the founder and lead writer at MoneyHackTips.com — a personal finance blog dedicated to delivering street-smart financial wisdom for real people on real budgets. With 300+ published articles covering everything from debt management to investing fundamentals, Makenzie’s mission is to make every dollar work harder. When not writing about money hacks, Makenzie is testing frugal living strategies, optimizing side hustles, and helping readers build financial freedom from scratch.