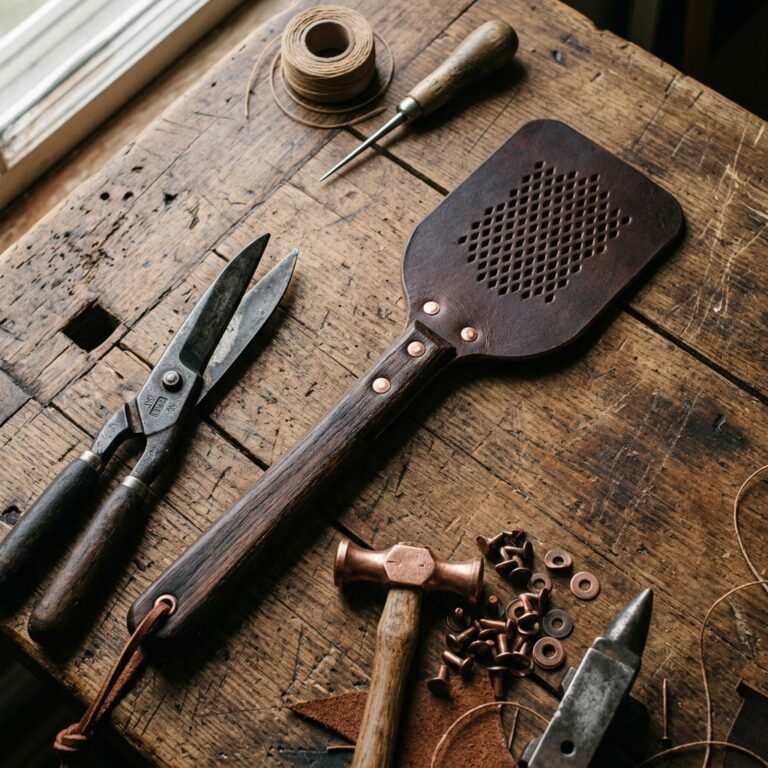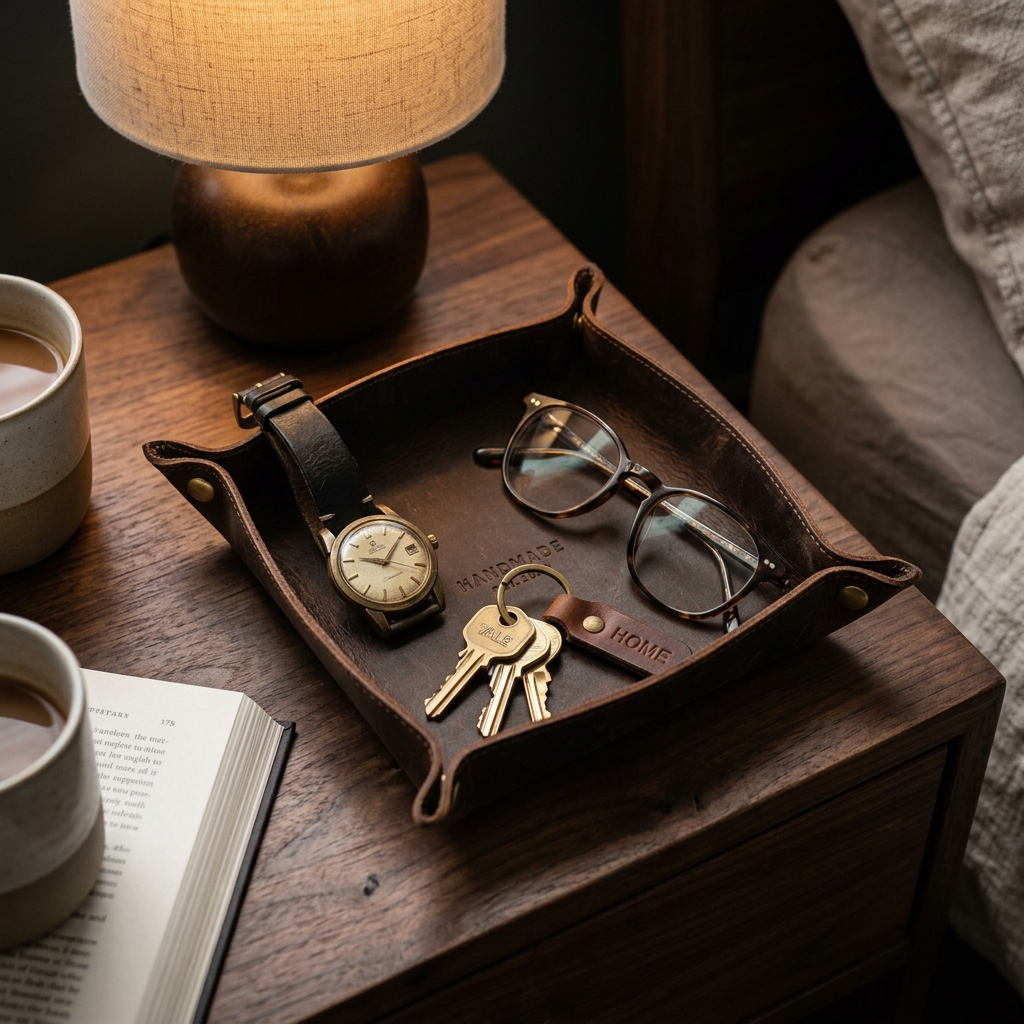

The Rugged Elegance of a Bespoke Valet Tray
There is something inherently sophisticated about a well-placed leather catchall. It is the landing pad for a man’s daily essentials—his watch, keys, wedding band, and pocket knife—neatly organized on a nightstand or dresser. While high-end leather goods retailers often command prices upwards of $80 to $150 for a simple valet tray, the frugal DIYer knows a secret: leather is remarkably approachable and incredibly inexpensive if you know where to look. Whether you are crafting a Father’s Day gift, a birthday surprise, or simply upgrading your own bedside organization, this guide will show you how to achieve that masculine-elegant aesthetic for a fraction of the retail cost. We aren’t just making a tray; we are creating a future heirloom using resourceful techniques and budget-savvy materials.
Sourcing Premium Materials on a Shoestring Budget
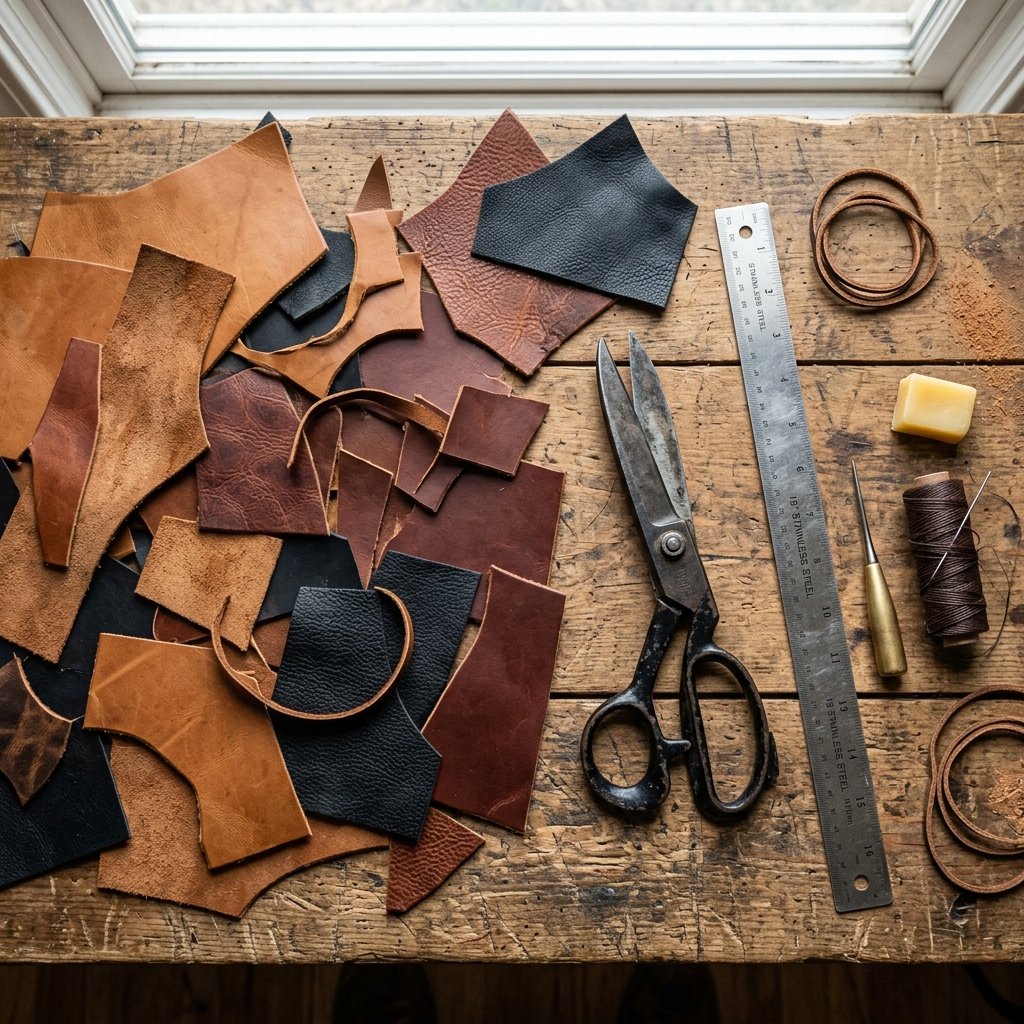
To create a luxury look, you need quality leather, but you don’t need to buy a full hide. For a project this size, resourcefulness is your best tool. A standard catchall tray usually requires a square of leather between 6×6 inches and 10×10 inches. Here is how to find premium materials without the premium price tag.
Where to Find ‘Free’ or Cheap Leather
- Thrift Store Scavenging: Look for oversized leather jackets, skirts, or even heavy-duty handbags. One $5 leather jacket can provide enough material for a dozen trays.
- Upholstery Remnants: Local furniture repair shops often have scrap bins. Ask politely, and you might walk away with high-quality top-grain leather scraps for $0.
- Online Scrap Bundles: Many leather suppliers sell ‘remnant bags’ by the pound. These are perfect for small goods like trays and key fobs.
| Material Source | Estimated Cost | Quality Level |
|---|---|---|
| New Veg-Tan Leather (Craft Store) | $15 – $25 | High / Stiff |
| Thrifted Leather Jacket | $5 – $10 | Medium / Supple |
| Upholstery Shop Scraps | $0 – $5 | Professional Grade |
| Old Leather Belt (Upcycled) | $0 | Rugged / Narrow |
Budget Mantra: The beauty of leather is in its imperfections. A scratch or a slight color variation adds character and a ‘rugged-vintage’ feel that mass-produced items lack.
The Essential Tool Kit for the Aspiring Leatherworker
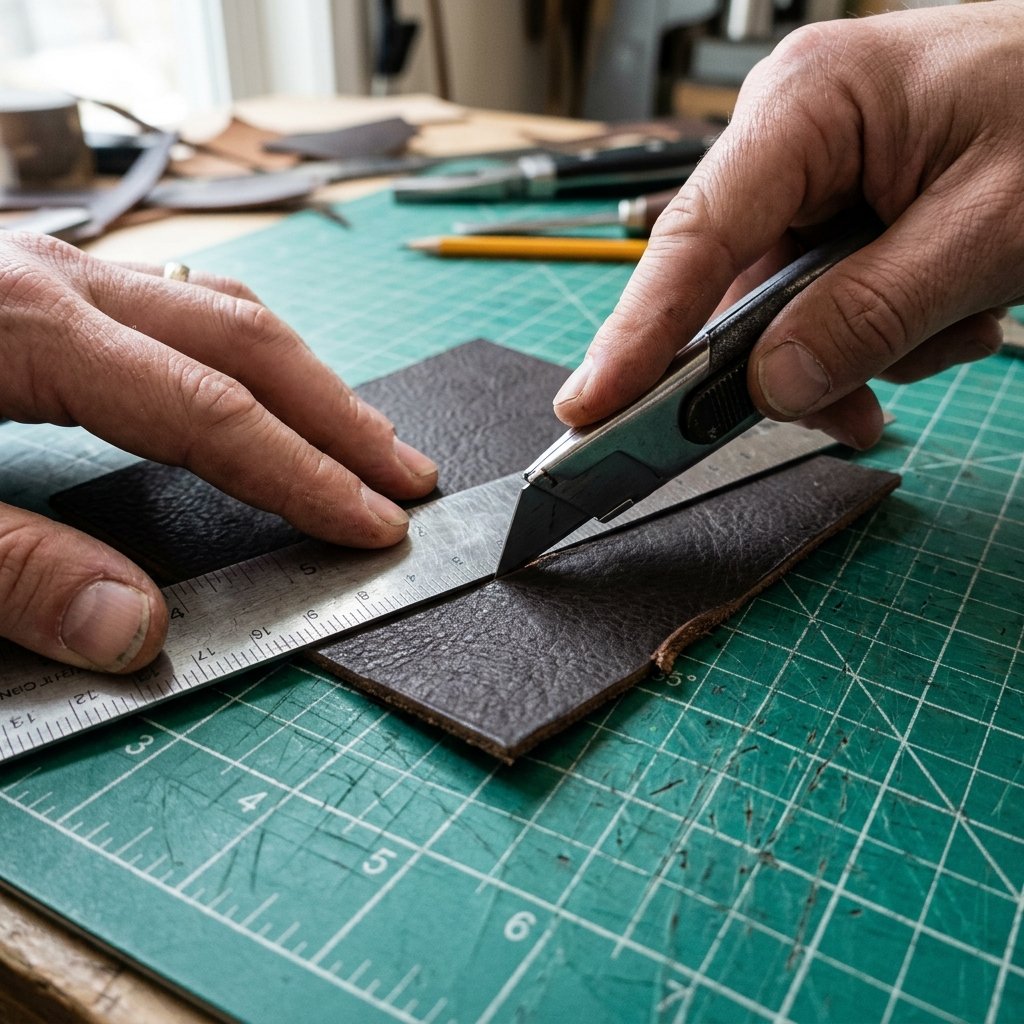
You do not need a specialized workshop to complete this project. In fact, most of the tools required are likely already sitting in your junk drawer or toolbox. We are focusing on a ‘No-Stitch’ design that utilizes Chicago screws or rivets for a clean, industrial look that is much faster and easier for beginners than traditional saddle stitching.
The DIY Tool List
- Utility Knife or Rotary Cutter: For crisp, straight edges.
- Metal Ruler: Essential for guiding your cuts and measuring symmetry.
- Hammer or Mallet: Used for setting rivets or flattening folds.
- Leather Hole Punch: A rotary punch is ideal, but a hammer-driven 1/8″ punch works perfectly.
- Chicago Screws (4 sets): These provide a sophisticated, mechanical look and require no special setting tools—just a screwdriver.
| Tool | Budget Alternative | Price if Buying New |
|---|---|---|
| Leather Punch | Power Drill (small bit) | $8.00 |
| Metal Ruler | Straight edge of a level | $3.00 |
| Rotary Cutter | Sharp Box Cutter | $5.00 |
| Chicago Screws | Nuts and Bolts (Industrial Look) | $4.00 (Pack of 10) |
Safety Note: Always cut away from your body and use a self-healing mat or a thick piece of scrap wood underneath your leather to protect your tabletop and your blade.
Step-by-Step Construction: The Folded Corner Method
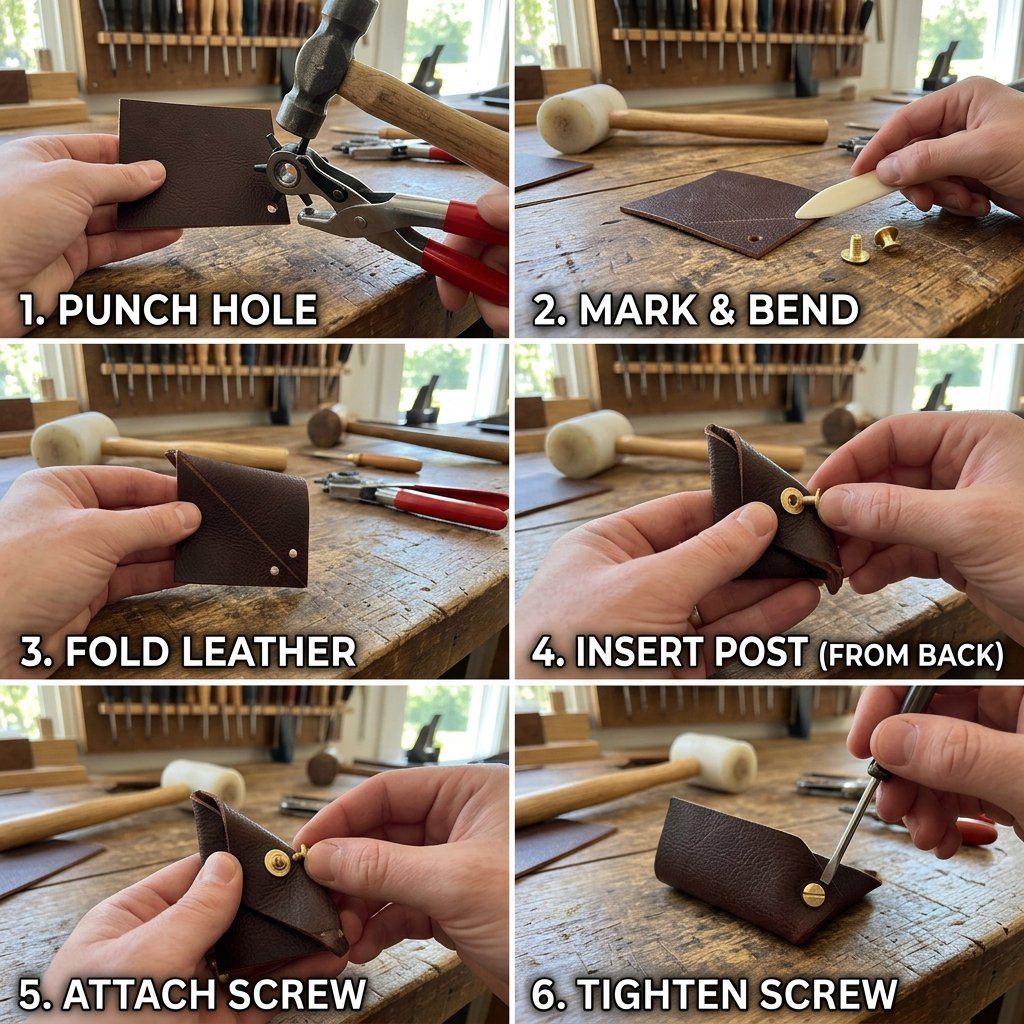
The ‘Folded Corner’ or ‘Pinch’ method creates a deep, secure well for items while showcasing the thickness of the leather. Follow these steps for a professional finish.
- Measure and Cut: Cut a perfect square of leather. For a standard nightstand tray, 8″ x 8″ is the sweet spot. Use your metal ruler to ensure the corners are exactly 90 degrees.
- Mark the Corners: On the backside (flesh side) of the leather, mark a point 1.5 inches in from each corner along both edges. This will be where your folds meet.
- Punch the Holes: At each corner, you will punch two holes. Fold the corner diagonally so the edges meet, then punch through both layers of leather simultaneously about 1/2 inch from the edge.
- Set the Hardware: Insert the female end of the Chicago screw through both holes. Screw in the male end tightly. Repeat for all four corners.
- Condition the Leather: If using older or thrifted leather, apply a small amount of olive oil or dedicated leather balm to restore the shine and flexibility.
Crafty Expert Tip: If your leather is very stiff, dampen the corner areas with a little warm water before folding. This ‘wet-forming’ technique makes the leather more pliable and helps it hold its shape as it dries.
Personalization: Adding the ‘Bespoke’ Touch
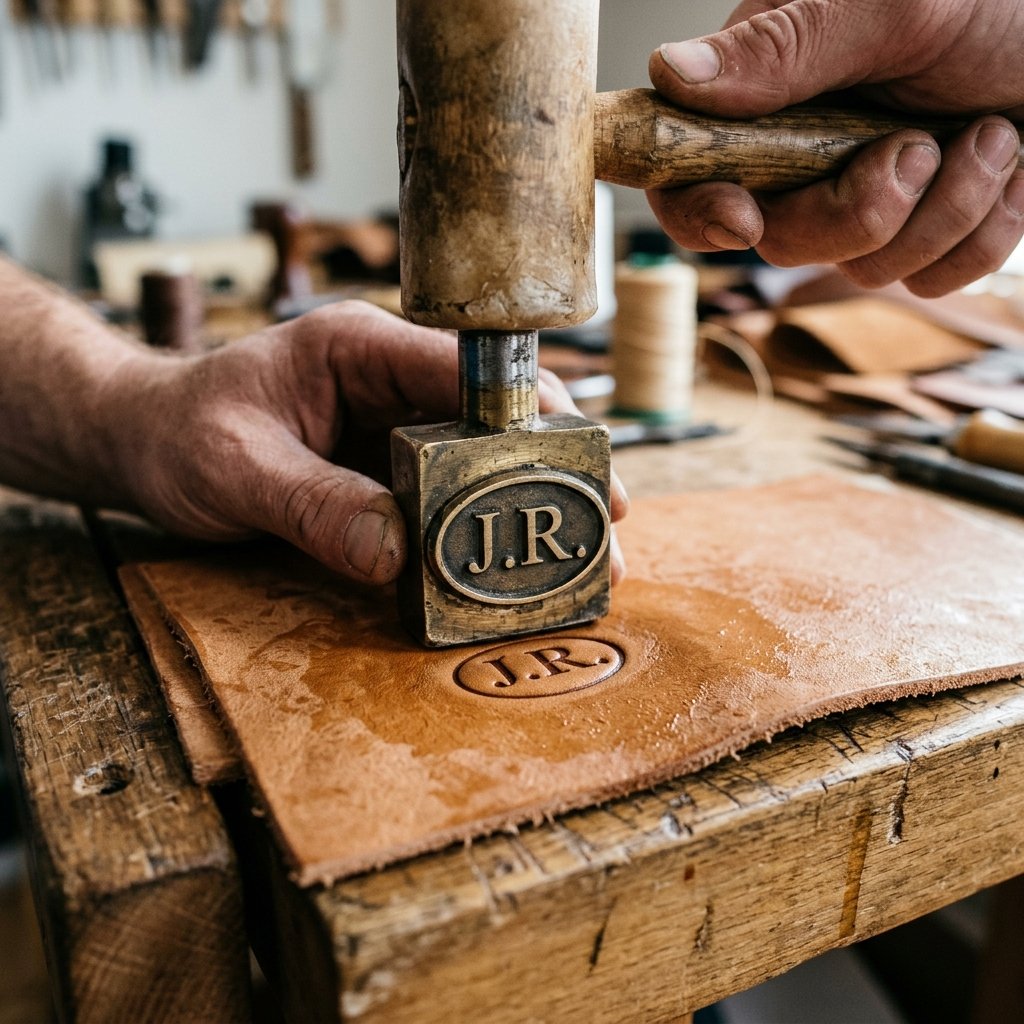
What transforms a simple tray into a luxury gift is personalization. A set of initials or a meaningful date stamped into the leather suggests a custom-made item from a high-end boutique.
How to Stamp Leather on a Budget
You can purchase a basic alphabet stamp set for under $10 at most craft stores. To get a crisp impression:
- Casing the Leather: Lightly sponge the area you want to stamp with water. Wait a minute until the leather returns to its original color but feels cool to the touch.
- The Strike: Place your stamp vertically. Give it one firm, singular blow with a hammer. Multiple hits often lead to ‘ghosting’ or double images.
- Placement: The center of the tray is popular, but a bottom-right corner stamp offers a more modern, understated look.
Edge Finishing (Burnishing)
Professional leather goods have smooth, shiny edges. You can achieve this without expensive edge paint. Simply rub the cut edges of your leather with a piece of scrap canvas or even a wooden spoon handle and a bit of water or beeswax. The friction generates heat, which seals the fibers and creates a dark, glossy finish.
Cost Comparison: DIY vs. High-End Retail

Let’s look at the math. When you choose to be a resourceful maker, the savings are staggering. Not only do you save money, but you also gain the satisfaction of knowing exactly how your item was made.
| Feature | Retail Luxury Brand | DIY Frugal Version |
|---|---|---|
| Material | Genuine Leather | Upcycled Top-Grain Leather |
| Hardware | Machine Rivets | Solid Brass Chicago Screws |
| Personalization | +$15.00 Fee | Included (Free) |
| Total Cost | $65.00 – $120.00 | $4.50 – $9.00 |
| Time Investment | 5 Minutes (Ordering) | 30 Minutes (Crafting) |
By investing just 30 minutes of your time, you are effectively ‘earning’ over $100 an hour in savings. That is the power of the budget-savvy crafter!
Conclusion
The Gift of Organization and Style
Creating a personalized leather catchall tray is the perfect entry point into the world of leatherworking. It requires minimal tools, utilizes affordable (or even free) materials, and results in a product that looks like it belongs in a high-end men’s boutique. Whether it’s for a nightstand, an entryway table, or a desk, this tray is a testament to the idea that luxury is a mindset, not a price tag. By following these steps, you’ve turned scraps into a functional piece of art that will develop a beautiful patina over years of use. Now, go forth and upcycle—your nightstand (and your wallet) will thank you.

Makenzie is the founder and lead writer at MoneyHackTips.com — a personal finance blog dedicated to delivering street-smart financial wisdom for real people on real budgets. With 300+ published articles covering everything from debt management to investing fundamentals, Makenzie’s mission is to make every dollar work harder. When not writing about money hacks, Makenzie is testing frugal living strategies, optimizing side hustles, and helping readers build financial freedom from scratch.