The End of the Aerosol Era
Let’s be honest: those blue cans of pressurized foam from the grocery store are doing your skin—and your wallet—no favors. They are packed with synthetic fragrances, drying alcohols, and propellants like isobutane that strip your skin of its natural oils faster than you can say ‘razor burn.’ As a resourceful crafter and someone who appreciates the finer things without the luxury price tag, I realized years ago that the secret to a perfect, irritation-free shave wasn’t found in a pressurized can, but in the raw power of nature’s most potent moisturizers.
Today, we are reclaiming the morning ritual. We are moving away from the ‘fast-grooming’ culture and stepping into the world of bespoke, small-batch apothecary. This DIY Shea Butter Shaving Soap isn’t just a replacement; it’s a massive upgrade. By combining the rugged resilience of raw shea butter with the cleansing power of castile soap, we create a ‘shave butter’ that offers an incredible glide, deep hydration, and a scent profile that smells like a high-end mountain retreat rather than a chemistry lab. Best of all? You can whip up a six-month supply for less than the cost of a single ‘premium’ boutique tub. Get ready to transform your grooming routine into an act of clever, budget-savvy craftsmanship.
The Science of Slick: Why Shea Butter Reigns Supreme
When you’re dragging a sharp piece of steel across your face or legs, the only thing standing between you and a painful afternoon is ‘glide.’ In the world of professional grooming, this is known as lubricity. Most commercial soaps use synthetic detergents to create bubbles, but bubbles don’t protect the skin—fats do. This is where Shea Butter enters the arena as the undisputed heavyweight champion of the DIY world.
The Fatty Acid Profile
Shea butter is unique because it contains high concentrations of stearic and oleic acids. These aren’t just fancy words; they are the building blocks of a protective barrier. Stearic acid provides the ‘structure’ to the lather, making it thick and creamy so it doesn’t disappear the moment it hits the air. Oleic acid provides the ‘slickness’ that allows the razor to slide effortlessly over the skin’s surface.
“True luxury isn’t about how much you spend; it’s about the quality of the ingredients you choose to put on your body.”
By using raw, unrefined shea butter, you are also retaining vitamins A, E, and F. These nutrients work to repair the skin while you shave, effectively turning your grooming routine into a skincare treatment. For the frugal DIYer, this means you can skip the expensive post-shave balms and lotions because the soap itself leaves a moisturizing film that lasts all day.
The Master’s Inventory: Ingredients and Cost Breakdown
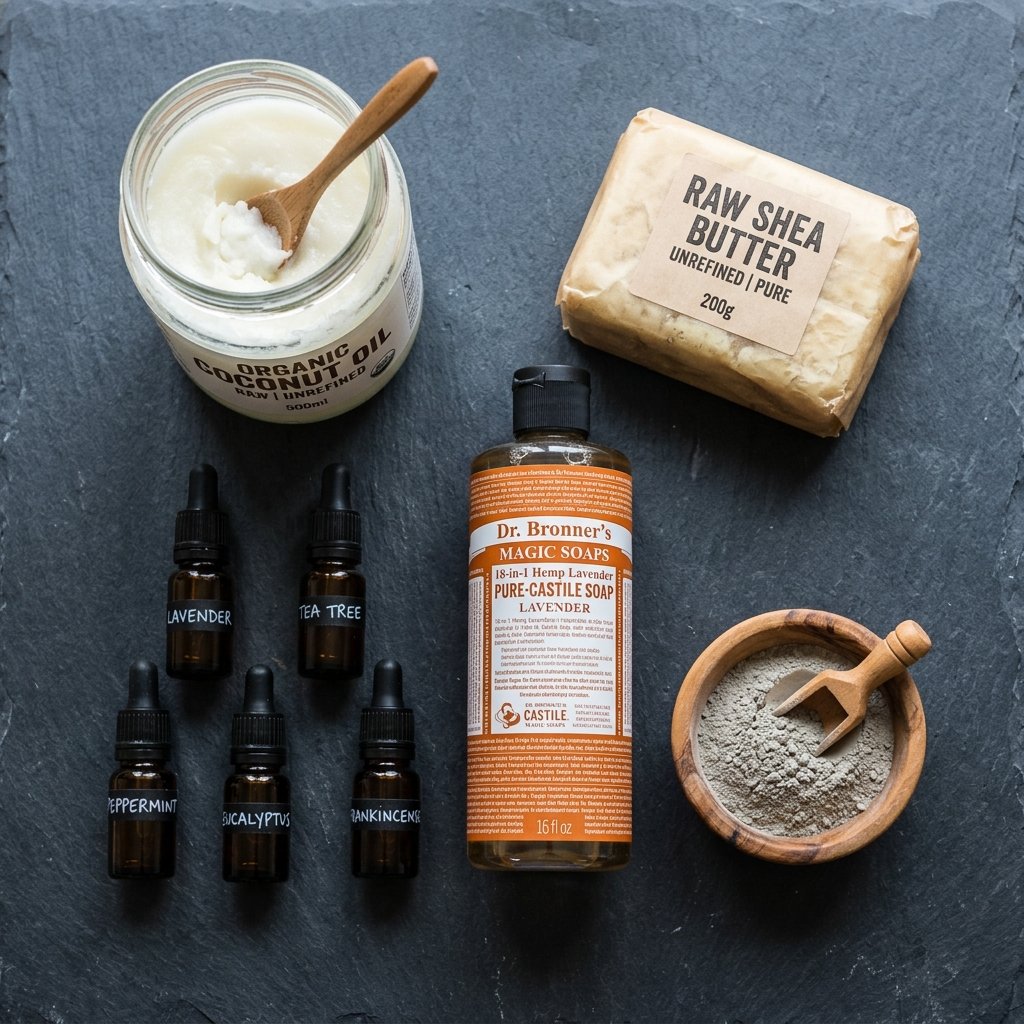
One of the most satisfying aspects of this project is the resourceful economy of it. You likely already have some of these ingredients in your pantry, and the ones you don’t have are versatile staples that can be used for dozens of other DIY projects, from beard balms to hand salves.
| Ingredient | Measurement | Purpose & Benefit |
|---|---|---|
| Raw Shea Butter | 1/3 Cup | Deep moisturization and skin barrier protection. |
| Virgin Coconut Oil | 1/3 Cup | Provides a rich, bubbly lather and antimicrobial properties. |
| Liquid Castile Soap | 1/4 Cup | The cleansing agent that binds the oils to water. |
| Bentonite Clay | 1 Tablespoon | Provides ‘slip’ for the razor and detoxifies pores. |
| Essential Oils | 15-20 Drops | Natural fragrance and skin-soothing (Cedarwood/Mint). |
The Budget-Savvy Advantage
If you were to buy a high-end ‘Artisan Shave Cream’ at a boutique, you would easily spend $25 to $35 for a 4-ounce jar. By sourcing these raw ingredients in bulk (which we highly recommend for the dedicated upcycler), your cost per batch drops to approximately $2.40. That is a 90% savings while achieving a product that is objectively superior in quality and purity.
The Forge: A Step-by-Step Guide to Whipping Perfection
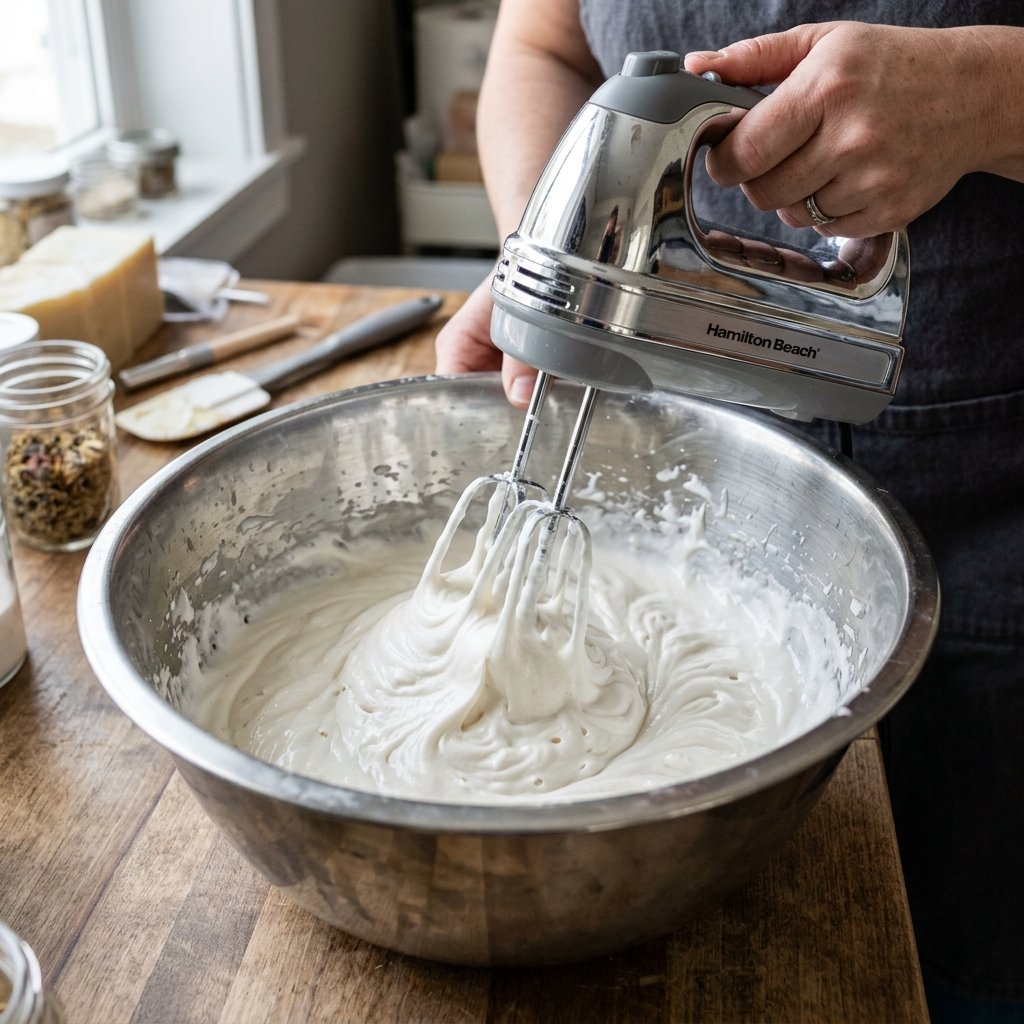
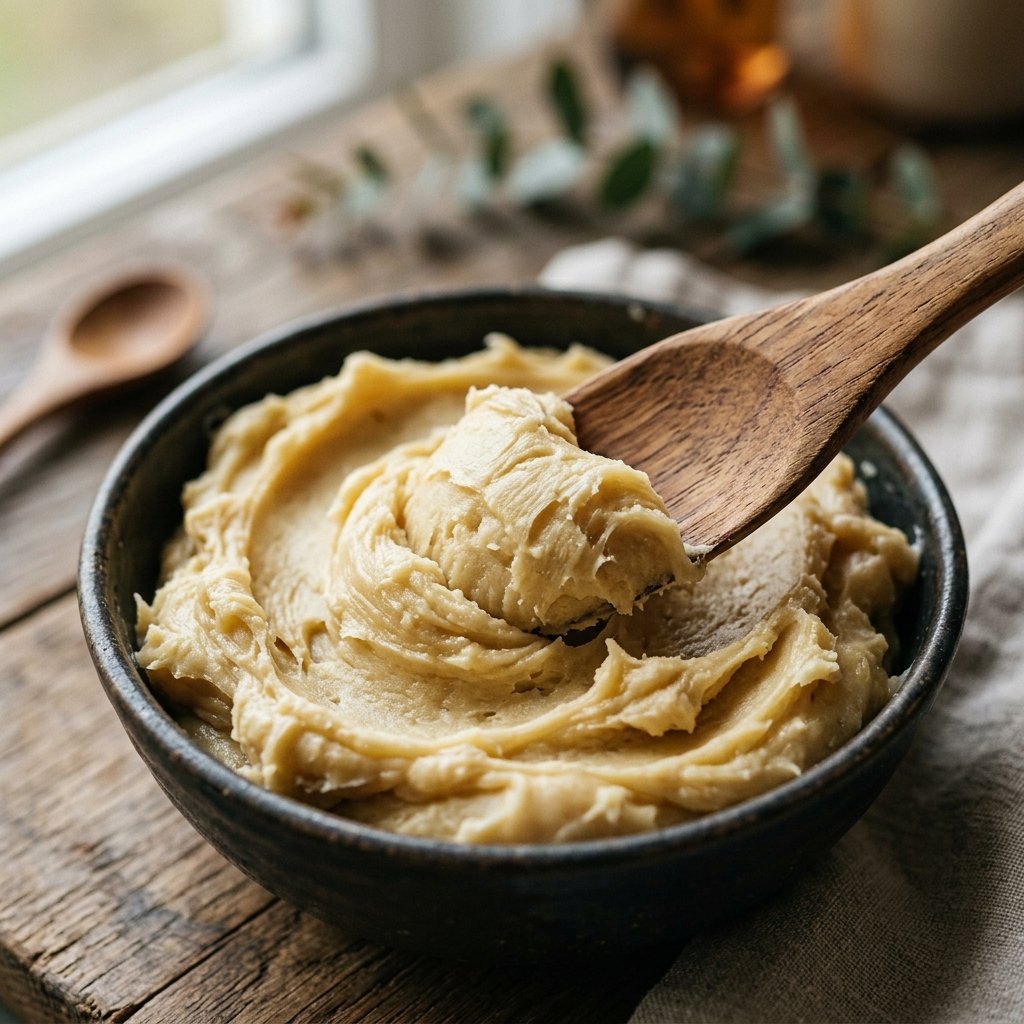
Creating this soap is less like ‘cooking’ and more like ‘crafting.’ We aren’t just mixing ingredients; we are creating an emulsion. Follow these steps to ensure your shaving soap has the consistency of a stiff meringue that stays firm on the brush.
- The Gentle Melt: Using a double boiler (or a glass bowl over a pot of simmering water), melt the shea butter and coconut oil together. Pro Tip: Do not overheat. You want them just liquid, not boiling, to preserve the nutrients.
- The Clay Integration: Once melted, whisk in the bentonite clay. Ensure there are no clumps. The clay is the ‘secret weapon’ that gives the razor that professional-grade slide.
- The Cooling Phase: Remove from heat and let the mixture cool in the refrigerator for about 20-30 minutes until it starts to turn opaque and firm up (like softened butter).
- The Whip: This is where the magic happens. Using a hand mixer or a stand mixer, whip the mixture on high speed. As you whip, slowly drizzle in the liquid castile soap.
- The Final Flourish: Add your essential oils during the last minute of whipping. Continue until the mixture forms stiff, white peaks.
Safety Note: When working with stovetops and hot oils, always use heat-resistant glassware and keep a clean workspace to avoid slips. If you have sensitive skin, patch-test the essential oils first.
Olfactory Mastery: Crafting Rugged Scent Profiles
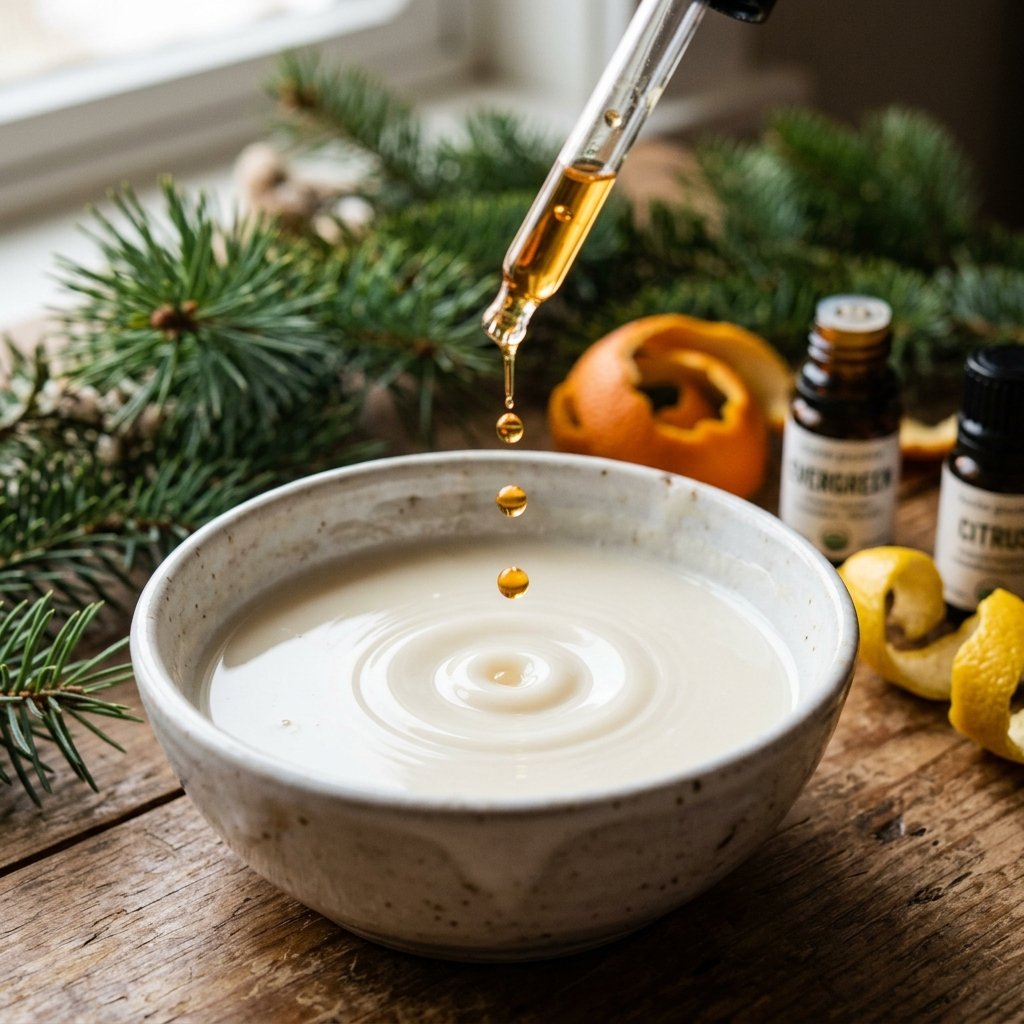
Forget the ‘Sport’ or ‘Arctic Blast’ synthetic scents of the grocery store. As a crafty expert, you have the power to curate a scent profile that matches your personality. Essential oils don’t just smell better; they offer therapeutic benefits for the skin after a close shave.
The ‘Mountain Man’ Blend
- 10 drops Cedarwood: Antiseptic and provides a deep, woody base note.
- 5 drops Pine: Refreshing and invigorating for early morning starts.
- 5 drops Bergamot: Adds a sophisticated citrus top note that balances the woodiness.
The ‘Classic Barbershop’ Blend
- 10 drops Eucalyptus: Provides a cooling sensation and opens the pores.
- 10 drops Peppermint: Increases circulation and provides a sharp, clean finish.
When selecting oils, always opt for 100% pure therapeutic grade. Since we are a budget-savvy crew, remember that a little goes a long way. These bottles will last you through dozens of batches, making the ‘per-shave’ cost of these luxury scents virtually negligible.
Sustainable Storage: Upcycling for a Masculine-Elegant Aesthetic
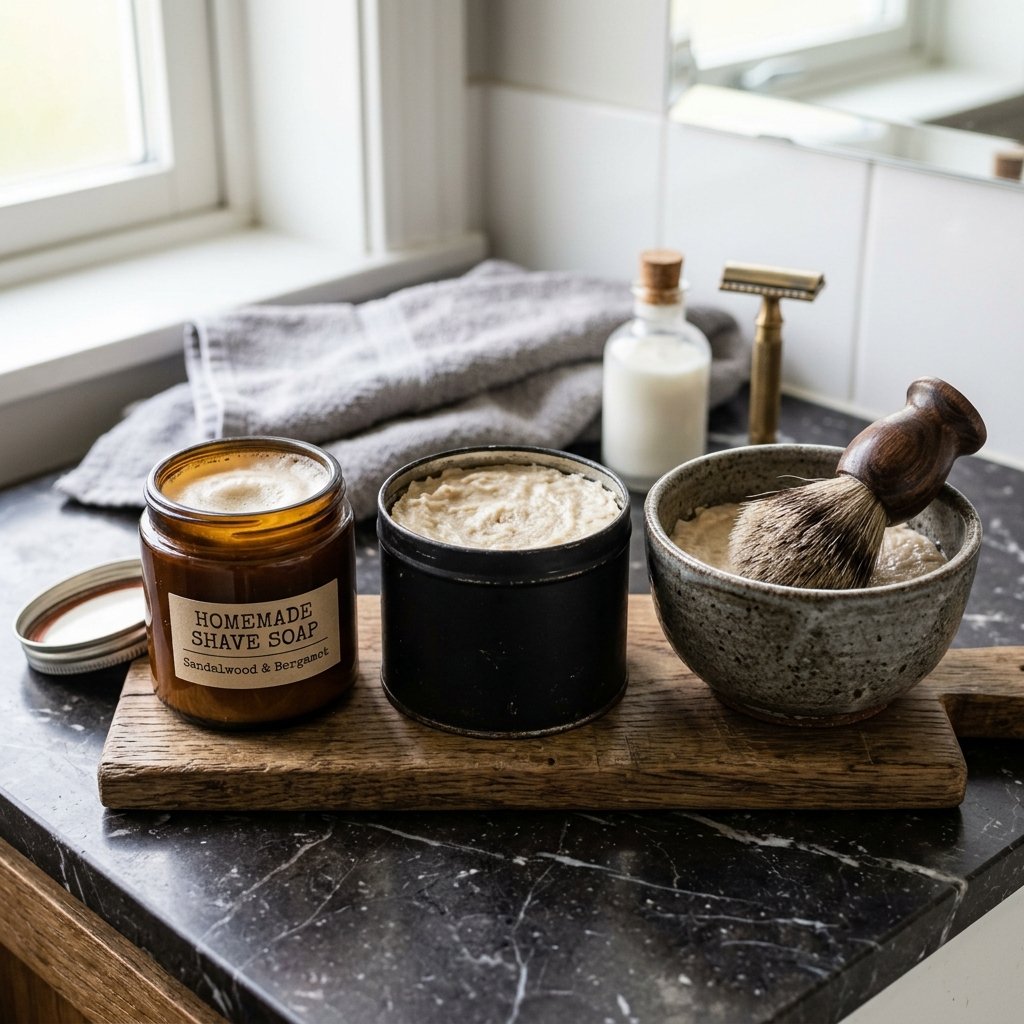
A true trash-to-treasure guru knows that the container is just as important as the contents. Don’t go out and buy new plastic tubs. Look around your house for high-quality glass or metal containers that can be repurposed.
Top Upcycling Ideas for Shave Soap:
- Wide-Mouth Mason Jars: Perfect for a rustic, farmhouse look. The wide mouth allows you to load your shaving brush directly in the jar.
- Old Tobacco or Mint Tins: Clean them thoroughly and remove any rust. These are great for travel and give a vintage, rugged vibe.
- Ceramic Ramekins: If you have an odd one out from a kitchen set, it makes for a sophisticated ‘shave bowl’ that looks intentional and elegant on a bathroom vanity.
To give it that ‘masculine-elegant’ finish, consider printing a custom label on brown kraft paper or using a metal stamping kit to indent the lid of a tin. These small touches turn a simple DIY project into a thoughtful, high-end gift for Father’s Day, groomsmen, or any fellow frugal enthusiast.
Conclusion
Mastering the Morning Ritual
By ditching the can and embracing this DIY Shea Butter Shaving Soap, you’ve done more than just save a few dollars—though the 90% cost reduction is certainly a win. You’ve taken control of what goes on your skin, reduced your environmental footprint by eliminating aerosol waste, and mastered a craft that turns a mundane chore into a luxurious ritual. Whether you’re a budget-savvy dad looking to trim the household expenses or a creative gift-giver looking for that perfect rugged present, this recipe is a tool you’ll return to again and again. So, grab that shaving brush, whip up a batch, and enjoy the slickest, most comfortable shave of your life. You’ve earned it through resourceful creativity and practical expertise.

Makenzie is the founder and lead writer at MoneyHackTips.com — a personal finance blog dedicated to delivering street-smart financial wisdom for real people on real budgets. With 300+ published articles covering everything from debt management to investing fundamentals, Makenzie’s mission is to make every dollar work harder. When not writing about money hacks, Makenzie is testing frugal living strategies, optimizing side hustles, and helping readers build financial freedom from scratch.