
The Mystery of the Disappearing Guitar Pick
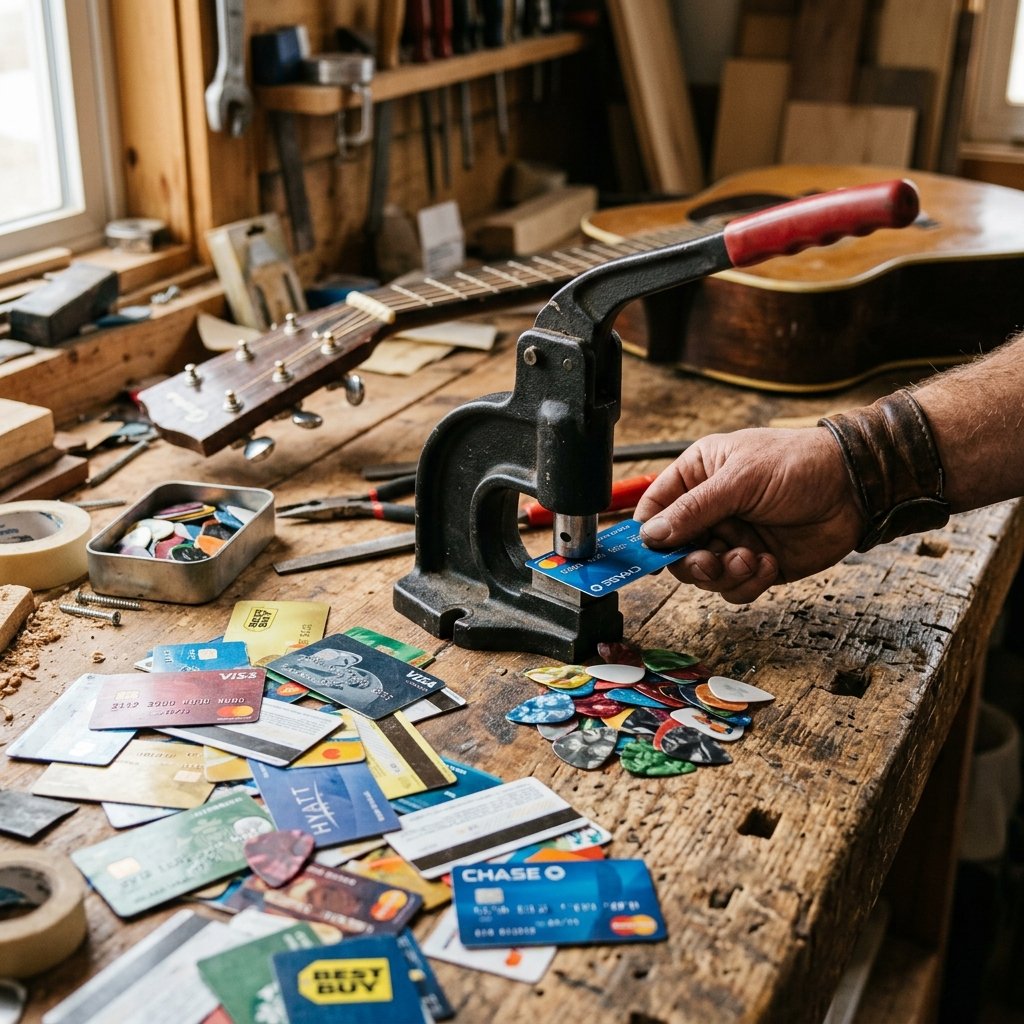
If you are a guitar player, or if you live with one, you know the universal truth: guitar picks are the most mysterious disappearing objects on planet Earth. One minute you have a pristine, $2 tortoiseshell Dunlop pick, and the next, it has vanished into the acoustic soundhole, the couch cushions, or the fourth dimension. You buy them by the dozen, yet you can never find one when inspiration strikes. Meanwhile, your wallet is bulging with expired credit cards, empty coffee shop gift cards, and hotel room keys you forgot to return. It is time to merge these two problems into one brilliant, budget-savvy solution.
Welcome to the ultimate trash-to-treasure hack for musicians. Upcycling old plastic cards into custom guitar picks is not just a frugal way to save money; it is a resourceful, crafty method to create personalized, highly functional gear. Whether you are a handy parent looking for a quick upcycling project, a frugal DIYer tired of spending hard-earned cash on tiny pieces of plastic, or a creative gift-giver wanting to craft a rugged, thoughtful present for the musician in your life, this guide is your backstage pass. Stop feeding the dryer monster your expensive picks. Let us turn that useless wallet clutter into sweet, sweet music.
The Frugal Musician’s Mantra: Never pay for what you can create. Every piece of discarded plastic holds a song waiting to be played.
The Economics of Upcycling: Why You Should Never Buy Picks Again
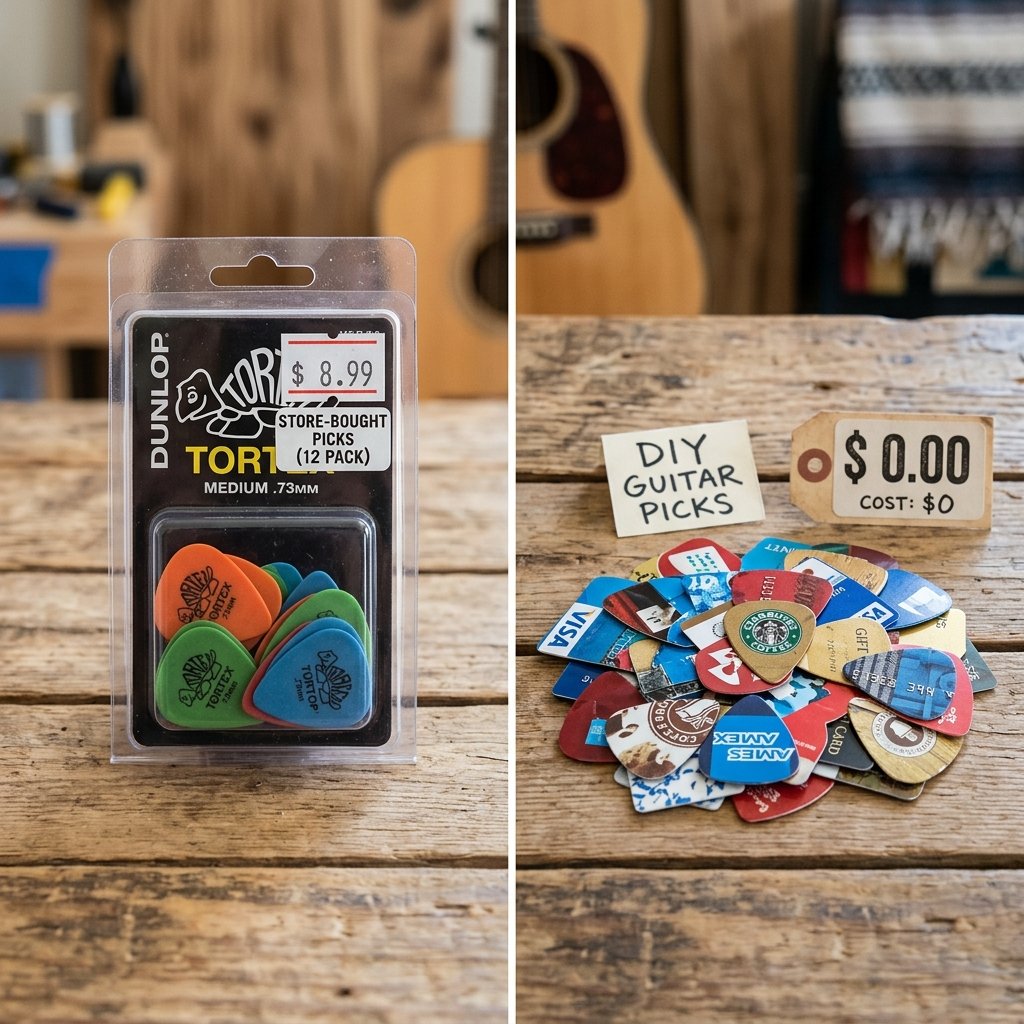
Let us talk numbers. A standard pack of decent guitar picks costs anywhere from $5 to $15 depending on the brand and material. If you are an active player, you might go through a pack every few months. Over a lifetime of playing, that is hundreds of dollars spent on tiny slivers of plastic that inevitably get lost. By switching to DIY upcycled picks, your cost drops to absolute zero. You are taking non-biodegradable PVC plastic out of the landfill and giving it a second life of shredding power.
Beyond the cost savings, there is a distinct rugged satisfaction in making your own gear. When you pull out a pick made from an old arcade card or an expired driver’s license, it is a conversation starter. It shows a resourceful, clever approach to your craft. Plus, the thickness of standard credit cards (usually around 0.76mm or 30 mil) happens to be the exact sweet spot for medium-gauge guitar picks, providing the perfect balance of flexibility for acoustic strumming and rigidity for electric lead lines.
| Expense Metric | Store-Bought Picks (Annual) | Zero-Budget DIY Upcycled Picks |
|---|---|---|
| Average Cost per Pick | $0.50 – $1.50 | $0.00 (100% Free) |
| Annual Replacement Cost | $30 – $60 | $0.00 |
| Environmental Impact | New plastic production | Upcycles existing landfill waste |
| Customization Level | Limited to brand designs | Infinite (Use any cool graphic) |
| Cool Factor | Standard / Boring | High / Unique Conversation Starter |
Material Matters: Selecting the Best Cards for Your Tone

Not all plastic cards are created equal, and the type of card you choose will directly impact your guitar’s tone and your playing experience. Before you start hacking away at your wallet, it is crucial to understand the anatomy of your raw materials. The beauty of this crafty-expert hack is that different cards mimic different professional pick gauges.
Gift Cards and Membership Cards: These are often slightly thinner and more flexible than standard credit cards. They typically range from thin to medium gauge. They are absolutely fantastic for acoustic guitar players who need a lot of flex for fast, rhythmic strumming without overpowering the strings. They produce a bright, snappy tone.
Credit Cards and Bank Cards: These are the heavy-duty workhorses of the DIY pick world. Made from durable PVC, they offer a solid medium-stiff gauge. The absolute best part about using old credit cards? The embossed numbers! If you punch your pick so that the raised numbers sit right where your thumb rests, you instantly create a high-end, custom grip surface that prevents the pick from slipping out of your sweaty fingers during a gig.
Hotel Key Cards and ID Badges: These usually fall somewhere in the middle, offering a smooth, matte finish that glides off the strings beautifully. They are excellent all-around picks for both electric and acoustic playing.
| Card Type | Estimated Gauge / Thickness | Best Playing Style |
|---|---|---|
| Coffee Shop Gift Card | Thin (0.45mm – 0.60mm) | Acoustic Strumming, Gentle Picking |
| Hotel Room Key | Medium (0.60mm – 0.73mm) | All-Around, Rhythm and Lead |
| Embossed Credit Card | Heavy (0.76mm – 0.88mm) | Electric Lead, Heavy Riffing |
| Laminated ID Badge | Extra Heavy (1.0mm+) | Bass Guitar, Jazz Picking |
Safety Note: Before upcycling any bank card or ID, ensure you destroy any sensitive information. Cut through the magnetic strip and the smart chip, and avoid punching a pick that displays your full name or secure account numbers!
The Master Crafter’s Guide: Punching the Perfect Pick
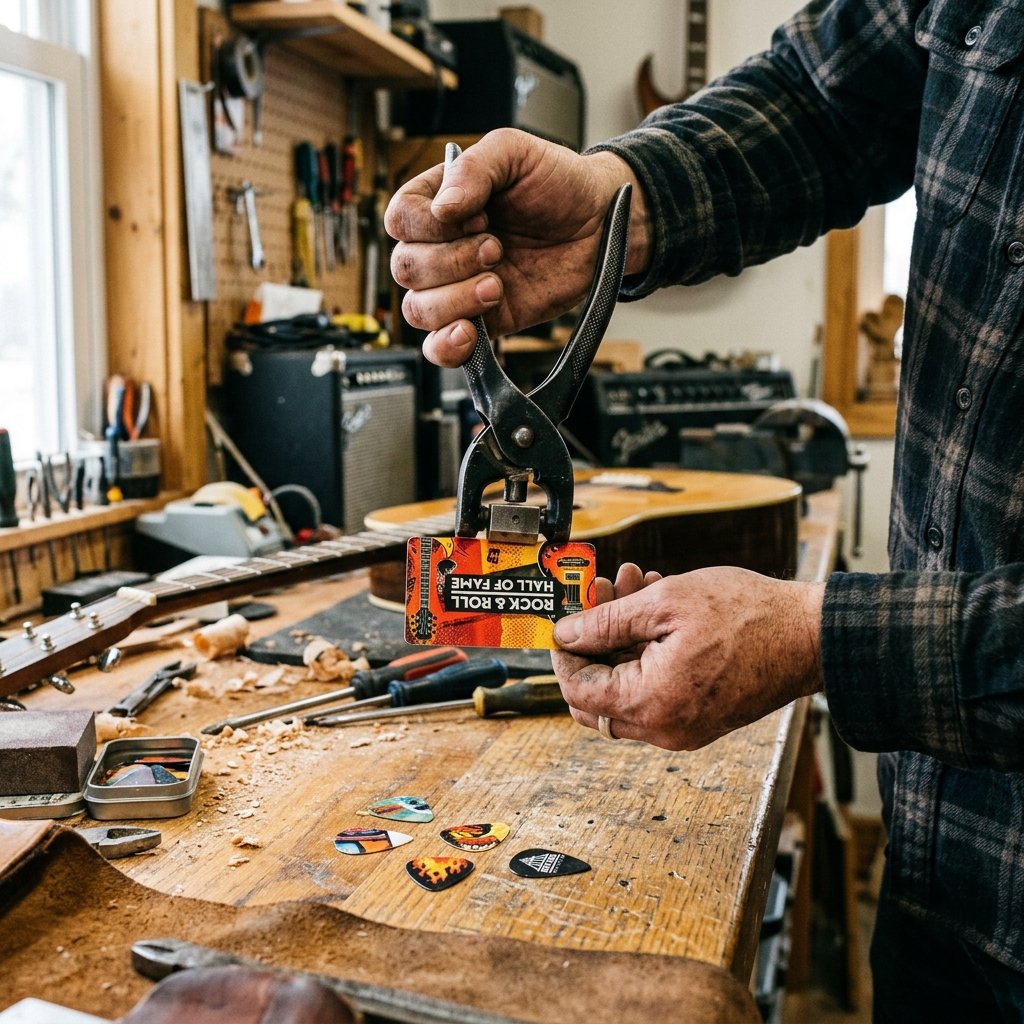
Now that you have sourced your materials, it is time for the fun part. You have two main methods for creating your picks: the ultra-efficient Pick Punch tool, or the classic heavy-duty scissors method. If you are serious about this frugal lifestyle, investing $15 to $20 in a heavy-duty metal Pick Punch is highly recommended. It operates exactly like a heavy-duty hole puncher but is shaped like a standard ‘351’ guitar pick. It pays for itself after the first 30 picks you make.
Method 1: The Pick Punch (The Pro Way)
- Frame Your Graphic: Slide the expired card into the punch. Turn the punch upside down so you can see exactly what part of the card is in the cutting window. This is where you get creative! Frame up a cool logo, a vibrant pattern, or the embossed numbers for grip.
- Apply Firm Pressure: Place the punch on a solid, flat workbench. Use the heel of your hand to press down firmly and quickly. You want a clean, decisive snap to avoid jagged edges.
- Pop It Out: Release the handle and pop out your perfectly shaped new pick. You can usually get 4 to 5 picks out of a single standard-sized card!
Method 2: The Scissor Method (The Zero-Budget Way)
- Create a Template: Take your favorite store-bought pick (if you have any left!) and place it on your expired card.
- Trace the Outline: Use a fine-tipped permanent marker to trace the outline of the pick onto the plastic.
- Cut Carefully: Using a pair of heavy-duty craft scissors or tin snips, slowly cut along the inside of the marker line. Take your time around the curved tip to ensure a smooth playing surface.
The Luthier’s Touch: Sanding, Shaping, and Beveling for Pro Tone
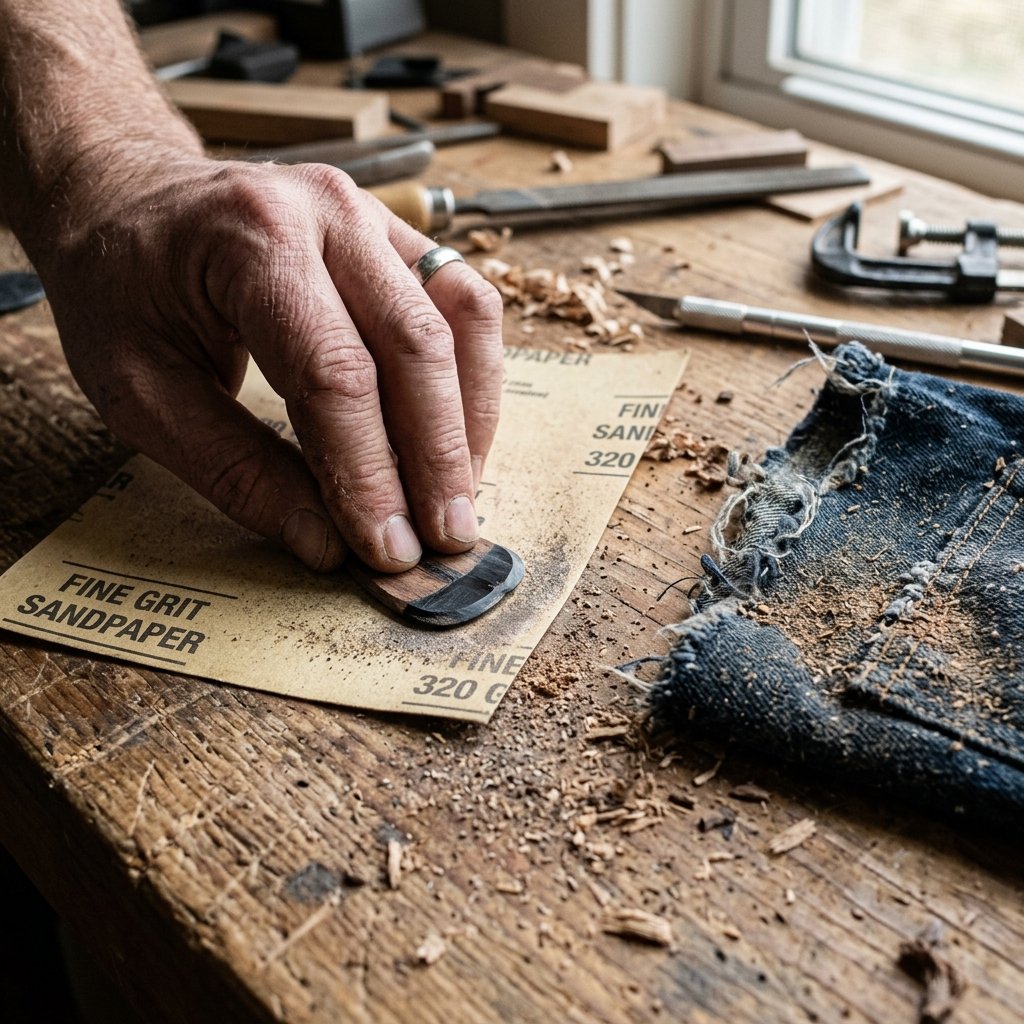
If you stop right after punching or cutting, you will have a functional pick, but it might feel a bit rough around the edges. To elevate your DIY creation from a crafty novelty to a professional-grade musical tool, you need to add the luthier’s touch: beveling. When a pick is punched, the edges are blunt and square. This can cause a slightly scratchy sound against the guitar strings. By sanding a bevel (a slight angle) onto the edges, you allow the pick to glide effortlessly across the strings, producing a warmer, cleaner tone.
Here is your budget-savvy finishing process:
- Step 1: The Rough Sand. Grab a piece of medium-grit sandpaper (around 220 grit). Hold the pick at a 45-degree angle and gently rub the edges along the sandpaper. Do this for both sides of the pointed tip.
- Step 2: The Smooth Finish. Switch to a fine-grit sandpaper (400 to 600 grit) or even a standard emery board nail file from the bathroom cabinet. Polish the edges until they are completely smooth to the touch.
- Step 3: The Denim Strop. For an ultra-slick, high-end finish, rub the edges of the pick vigorously against a scrap piece of heavy denim or an old leather belt. This acts as a microscopic polishing strop, giving your upcycled pick a factory-smooth edge in under 60 seconds.
Taking this extra minute transforms a piece of trash into a bespoke instrument accessory that plays just as well as a premium Dunlop or Fender pick.
Rugged Customizations: Adding Grip and Style
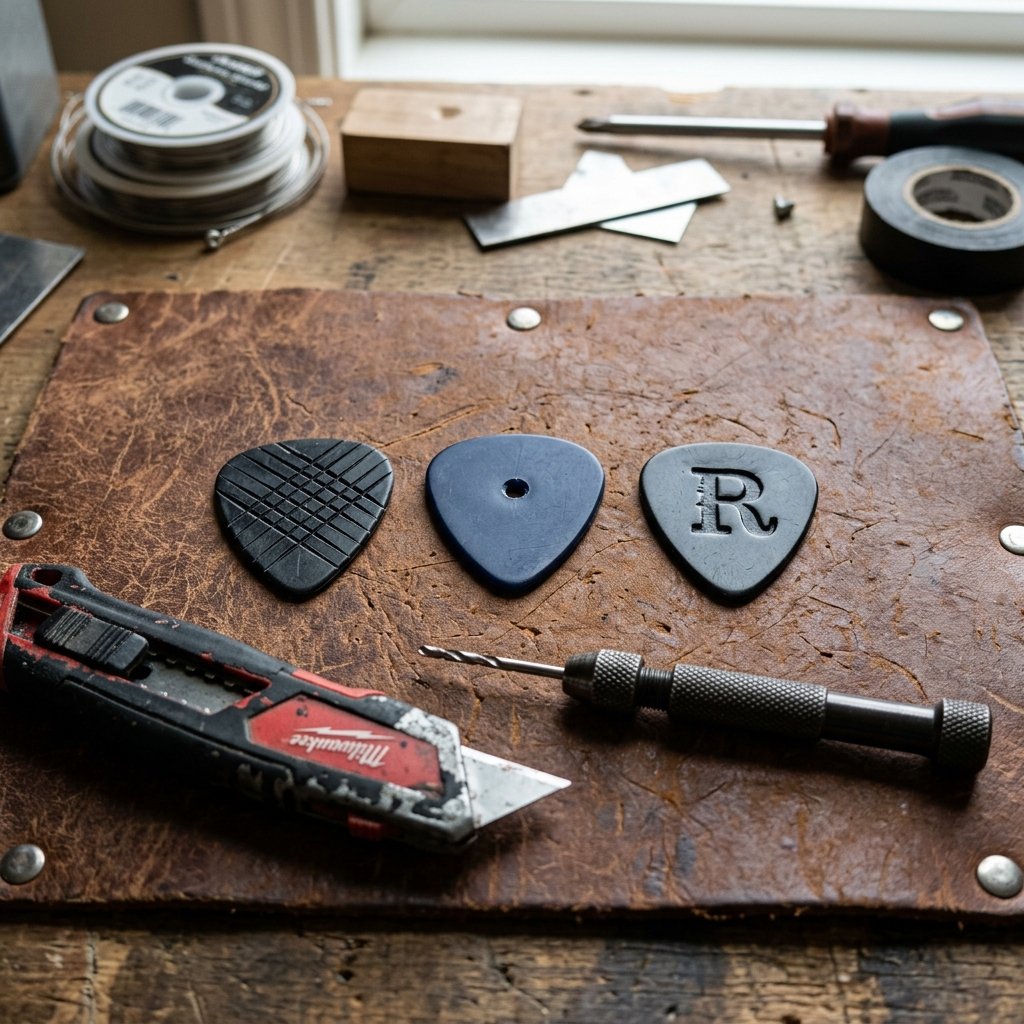
One of the biggest complaints about standard plastic picks is that they get slippery. Since you are the master of your own DIY domain, you can engineer the perfect grip tailored to your exact playing style. Here are a few resourceful, clever hacks to make your upcycled picks perform even better under pressure.
- The Utility Knife Score: Take a sharp utility knife or box cutter and lightly score a crosshatch pattern (an ‘X’ shape) into the center of the pick on both sides. This creates instant friction for your thumb and index finger.
- The Drill Hole Method: Using a small drill bit (around 1/8 inch), drill a single hole directly in the center of the pick. When you hold it, your skin slightly bulges into the hole, locking the pick firmly in place. This is a classic trick used by professional touring guitarists!
- The Hot Glue Bump: For a more tactile, rubberized grip, apply a tiny, flat dot of hot glue to the center of the pick. Let it dry completely. It creates a grippy, raised surface that is incredibly comfortable for long jam sessions.
- Custom Stamping: If you are making these as a thoughtful DIY gift for a musician, use metal leather stamps to imprint their initials into the plastic. Heat the stamp slightly with a lighter (be careful not to melt the plastic completely) and press it firmly into the center of the pick.
The Ultimate Musician’s Gift: Crafting a Custom Pick Tin
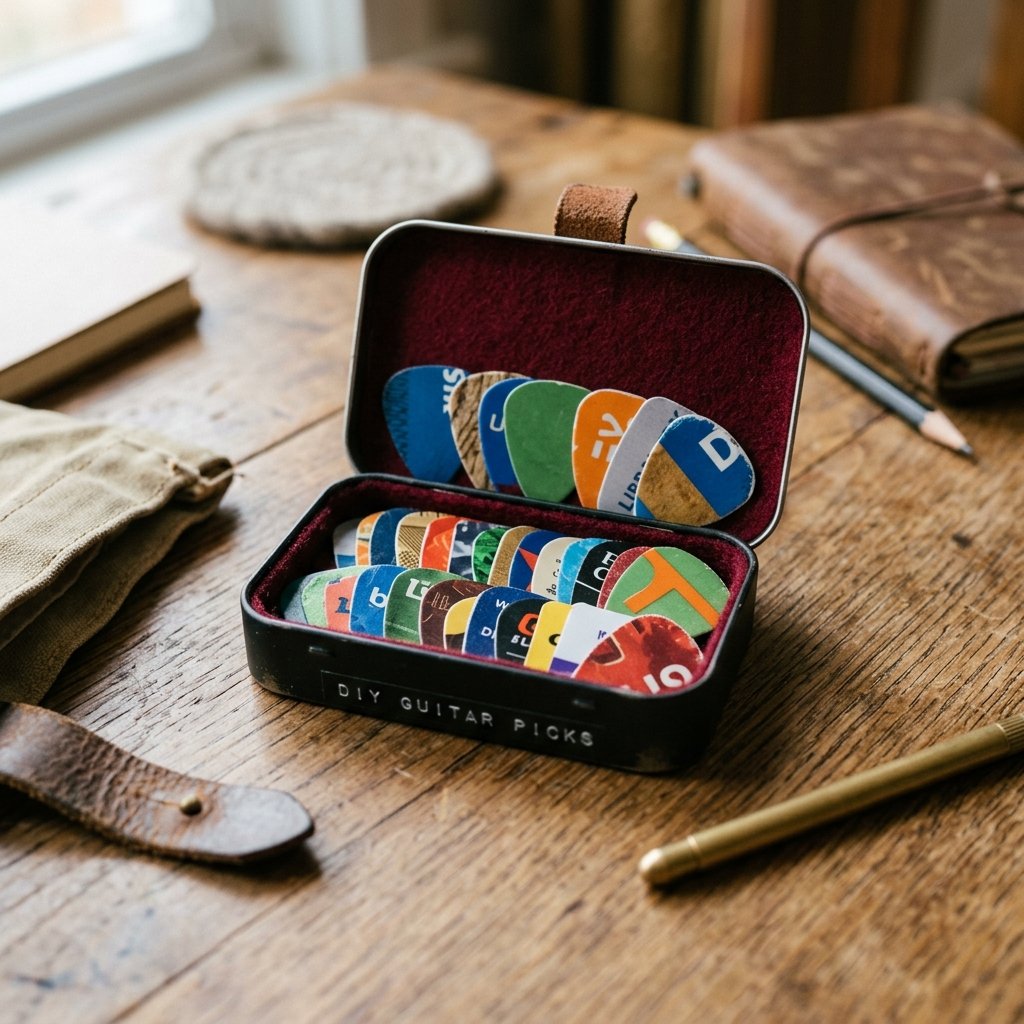
If you are looking for a thoughtful, practical, and budget-savvy Father’s Day gift, birthday present, or stocking stuffer for the guitar player in your life, you have just found it. A handful of loose picks is nice, but presentation is everything. Let us turn this frugal craft into a high-end, masculine gift presentation using items you probably already have lying around the house.
The Upcycled Mint Tin: Empty Altoids tins or small metal candy boxes make the absolute perfect guitar pick cases. But we are not going to just hand over an Altoids tin. We are going to give it a rugged makeover.
- Clean and Sand: Empty the tin, wash it out, and lightly sand the exterior to remove the glossy branding.
- Paint or Wrap: Spray paint the tin with a matte black or hammered metal finish. Alternatively, use scraps of leather or faux wood contact paper from the Dollar Tree to wrap the lid.
- Line the Interior: Cut a small piece of felt, cork board, or scrap velvet to line the bottom of the tin. This stops the picks from rattling around and gives the gift a premium, bespoke feel.
- Curate the Collection: Punch 15 to 20 picks from a variety of visually interesting cards. Try to include different thicknesses (a few gift cards for strumming, a few credit cards for lead playing). Arrange them neatly inside the customized tin.
You have just created a highly personalized, incredibly useful gift that looks like it came from an artisanal boutique, all for a grand total of about $0.00 out of pocket. That is the power of resourceful, clever DIY.
Conclusion
Keep Strumming, Keep Saving
Upcycling expired credit cards, hotel keys, and gift cards into custom guitar picks is the ultimate frugal DIY hack. It perfectly bridges the gap between practical problem-solving and creative expression. By utilizing the tools and techniques outlined above, you are not just saving money; you are reducing plastic waste, customizing your musical gear to your exact specifications, and honing your crafty-expert skills.
The next time you receive a replacement bank card in the mail or drain the last few cents off a coffee shop gift card, do not toss it in the trash. Look at it through the lens of a resourceful creator. Grab your pick punch or your scissors, frame up a cool design, and punch out your next favorite guitar pick. Whether you are stocking your own gig bag or crafting a thoughtful, rugged gift for a fellow musician, you will never look at a piece of plastic the same way again. Now, grab that custom pick, tune up your guitar, and let the music play!

Makenzie is the founder and lead writer at MoneyHackTips.com — a personal finance blog dedicated to delivering street-smart financial wisdom for real people on real budgets. With 300+ published articles covering everything from debt management to investing fundamentals, Makenzie’s mission is to make every dollar work harder. When not writing about money hacks, Makenzie is testing frugal living strategies, optimizing side hustles, and helping readers build financial freedom from scratch.