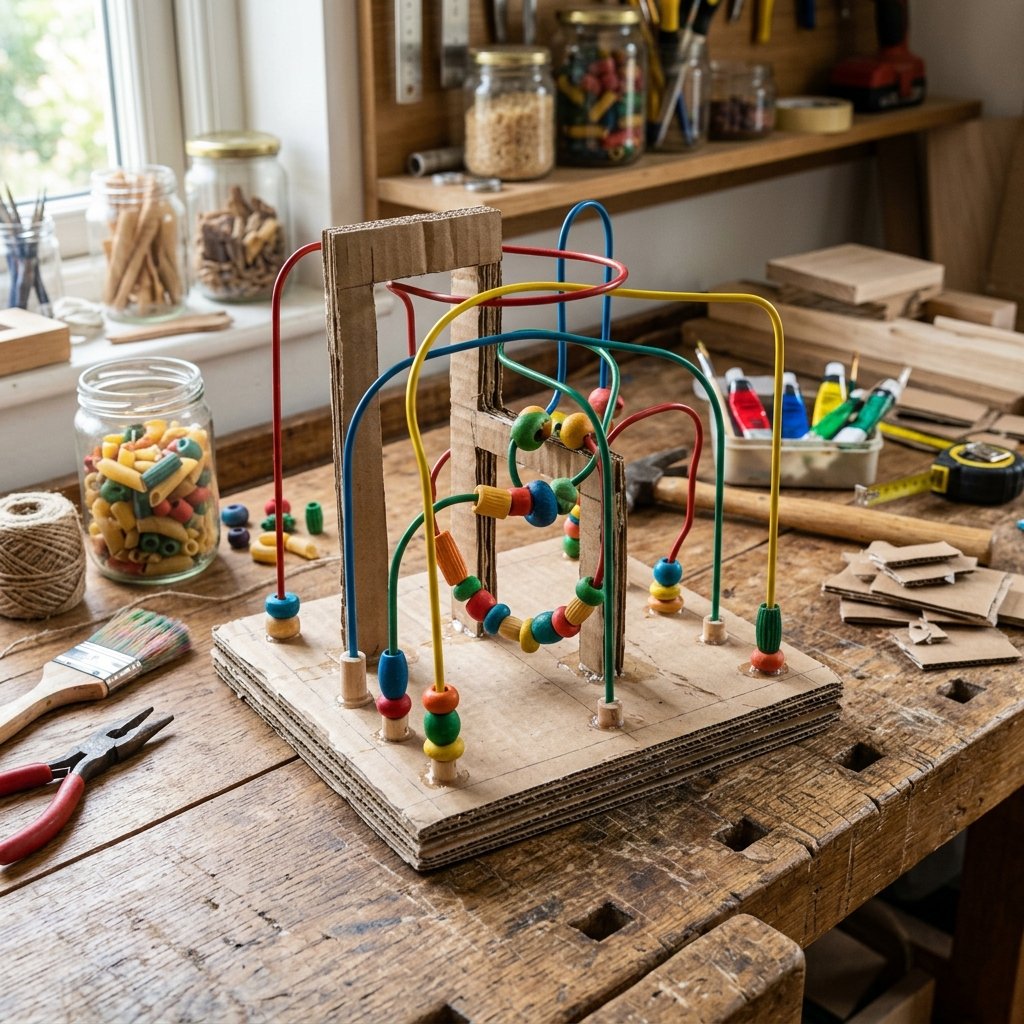

Let us face a universal truth of parenting and gift-giving: you can spend a small fortune on a beautifully packaged, battery-operated, singing, flashing piece of plastic, and the child will inevitably spend more time playing with the cardboard box it came in. It is a tale as old as time. So, why are we fighting it? As resourceful, budget-savvy creators, it is time we lean into the magic of the humble cardboard box and transform it into something spectacular. Today, we are taking aim at that classic doctor’s office waiting room staple: the wooden bead maze. Store-bought versions can easily run you upwards of $30 to $50, but we are going to build a rugged, custom-engineered DIY Cardboard Fine Motor Bead Maze that costs absolute pennies.
This is not just about saving money—though keeping those hard-earned dollars in your wallet is always a massive win. This is about the satisfaction of taking everyday household recycling and applying a little elbow grease, clever engineering, and crafty ingenuity to create a functional, developmental tool. By utilizing layered corrugated cardboard, scavenged wire or pipe cleaners, and pantry staples like dry pasta, you are stepping into the realm of the ultimate trash-to-treasure upcycler. Whether you are a handy dad looking for a weekend garage project with the kids, a frugal mom dedicated to sustainable play, or a crafty gift-giver wanting to present something truly one-of-a-kind, this guide is your blueprint.
We are going to cover everything from fortifying your cardboard base so it survives toddler tantrums, to bending the perfect wire labyrinth, and even customizing your beads for maximum sensory engagement. Grab your utility knife, fire up the hot glue gun, and let us get to building.
The High Cost of Plastic Play vs. The Zero-Budget Revolution
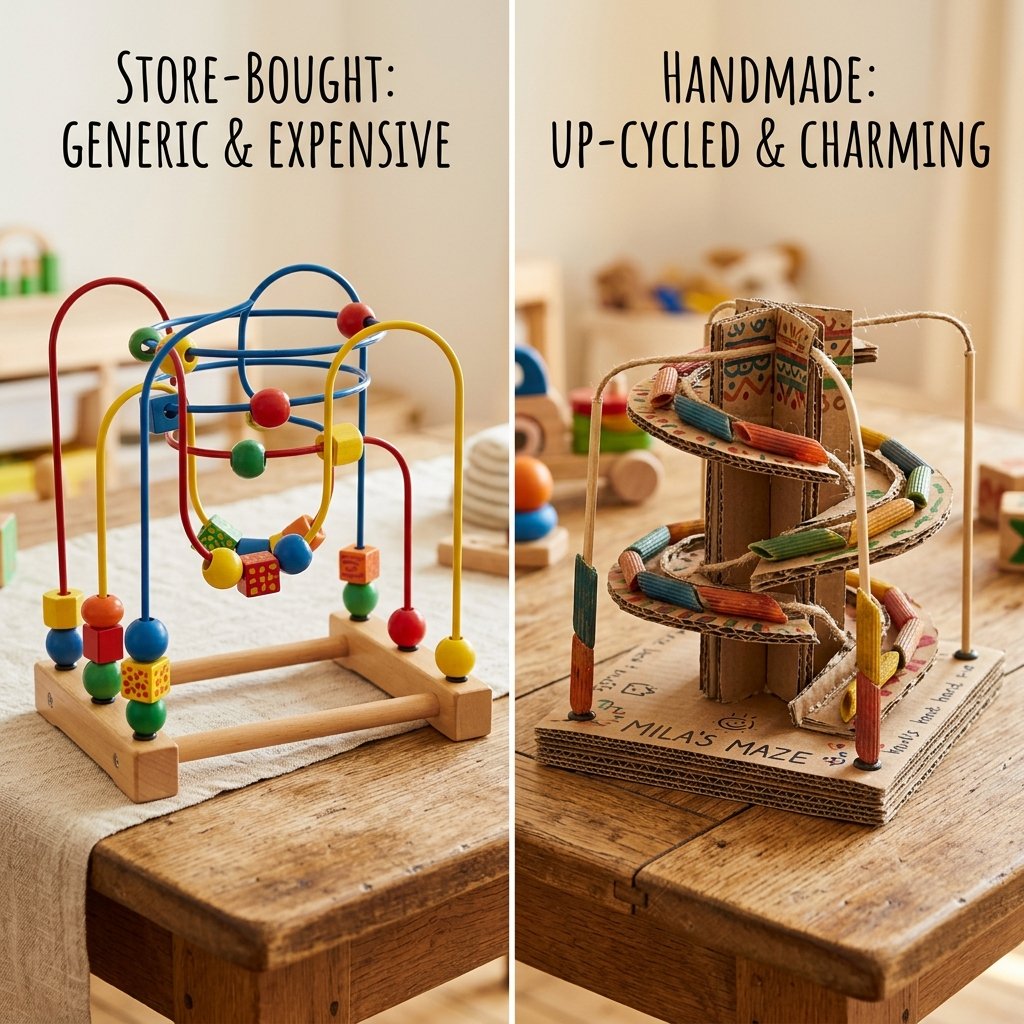
Walk down the aisle of any major toy retailer, and you will be bombarded by an overwhelming sea of plastic. Not only are these toys incredibly expensive, but they also come with a hidden cost: they stifle open-ended imagination and contribute massively to household clutter and landfill waste. The classic bead maze, while traditionally made of wood and metal, has also fallen victim to high retail markups. Manufacturers charge a premium for the “educational” label, knowing well-meaning parents and grandparents will pay top dollar to boost a child’s fine motor skills.
But here is the secret the toy industry does not want you to know: a toddler’s developing brain does not care about brand names or powder-coated steel. It cares about cause and effect, bright colors, crossing the midline, and the satisfying tactile feedback of moving an object from point A to point B. By embracing the zero-budget revolution, you reclaim control over your child’s play environment. When you build a toy yourself, you can customize the difficulty level, the size, and the aesthetic to perfectly match the child’s current developmental stage.
“The true mark of a master crafter isn’t what they can buy, but what they can build from the things everyone else throws away. Upcycling is practical magic.”
Furthermore, building this DIY cardboard bead maze offers a profound lesson in resourcefulness. When kids watch you take a discarded Amazon shipping box and turn it into a captivating game, you are teaching them that value is not determined by a price tag, but by creativity and effort. You are raising the next generation of handy, resourceful problem-solvers.
Scavenging Your Stash: Materials Needed for Your Bead Maze
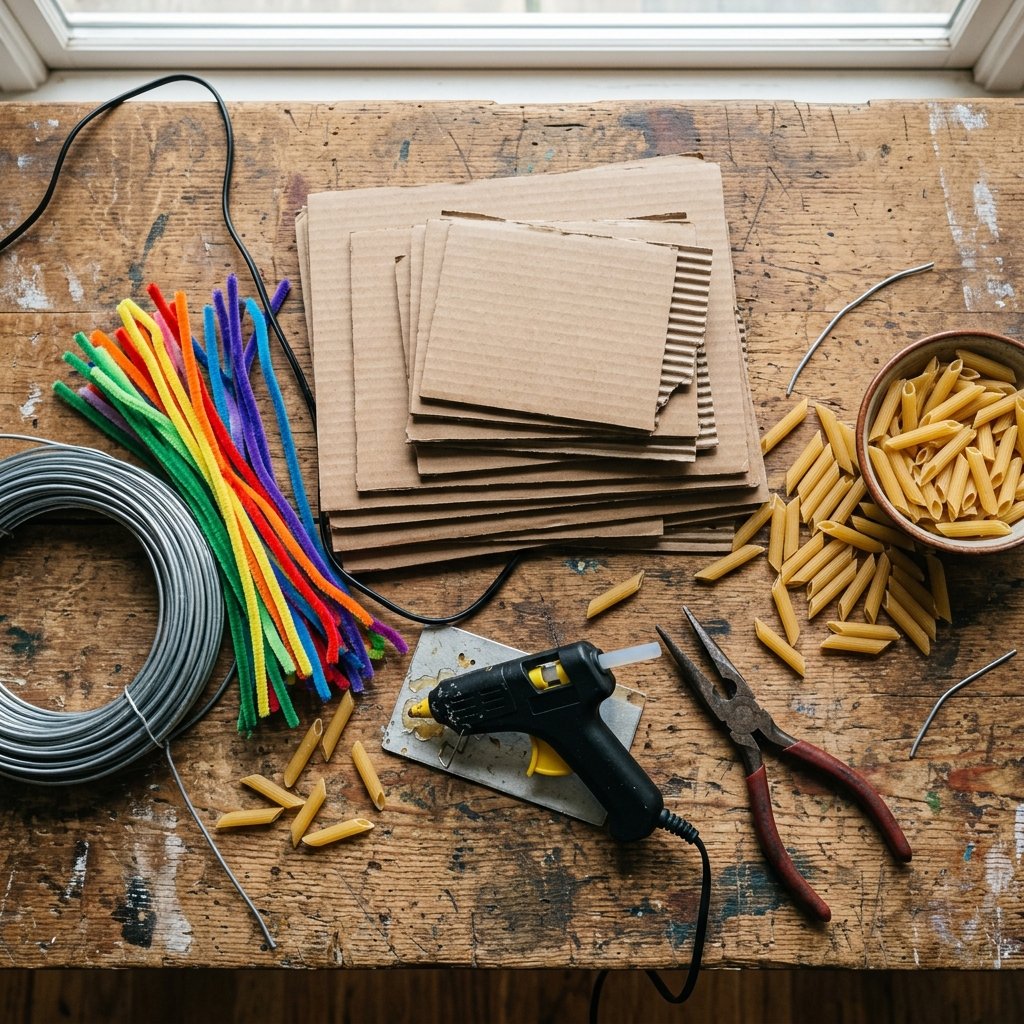
Before we start cutting and gluing, we need to gather our supplies. The beauty of this project lies in its flexibility. You do not need to make a trip to the expensive craft store; you simply need to shop your recycling bin, your garage, and your kitchen pantry. This project is highly forgiving, allowing you to substitute materials based on what you have on hand.
The Master Material List
- The Base: Thick, corrugated cardboard boxes. Shipping boxes, appliance boxes, or heavy-duty moving boxes work best. You want maximum structural integrity.
- The Tracks: Heavy-gauge craft wire, old wire coat hangers (for a rugged, stiff track), or thick pipe cleaners (chenille stems) for a softer, safer option for younger toddlers.
- The Beads: Dry penne or rigatoni pasta, cut-up paper straws, large wooden craft beads (if you have them in your stash), or even upcycled large buttons.
- Adhesives: A heavy-duty hot glue gun with plenty of glue sticks, and standard PVA school glue for sealing edges.
- Tools: A sharp utility knife (box cutter), needle-nose pliers, wire cutters, and non-toxic acrylic paints for decorating.
Let us break down the true cost savings of this project. By utilizing items destined for the trash or items that cost pennies per unit, your return on investment is staggering.
| Item/Component | Store-Bought Wooden Maze Cost | Zero-Budget DIY Alternative | Estimated DIY Cost |
|---|---|---|---|
| Base Structure | $10.00 (Wood base) | Layered Shipping Boxes | $0.00 |
| Tracks/Mazes | $8.00 (Powder-coated steel) | Old wire hangers or pipe cleaners | $0.00 – $1.00 |
| Beads | $7.00 (Painted wood) | Dry penne pasta or cut straws | $0.50 |
| Adhesives/Fasteners | $5.00 (Industrial screws) | Hot glue & scrap glue | $0.25 |
| Total Investment | $30.00+ | Scavenged Materials | Under $2.00 |
As you can see, you are keeping nearly $30 in your pocket while creating something entirely bespoke. This is the essence of clever, budget-savvy crafting.
The Blueprint: Preparing Your Cardboard Base for Maximum Durability
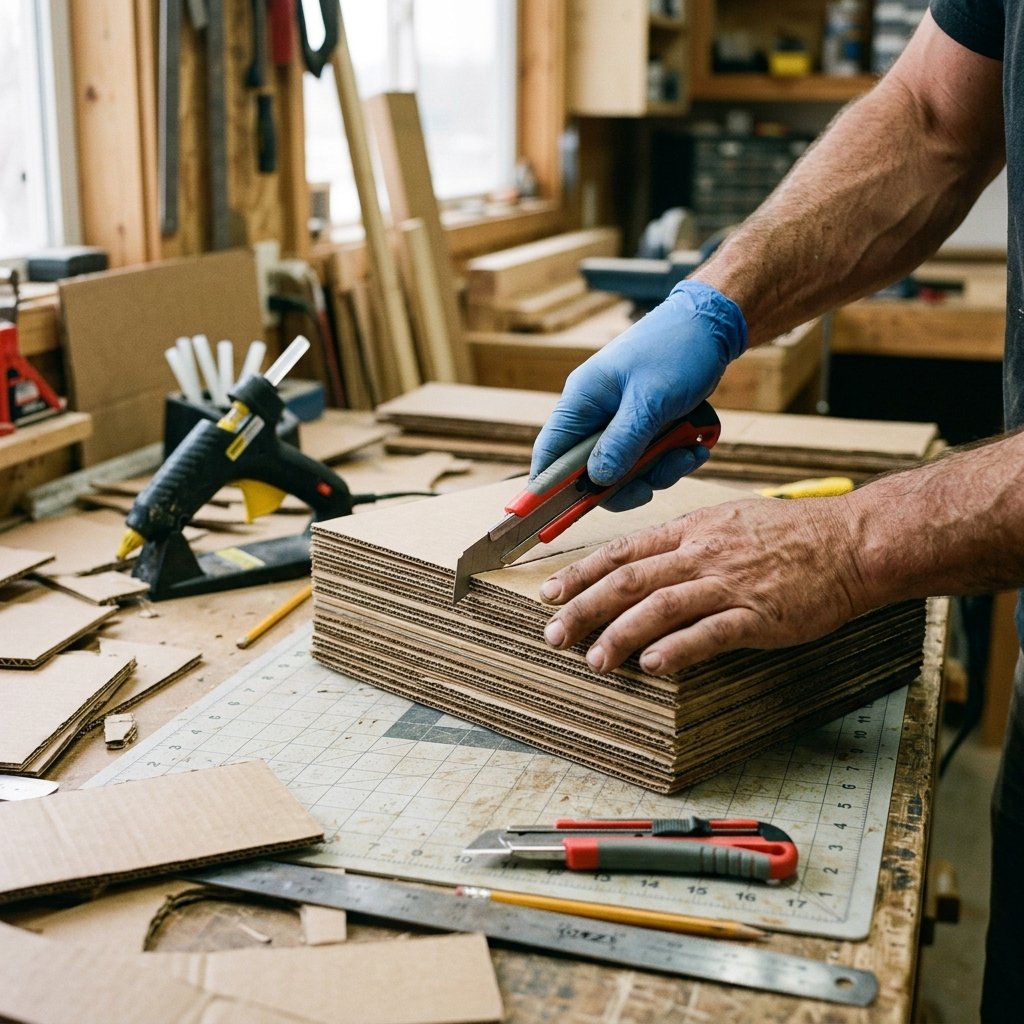
A common misconception about cardboard crafts is that they are flimsy and disposable. As handy upcyclers, we know that is simply false. With the right engineering, corrugated cardboard can mimic the strength of plywood. The secret lies in the lamination process—layering the cardboard so that the corrugation (the wavy ridges inside) runs in alternating directions. This creates a cross-hatched internal structure that is incredibly rigid and toddler-proof.
Step-by-Step Base Construction
- Measure and Cut: Decide on the footprint of your bead maze. A standard size is roughly 8 inches by 10 inches. Using a metal ruler and a sharp utility knife, cut out 4 to 6 identical rectangles from your corrugated boxes. Make sure to use a cutting mat or a piece of scrap wood underneath to protect your table.
- The Alternating Grain Technique: Look closely at the edges of your cut cardboard. You will see the direction the “waves” are running. When you stack your pieces, alternate the direction of these waves for each layer (one layer running horizontally, the next vertically). This prevents the base from bending or snapping under pressure.
- The Glue Up: Apply a generous, even layer of hot glue or wood glue between each layer. If using wood glue, spread it edge-to-edge with a scrap piece of cardboard, stack the layers, and weigh them down with heavy books for at least 30 minutes to ensure a flat, solid bond.
- Edge Sealing (The Pro-Touch): To give your base a finished, high-end look and prevent little fingers from picking at the corrugated edges, run a bead of hot glue along the exposed sides and smooth it out with a scrap of cardboard, or wrap the edges tightly with masking tape or colorful duct tape.
Once your base is fully cured, you will have a solid, bulletproof block of upcycled material ready to anchor your wire tracks. You can paint this base with non-toxic acrylics, draw a landscape on it, or leave it raw for a rugged, minimalist aesthetic.
Shaping the Labyrinth: How to Bend, Twist, and Secure the Tracks
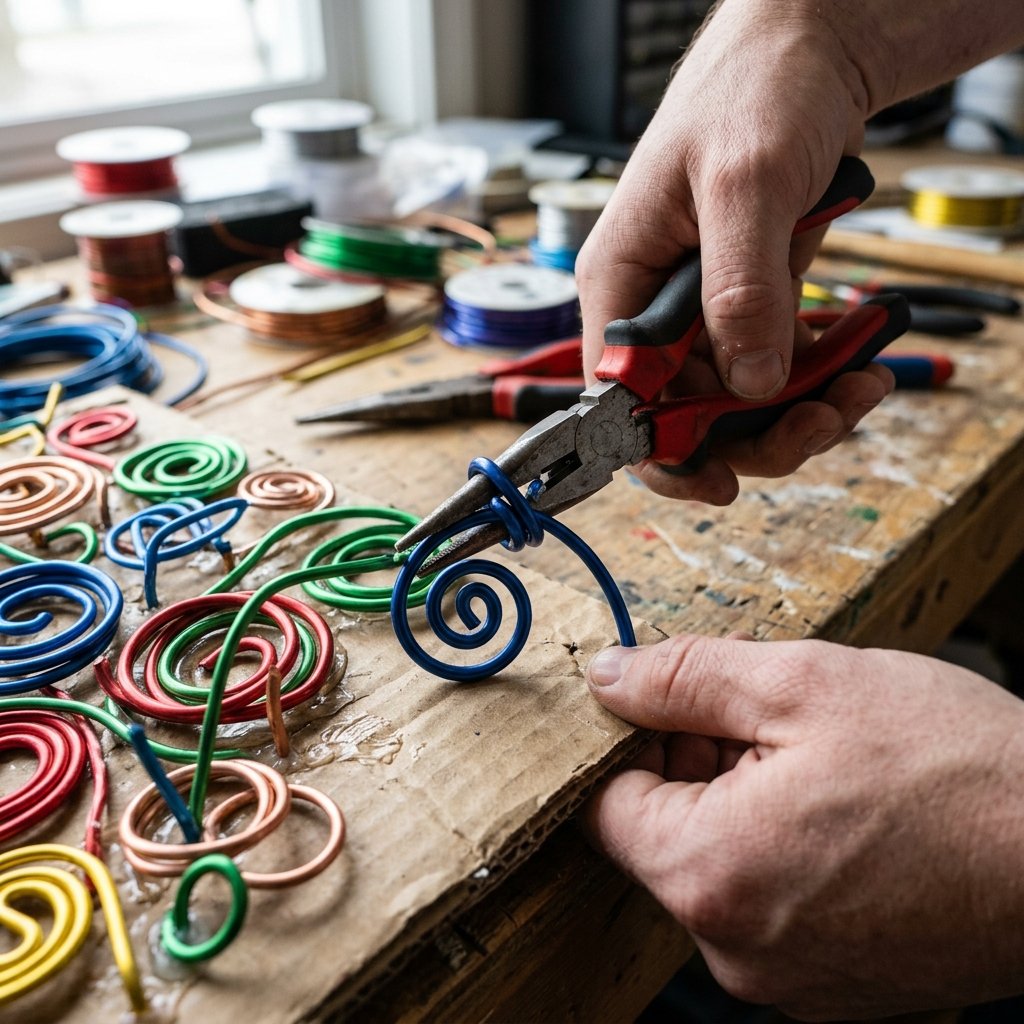
Now comes the architectural phase: designing the tracks. This is where you can get incredibly creative. If you are building this for a younger baby (under 18 months), you want simple, gentle arches. If you are building for a preschooler, you want complex loops, spirals, and sharp dips to challenge their fine motor dexterity.
Choosing Your Track Material
If you want a highly durable track that mimics the store-bought versions, heavy-gauge aluminum craft wire or upcycled wire coat hangers are your best bet. If you prefer a softer approach, twisting two thick pipe cleaners together provides excellent stability without the risk of sharp metal.
Safety First, Builders: When working with heavy-gauge wire or coat hangers, always use your needle-nose pliers to bend the sharp ends back into a tiny, tight, closed loop before inserting them into the base. Bury these ends deep within your cardboard base and flood the hole with hot glue. Never leave a sharp wire end exposed where little hands play.
The Installation Process
- Map the Layout: Lightly mark your cardboard base with a pencil to indicate where the tracks will start and end. Ensure the tracks crisscross for visual interest but leave enough clearance so the beads won’t get stuck hitting each other.
- Bend the Wire: Using your hands and needle-nose pliers, shape your wire. Create a “rollercoaster” effect with high peaks, low valleys, and at least one 360-degree loop. Crucial step: Do not attach both ends to the base yet! You must thread your beads on first.
- Puncture and Anchor: Use an awl or a Phillips-head screwdriver to poke a pilot hole into your thick cardboard base. Fill the hole with a generous dollop of hot glue. Insert the looped end of your wire deep into the hole, pushing it through several layers of the cardboard. Hold it steady for 60 seconds until the glue fully sets.
- Thread and Finish: Slide your chosen beads onto the open end of the wire (we will cover bead prep in the next section). Once all beads are on, repeat the anchoring process for the final end of the wire.
For added stability, especially on taller loops, you can create a small cardboard “support pillar” in the center of the base and glue the wire to it, ensuring the track won’t sag over time.
Threading the Needle: Choosing and Customizing Your Beads

A bead maze is nothing without its beads, and this is where frugal crafting truly shines. While you could buy a bag of wooden craft beads for $5 to $7, we are committed to the zero-budget ethos. The best, most accessible alternative? Dry pasta.
The Pasta Upcycle Method
Penne, rigatoni, and ziti are structurally perfect for this project. They have wide centers that glide easily over wire and pipe cleaners. To make them visually stimulating, we need to dye or paint them.
- The Paint Bag Method: Place a handful of dry pasta into a zip-top plastic bag. Add a squirt of non-toxic acrylic paint and a tiny drop of hand sanitizer or rubbing alcohol (this helps the paint dry quickly and adhere better). Seal the bag and let your kids squish it around until the pasta is fully coated. Dump the pasta onto a sheet of wax paper, separate them so they don’t stick together, and let them dry for 2 hours.
- The Food Coloring Method: For a more stained, natural look, mix a tablespoon of white vinegar with several drops of liquid food coloring in a bowl. Toss the pasta in the mixture until dyed, then dry on paper towels.
Alternative Zero-Cost Beads
If pasta isn’t your preference, look around the house. Paper straws can be cut into 1-inch segments—they slide beautifully and come in endless patterns. Do you have an old jar of spare buttons? Stack two or three large buttons together and glue them to create a chunky, tactile slider. You can even cut small squares of leftover corrugated cardboard, poke a hole in the center, and use those as rustic, geometric beads.
When threading your beads, consider color theory and patterns. You can create a track that features a rainbow gradient, or a track that alternates between smooth pasta and textured cardboard squares. This adds an extra layer of cognitive development, allowing you to ask your child to “move the bumpy blue bead over the mountain.”
Advanced Upgrades: Adding Tunnels, Ramps, and Sensory Elements
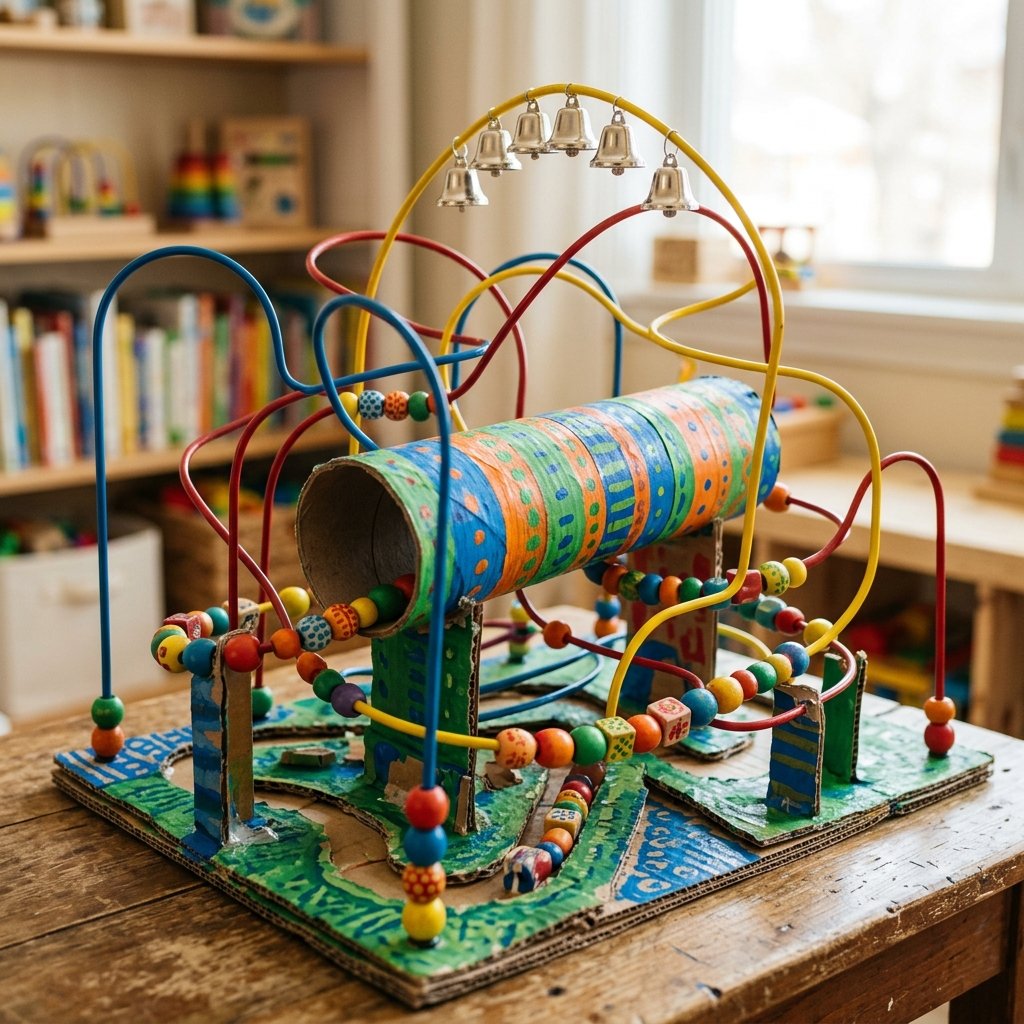
Once you have mastered the basic wire and bead construction, it is time to channel your inner engineer and elevate the design. A standard bead maze is great, but an upgraded, multi-sensory labyrinth will keep a child engaged for hours. By raiding your recycling bin just a bit further, you can add incredible interactive elements without spending an extra dime.
Cardboard Tube Tunnels
Don’t throw away those empty toilet paper or paper towel rolls! Cut a toilet paper roll in half, paint it a bright color, and hot glue it directly onto your cardboard base, positioning it so the wire track runs straight through it. When a child pushes the bead along the wire, it will “disappear” into the tunnel and emerge on the other side. This simple addition teaches object permanence—the understanding that an object still exists even when it cannot be seen.
Sensory and Auditory Additions
To make the toy truly high-end, we need to engage multiple senses:
- The Bell Drop: If you have leftover jingle bells from holiday crafting, thread one onto the highest peak of your wire track. When the child pushes a pasta bead up the slope and it clacks against the bell, they get immediate auditory feedback.
- Texture Zones: Glue different textures to the cardboard base beneath the tracks. A square of scrap sandpaper, a piece of old corduroy fabric, or some crinkled aluminum foil gives little fingers something to explore while they play.
- The “Plinko” Drop: Instead of a continuous wire, create a vertical section where the wire zig-zags sharply downward. When the bead is released from the top, it will clatter down the zig-zags rapidly, teaching gravity and momentum.
These advanced upgrades transform a simple upcycled craft into a premium educational tool. It proves that with a bit of clever thinking, trash can truly become a treasured, heirloom-quality toy.
The Developmental Payoff: Why Fine Motor Skills Matter

As handy parents and resourceful upcyclers, we love building things just for the thrill of the craft. But it is vital to understand the profound developmental impact this simple cardboard toy has on a growing child. You aren’t just saving money; you are actively facilitating crucial neurological and physical milestones.
The Mechanics of the Pincer Grasp
When a child reaches out to grab a small piece of painted pasta and slide it along a wire, they are forced to use their thumb and index finger. This is known as the “pincer grasp.” Developing a strong pincer grasp is the foundational prerequisite for almost every practical life skill they will learn later, from holding a pencil and writing their name, to buttoning a shirt, zipping a jacket, and using scissors. Store-bought toys that rely on pushing buttons with a whole hand do not isolate these tiny muscles the way a bead maze does.
Crossing the Midline and Spatial Awareness
When you design your wire tracks to sweep from the far left side of the cardboard base all the way to the far right, you are encouraging the child to “cross the midline.” This means they are reaching their right hand over to the left side of their body, or vice versa. This physical action forces the left and right hemispheres of the brain to communicate, which is essential for developing coordination, reading skills, and athletic ability.
“Every time a child maneuvers a bead through a complex loop, their brain is performing rapid, complex geometric calculations. They are learning spatial awareness, gravity, and problem-solving in real-time.”
Furthermore, the resistance of the wire against the bead builds hand-eye coordination. They must visually track the object while physically manipulating it. By building this DIY Cardboard Fine Motor Bead Maze, you have engineered a comprehensive brain-building tool from materials that were destined for the recycling truck. That is the ultimate victory for the frugal, practical, and creative parent.
Conclusion
Creating a DIY Cardboard Fine Motor Bead Maze is the perfect intersection of frugal living, sustainable upcycling, and intentional parenting. By refusing to pay exorbitant retail prices for simple concepts, you empower yourself to build custom, rugged, and beautiful toys that serve your child’s exact developmental needs. You have taken a discarded cardboard box, some scrap wire, and a handful of dry pasta, and engineered a masterpiece that costs mere pennies.
Remember, the goal is not factory perfection; the goal is functional, joyful play. Let the hot glue be a little messy, let the painted pasta be perfectly imperfect, and let the ingenuity of your craft shine through. We encourage you to dig into your recycling bins this weekend, fire up that glue gun, and build something incredible. When you’re done, you won’t just have a fantastic new toy—you’ll have the immense satisfaction of knowing you built it with your own two hands, on a zero-dollar budget. Happy building, resourceful crafters!

Makenzie is the founder and lead writer at MoneyHackTips.com — a personal finance blog dedicated to delivering street-smart financial wisdom for real people on real budgets. With 300+ published articles covering everything from debt management to investing fundamentals, Makenzie’s mission is to make every dollar work harder. When not writing about money hacks, Makenzie is testing frugal living strategies, optimizing side hustles, and helping readers build financial freedom from scratch.