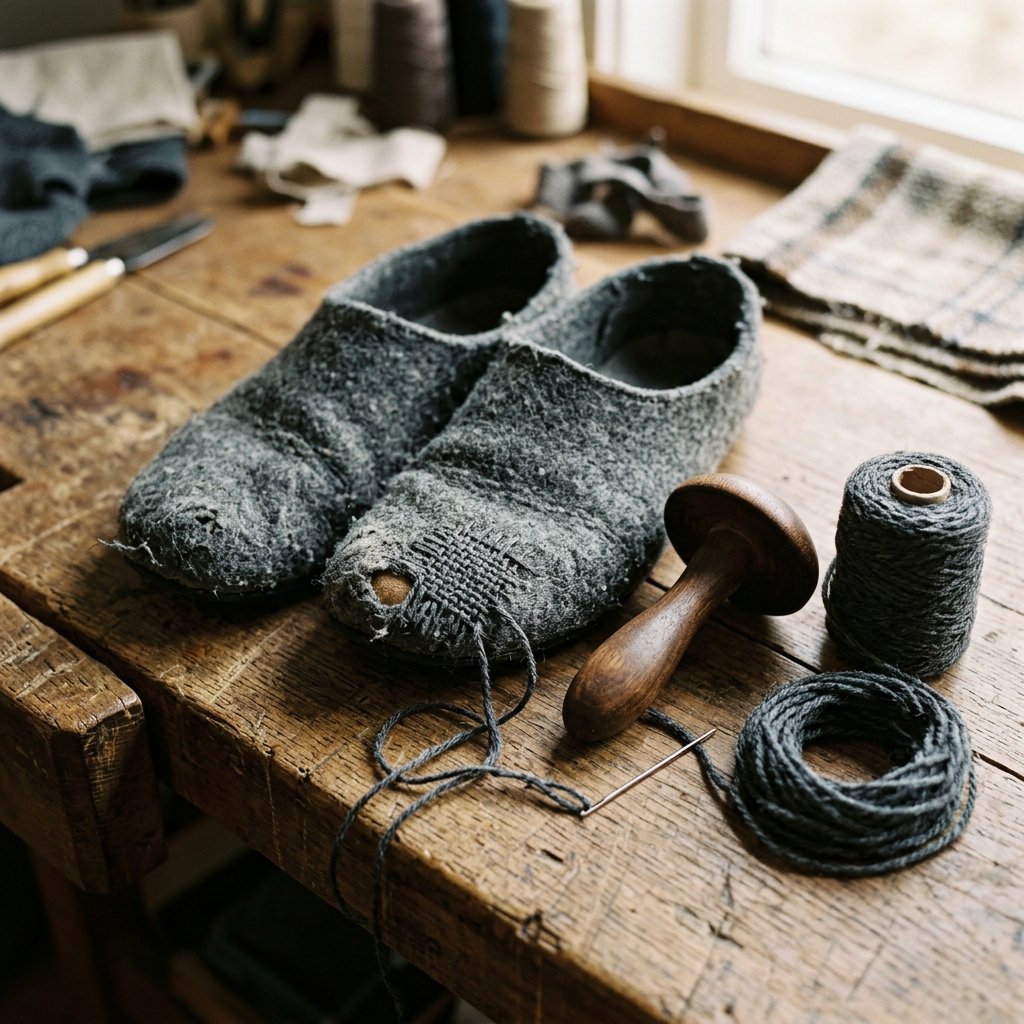

There is a specific kind of heartbreak that occurs when you look down and see a thinning patch or a gaping hole in your favorite pair of wool slippers. You know the ones—they’ve molded perfectly to your feet over the years, providing that essential layer of warmth on cold mornings. High-quality wool slippers, like those from heritage brands, can easily cost $80 to $150. Tossing them because of a small friction hole isn’t just a waste of money; it’s a waste of a perfectly good, broken-in soul. As a resourceful DIYer, you don’t see a ruin; you see an opportunity for a rugged, practical repair that adds character and longevity.
Darning is a centuries-old needlework technique that literally weaves new fabric into the gap of the old. It’s not just a patch; it’s a structural reinforcement. In this guide, we are going to move beyond the messy ‘quick-fix’ and dive into professional darning. We will cover the tools you need (many of which you already have in your junk drawer), the best stitches for heavy wool, and how to ensure your repair is as comfortable as the original felt. By the time we’re done, you’ll have saved $100 and gained a skill that makes you the master of your wardrobe’s destiny.
The Master’s Toolkit: Resourceful Gear for Rugged Repairs
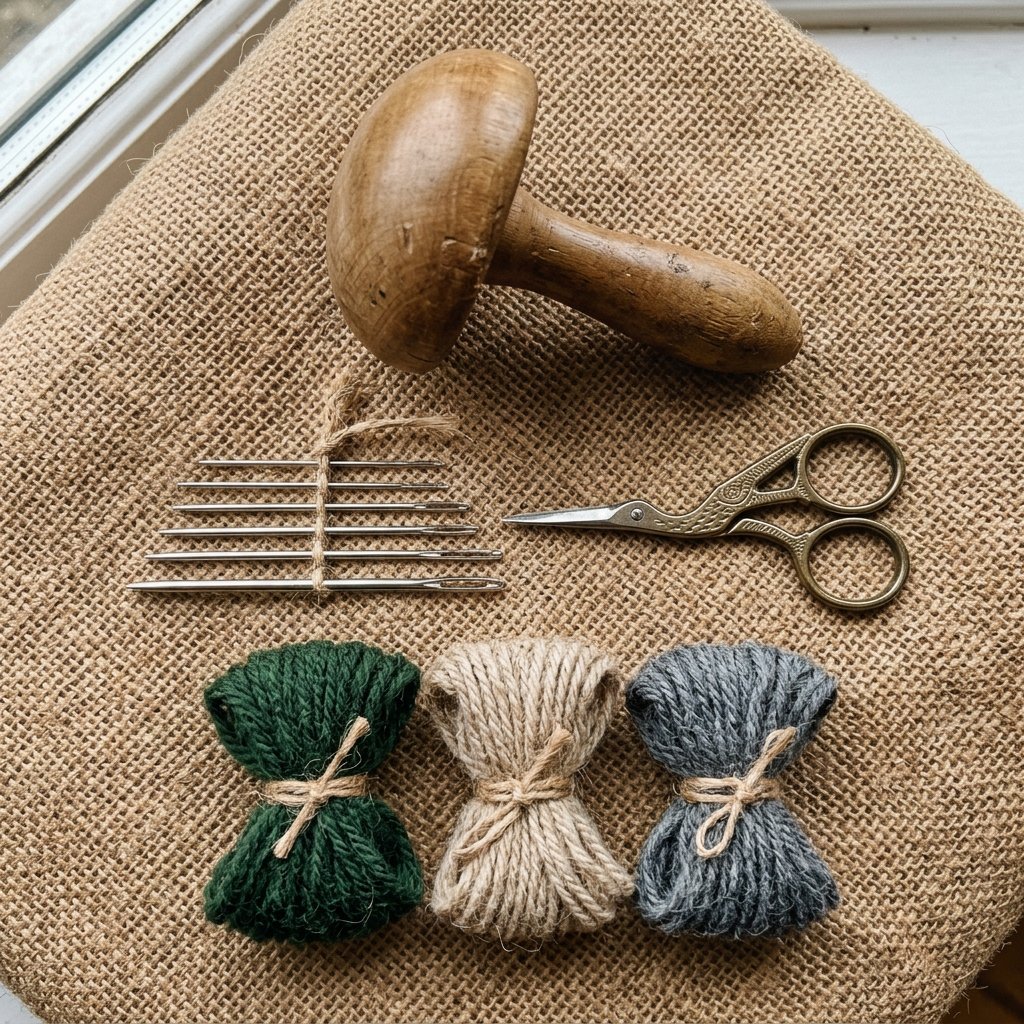
Professional mending doesn’t require an expensive sewing machine. In fact, for heavy wool slippers, hand-work is superior because it allows you to control the tension of every single fiber. To get started, you need a few specific items. If you don’t want to buy a dedicated darning mushroom, look around your kitchen—a large citrus fruit, a smooth river stone, or even a sturdy lightbulb (carefully handled) can serve as your ‘form’.
| Tool | Purpose | Budget-Savvy Alternative |
|---|---|---|
| Darning Mushroom | Provides a firm, curved surface to maintain slipper shape. | Tennis ball, dried gourd, or a ladle. |
| Tapestry Needle | Large eye for wool yarn and a blunt tip to avoid splitting fibers. | Any large-eye embroidery needle. |
| Wool Yarn | The ‘filler’ for your hole. Match the weight of the slipper. | Unraveled yarn from an old, moth-eaten sweater. |
| Small Scissors | For clean snips of the yarn tails. | Standard kitchen snips or nail clippers. |
The goal of using a form (like the mushroom) is to keep the wool taut but not stretched. If you darn a hole while the slipper is flat, the repair will be too tight when you put your foot in, leading to discomfort or the repair snapping. Pro Tip: Always choose a yarn that has at least 10-20% nylon if you are mending the sole or the heel; it provides the abrasion resistance needed for walking.
The Warp and the Weft: A Step-by-Step Darning Masterclass
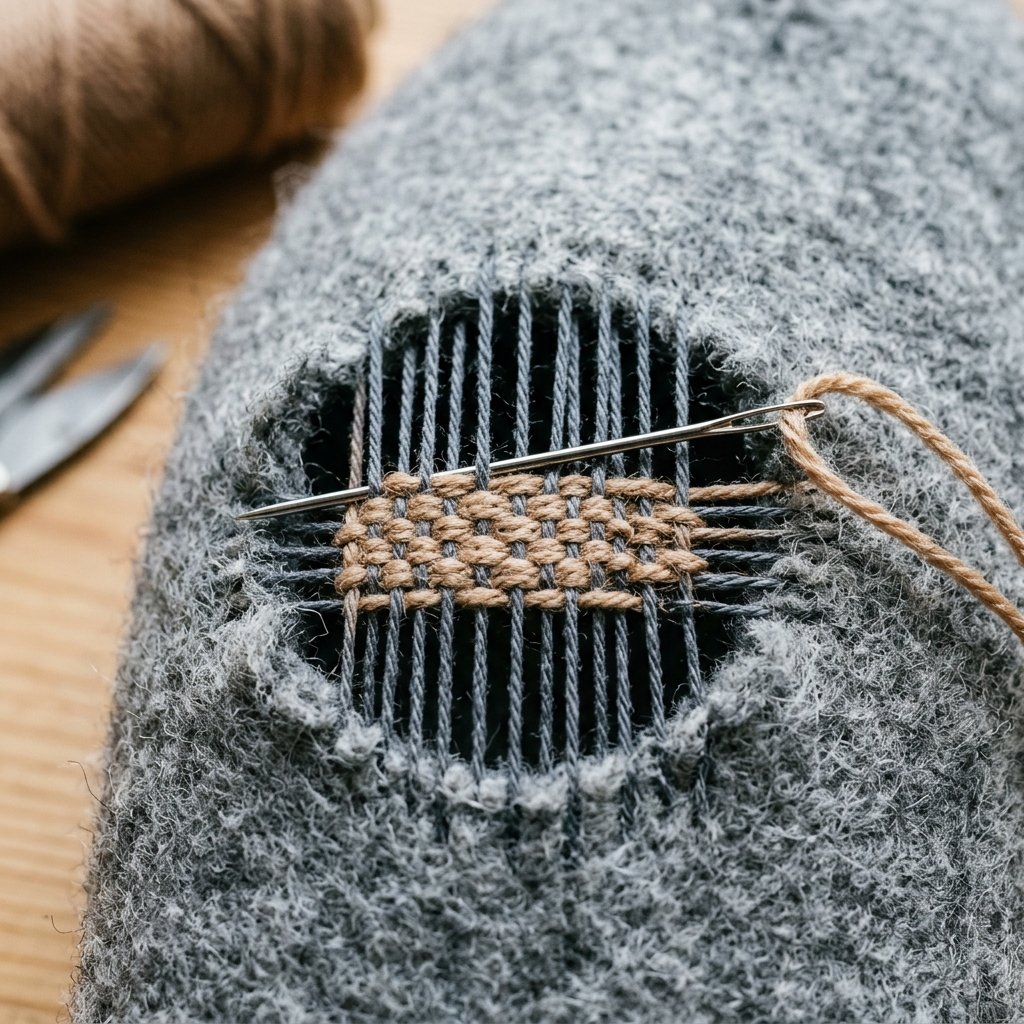
Darning is essentially miniature weaving. We create a foundation of vertical threads (the warp) and then weave horizontal threads (the weft) through them. This creates a new ‘fabric’ that fills the void. Follow these steps for a professional-grade finish:
- Prep the Area: Trim any extremely frayed or ‘fuzzy’ bits from the hole with your scissors. You want a clean work area, but don’t cut into the structural wool.
- Insert the Form: Slide your darning mushroom or tennis ball inside the slipper directly under the hole. Hold the wool firmly against the form with your non-dominant hand.
- The Anchor: Start about 1/2 inch away from the edge of the hole. Do not tie a knot! Knots create pressure points that will blister your feet. Instead, leave a 3-inch tail and work a few small running stitches into the healthy fabric to secure the thread.
- Establishing the Warp: Stitch vertically across the hole. Go from one side of the healthy fabric to the other, bridging the gap. Keep your stitches close together—about 1-2mm apart. Continue until the entire hole is covered by vertical bars of yarn.
- The Weave (The Weft): Turn your slipper 90 degrees. Now, weave your needle over and under each vertical thread you just created. When you reach the end of the row, turn back and weave the opposite way (under and over).
- Final Secure: Once the hole is a solid block of woven yarn, finish by weaving the needle back into the healthy wool for an inch, then snip the thread flush.
“The secret to a comfortable darn is tension. If the weave is too loose, it will sag; if it is too tight, it will pull the slipper out of shape. Aim for the tension of a drum skin—firm but flexible.”
Choosing Your Stitch: Strength vs. Style
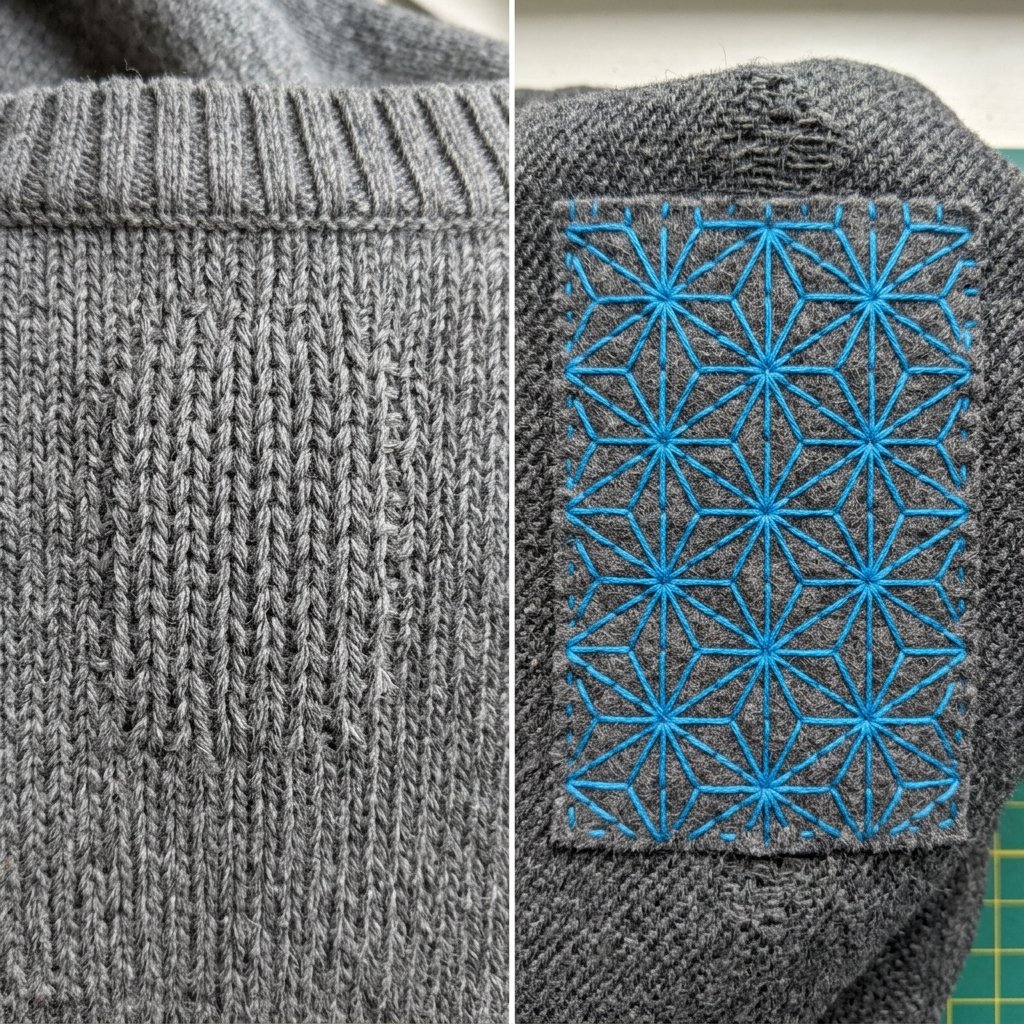
Depending on where the hole is located, you might want to vary your technique. A hole on the top of the toe is highly visible and might benefit from a decorative ‘Sashiko’ style repair, whereas a hole on the heel needs pure, rugged strength.
| Stitch Type | Best For… | Difficulty Level |
|---|---|---|
| Traditional Woven Darn | Toes and side-walls where fabric is missing. | Intermediate |
| Swiss Darning (Duplicate Stitch) | Thinning areas where the knit structure is still visible. | Advanced |
| Sashiko Patching | Large holes that need a secondary piece of felt added. | Beginner-Friendly |
| Blanket Stitch Edge | Repairing the ‘collar’ or opening of the slipper. | Easy |
If your slippers are 100% boiled wool (like Glerups), they don’t have a traditional knit ‘grain’. In this case, the woven darn is your best friend. However, if your slippers are knitted and then felted, you can use Swiss Darning. This involves following the path of the original ‘V’ shapes in the knitting, essentially doubling the thickness of the wool. It is nearly invisible and maintains the exact stretch of the original garment, saving you the $120 cost of replacement.
Reinforcing the High-Traffic Zones
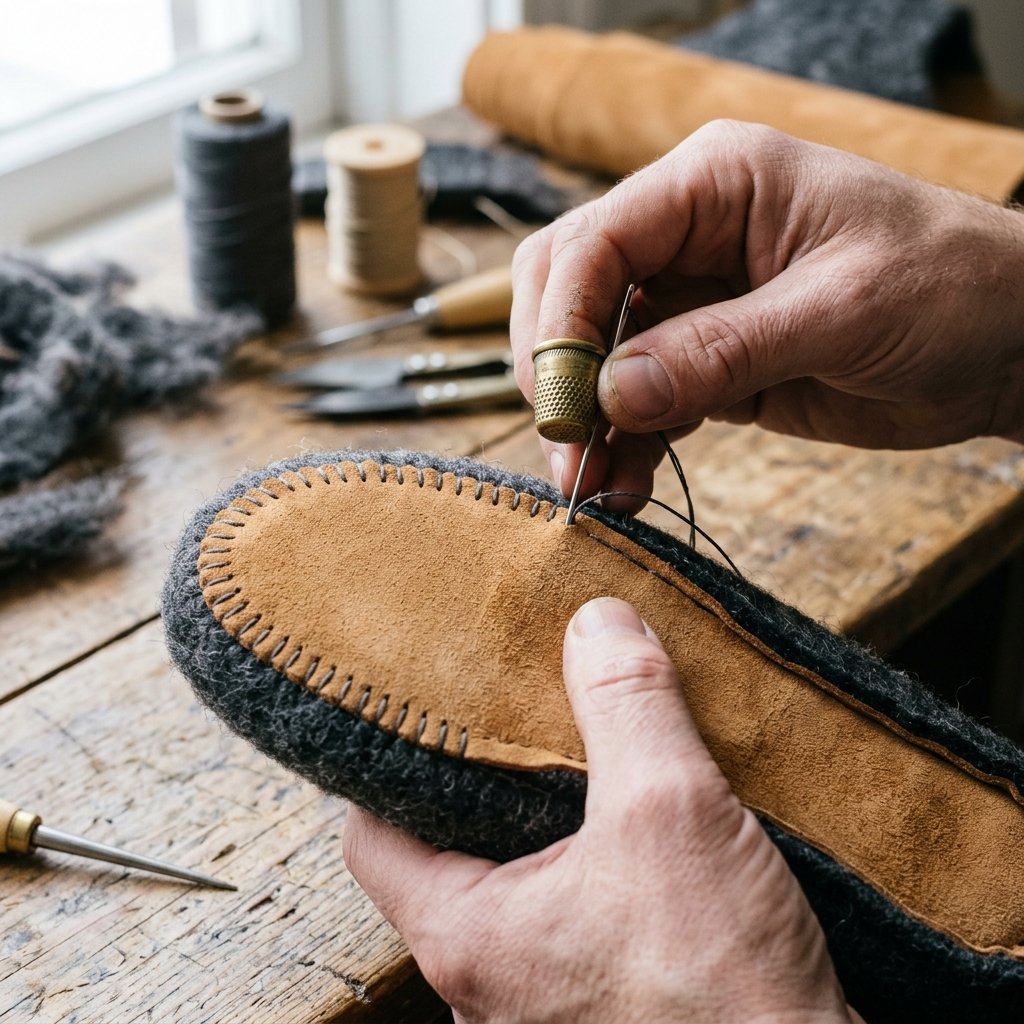
Why wait for a hole to form? A clever crafter knows that prevention is the best form of maintenance. If you notice the wool under your big toe or at the back of your heel is looking a bit ‘see-through’, it’s time for a reinforcement layer. This is often called ‘proactive darning’.
The ‘Running Stitch’ Shield
You can add a series of parallel running stitches over the thinning area. This adds a layer of sacrificial fiber that will take the brunt of the friction before the slipper’s actual body starts to wear. This takes about 10 minutes but can add 2-3 years to the life of the footwear.
The Leather Sole Upgrade
If you find that you are wearing through the bottoms of your wool slippers constantly, consider sewing on a suede or leather patch. You can buy scrap leather for $5 at most craft stores. Use a heavy-duty glover’s needle to whip-stitch the leather to the bottom of the wool. This not only stops holes but also adds a non-slip grip to your slippers, making them safer for hardwood stairs.
“Mend your slippers when the wool is thin, and you’ll never have to mend them when the wool is gone.”
Conclusion
Darning your wool slippers is more than just a frugal hack; it’s an act of rebellion against ‘disposable’ culture. By spending 30 minutes and utilizing a few cents’ worth of yarn, you’ve preserved a high-quality item that has many years of warmth left to give. There is a deep satisfaction in looking down at a neatly mended heel and knowing that your own hands saved it from a landfill. Whether you chose an invisible repair or a bold, colorful Sashiko statement, your slippers now have a story. They are no longer just store-bought items; they are a testament to your resourcefulness and craft. So, grab that darning mushroom, put on a podcast, and give your cozy favorites the second life they deserve. Happy mending!

Makenzie is the founder and lead writer at MoneyHackTips.com — a personal finance blog dedicated to delivering street-smart financial wisdom for real people on real budgets. With 300+ published articles covering everything from debt management to investing fundamentals, Makenzie’s mission is to make every dollar work harder. When not writing about money hacks, Makenzie is testing frugal living strategies, optimizing side hustles, and helping readers build financial freedom from scratch.