
The Resurrection of the Shredded Denim
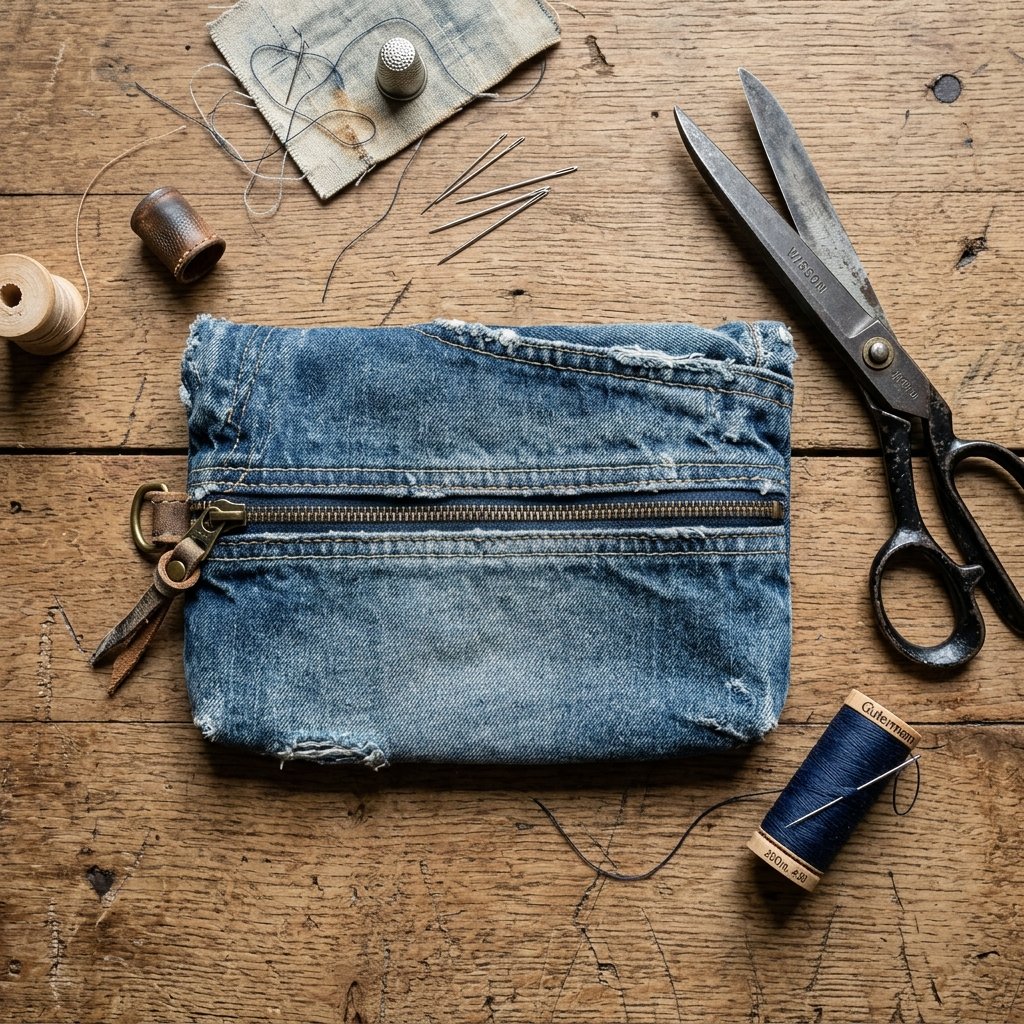
We have all been there: that heart-wrenching moment when your favorite pair of jeans—the ones that fit perfectly and have seen you through a hundred adventures—finally succumbs to the dreaded inner-thigh blowout or a catastrophic knee rip. In a world of fast fashion, the impulse is to toss them in the bin. But a resourceful crafter knows better. That heavy-duty, twill-weave cotton isn’t trash; it is a premium textile waiting for its second act. This isn’t just about saving money; it’s about rugged elegance and the satisfaction of breathing new life into old fibers.
By transforming those shredded remains into an ultra-chic DIY denim makeup bag, you are embracing a philosophy of clever, budget-savvy utility. Denim is one of the most durable fabrics ever created, and its ability to age gracefully makes it the perfect candidate for a high-end travel pouch or toiletry kit. Whether you are a frugal DIYer looking to avoid the $45 price tag of boutique denim bags or a handy parent teaching the kids the value of upcycling, this guide will walk you through every stitch. We aren’t just making a bag; we are engineering a durable piece of gear that looks like it belongs in an artisanal shop in Brooklyn, all for the cost of $0.
The Anatomy of an Upcycle: Why Denim is the Ultimate Budget Fabric
Why Denim?
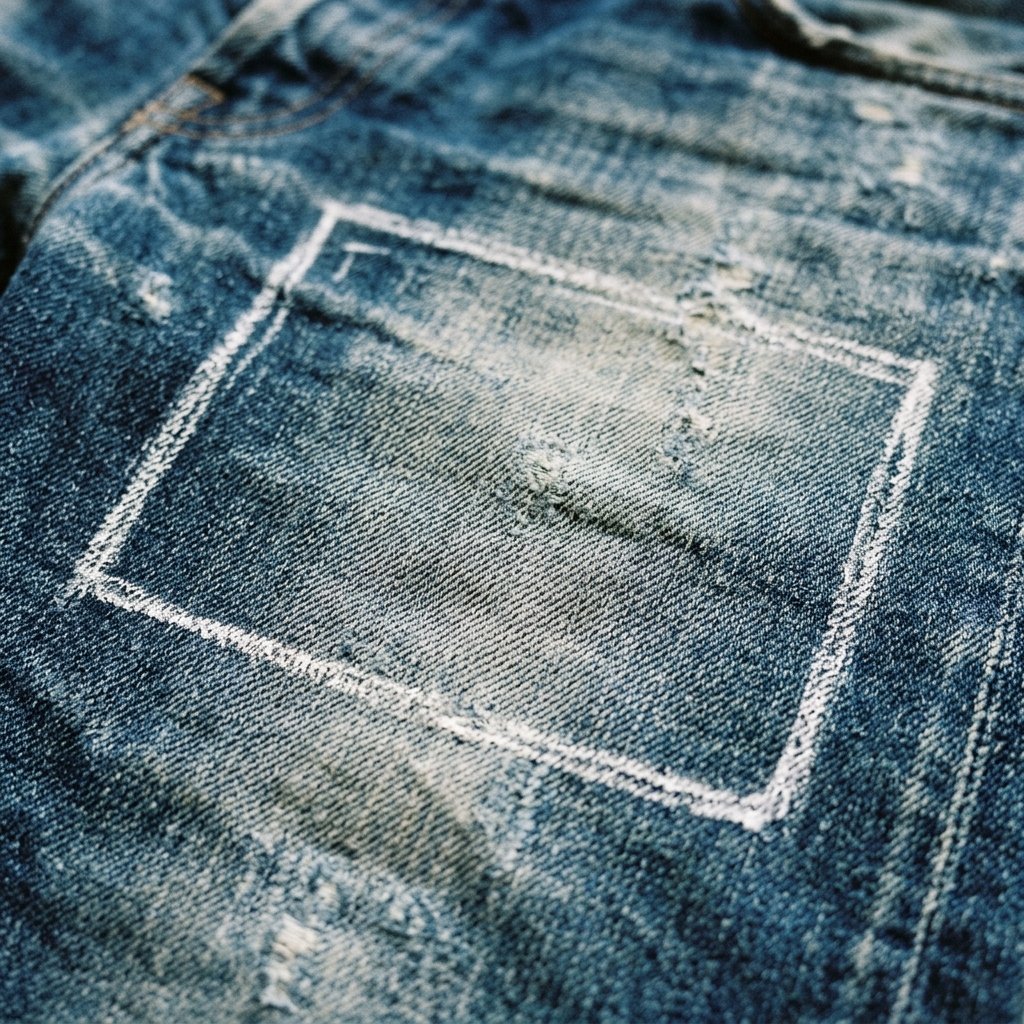
Denim is a textile powerhouse. Originally designed for miners and laborers, its diagonal ribbing (the twill) provides structural integrity that few other fabrics can match. When you upcycle an old pair of jeans, you are working with a material that has already been ‘broken in,’ giving your finished makeup bag a soft, vintage feel that brand-new fabric simply cannot replicate. Furthermore, the natural distressing—those faded whiskering lines and frayed edges—adds a sophisticated, rugged character that high-end designers spend thousands of dollars trying to fake.
Store-Bought vs. Zero-Budget DIY Comparison
Before we dive into the ‘how-to,’ let’s look at why this project is a win for your wallet. A high-quality, heavy-duty denim pouch from a luxury retailer can cost a staggering amount, whereas your upcycled version uses materials you likely already have in your ‘scrap’ pile.
| Feature | Boutique Denim Pouch | DIY Upcycled Denim Bag |
|---|---|---|
| Material Cost | $35.00 – $65.00 | $0.00 (Old Jeans) |
| Durability | Standard Industrial Stitch | Triple-Reinforced Hand Stitch |
| Uniqueness | Mass Produced | 1-of-1 Custom Design |
| Environmental Impact | High (New Production) | Positive (Waste Diversion) |
“The best materials aren’t found in a store; they are found in the back of your closet. True craft is seeing a finished product where others see a hole in a knee.”
The Master Tool List: Gathering Your Crafty Arsenal
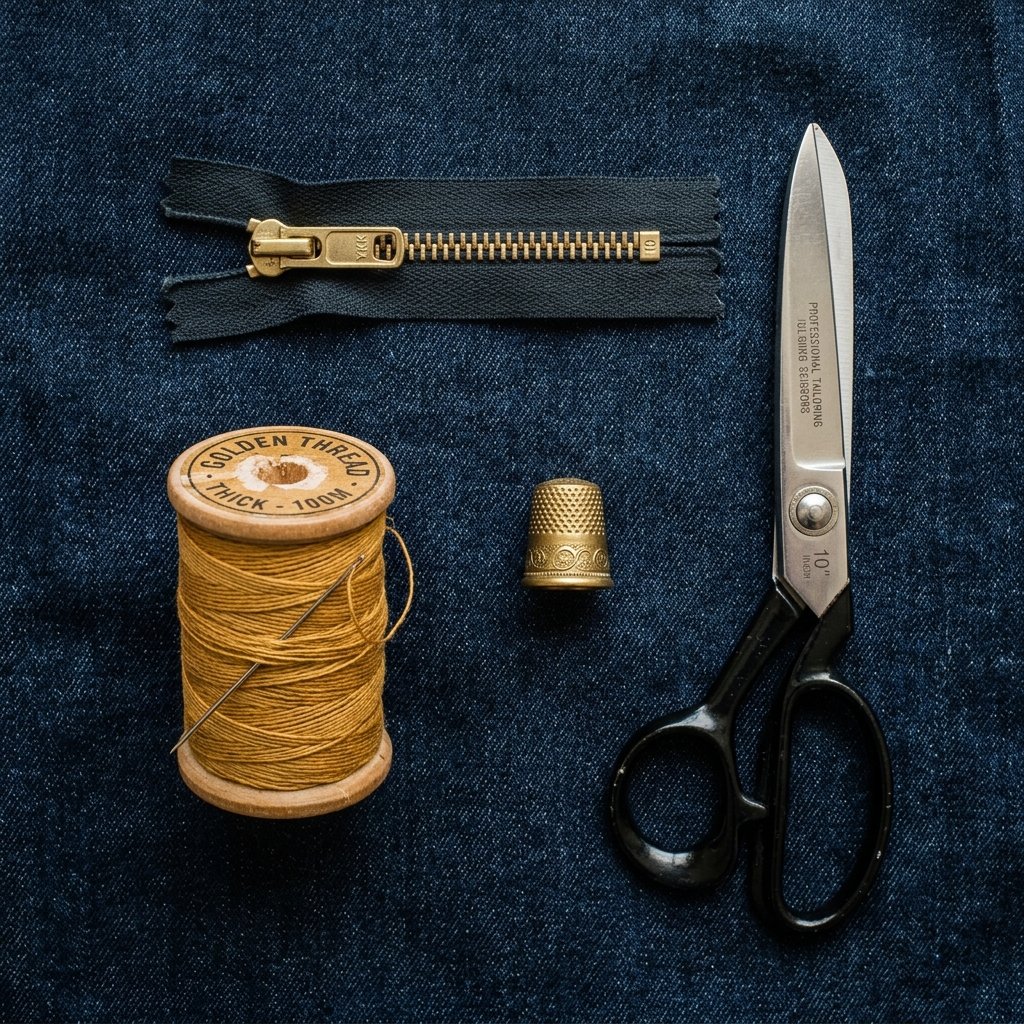
What You Will Need
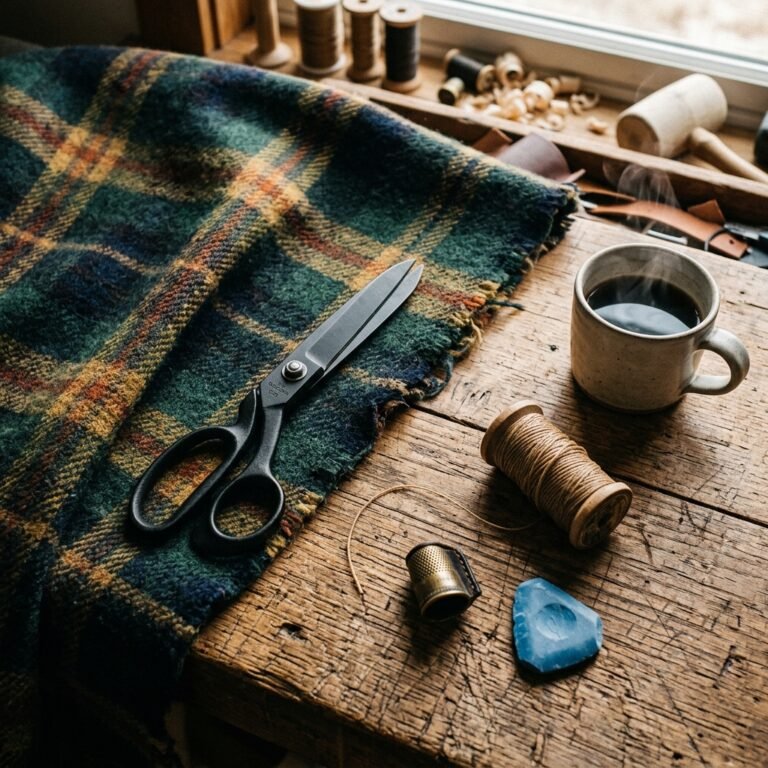
To achieve that masculine-elegant finish, you don’t need a fancy sewing machine. In fact, hand-sewing denim allows for greater precision and a ‘maker’s mark’ that feels more authentic. We are going for a rugged, hand-crafted look that highlights the strength of the thread and the history of the fabric.
- The Jeans: One pair of old, non-stretch denim (100% cotton is best).
- The Zipper: A 7-inch to 9-inch metal zipper. Pro Tip: Salvage one from an old jacket or buy a brass one for a high-end look.
- Needles: Size 16 or 18 ‘Denim’ or ‘Sharps’ needles. They are thicker and won’t snap when piercing multiple layers.
- Thread: Heavy-duty upholstery thread or top-stitching thread in a contrasting color like Golden Ochre or Classic Navy.
- Lining: An old cotton T-shirt or a scrap of flannel for a soft interior.
- Scissors: Sharp fabric shears.
| Item | Purpose | Budget Source |
|---|---|---|
| Denim Scraps | Main Body | Closet / Thrift Store ($1) |
| Metal Zipper | Closure | Salvaged from old gear |
| Upholstery Thread | Structural Integrity | Pantry / Sewing Kit |
| Leather Scrap | Zipper Pull (Optional) | Old belt or keychain |
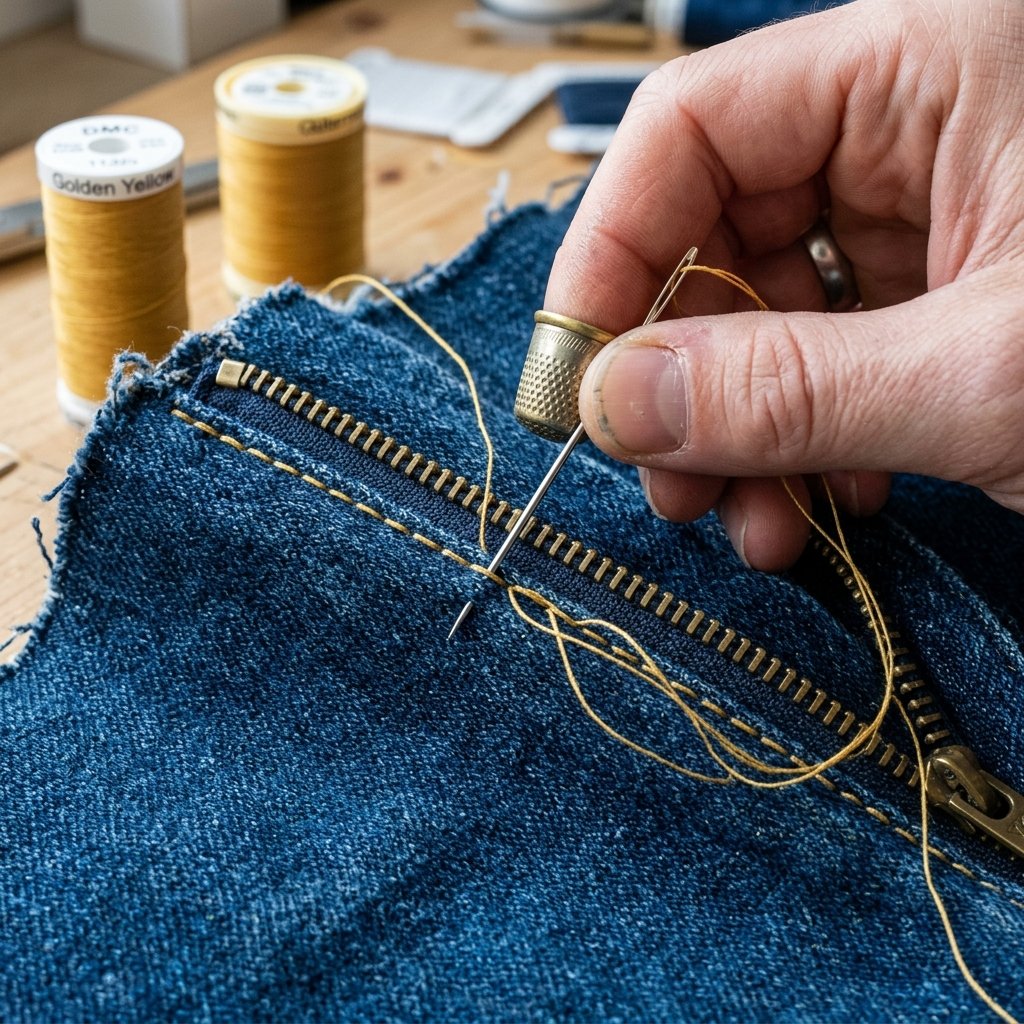
Safety Note: When hand-sewing through thick denim seams, use a thimble or a small piece of leather to push the needle through. Denim is tough, and your fingertips will thank you after 30 minutes of stitching!
Step-by-Step Transformation: Engineering the Perfect Pouch
The Blueprints for Success
Follow these steps closely to ensure your bag is symmetrical and durable. We are using a ‘boxed corner’ technique to give the bag depth, allowing it to stand upright on your bathroom counter.
- Harvesting the Fabric: Cut two identical rectangles from the leg of your jeans. For a standard makeup bag, 9 inches by 6 inches is the ‘sweet spot.’ Ensure you avoid the most shredded areas for the base, but feel free to include a frayed edge near the top for style.
- Preparing the Lining: Cut two matching rectangles from your lining fabric (the old T-shirt). This protects your makeup from denim lint and vice versa.
- Setting the Zipper: Sandwich the zipper face-down between the denim (right side up) and the lining (right side down). Pin securely.
- The Backstitch: Use a Backstitch for the zipper. It is the strongest hand-stitch.
To Backstitch: Bring the needle up through the fabric, take a small stitch backward, then bring the needle up a stitch-length ahead of the first entry point. Repeat.
- Closing the Sides: Flip the fabrics so the right sides of the denim are touching. Sew around the three open sides, leaving the zipper slightly open so you can turn it right-side out later!
- Boxing the Corners: To create a flat bottom, pinch the bottom corners into a triangle shape and sew a straight line across, about 1 inch from the tip.
Stitch Type Compatibility Guide
| Stitch Name | Best Use Case | Strength Rating |
|---|---|---|
| Backstitch | Zippers & Structural Seams | High (Machine Equivalent) |
| Running Stitch | Basting / Temporary Holds | Low |
| Whipstitch | Edge Finishing / Fray Prevention | Medium |
| Ladder Stitch | Closing Linings Invisibly | Medium |
The Finishing Touches: Adding Rugged Elegance
Elevating the Aesthetic
Now that the structure is complete, it’s time to move from ‘homemade’ to ‘hand-crafted.’ This is where your clever and crafty side shines. A few small additions can make this bag look like a designer piece.
Customization Ideas
- Leather Accents: Take an old leather belt, cut a small 2-inch strip, and loop it through the zipper eyelet. Secure it with a single brass rivet or a heavy cross-stitch. This provides a rugged, masculine-elegant touch.
- Sashiko Reinforcement: If your denim has a particularly thin spot, don’t patch it from the inside. Use white embroidery floss to create a series of small, geometric ‘Sashiko’ stitches over the area. It reinforces the fabric while adding a high-end Japanese aesthetic.
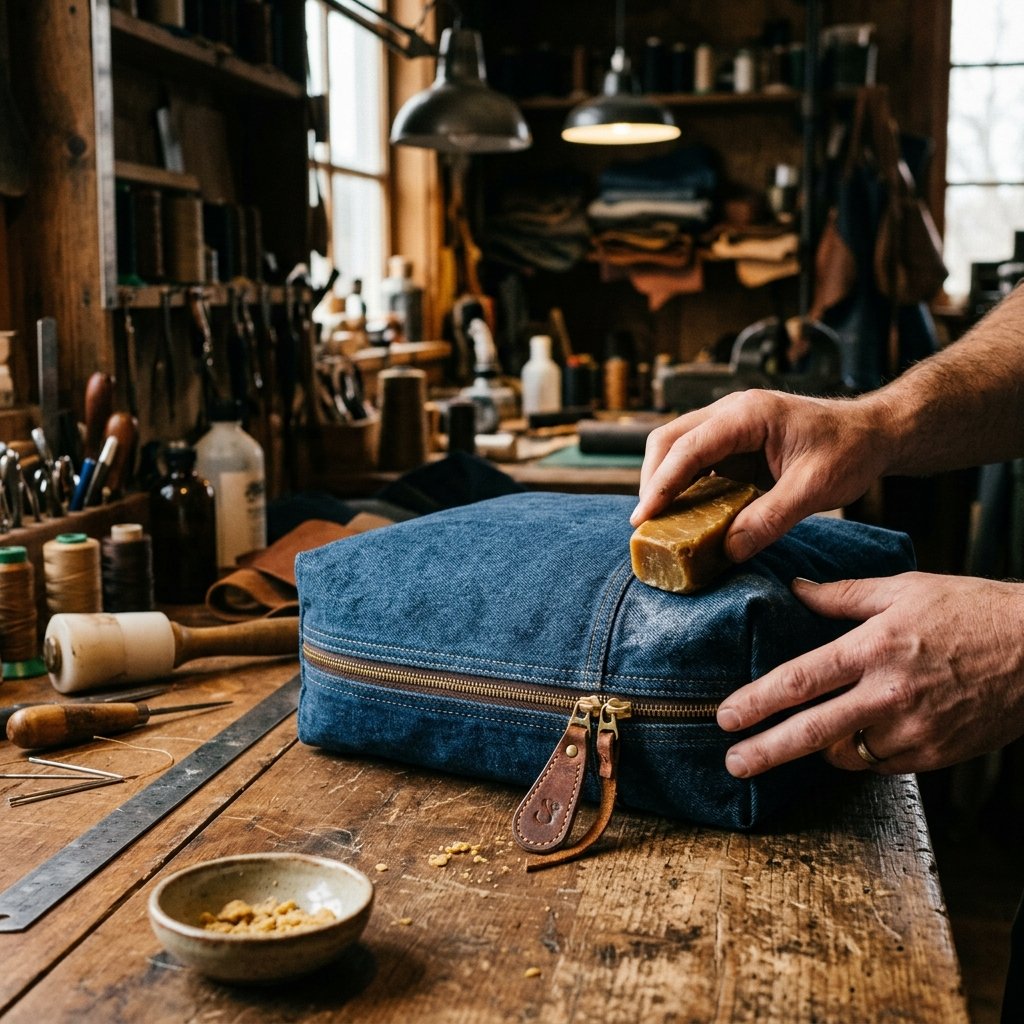
- Waterproofing: Rub the exterior of the finished bag with a block of beeswax and use a hair dryer to melt it into the fibers. This makes your makeup bag water-resistant—perfect for messy bathroom counters!
By spending an extra 10 minutes on these details, you increase the perceived value of the bag by 100%. It becomes a perfect gift for a ‘handy mom’ or a ‘crafty gift-giver’ who appreciates the beauty in the details.
Conclusion
The Pride of the Maker
There is a unique sense of accomplishment that comes from holding a finished product that was destined for the landfill just two hours ago. Your new DIY denim makeup bag is more than just a storage solution; it is a testament to your resourcefulness and your eye for budget-savvy style. You’ve successfully navigated the challenges of heavy-duty hand-sewing and emerged with a rugged, ultra-chic accessory that is built to last another decade.
Remember, the skills you practiced today—the backstitch, the boxed corner, and the art of upcycling—can be applied to countless other projects. From tool rolls to travel pouches, the humble pant leg is a canvas of infinite potential. So, the next time you see a pair of shredded jeans, don’t see a loss. See the beginning of your next treasure. Happy crafting!

Makenzie is the founder and lead writer at MoneyHackTips.com — a personal finance blog dedicated to delivering street-smart financial wisdom for real people on real budgets. With 300+ published articles covering everything from debt management to investing fundamentals, Makenzie’s mission is to make every dollar work harder. When not writing about money hacks, Makenzie is testing frugal living strategies, optimizing side hustles, and helping readers build financial freedom from scratch.