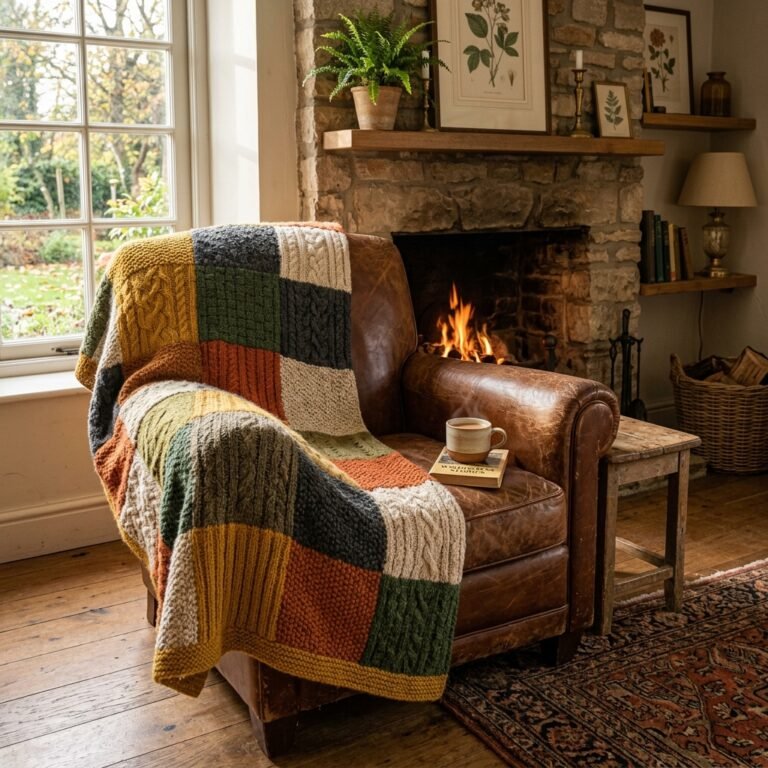

Welcome, fellow frugal DIYers, resourceful upcyclers, and crafty gift-givers! If you have ever strolled through a high-end outfitter or boutique, running your hands over a luxurious, heavy wool winter coat, only to check the price tag and nearly pass out from the sticker shock of $300 to $800, this masterclass is written specifically for you. The secret the fashion industry does not want you to know is that the highest quality, most rugged, and weather-resistant wool is often sitting abandoned in the home goods section of your local thrift store, priced at a mere $5 to $10.
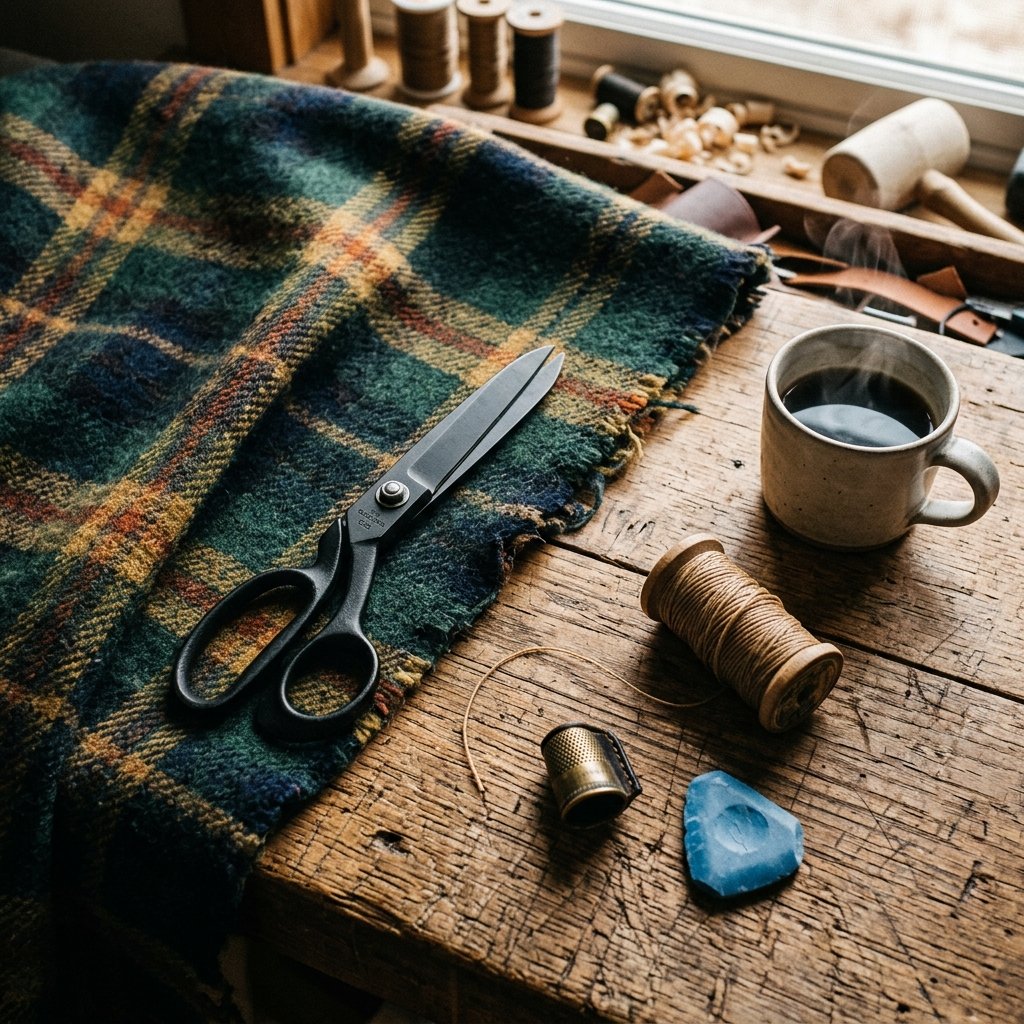
We are going to take that overlooked, mothball-scented thrift store wool blanket and transform it into an ultra-chic, masculine-elegant, or beautifully rustic winter coat for almost zero dollars. This is not just a sewing project; it is a survivalist crafting hack, a master lesson in upcycling, and a gateway into the empowering world of hand-tailoring. You do not need a fancy, heavy-duty sewing machine to pull this off. Armed with a sharp pair of shears, a tapestry needle, some waxed thread, and a little bit of rugged determination, you can hand-stitch a bespoke heirloom garment that will outlast anything you could buy off the rack.
The Upcycler’s Mantra: “Why buy what you can build? Why spend a fortune when true luxury lies in the raw materials waiting to be reimagined?”
In this comprehensive guide, we will walk you through the entire process: from identifying high-quality wool in the wild and preparing your fabric through a process called ‘felting,’ to cloning your favorite jacket for a perfect zero-draft pattern, and executing bulletproof hand-sewn seams that look incredibly professional. Let us dive into the ultimate trash-to-treasure outerwear hack!
The Hunt: Sourcing the Perfect Thrifted Wool Blanket
The Hunt: Sourcing the Perfect Thrifted Wool Blanket
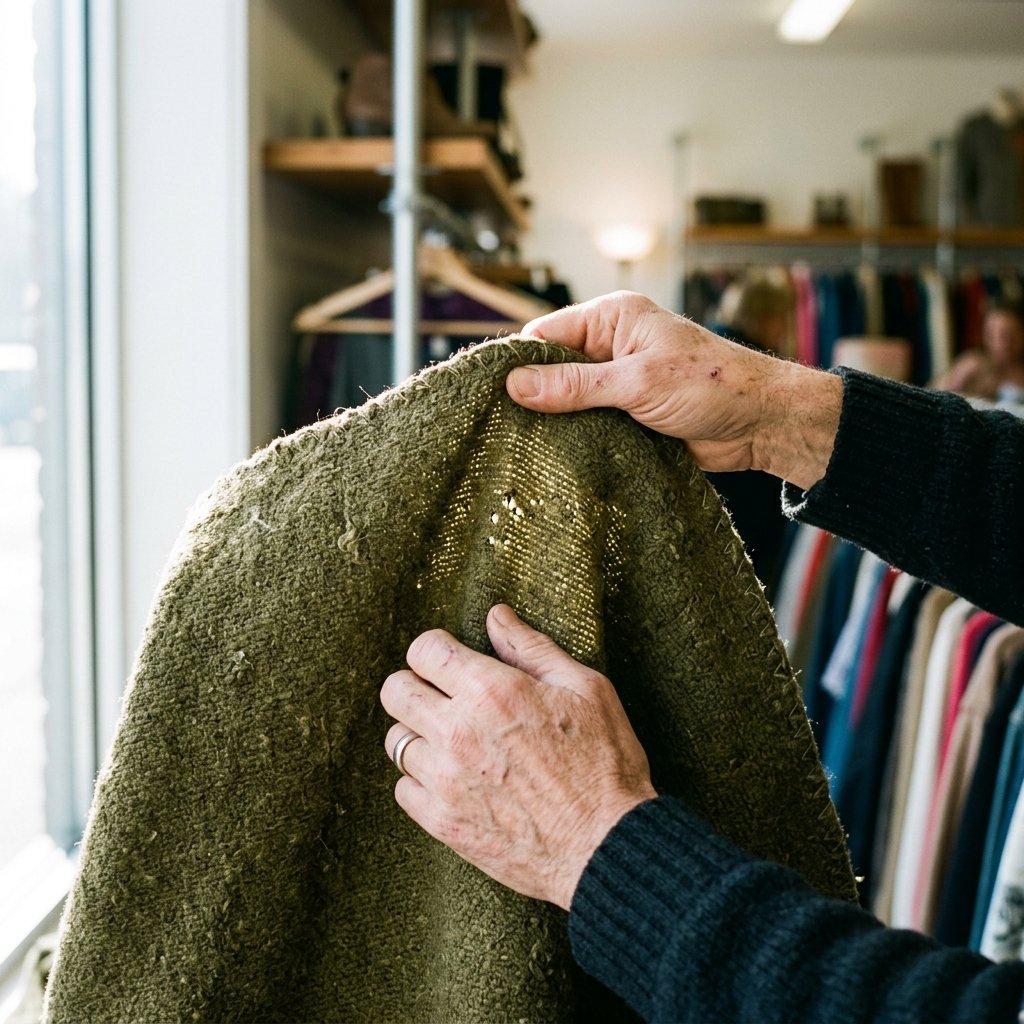
Your journey begins in the dusty, chaotic aisles of your local thrift store, estate sale, or military surplus shop. Not all blankets are created equal, and finding the right raw material is the most crucial step of this upcycling adventure. You are looking for 100% wool, but thrift store tags are often missing, faded, or completely inaccurate.
Identifying True Wool vs. Synthetics
To ensure you are getting a blanket that will keep you warm, repel water, and drape beautifully like a high-end coat, you must rely on your senses. True wool has a distinct, slightly coarse texture, a heavier drape, and a matte finish compared to the shiny, static-clingy nature of polyester or acrylic. If you are unsure, you can perform a discreet “burn test” on a loose thread from the fringe.
The Frugal Burn Test: Snip a tiny, unnoticeable thread from the edge of the blanket. Carefully light it with a match. True wool will slowly smolder, smell exactly like burning hair, and leave a crushable, black ash. Synthetics will melt, bubble, smell like burning plastic, and leave a hard, black bead. If it melts, leave it on the shelf!
Fabric Weight and Compatibility
When selecting your blanket, consider the final garment you wish to create. A thick, scratchy military surplus blanket is perfect for a rugged, unlined chore coat, while a softer, thinner merino or lambswool blend might be better suited for a draped, elegant wrap coat.
| Thrifted Blanket Type | Best Coat Style Match |
|---|---|
| Heavy Military Surplus (Olive/Navy) | Rugged Chore Coat / Peacoat |
| Vintage Plaid / Pendleton-Style | Lumberjack Shacket / Duster |
| Thin Merino / Cashmere Blend | Chic Wrap Coat / Belted Trench |
| Loosely Woven / Fringed Throw | Boho Poncho / Oversized Cardigan |
Always hold the blanket up to a bright light to check for moth holes. While a few tiny holes can be fixed with visible mending or darning (adding to that bespoke, crafty charm), a blanket riddled with holes will compromise the structural integrity of your winter coat.
Prepping Your Canvas: Washing, Felting, and Blocking
Prepping Your Canvas: Washing, Felting, and Blocking
Once you have scored your thrifted treasure for $8, you must prepare it. This is a non-negotiable step. Wool is notorious for shrinking, and the last thing you want is to spend hours hand-sewing a magnificent coat only to have it shrink to a toddler’s size after its first encounter with rain or snow.
The Magic of Boiled Wool (Felting)
We are going to intentionally shrink and “felt” the blanket. Felting tightly binds the wool fibers together, making the fabric infinitely warmer, highly wind-resistant, and—most importantly for us hand-sewers—it stops the cut edges from fraying! This means you will not need to hem the edges unless you want to for aesthetic reasons.
- The Hot Wash: Place your blanket in the washing machine on the hottest water setting available. Add a small amount of mild detergent or baby shampoo. The combination of heat, moisture, and agitation forces the microscopic scales on the wool fibers to lock together.
- The Cold Rinse: Shock the wool with a cold water rinse to set the fibers.
- The Dryer Tumbling: Toss the blanket into the dryer on high heat for about 30 to 45 minutes. Check it every 15 minutes. You will notice it becoming thicker, denser, and slightly smaller.
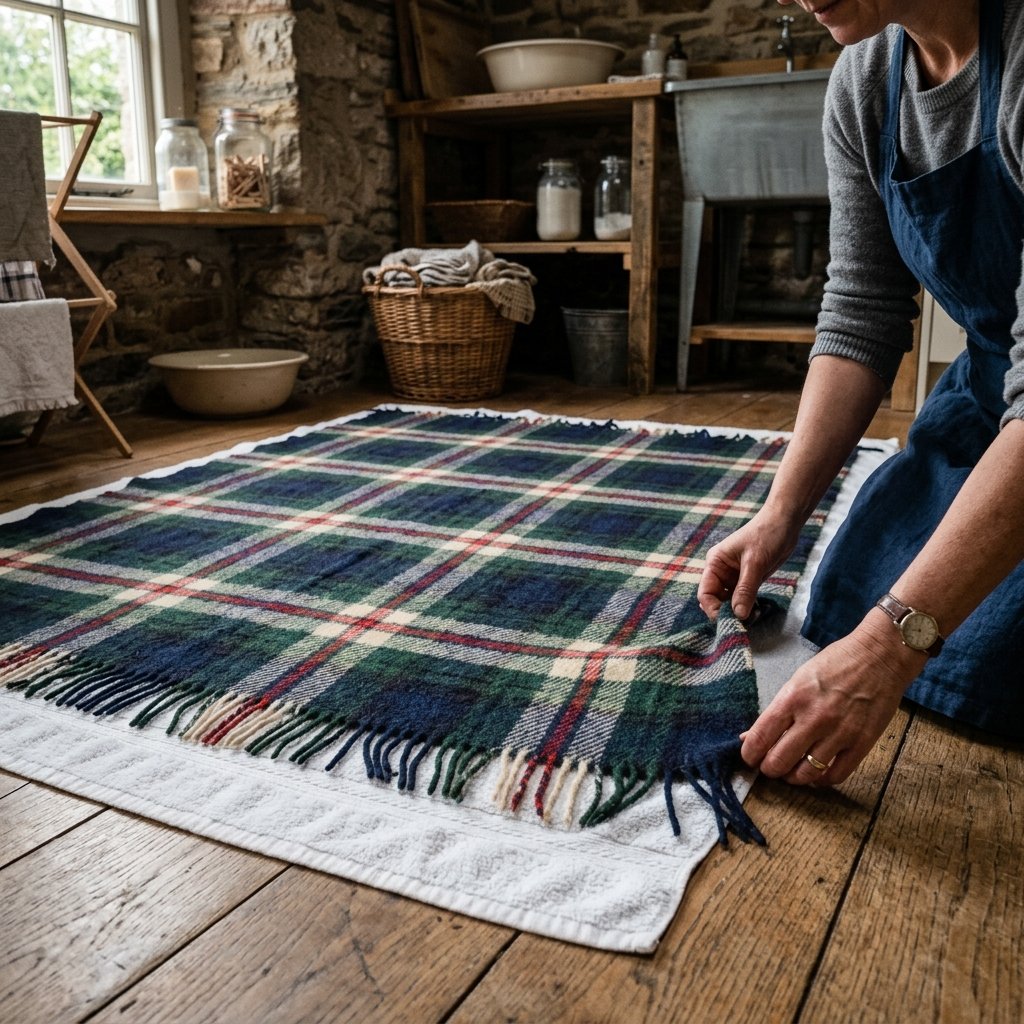
- Blocking to Dry: Once it reaches the desired density, remove it while still slightly damp. Lay it flat on clean towels on the floor, gently stretching it back into a uniform rectangular shape (this is called blocking). Let it air dry completely for 24 to 48 hours.
Safety & Care Disclaimer: If you are working with a rare, highly valuable vintage blanket (like an antique Pendleton), you may want to skip the aggressive hot-wash felting to preserve its exact size and pattern. Instead, dry clean it or hand-wash in cold water, but be prepared to finish all cut seams later to prevent fraying.
The Zero-Draft Pattern Hack: Cloning Your Favorite Jacket
The Zero-Draft Pattern Hack: Cloning Your Favorite Jacket
Commercial sewing patterns can cost anywhere from $15 to $30, which completely ruins our zero-budget aesthetic. Furthermore, they can be incredibly confusing to read. Instead, we are going to use a brilliant, resourceful trick: cloning a jacket you already own that fits you perfectly.
Creating Your Paper Pattern
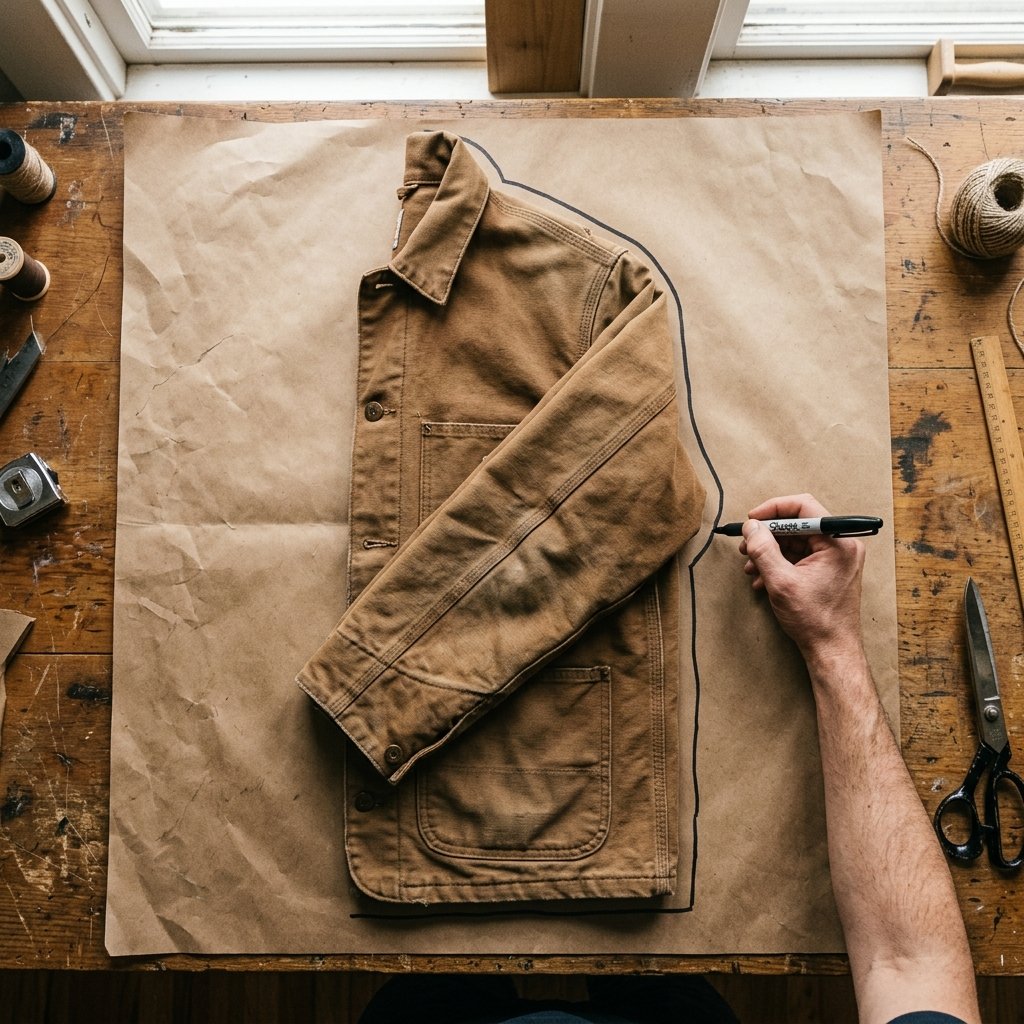
Find a non-stretchy jacket or coat in your closet that has the fit you desire. A denim jacket, a canvas chore coat, or a simple flannel shirt works beautifully. You will also need some cheap pattern paper—brown kraft paper, old newspaper, or even taped-together paper grocery bags work perfectly for our frugal mission.
- Fold and Flatten: Fold your reference jacket perfectly in half down the center back. Tuck the sleeves inside so you are left with just the shape of the back body panel. Lay this flat on your paper.
- Trace the Back: Use a marker to trace around the back panel. Crucial Step: Add exactly 1 inch all the way around your traced line. This is your seam allowance and ease (since heavy wool needs more room to move than thin cotton).
- Trace the Front: Flip the jacket over, fold the back out of the way, and trace one of the front panels, again adding your 1 inch seam allowance. If your coat will overlap to button, add an extra 2 to 3 inches to the center front edge!
- Trace the Sleeves: Flatten out one sleeve. Trace the curve of the shoulder (the armscye), down the sides, and the wrist. Add your seam allowance.
Cutting With Confidence
Lay your felted wool blanket out flat. Pin your paper pattern pieces to the wool. Take a moment to strategically place your pieces. If your blanket has a beautiful fringe, position the bottom hem of the back and front panels right along the fringe so you get a built-in, ultra-chic decorative hem with zero extra work! Use your heavy-duty shears to cut out the pieces. Remember: measure twice, cut once.
Rugged Hand-Sewing Techniques for Heavy Wool
Rugged Hand-Sewing Techniques for Heavy Wool
Because wool is so thick, pushing it through a standard home sewing machine can break needles and strip gears. Hand-sewing is not only safer for your equipment, but it also adds a stunning, bespoke, masculine-elegant detail to the garment. You will need a heavy tapestry needle (or a leather needle) and thick, waxed thread or embroidery floss.
The Mighty Blanket Stitch and Backstitch
For the main structural seams (shoulders, sides, and attaching the sleeves), you want incredible durability. Pin your front and back panels right-sides together.
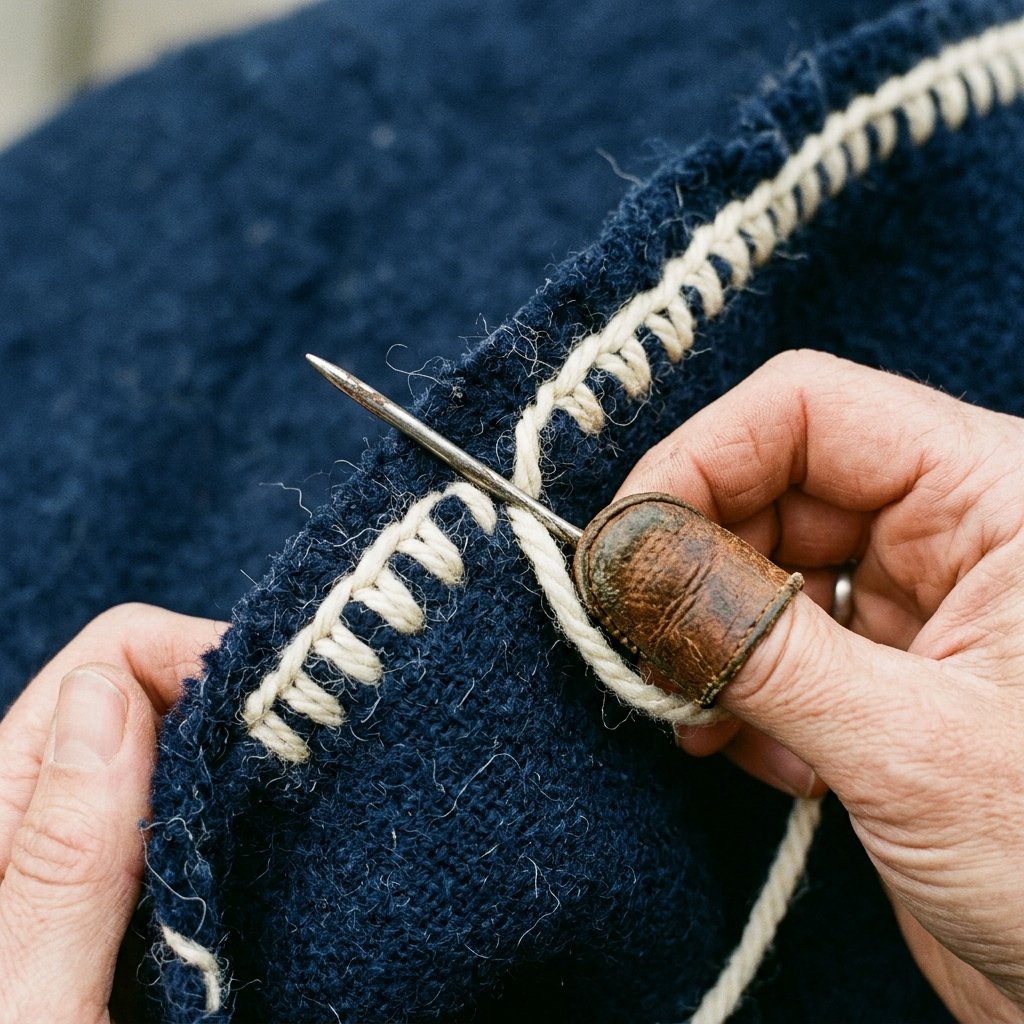
- The Backstitch: This is the strongest hand-sewing stitch. Push the needle up through the fabric, go forward a quarter inch, push down, then come back up a quarter inch ahead, and stitch backwards into the exact hole of the previous stitch. This mimics a machine stitch and is virtually indestructible.
- The Blanket Stitch (For Edges): Because we felted the wool, it won’t fray, but an exposed seam sewn with a contrasting blanket stitch looks incredibly high-end. Use this along the collar, the front lapels, and the cuffs to give it that $500 boutique look.
| Seam Problem / Goal | Recommended Hand-Stitch Solution |
|---|---|
| Maximum Structural Strength (Shoulders/Sides) | Tight Backstitch using Waxed Thread |
| Decorative Edge Finishing (Lapels/Cuffs) | Contrasting Color Blanket Stitch |
| Attaching Flat Pockets to the Front | Whipstitch or Running Stitch |
| Invisible Hemming (If no fringe is used) | Catch Stitch (Herringbone Stitch) |
Crafty Expert Tip: When sewing through three or four layers of heavy wool (like where the underarm seam meets the side seam), use a leather thimble or a pair of pliers to help pull the needle through. It saves your fingers and keeps your stitches tight!
Ultra-Chic Finishing Touches: Hardware and Pockets
Ultra-Chic Finishing Touches: Hardware and Pockets
The difference between a garment that looks like a “homemade craft project” and one that looks like “bespoke tailored outerwear” lies entirely in the finishing details. This is where your resourceful creativity truly shines.
Pockets: Function Meets Style
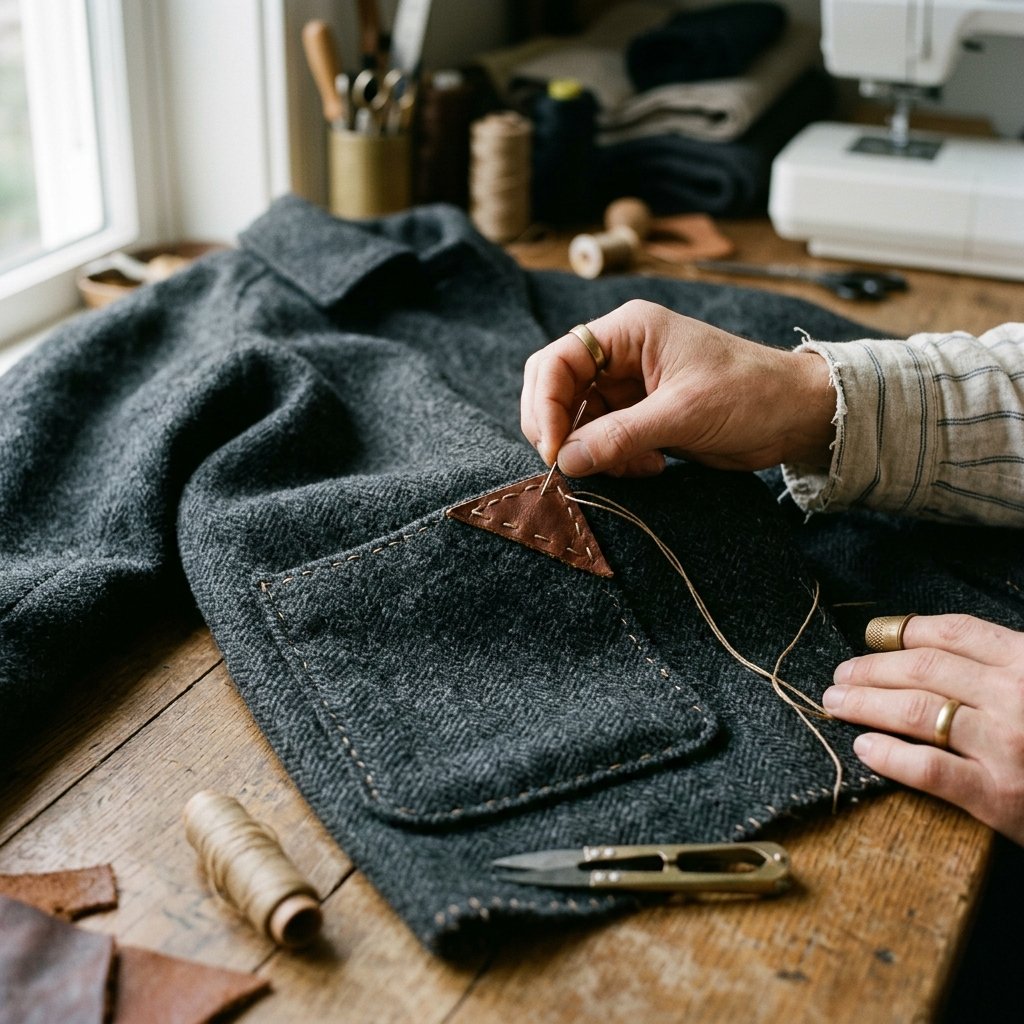
Take the leftover scraps from your armhole cutouts and cut two large squares. These will be your patch pockets. Pin them to the front of your coat. Before sewing them down, fold the top edge over by an inch and stitch it down for a clean opening. Then, use a visible running stitch or whipstitch to attach the sides and bottom to the coat. For a rugged, masculine touch, cut small triangles of scrap leather from an old thrifted purse or belt and hand-stitch them over the top corners of the pockets as stress-point reinforcements.
Closures: Toggles, Belts, and Buttons
Traditional buttonholes are notoriously difficult to hand-sew on thick wool. Here are three budget-savvy alternatives:
- The Blanket Wrap Belt: Cut a long, 4-inch wide strip from the remaining edge of the blanket. Fold it in half, stitch it closed, and use it as a tie-belt for an elegant wrap coat. Total cost: $0.
- Upcycled Leather Toggles: Harvest wooden toggle buttons and leather loops from an old, worn-out duffle coat (often found in the thrift store clearance bin for $2). Hand-sew these onto your new coat for a classic Paddington Bear or nautical peacoat aesthetic.
- Heavy-Duty Snaps: Purchase a cheap metal snap kit from the craft store. Using a hammer, you can install heavy-duty brass snaps down the front of the coat in less than 10 minutes.
| Outerwear Component | Store-Bought Coat Cost | Zero-Budget DIY Cost |
|---|---|---|
| Heavy Wool Material | $150 – $400 | $8 (Thrifted Blanket) |
| Hardware / Buttons | $15 – $30 | $2 (Upcycled from old coat) |
| Tailoring / Labor | $100+ | $0 (Sweat Equity) |
| Total Estimated Cost | $265 – $530+ | $10 Maximum |
Conclusion
And there you have it—a masterclass in transforming a forgotten, $8 thrift store wool blanket into a breathtaking, ultra-chic winter coat that rivals anything hanging in a luxury boutique. By embracing the art of the hunt, utilizing the magic of felting, drafting your own patterns from clothes you already love, and applying rugged hand-sewing techniques, you have created something truly extraordinary.
This project is the ultimate testament to the frugal DIYer’s spirit. You have saved hundreds of dollars, kept textiles out of the landfill, and crafted a bespoke, heirloom-quality piece of outerwear with your own two hands. Every time you wear it, you will feel the warmth of the wool and the immense pride of knowing exactly how it was made. So grab those heavy-duty shears, hit the thrift store linen aisle, and start stitching your winter masterpiece today! Stay warm, stay resourceful, and keep creating!

Makenzie is the founder and lead writer at MoneyHackTips.com — a personal finance blog dedicated to delivering street-smart financial wisdom for real people on real budgets. With 300+ published articles covering everything from debt management to investing fundamentals, Makenzie’s mission is to make every dollar work harder. When not writing about money hacks, Makenzie is testing frugal living strategies, optimizing side hustles, and helping readers build financial freedom from scratch.