The High Cost of Hiding Your Essentials
Let’s be honest: the retail markup on cosmetic bags and travel pouches is nothing short of daylight robbery. You walk into a high-end department store and see a simple zippered pouch made of synthetic polyester retailing for $25 to $45. As a savvy DIYer, you know better. Why pay for mass-produced plastic when you can create a rugged, masculine-elegant, and entirely sustainable version using items you already have in your closet? Enter the world of T-shirt yarn crochet. This isn’t your grandmother’s delicate lace; this is thick, structural, and incredibly durable textile work that turns ‘trash’ into a high-end accessory. By upcycling just one or two old 100% cotton tees, you can craft a custom-sized bag that protects your grooming kit or makeup while saving 100% of the retail cost. In this guide, we aren’t just making a bag; we are mastering a resourceful skill that ensures you never have to browse the accessory aisle again.
The Inventory: Sourcing Your ‘Free’ Materials
Finding the Perfect Raw Materials
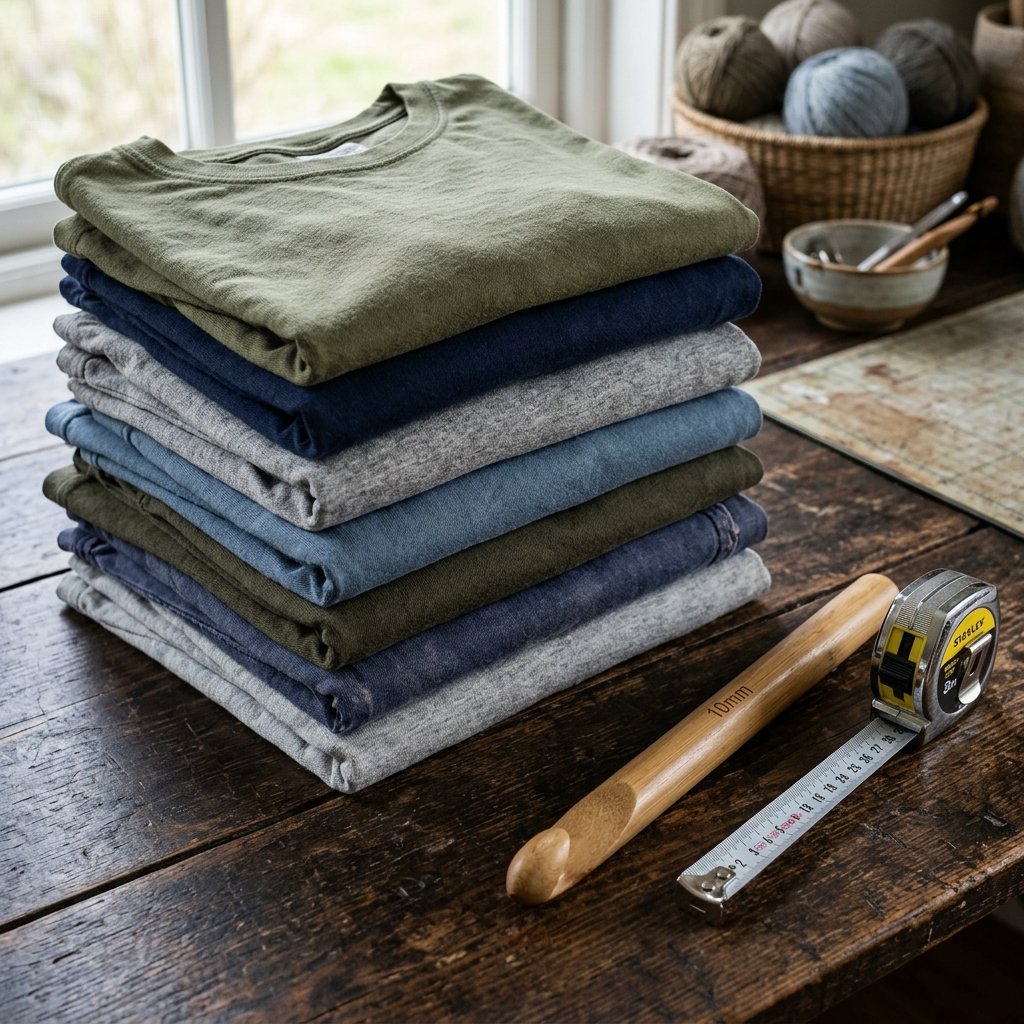
The secret to a professional-looking bag lies in the quality of your T-shirt yarn (often called ‘Tyarn’ or ‘Zpagetti’). You don’t need to buy this at a craft store for $12 a roll. Instead, raid your dresser or hit the local thrift store’s $1 bin. Look for shirts that are 100% cotton or have a small percentage of spandex (95/5 blends are perfect for stretch). Avoid side seams if possible, as they create ‘knots’ in your yarn. A single XL men’s shirt can yield approximately 30 to 40 yards of high-quality, chunky yarn.
Materials Comparison: DIY vs. Store-Bought
| Feature | Retail Cosmetic Bag | DIY T-Shirt Yarn Bag |
|---|---|---|
| Cost | $25.00 – $55.00 | $0.00 – $2.00 |
| Durability | Thin lining, prone to tearing | Heavy-duty, machine washable |
| Eco-Impact | High (New plastics/shipping) | Zero Waste (Upcycled) |
| Customization | None | Infinite (Size, color, texture) |
Resourceful Pro Tip: If you want a more ‘rugged’ look, choose heathered grey or charcoal shirts. The slight variations in the fabric weave give the finished crochet a sophisticated, stone-like texture that looks incredibly expensive.
The Spiral Cut: Engineering Your Own Yarn
How to Turn a Shirt into a Continuous Strand
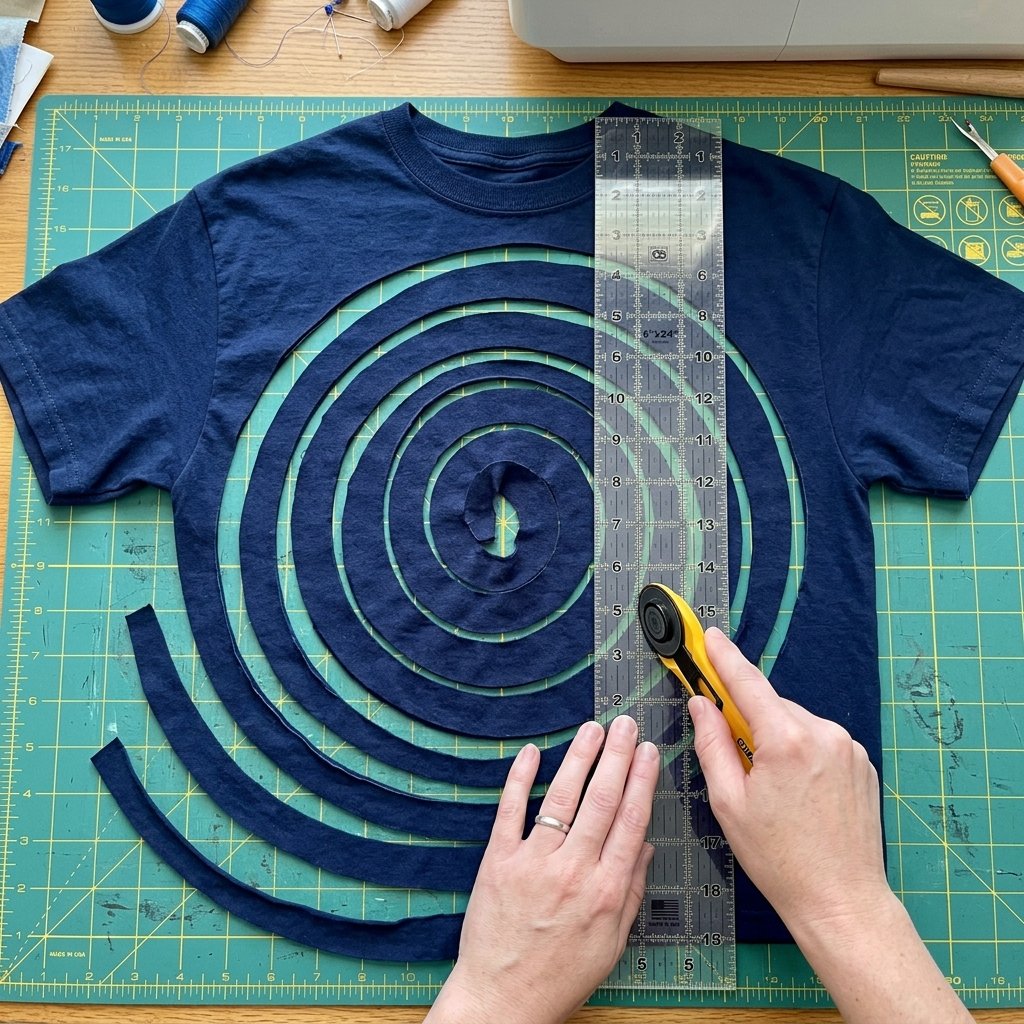
To avoid having a bag full of ugly knots, you must cut your T-shirt in a specific way to create one continuous strand of yarn. This process takes about 10 minutes and is the foundation of your project. You will be using a ‘spiral cut’ method on the body of the shirt, bypassing the sleeves and the neckband.
- Lay the shirt flat and cut off the bottom hem and the top portion (from the armpits up). You are left with a fabric tube.
- Fold the tube in half, but leave about 1 inch of the bottom layer protruding past the top layer.
- Cut strips 1 inch wide across the folded fabric, stopping exactly at the start of that 1-inch overlap. Do not cut all the way through!
- Open the fabric so the uncut ‘spine’ is visible. Cut diagonally from the first slit to the second, the second to the third, and so on. This creates one long, unbroken strand.
- The Magic Step: Pull the strand taut. The jersey fabric will curl in on itself, hiding the raw edges and creating a clean, tubular ‘yarn’.
By the end of this process, you should have a large, satisfying ball of chunky yarn ready for the hook. This method ensures your bag has a consistent thickness and a professional finish.
The Blueprint: Crocheting Your Cosmetic Pouch

Step-by-Step Construction Guide
We will use a 10mm or 12mm crochet hook. Because T-shirt yarn is so thick, this project works up incredibly fast—expect to finish the entire body in under 45 minutes. We are using the Single Crochet (SC) stitch for a dense, ‘bulletproof’ fabric that won’t let small items like eyeliners or tweezers slip through.
The Foundation and Body
- The Base: Chain 11. In the second chain from the hook, work 2 SC. SC in the next 8 stitches. In the last stitch, work 4 SC (this turns the corner). Continue down the other side of the chain: 8 SC, and 2 SC in the final spot. (Total: 24 stitches).
- Building Height: You will now work in a continuous spiral. No joining! This creates a seamless, modern look.
- Rounds 2-10: SC in every stitch. As you go, the sides will naturally begin to curl upward, forming the walls of your bag.
- The Final Edge: Once you reach your desired height (usually 5-6 inches), perform a ‘Slip Stitch’ in the next three stitches to level off the top. Fasten off and weave in your ends using your fingers or a large tapestry needle.
Crafty Mantra: ‘Tight tension equals a sturdy bag.’ Because T-shirt yarn is stretchy, keep your stitches firm so the bag maintains its shape even when stuffed with heavy bottles or tools.
The Finishing Touch: Hardware and Lining
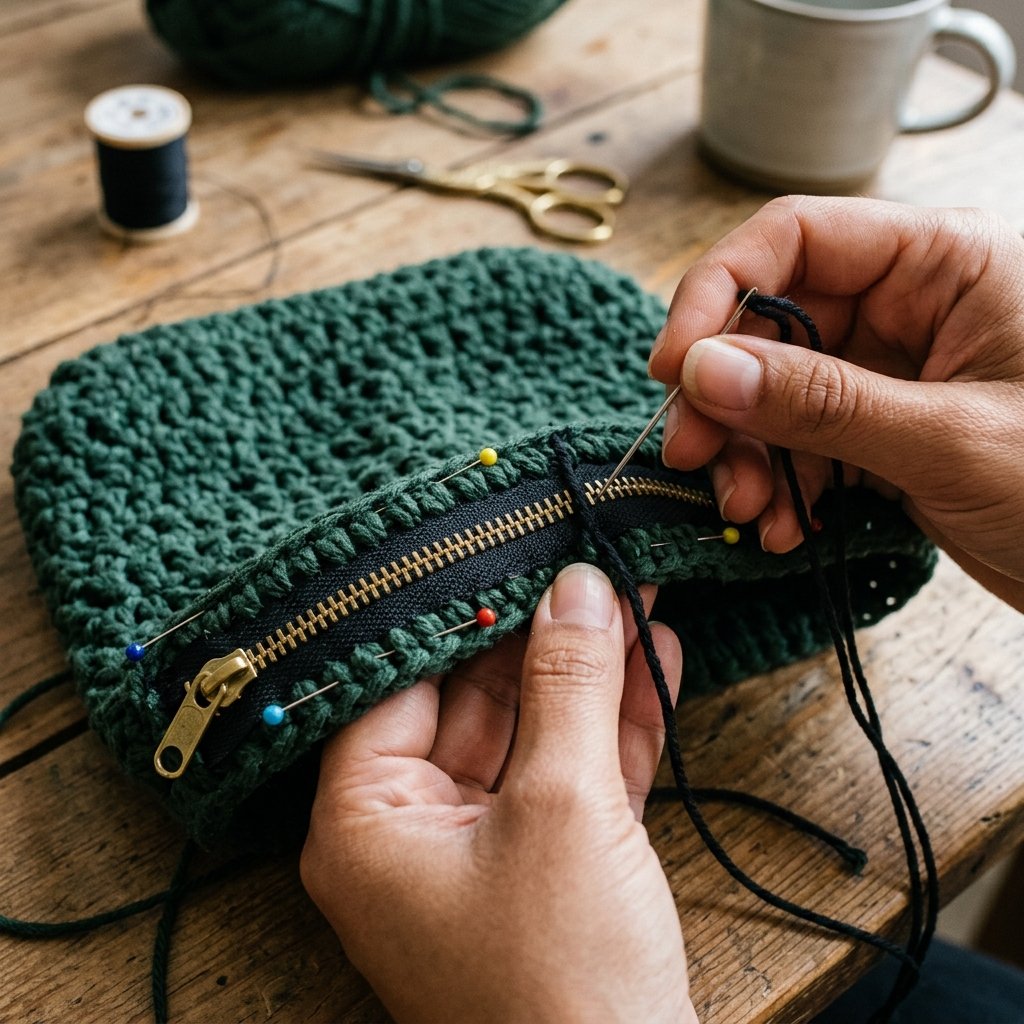
Adding Professional Durability
A bag is only as good as its closure. To make this truly ’boutique quality,’ we will add a heavy-duty zipper. Since we are being budget-savvy, you can often harvest zippers from old hoodies or discarded bags, or buy them in bulk for less than $1.00 each.
Installation Steps
- Select a zipper that is 1 inch longer than the opening of your bag.
- Pin the zipper to the inside top edge of the crochet. Use a backstitch with doubled-up thread for maximum strength.
- For a truly ‘masculine-elegant’ finish, use a brass or antique metal zipper rather than plastic.
Estimated Project Timeline
| Task | Time Investment | 5 Minutes | 10 Minutes | 40 Minutes | 15 Minutes |
|---|---|
| Total Time | 70 Minutes |
In just over an hour, you have transformed a piece of ‘trash’ into a functional piece of gear that would cost a premium in stores. This is the epitome of clever, resourceful crafting.
Style, Care, and Creative Variations
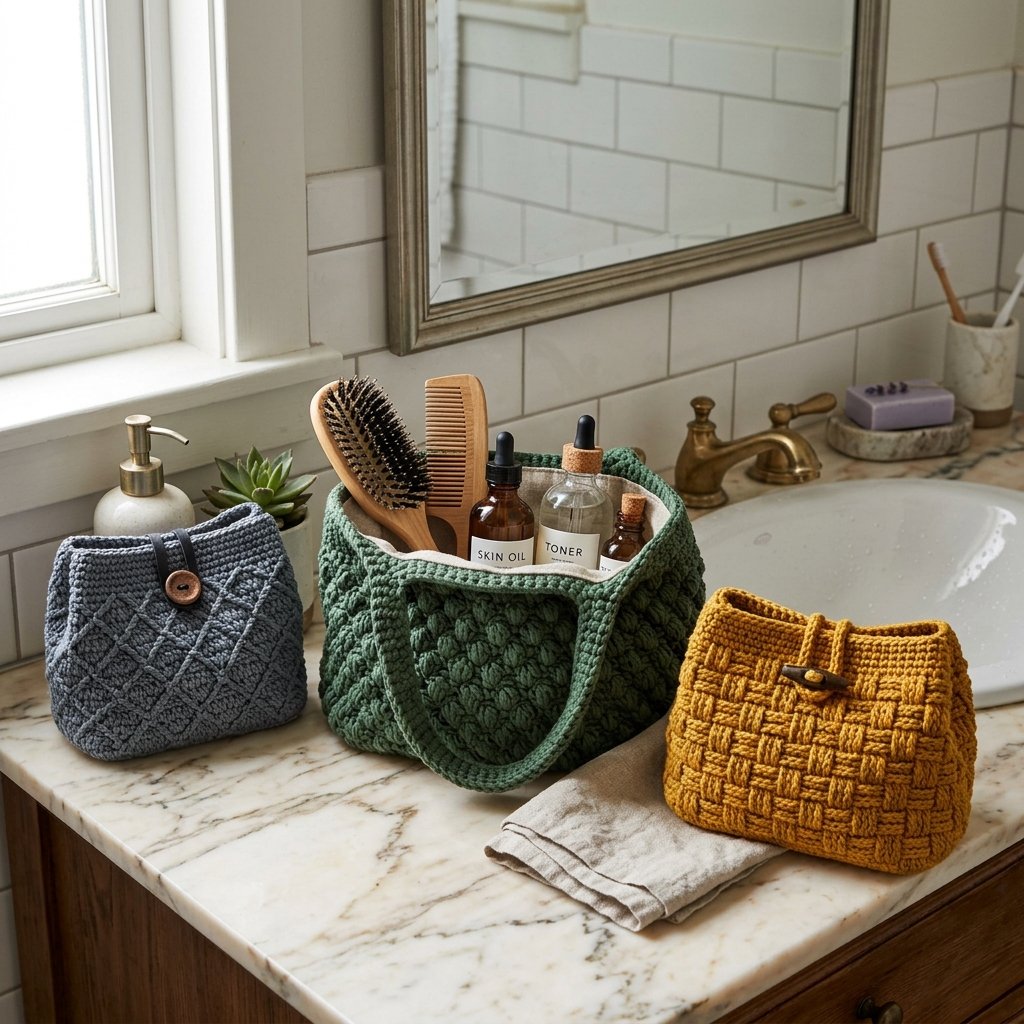
Making It Your Own
The beauty of the T-shirt yarn cosmetic bag is its versatility. Once you master the basic ‘brick’ shape, you can adapt it for various uses. Need a rugged tool roll? Make it longer and add a leather cord wrap. Need a tech pouch for cables? Add a divider inside using a scrap of felt.
Maintenance Tips
- Washability: One of the biggest wins? This bag is 100% machine washable. If your foundation or a lipstick explodes inside, just toss it in the cold cycle and air dry. It will come out looking brand new.
- Color Blocking: Use two different shirts to create a ‘dipped’ look—navy on the bottom and white on top.
- Gifting: These make incredible Father’s Day or graduation gifts. Pair a handmade bag with some high-end (or homemade) beard oil or soap for a thoughtful, handy-parent approved gift set.
Safety Note: When cutting T-shirt yarn with a rotary cutter, always cut away from your body and use a finger guard. These blades are razor-sharp and require a steady, focused hand.
Conclusion
The Ultimate Trash-to-Treasure Victory
By following this guide, you’ve done more than just save $30 on a cosmetic bag. You’ve successfully diverted textile waste from a landfill, mastered the ‘spiral cut’ engineering technique, and created a durable, stylish accessory that reflects a resourceful and practical lifestyle. Whether you’re a budget-savvy bride making bridesmaid gifts or a handy dad organizing his travel kit, the T-shirt yarn bag is a testament to the power of DIY. Stop buying what you can make better, stronger, and cheaper with your own two hands. Now, go raid that scrap pile and start your next project!

Makenzie is the founder and lead writer at MoneyHackTips.com — a personal finance blog dedicated to delivering street-smart financial wisdom for real people on real budgets. With 300+ published articles covering everything from debt management to investing fundamentals, Makenzie’s mission is to make every dollar work harder. When not writing about money hacks, Makenzie is testing frugal living strategies, optimizing side hustles, and helping readers build financial freedom from scratch.