
The Art of the Bespoke Fit on a Budget
We have all been there: you find the perfect pair of vintage Levi’s or a high-quality denim find at the thrift store, only to realize the legs are far too baggy for your style. Or perhaps your favorite pair of ‘dad jeans’ has lost its luster in the age of the tailored silhouette. Most people assume that achieving a professional taper requires a $300 sewing machine or a $25 trip to the tailor. I am here to tell you that with a little patience, a $2.00 spool of heavy-duty thread, and a bit of ‘rugged resourcefulness,’ you can achieve a custom, bespoke fit right at your kitchen table. Hand-sewing denim is not just a way to save money; it is a way to reclaim your wardrobe and master a skill that has kept clothing in service for centuries. In this guide, we will bypass the clunky machinery and dive into the precise, tactile world of hand-tapering.
‘The best tool you have is your own two hands and the patience to use them correctly.’ – The Frugal Tailor’s Mantra
The Essential Kit: Professional Results for Under $10
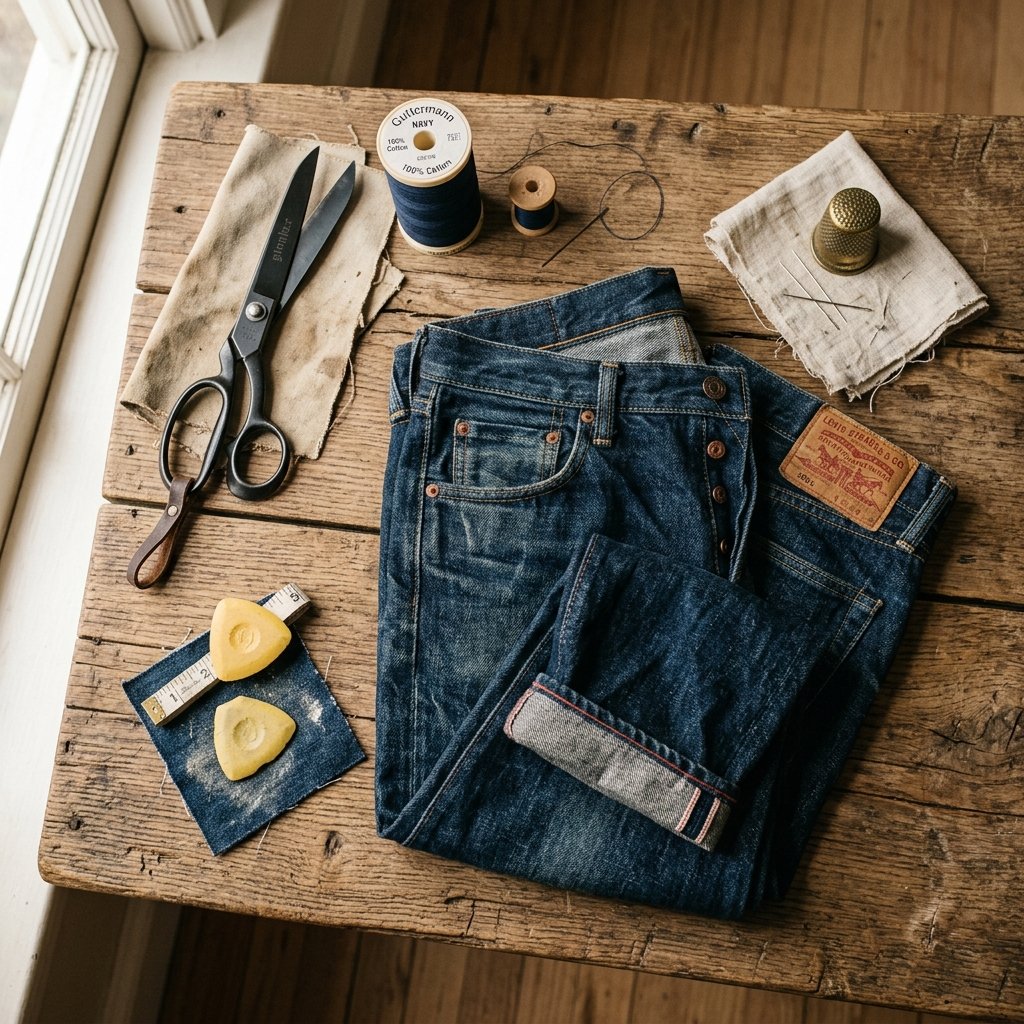
To get a ‘store-bought’ look without the store-bought price, you need the right materials. Denim is a beast of a fabric—it is thick, stubborn, and woven to last. You cannot use standard all-purpose thread; it will snap the moment you sit down. You need tools that match the ruggedness of the material.
| Item | Purpose | Estimated Cost |
|---|---|---|
| Heavy-Duty / Topstitching Thread | Provides the strength needed for high-tension seams. | $3.00 |
| Size 10 or 12 Sharp Needles | Thick enough not to bend when piercing multiple layers of denim. | $2.50 |
| Tailor’s Chalk or a Sliver of Soap | For marking your ‘cut line’ or ‘stitch line’ without permanent staining. | $1.00 |
| Safety Pins | Crucial for the ‘Pinch and Pin’ fitting phase. | $1.50 |
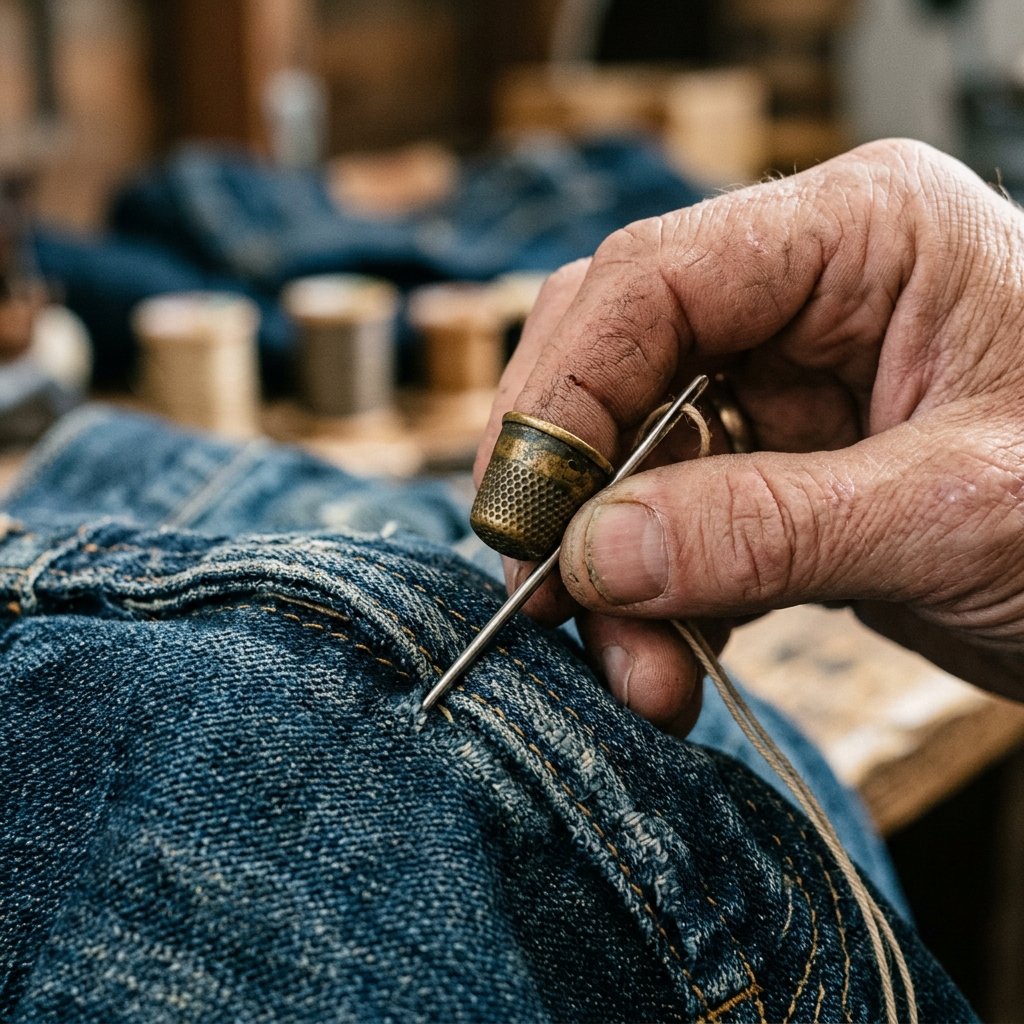
| Metal Thimble | Protects your finger when pushing the needle through heavy seams. | $2.00 |
Why the Thimble is Non-Negotiable
When you are hand-sewing denim, you are often pushing through 3 or 4 layers of fabric at the hem. A metal thimble allows you to use the strength of your middle finger to drive the needle through without piercing your skin. It is the difference between a 30-minute project and a painful afternoon.
The ‘Pinch and Pin’ Blueprint: Mapping Your New Silhouette
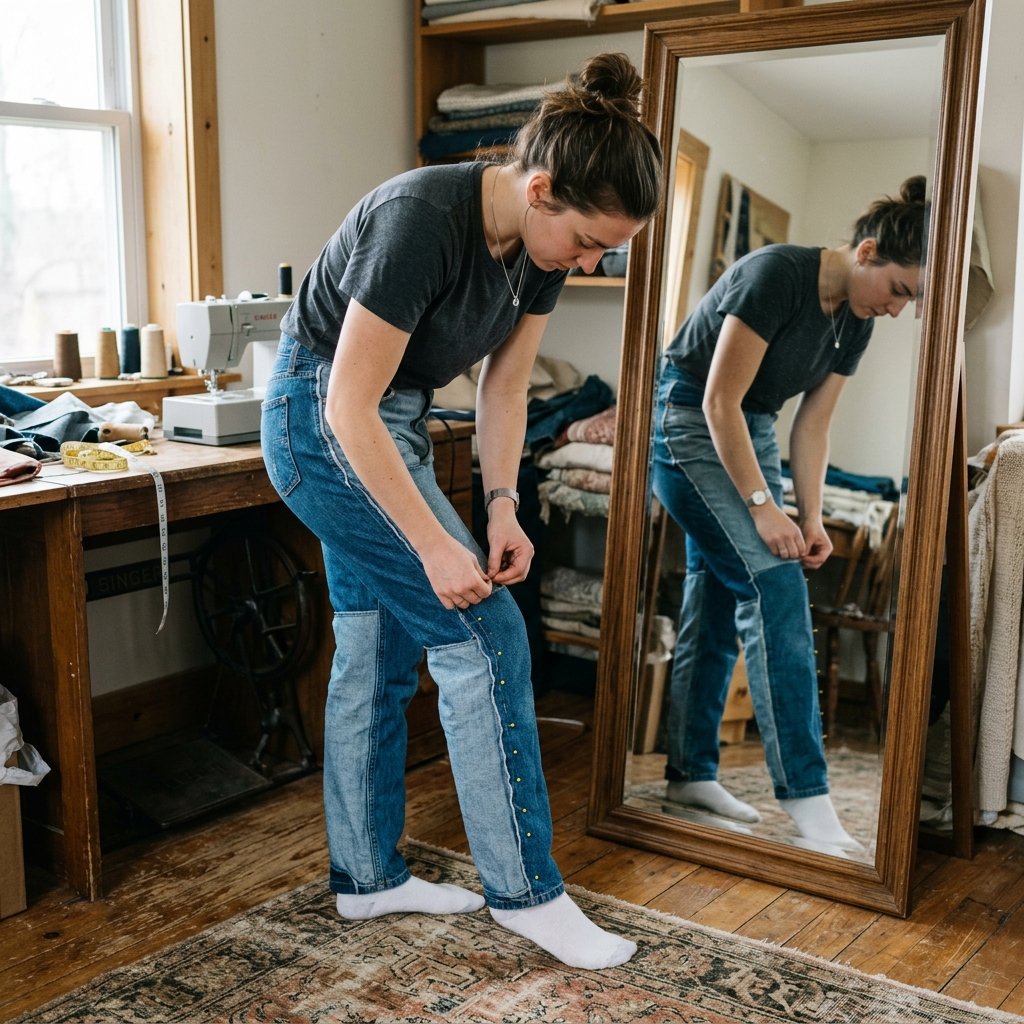
The secret to a perfect taper is not in the sewing, but in the marking. You must decide where you want the taper to begin. Usually, for a natural look, the taper should start at the mid-thigh or just above the knee. Never start a taper abruptly at the calf, or you will end up with ‘jodhpur’ style pants that look awkward.
- Turn your jeans inside out: This is the most important step. You will be sewing on the inside so the raw edges are hidden.
- The Inseam vs. Outseam Decision: Always taper from the inseam (the inner leg) if the outseam has decorative stitching or ‘selvedge’ edges you want to preserve. If the jeans are simple, the outseam is often easier for beginners.
- The Pinch: While wearing the jeans (inside out!), pinch the excess fabric along the seam. Start from the knee and work your way down to the ankle.
- Pinning: Place your safety pins vertically along the line where you want the new seam to be. Try to walk and sit down to ensure the 1% to 2% of movement you need is still there.
‘Measure twice, pin once, and sit down once before you sew.’
Mastering the Backstitch: The King of Hand-Sewing
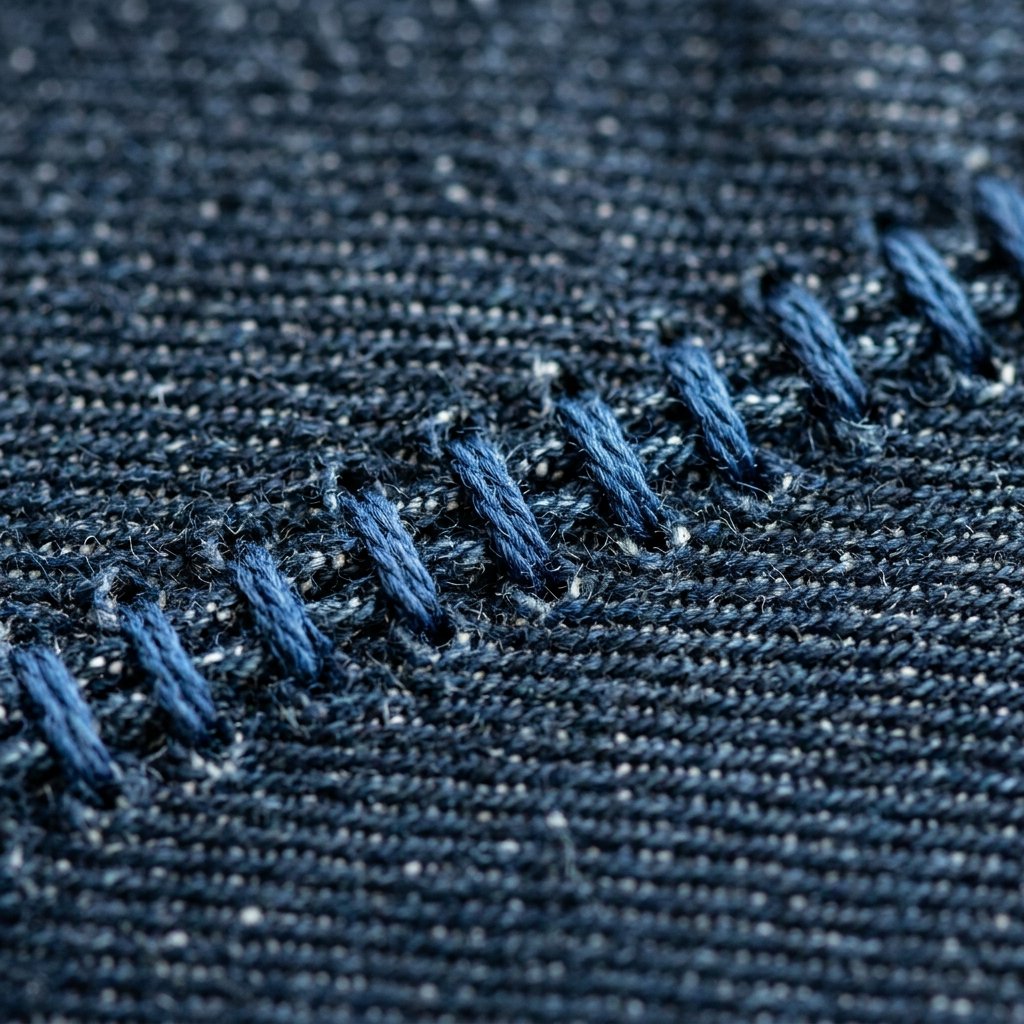
Since we aren’t using a machine, we need a stitch that mimics the ‘lockstitch’ of a mechanical needle. The Backstitch is the strongest hand stitch in existence. It is durable, slightly elastic, and virtually indistinguishable from a machine stitch from the outside.
How to Execute a Perfect Backstitch
- Step 1: Knot your thread and bring the needle up through the fabric from the back.
- Step 2: Take a small stitch backward (about 1/8 inch) and bring the needle out a space ahead of the original starting point.
- Step 3: Pull the thread taut but not so tight that the denim puckers.
- Step 4: Repeat, always inserting the needle back into the end of the previous stitch.
This creates a continuous line of thread on the top and a reinforced, overlapping line on the bottom. It provides 100% the strength of a machine-sewn seam.
The Step-by-Step Tapering Process
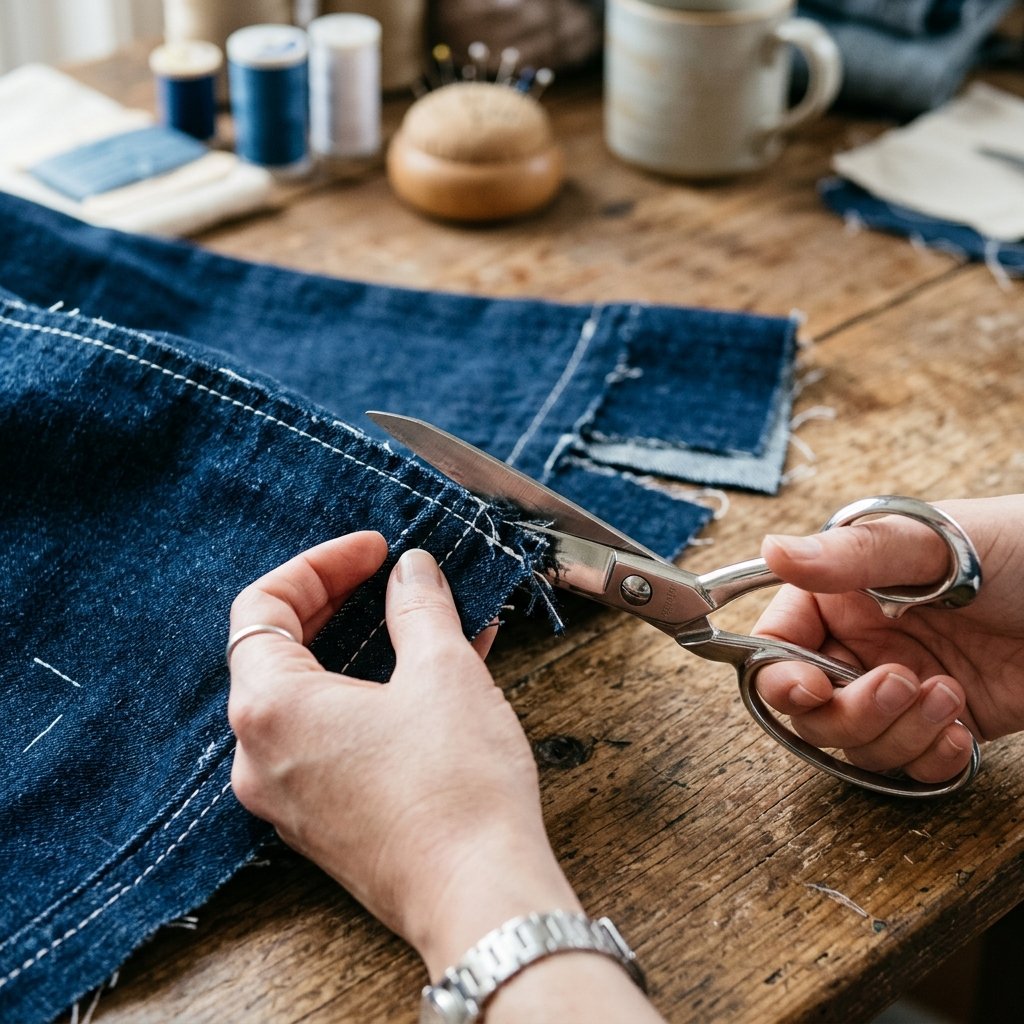
Now that you are pinned and your needle is threaded, it is time to execute. We will use a ‘tapering’ logic that blends your new seam into the existing one for a seamless transition.
| Phase | Action | Pro Tip |
|---|---|---|
| The Blend | Start sewing 2 inches above your first pin to blend the new line. | Angle the needle slightly to make the transition invisible. |
| The Run | Sew along your chalk line using the backstitch. | Keep stitches small (3mm) for maximum strength. |
| The Hem | Fold the existing hem and sew through the bulk. | Use your thimble here! It is the toughest part. |
| The Trim | Cut away excess fabric leaving a 1/2 inch seam allowance. | Only trim after you have tried them on one last time! |
The ‘No-Cut’ Alternative for Frugal Experimenters
If you are nervous about cutting your jeans, you can simply press the excess fabric to one side and ‘tack’ it down with a few hidden stitches. This is a zero-risk way to test your new fit for a week before making the permanent cut.
Troubleshooting and Finishing Touches

Even the pros hit snags. If your seam looks ‘wavy,’ it is likely because the denim shifted while you were sewing. To prevent this, use more pins than you think you need—one every inch is a safe bet. If the fabric is too thick to push through, try ‘lubricating’ your needle by running it through a bit of beeswax or a bar of dry soap.
The Professional Press
The difference between a ‘homemade’ look and a ‘handmade’ look is the iron. Once you have finished your seam, turn the jeans right-side out and press the new seam with a hot steam iron. This ‘sets’ the stitches into the fibers of the denim, making the transition look flat and professional. This 5-minute step increases the quality of your work by 200%.
‘Steam is the tailor’s best friend; it hides a multitude of sins and sets the final shape.’
Conclusion
Your Custom Wardrobe Awaits
By mastering the hand-taper, you have unlocked a superpower. You are no longer at the mercy of ‘off-the-rack’ sizing or expensive tailoring services. You can now walk into any thrift store, find a pair of high-quality, ‘ugly-fit’ jeans for $5, and transform them into a $100 pair of custom-fitted trousers. This project is about more than just clothes; it is about the rugged satisfaction of mending and modifying your own gear. So, grab that needle, trust your pins, and enjoy the perfect fit that only your own hands can provide. Happy crafting!

Makenzie is the founder and lead writer at MoneyHackTips.com — a personal finance blog dedicated to delivering street-smart financial wisdom for real people on real budgets. With 300+ published articles covering everything from debt management to investing fundamentals, Makenzie’s mission is to make every dollar work harder. When not writing about money hacks, Makenzie is testing frugal living strategies, optimizing side hustles, and helping readers build financial freedom from scratch.