
The Art of the 5-Minute Upcycle
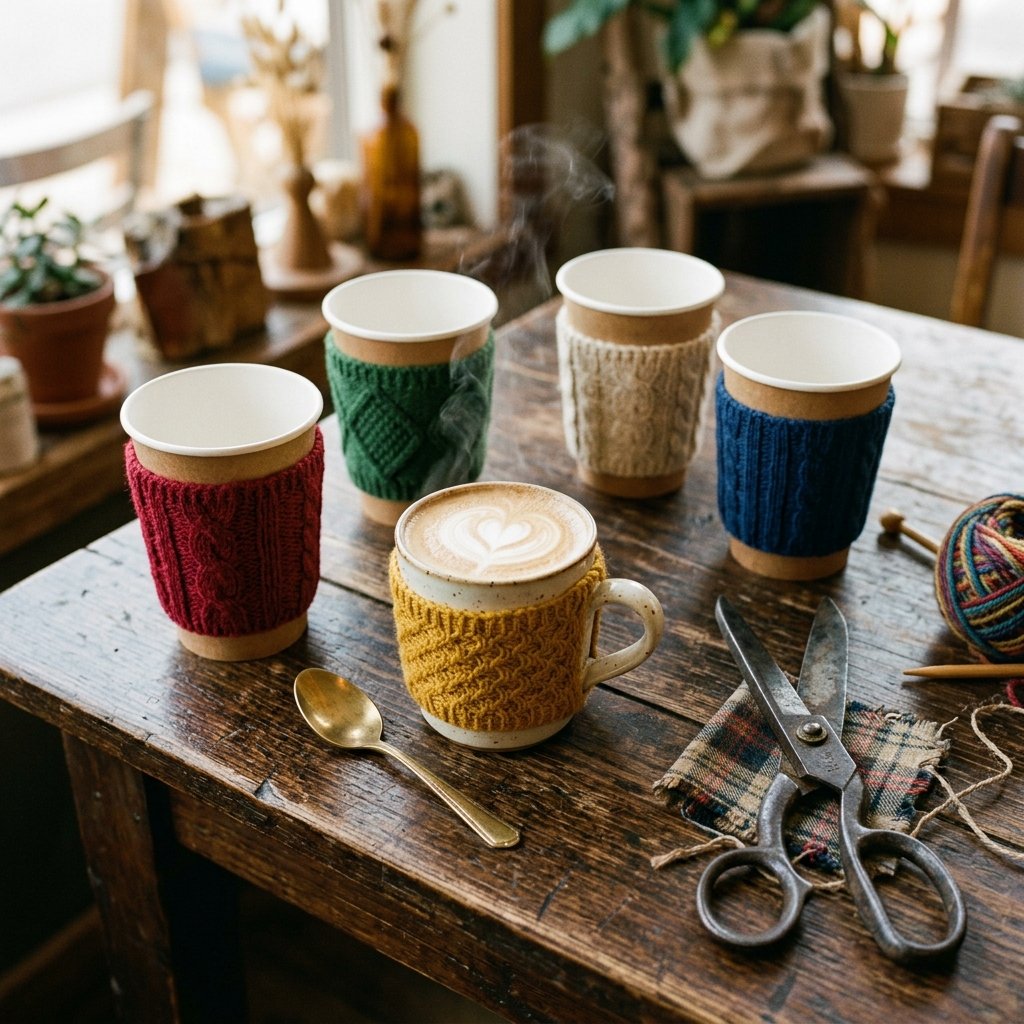
We have all been there: staring at a pile of ‘ugly’ holiday sweaters or moth-eaten woolens that have seen better days. Instead of letting those rich textures and vibrant patterns go to waste in a landfill, we are going to reclaim them. This project is the epitome of resourceful creativity. In less time than it takes to brew a pot of coffee, you can transform a discarded sleeve into a sophisticated, rugged, and highly practical coffee cup sleeve. Not only does this save your fingers from the heat of a double-shot espresso, but it also elevates your morning routine with a touch of masculine-elegant craft. Whether you are a frugal DIYer looking to save a few bucks or a crafty gift-giver preparing for the holiday rush, this guide will show you how to turn ‘trash’ into a cozy treasure for $0.
The Treasure in Your Closet: Selecting the Perfect Donor Sweater
What to Look For
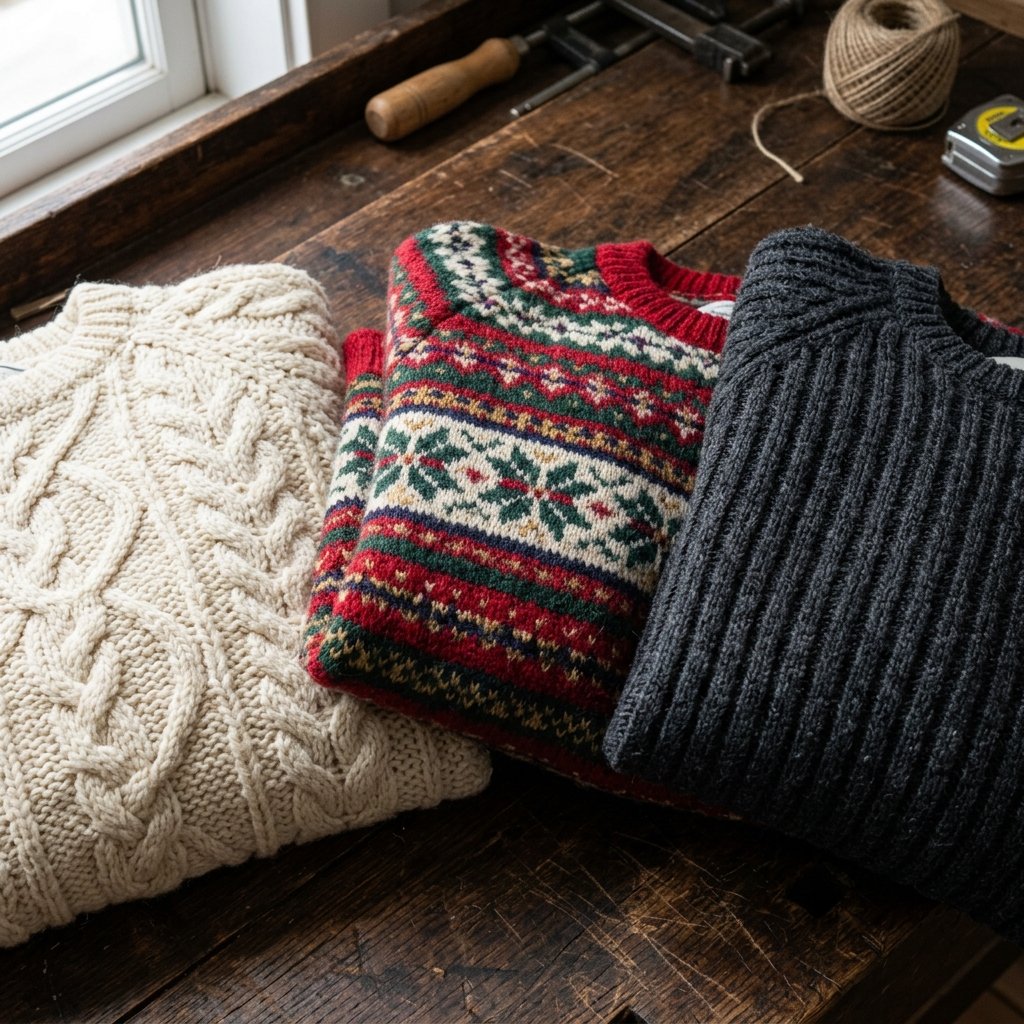
Not every sweater is destined for greatness, but most ‘ugly’ sweaters have at least one section of brilliance. When scouting your closet or the local thrift store bins, look for heavy-gauge knits, cable patterns, or unique fair isle designs. These provide the best insulation and structural integrity for a cup sleeve. Avoid thin, jersey-knit materials as they tend to roll and lose shape quickly. Wool blends are ideal because they naturally repel light moisture and provide superior heat resistance.
| Material Type | Insulation Level | Durability | Best Use |
|---|---|---|---|
| Heavy Cable Knit | High | Excellent | Large Lattes & Hot Teas |
| Fair Isle Wool | Medium-High | Very Good | Standard Drip Coffee |
| Cotton Blend | Medium | Good | Iced Coffee (Condensation) |
| Thin Synthetic | Low | Fair | Decorative Only |
The Golden Rule of Upcycling: Look past the ‘ugly’ overall garment and find the 4-inch section of beauty hidden in the sleeve.
The 5-Minute No-Sew Blueprint: Precision Cutting & Sizing
Step-by-Step Reconstruction
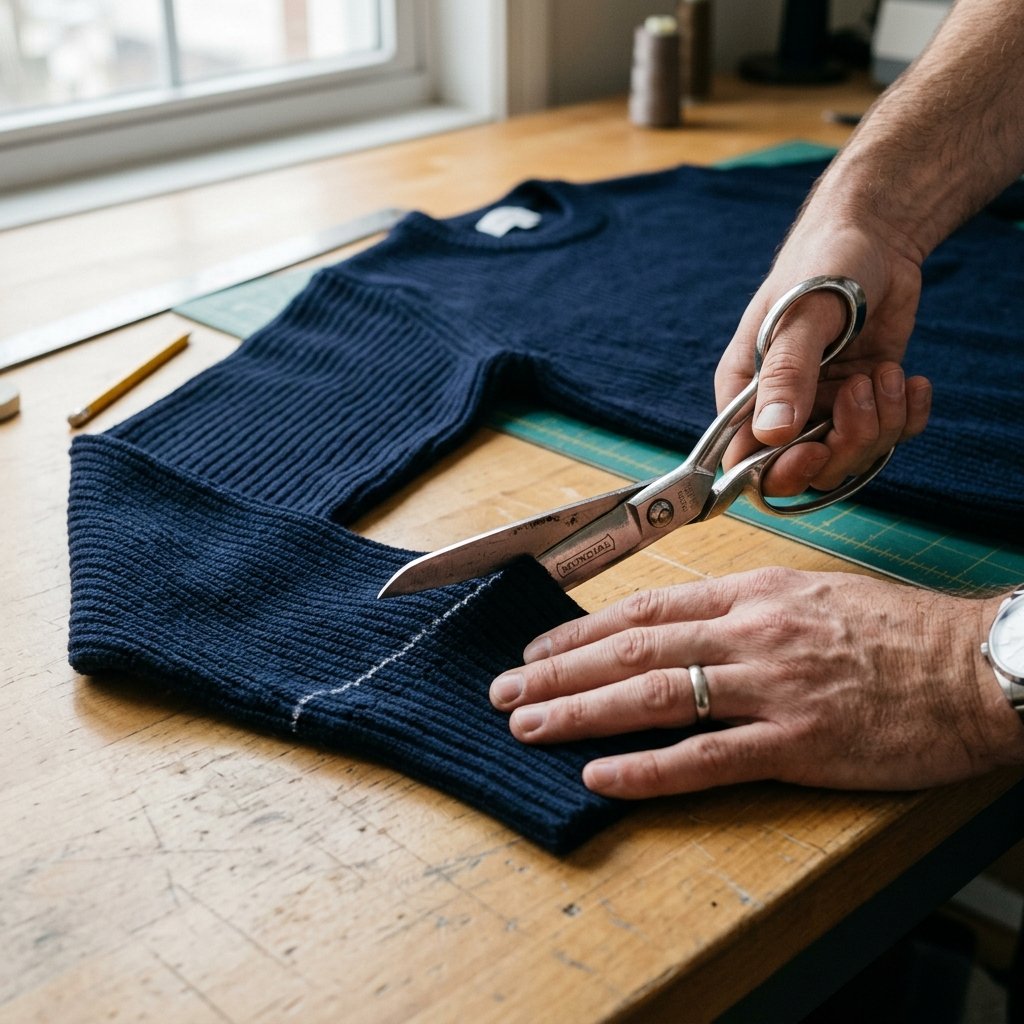
The beauty of this project lies in its simplicity. We are utilizing the natural taper of the sweater’s sleeve to mimic the taper of a standard coffee cup. Follow these steps for a perfect fit every time:
- Measure Your Cup: Take a standard reusable cup or a paper cup from your favorite cafe. Slide the sweater sleeve over the cup to find where it fits snugly.
- Mark the Cut: Use a piece of tailor’s chalk or a simple marker to mark 4 inches of length. Ensure you include the finished cuff of the sweater as the bottom or top edge of your sleeve for a professional look.
- The Precision Cut: Using sharp fabric shears, cut straight across the sleeve. Pro Tip: Cut slightly larger than you think you need; you can always trim down, but you cannot add fabric back.
- The Stretch Test: Slide the newly cut ring onto your cup. It should be tight enough to stay put but loose enough to slide off for washing.
| Step | Tool Needed | Time Required | Cost |
|---|---|---|---|
| Measuring | Standard Cup | 1 Minute | $0 |
| Marking | Chalk/Marker | 30 Seconds | $0 |
| Cutting | Fabric Shears | 1 Minute | $0 |
| Finishing | Fray Check (Optional) | 2 Minutes | $0.50 |
Rugged Refinement: Hand-Stitched Edges and Leather Accents
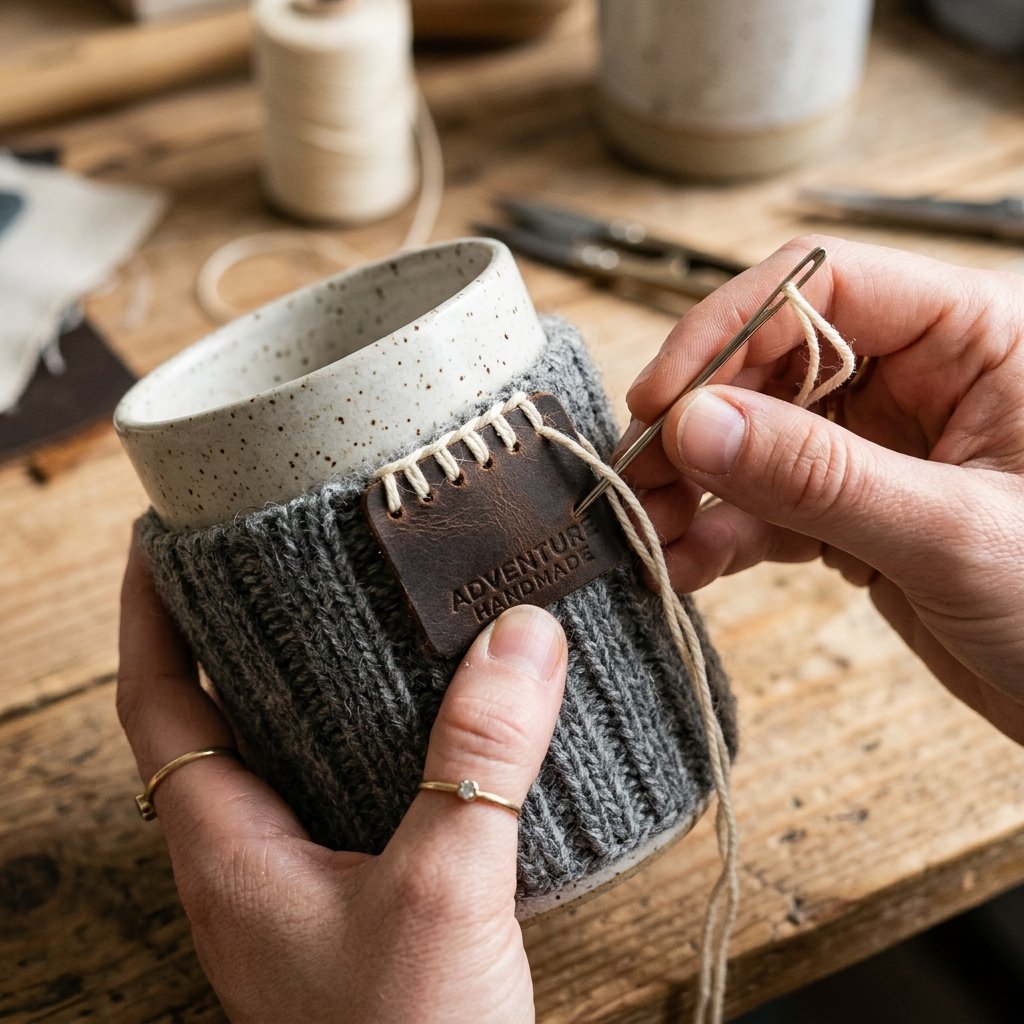
Elevating the Aesthetic
For those who want to move beyond the basic ‘cut and go’ method, adding a few hand-stitched details can turn a scrap of fabric into a high-end boutique replica. If your sweater is prone to fraying, a quick blanket stitch around the raw edge adds both security and a rustic, handcrafted charm. For a truly masculine-elegant finish, consider adding a leather tab or a wooden button.
- The Leather Tab: Cut a small 1×2 inch strip of scrap leather. Fold it over the top edge of the sleeve and secure it with two small ‘X’ stitches using embroidery floss or heavy-duty thread.
- The Wooden Button: Sew a large, dark wood button onto the center of the sleeve. This doesn’t have to be functional; it serves as a focal point that screams ‘custom-made.’
- The Contrast Stitch: Use a contrasting thread color (e.g., white thread on a charcoal sweater) to create a bold, visible seam that celebrates the handmade nature of the item.
Mantra for the Budget Crafter: Perfection is the enemy of character. A slightly crooked stitch tells a better story than a machine-made line.
The Frugal Gift-Giver Strategy: Packaging Your Creations
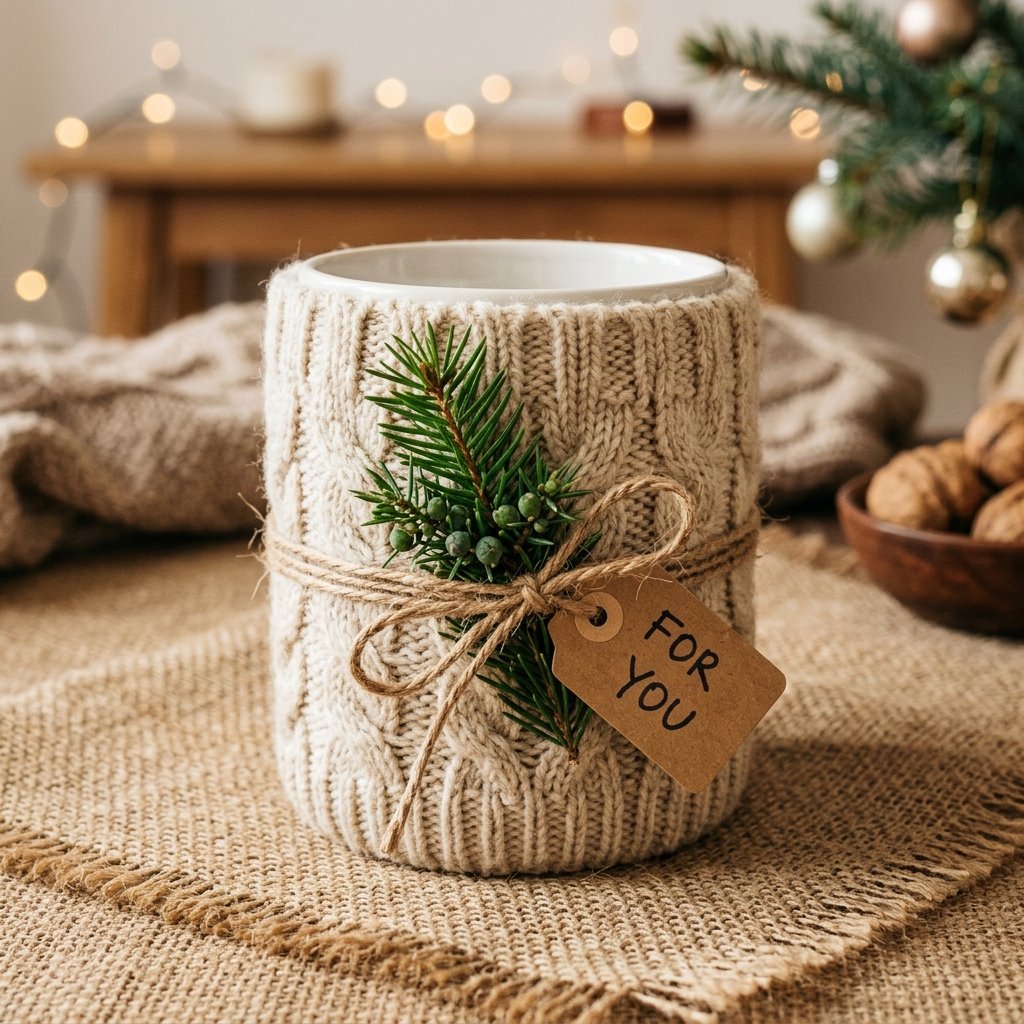
Turning Scraps into Thoughtful Gifts
These sleeves make incredible, low-cost gifts for teachers, coworkers, or as ‘stocking stuffers.’ To make them look like they cost $20 at a local maker’s market, presentation is key. Pair your DIY sleeve with a $5 or $10 gift card to a local coffee shop, or slide it onto a brand new stainless steel tumbler.
| Gift Combo | Estimated DIY Cost | Perceived Value | Savings |
|---|---|---|---|
| Sleeve + $5 Gift Card | $5.00 | $15.00 | 66% |
| Sleeve + Thrifted Mug | $1.50 | $12.00 | 87% |
| Set of 4 Sleeves | $0.00 | $25.00 | 100% |
Consider creating a ‘Coffee Lover’s Survival Kit’ by placing the sleeve inside a mason jar filled with whole-bean coffee and a few squares of dark chocolate. It is a clever, budget-savvy way to show you care without breaking the bank.
Conclusion
Your Morning Coffee, Reimagined
Upcycling an old sweater into a coffee cup sleeve is more than just a 5-minute craft; it is a statement of resourcefulness and style. By taking something destined for the bin and giving it a second life, you have created a functional piece of art that saves money and the environment. These cozy sleeves are durable, washable, and infinitely customizable. So, the next time you see a ‘hopeless’ sweater at the back of your drawer, remember: it is just a collection of cozy cup sleeves waiting to happen. Happy crafting, and enjoy your perfectly insulated brew!

Makenzie is the founder and lead writer at MoneyHackTips.com — a personal finance blog dedicated to delivering street-smart financial wisdom for real people on real budgets. With 300+ published articles covering everything from debt management to investing fundamentals, Makenzie’s mission is to make every dollar work harder. When not writing about money hacks, Makenzie is testing frugal living strategies, optimizing side hustles, and helping readers build financial freedom from scratch.