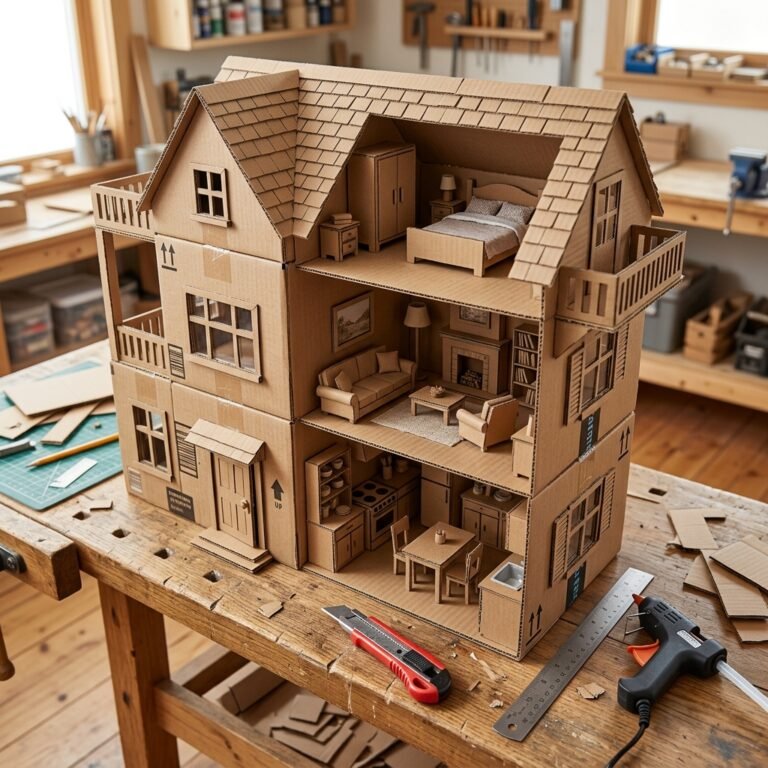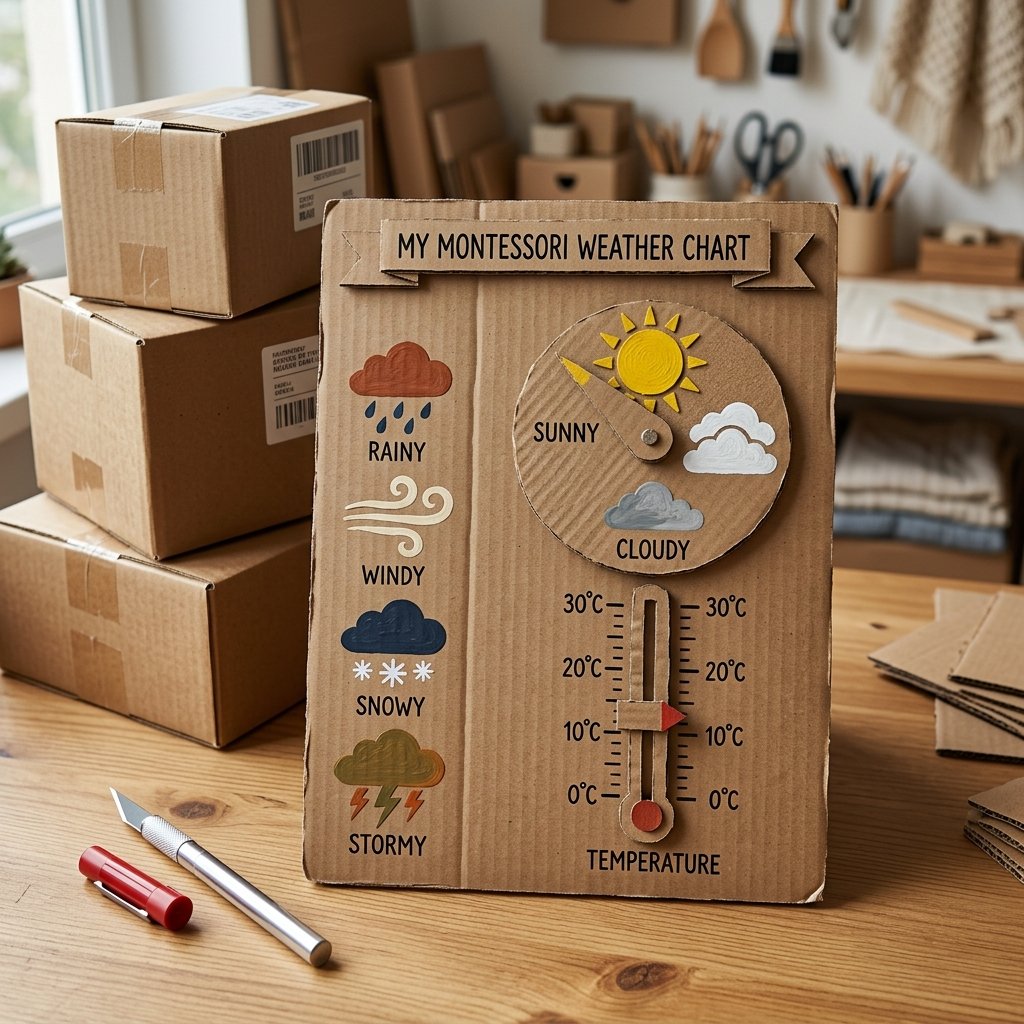

In a world of plastic-heavy toys that cost a fortune, there is a quiet, rugged satisfaction in taking a stack of $0 shipping boxes and turning them into a high-functioning educational tool. The Montessori philosophy emphasizes tactile, natural materials and real-world observation. By building this weather chart yourself, you aren’t just saving $50 or more on a wooden alternative; you are modeling resourcefulness and engineering for your children.
This isn’t just a “craft project.” It is a piece of functional home decor designed with a masculine-elegant aesthetic—clean lines, sturdy construction, and a minimalist palette. We are going to treat this cardboard like fine lumber, using layering techniques to ensure it stands up to years of daily use by curious little hands. Let’s break down how to turn that Amazon box into a masterpiece of home education.
The Inventory: Scavenging Your Cardboard ‘Lumber’
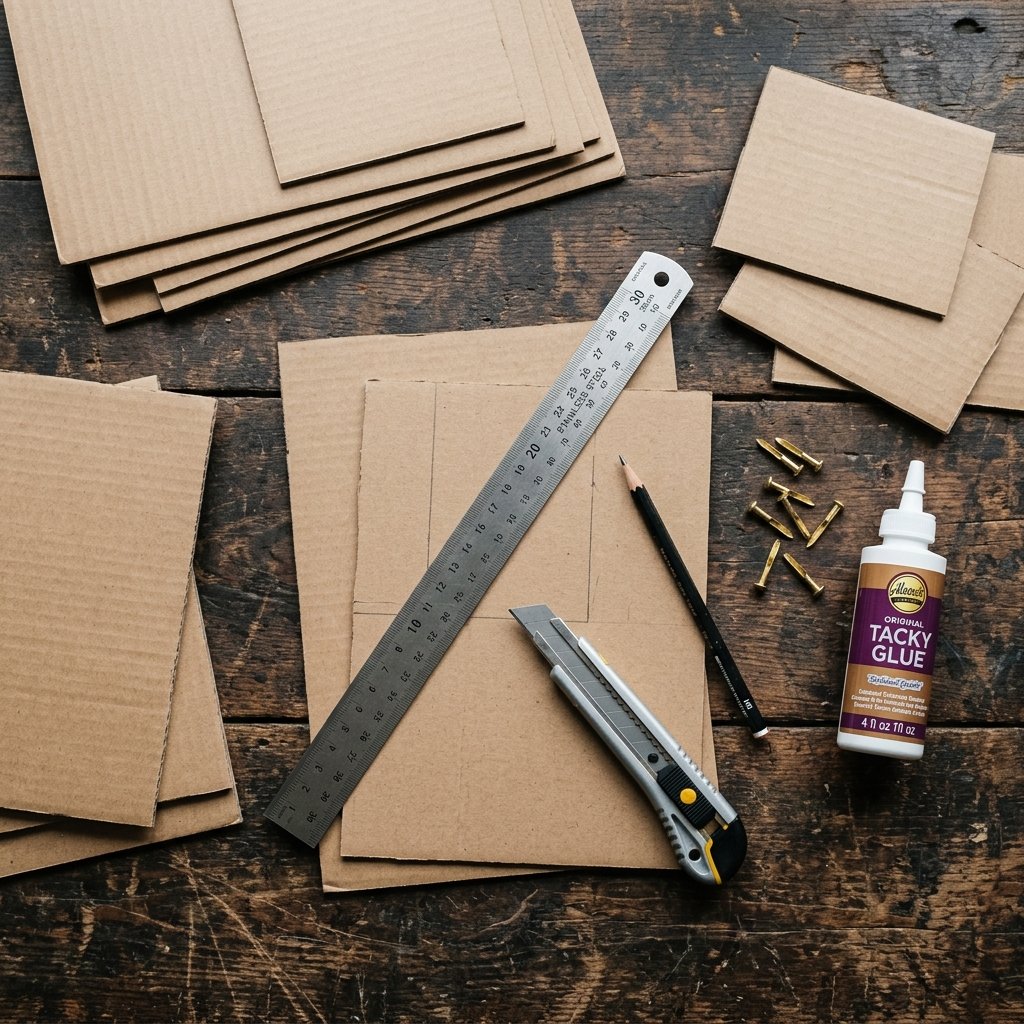
Not all cardboard is created equal. For a build that feels substantial and resists warping, you need to be selective about your materials. Look for double-walled corrugated cardboard for the base and thinner, single-wall pieces for the moving parts like the dial and the sliding indicators.
Materials Needed & Estimated Cost
| Material | Source | Estimated Cost |
|---|---|---|
| Heavy-Duty Shipping Boxes | Recycling Bin | $0.00 |
| Precision Craft Knife/X-Acto | Toolbox | $0.00 (Owned) |
| Wood Glue or Hot Glue | Craft Drawer | $0.50 |
| Split Pins (Brads) | Office Supplies | $0.10 |
| Acrylic Paint (Earth Tones) | Scraps | $0.00 |
| Total Project Cost | – | $0.60 |
Compare this to a store-bought wooden Montessori weather station which typically retails between $45 and $85. You are looking at a 99% savings while keeping high-quality materials out of the landfill.
Engineering the Foundation: The Multi-Layer Base
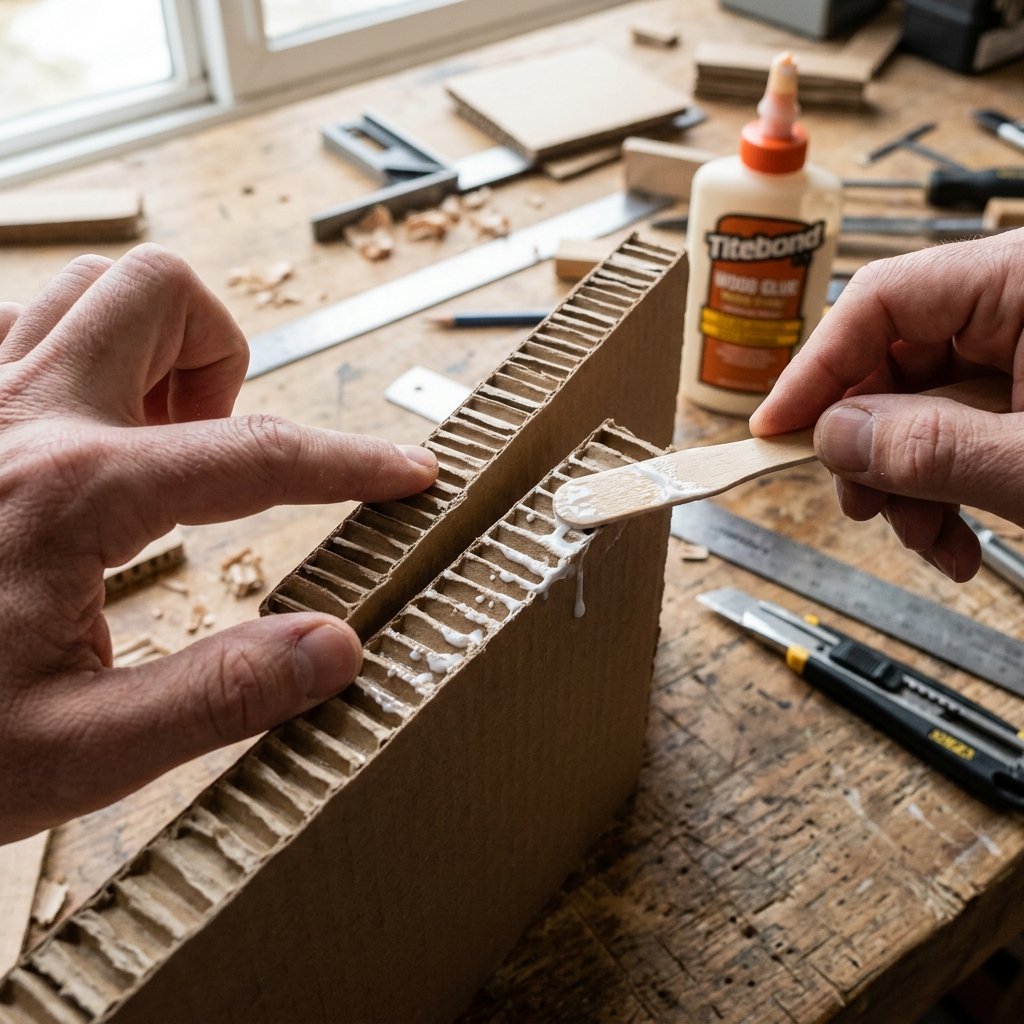
To achieve that “high-end” feel, we avoid the flimsy look of a single sheet of cardboard. We are going to ‘laminate’ our cardboard to create a rigid, heavy board that mimics the thickness of plywood.
- Measure and Cut: Cut three identical rectangles of heavy-duty cardboard, measuring 12 inches by 16 inches.
- Grain Direction: This is a pro-tip for structural integrity: rotate the middle layer 90 degrees so the internal ‘grain’ (the corrugation) runs perpendicular to the outer layers. This prevents the board from bending.
- Bonding: Apply a thin, even layer of wood glue between the sheets. Weight them down with heavy books for 30 minutes until the bond is rock solid.
“The secret to professional-grade upcycling is in the structural prep. Treat your cardboard with the same respect a carpenter treats oak, and the result will reflect that discipline.”
The Dial of Destiny: Crafting the Weather Wheel
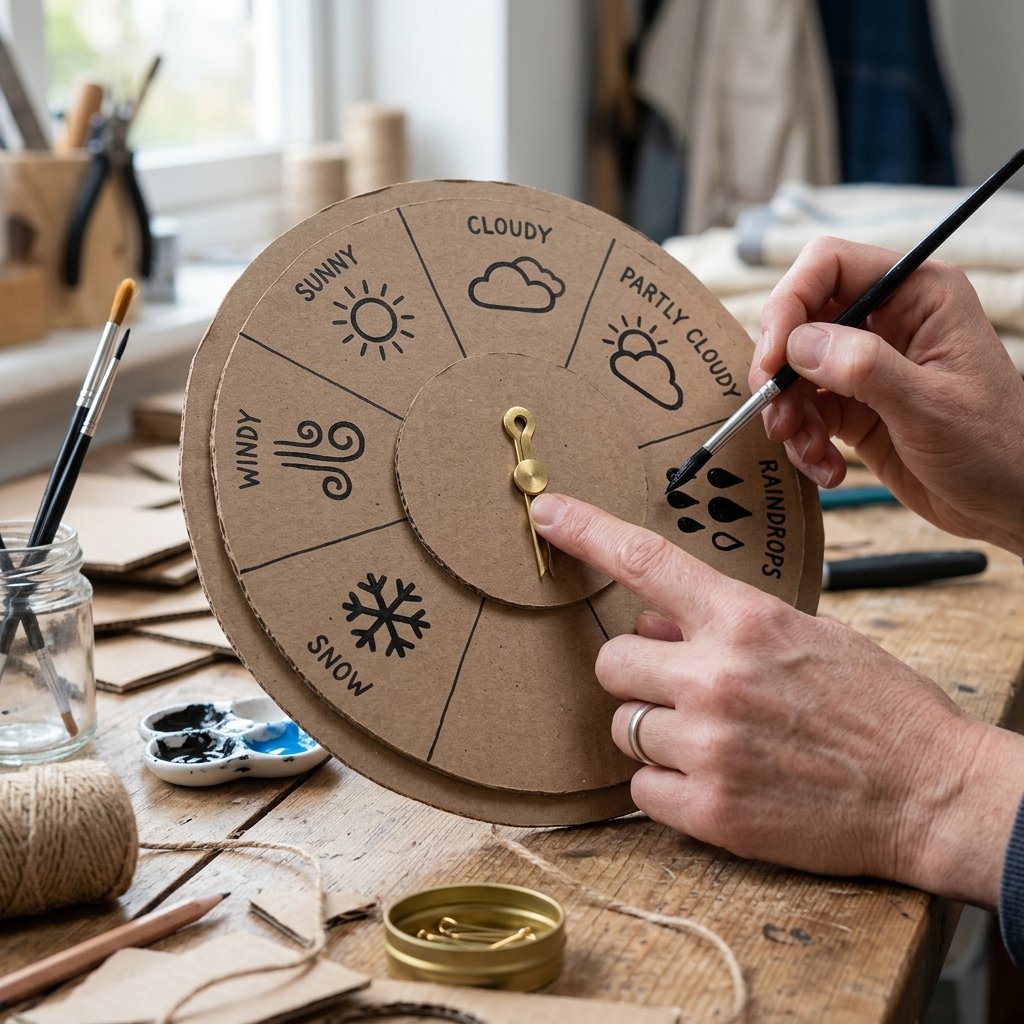
The centerpiece of any weather station is the interactive dial. This allows the child to select between sunny, cloudy, rainy, snowy, and stormy conditions. We want the movement to be smooth and satisfying—a tactile ‘click’ without the plastic.
- The Circle: Use a compass or a kitchen bowl to trace a 6-inch circle on a piece of single-wall cardboard. Cut it out with precision.
- The Icons: Divide the circle into five equal wedges. Instead of using bright, primary colors, opt for a sophisticated palette: slate blue for rain, a muted mustard for the sun, and a soft charcoal for clouds.
- The Pivot: Punch a hole exactly in the center of the dial and the upper half of your baseboard. Insert a brass split pin. To keep the dial from wobbling, glue a small cardboard washer (a 1-inch circle) behind the dial to act as a spacer.
This simple mechanical addition provides tactile feedback that helps develop fine motor skills in toddlers while keeping the design minimalist and rugged.
The Temperature Gauge: The Sliding Scale Hack
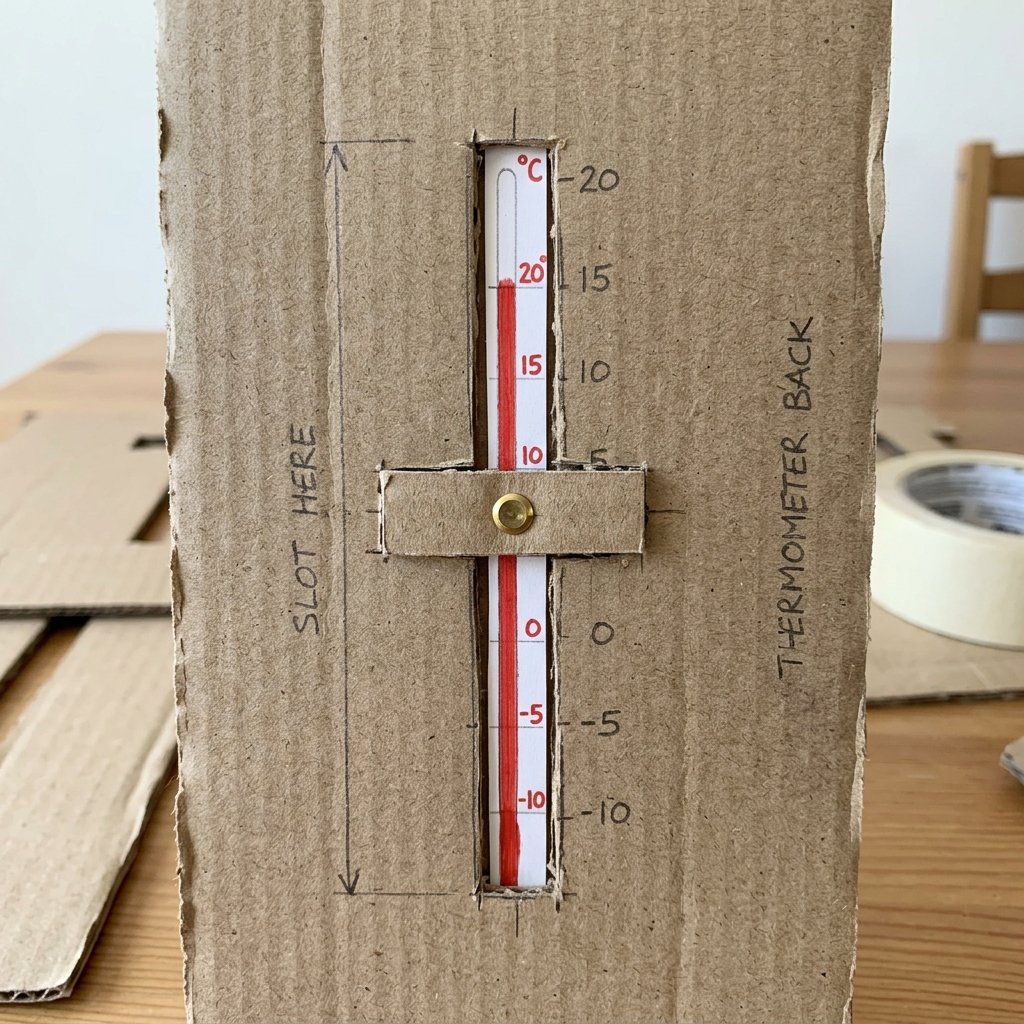
Most store-bought charts use a simple arrow, but we are going for a more engineered look: the sliding thermometer. This requires a bit of clever ‘box-cutting’ geometry.
Step-by-Step Sliding Track:
- Cut a vertical slot 8 inches long and 0.5 inches wide on the right side of your baseboard.
- Cut a small cardboard ‘T’ shape. The top of the ‘T’ should be wider than the slot, and the stem should fit perfectly inside it.
- On the back of the board, glue a second piece of cardboard to the stem of the ‘T’. This creates a slider that stays on the track but moves up and down freely.
- Paint a gradient next to the slot—from a cool sage green at the bottom to a warm terracotta at the top—representing the temperature range.
This mechanism is incredibly durable and provides a much more engaging experience than a simple sticker or drawing.
Aesthetic Finishes: From Trash to Treasure
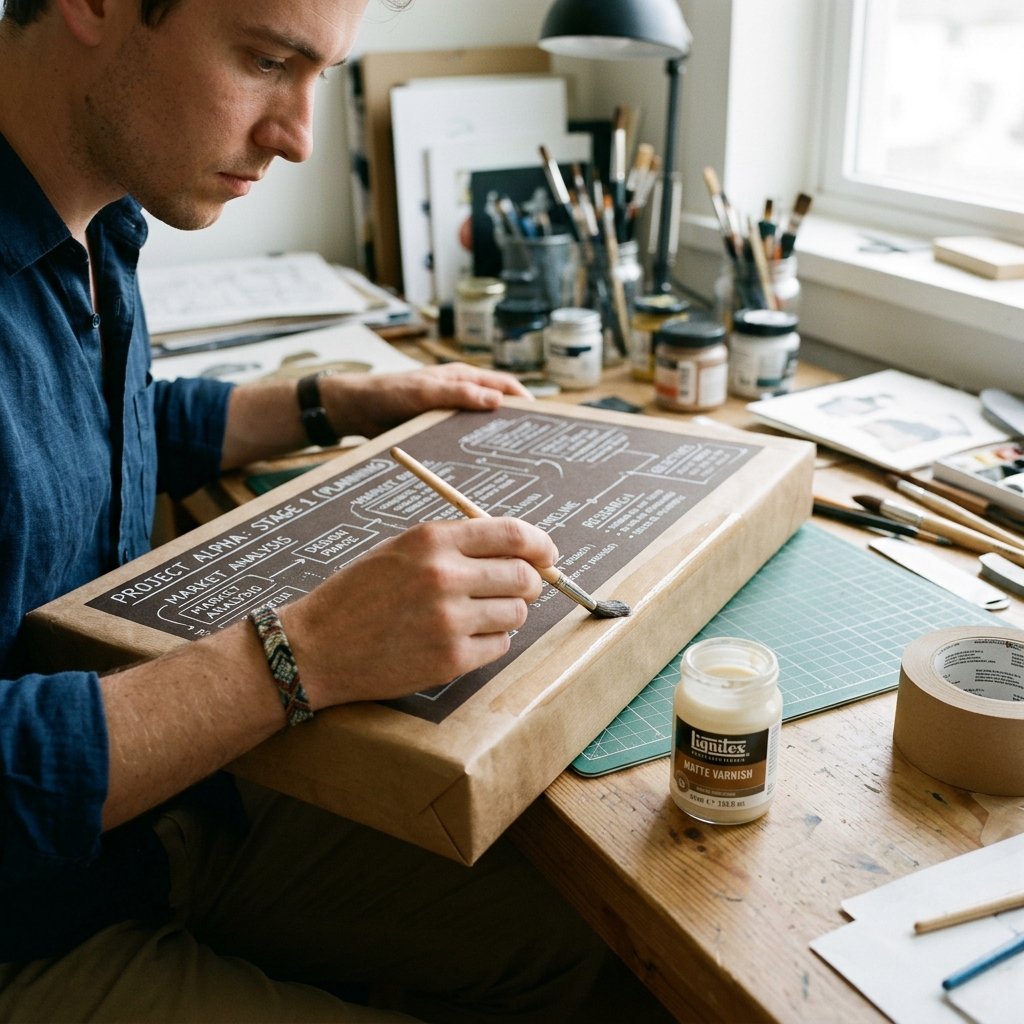
The difference between a ‘school project’ and ‘home decor’ lies in the finishing touches. To achieve a masculine-elegant look, we want to lean into the natural beauty of the craft paper color found in shipping boxes.
- Edge Banding: Take long strips of thin brown paper (from packing material) and glue them over the exposed corrugated edges of your baseboard. This hides the ‘holes’ and makes the board look like a solid piece of wood.
- Typography: Use a stencil or a steady hand to add clean, sans-serif lettering for the days of the week or the word ‘WEATHER’.
- Sealing: A quick spray of matte clear coat (if you have it) will protect the paint and make the cardboard resistant to sticky fingerprints.
“Design is not just how it looks, but how it works and how it lasts. A well-finished edge tells the observer that this item was built with intent, not just assembled by chance.”
Conclusion
Building a Beautiful Montessori Weather Chart from shipping boxes is the ultimate frugal win. You’ve successfully diverted waste from the bin and created a high-value educational tool for less than $1.00. This project proves that with a little engineering and a keen eye for design, “trash” can become a centerpiece of your child’s morning routine. Hang your new weather station at your child’s eye level, and enjoy the daily ritual of observing the world together—all while knowing you saved a significant chunk of change and built something with your own two hands. Happy crafting!

Makenzie is the founder and lead writer at MoneyHackTips.com — a personal finance blog dedicated to delivering street-smart financial wisdom for real people on real budgets. With 300+ published articles covering everything from debt management to investing fundamentals, Makenzie’s mission is to make every dollar work harder. When not writing about money hacks, Makenzie is testing frugal living strategies, optimizing side hustles, and helping readers build financial freedom from scratch.