
The Strategic Blueprint: Materials and Denomination Selection
The Essential Toolkit
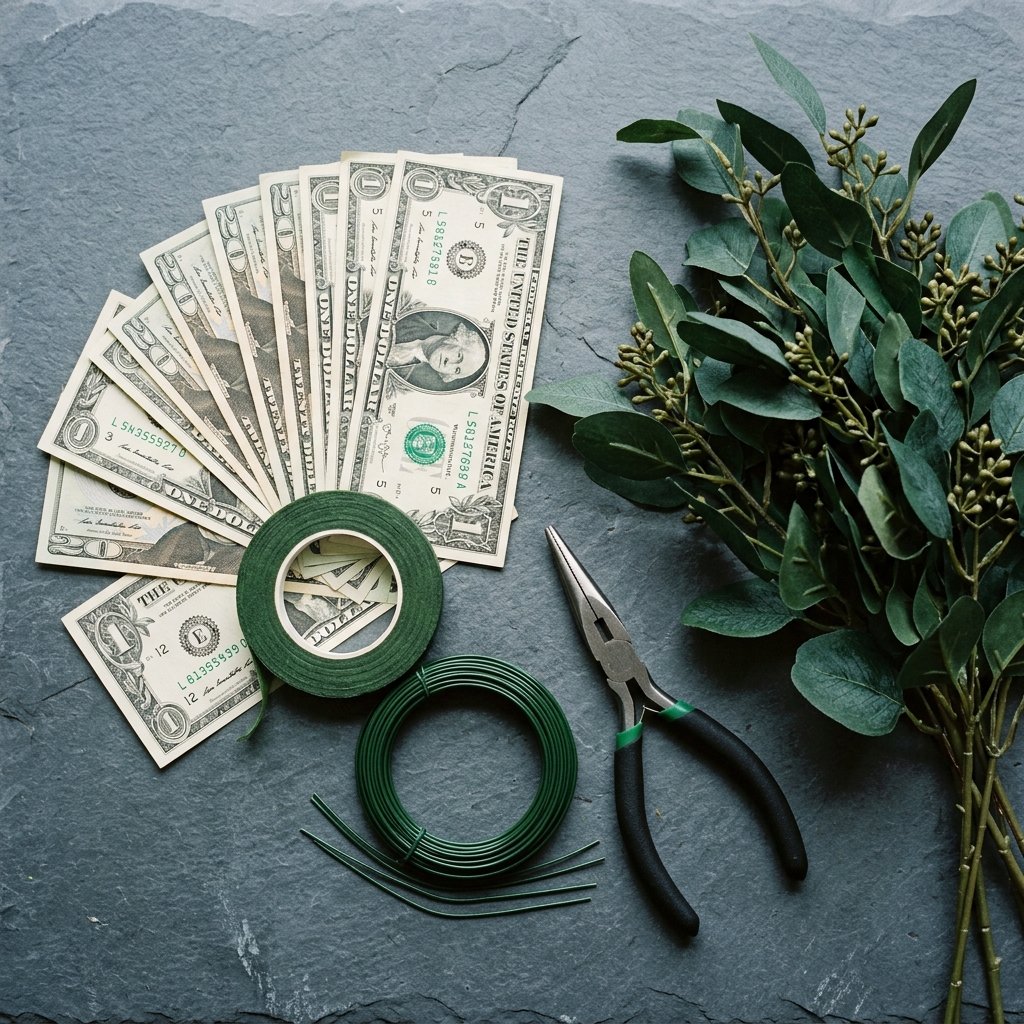
- Crisp Currency: The crisper the bill, the better the fold. Avoid limp, soiled bills; they won’t hold the tension required for a realistic petal.
- 20-Gauge Floral Wire: This provides the ‘spine’ of your flowers. It’s strong enough to hold the weight of multiple bills but flexible enough to style.
- Green Floral Tape: This self-adhesive wax tape is the secret to a seamless transition from flower to stem.
- Needle-Nose Pliers: For curling the edges of the bills without tearing them.
- Faux Greenery: A few sprigs of artificial eucalyptus or ferns will fill the gaps and provide a professional ‘florist’ finish.
| Denomination | Visual Impact | Best Occasion |
|---|---|---|
| $1 Bills | High Volume / Lush Look | Graduations (The ‘Big’ Bouquet) |
| $5 Bills | Sophisticated Color Palette | Birthdays & Small Milestones |
| $20 Bills | Premium & Substantial | Weddings & Anniversaries |
| $100 Bills | The ‘Ultimate’ Statement | Major Career Milestones |
Budget Guru Mantra: A gift that can be spent is never a waste of money. A gift that is handmade is never a waste of time.
The Anatomy of a Money Rose: Step-by-Step Folding
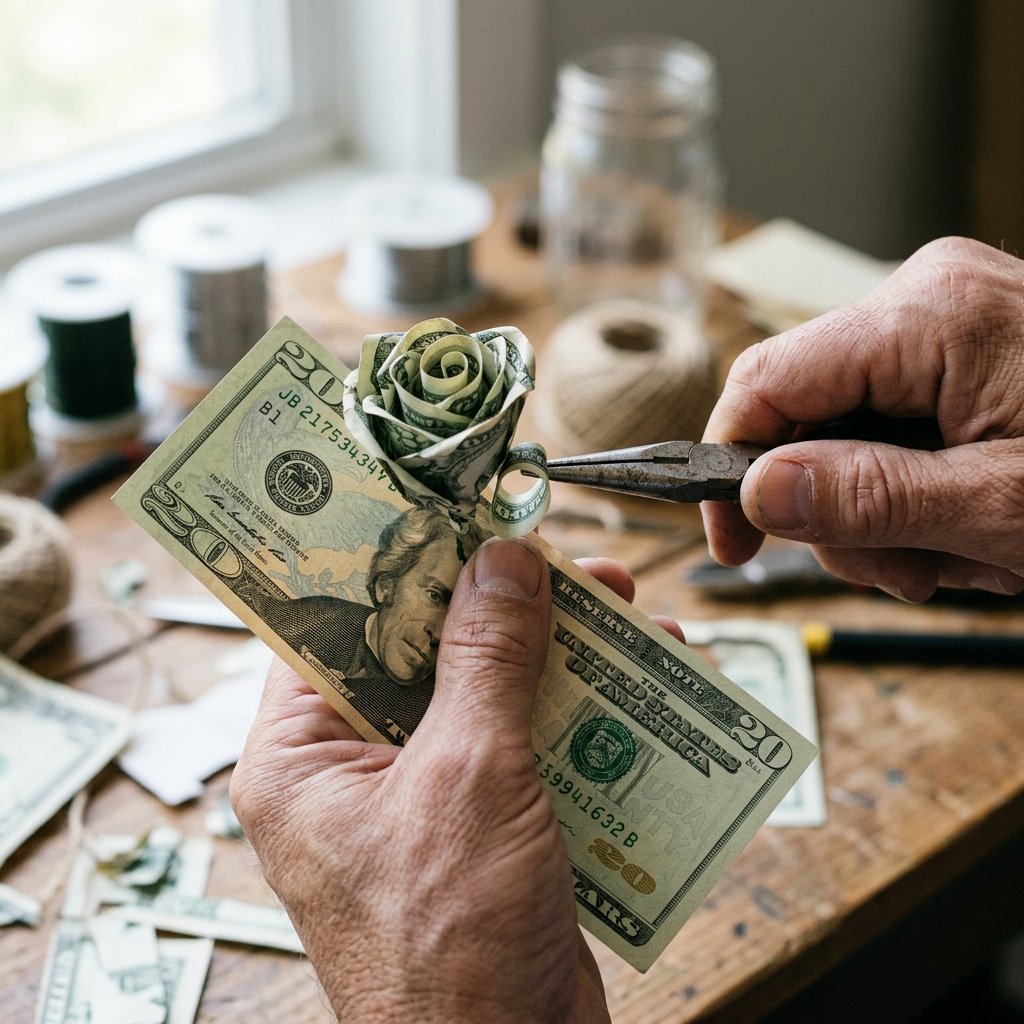
The Fold-by-Fold Process
- The Core: Take your first bill and fold it in half lengthwise. Pinch the center to mark it. Open it back up and fold the corners inward toward the center crease at a 45-degree angle.
- The Roll: Using a pencil or your needle-nose pliers, curl the four corners of the bill outward. This creates the ‘flare’ of the petal.
- The Pinch: Gather the bill in the center (perpendicular to the long side) and secure it with a 10-inch piece of floral wire. Twist the wire tightly at the base to create a small ‘stem’ for this individual petal.
- The Layering: Repeat this process with 3 to 5 more bills. For each subsequent bill, gather them around the first ‘core’ petal, rotating them slightly to stagger the petals.
- The Final Secure: Once all 5 bills are in place, twist all the wires together to form one thick, sturdy stem.
Safety Note: Never use glue or tape directly on the currency. This can devalue the bills or make them non-legal tender. The tension of the wire and the friction of the folds are all you need.
Structural Integrity: Building Stems and Foliage
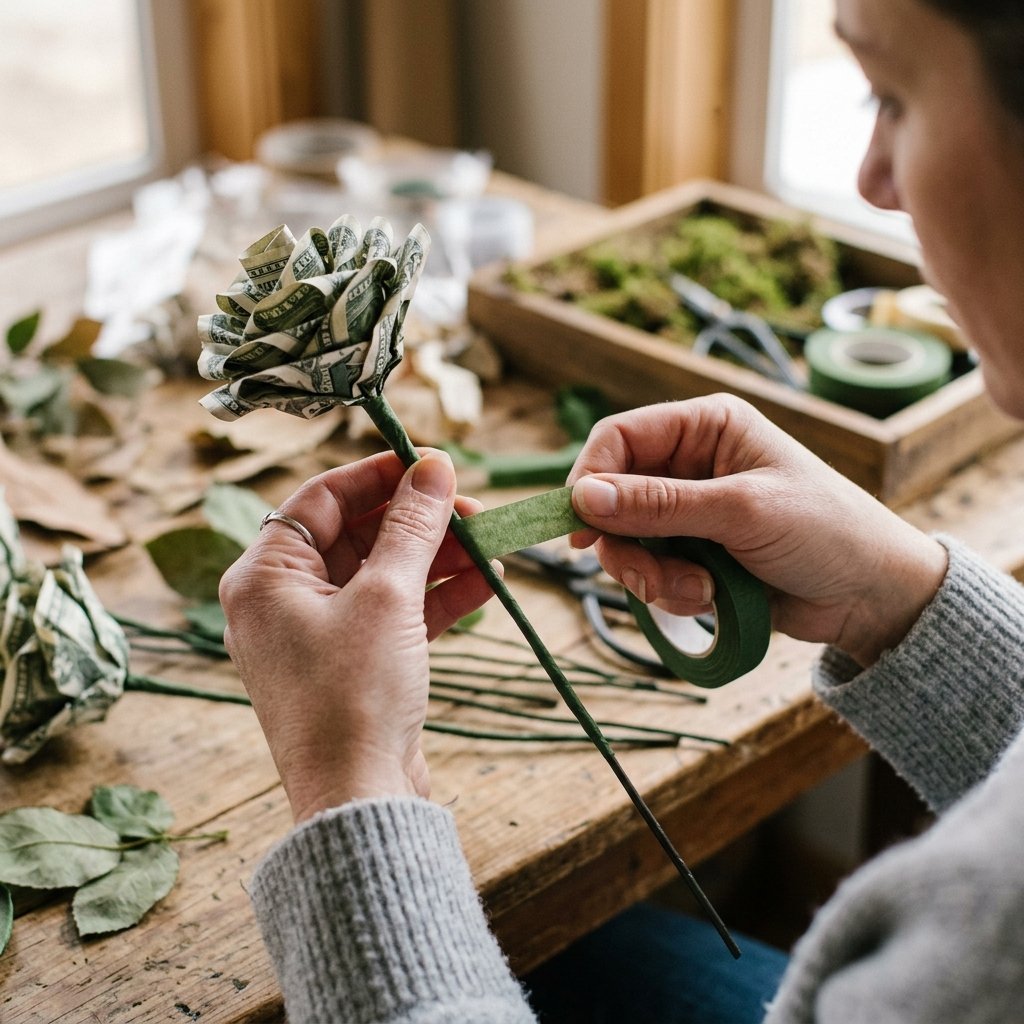
Refining the Stems
Once you have twisted your wires together at the base of the rose, you will likely have a rough, metallic stem. This is where the Green Floral Tape comes in. Start at the very top, right against the base of the ‘petals.’ Stretch the tape slightly as you wrap—this activates the adhesive. Wrap downward at an angle, overlapping the tape by 50% as you go. This creates a smooth, professional green stem that looks remarkably real.
Adding the ‘Greenery’
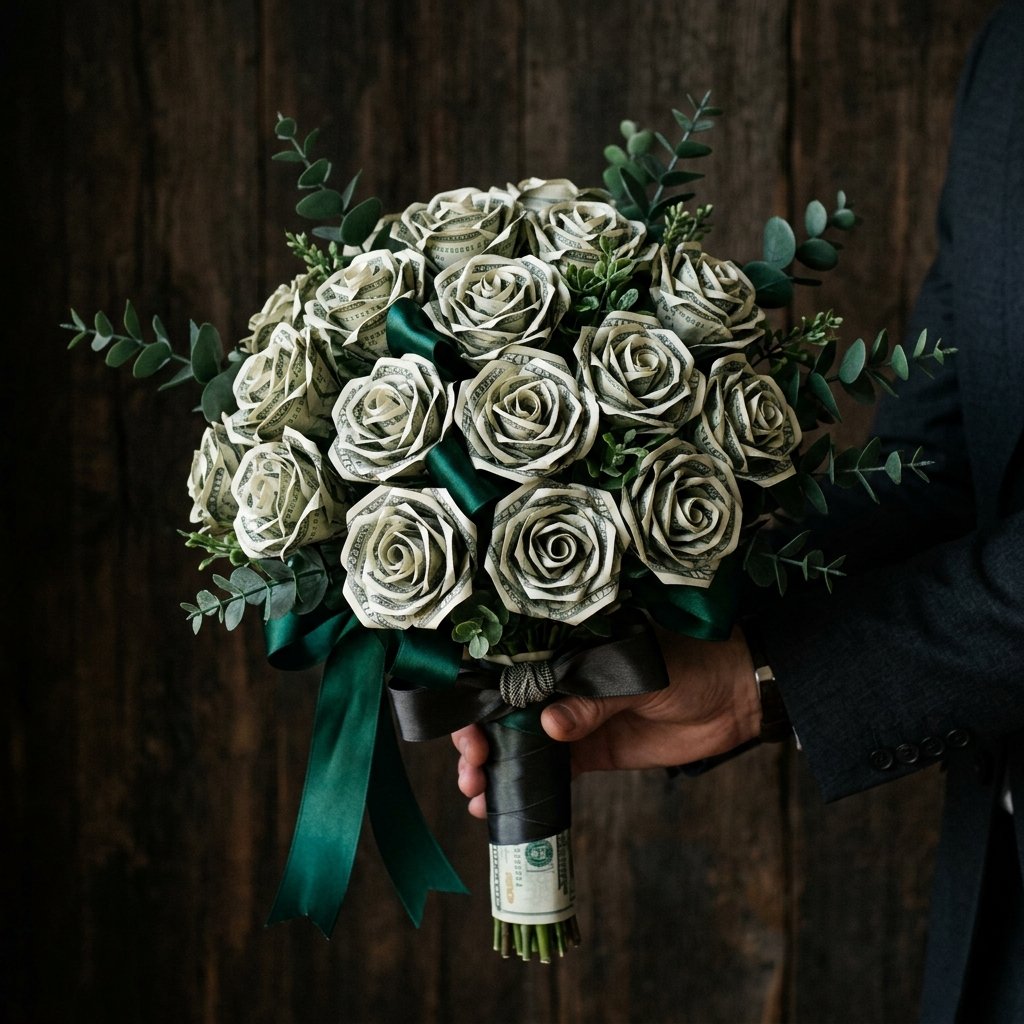
To give the bouquet a ‘rugged-elegant’ feel, don’t just use money. Interspersing the money roses with dark green elements creates contrast that makes the green of the currency pop. Take a sprig of faux eucalyptus and wire it directly to one of your money roses. This ‘pairing’ method ensures that the greenery stays exactly where you want it during the final assembly. It also adds 0% extra cost if you upcycle greenery from an old arrangement.
The Master Assembly: Creating the ‘S’ Curve
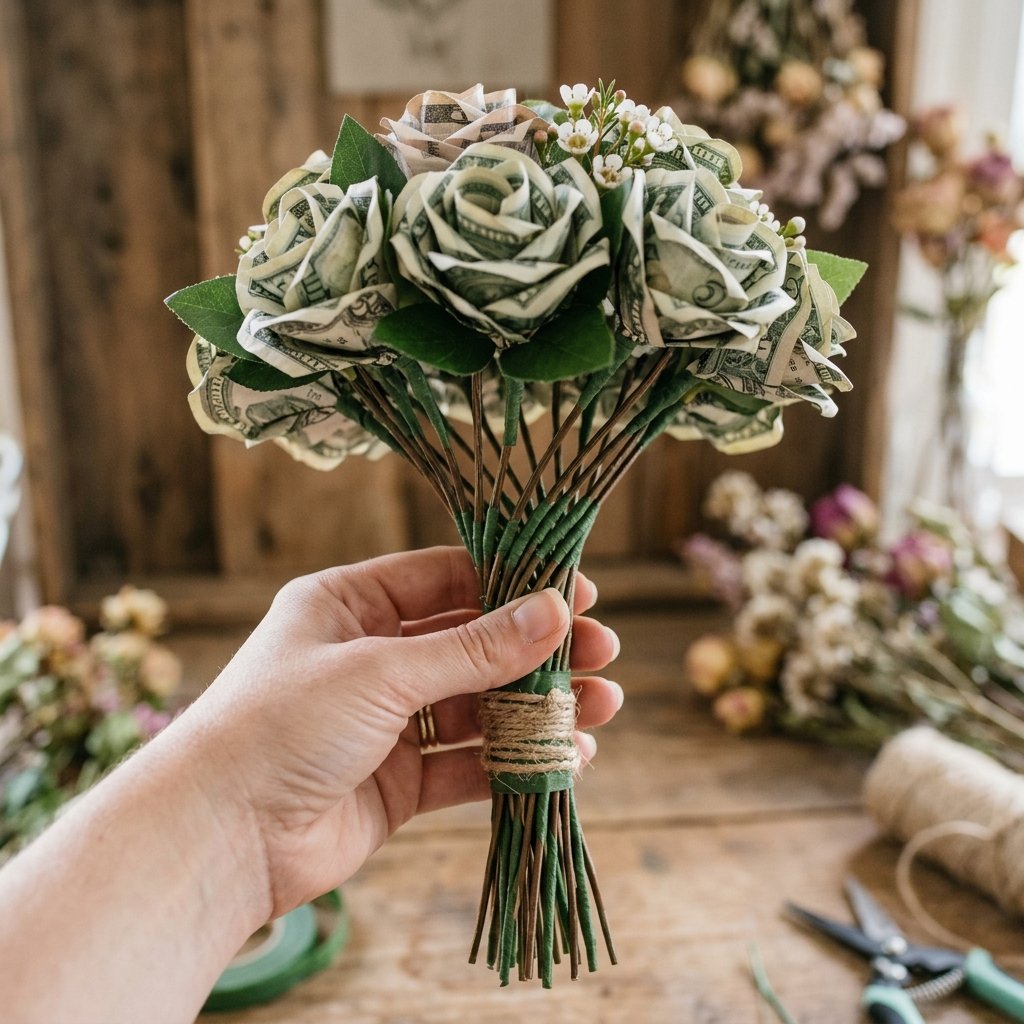
The Assembly Strategy
- Step 1: Start with your largest, most perfect rose as the ‘anchor.’ Hold it in your non-dominant hand.
- Step 2: Add the next rose at a slight angle, crossing the stems. Rotate the bouquet 90 degrees.
- Step 3: Continue adding roses in a circular fashion, always crossing the stems at the same point. This creates a natural ‘handle’ at the bottom.
- Step 4: Once all roses are in place (usually 10 to 12 for a standard bouquet), wrap a piece of wire tightly around the ‘choke point’—the spot where all stems cross.
| Bouquet Size | Number of Bills | Estimated Assembly Time |
|---|---|---|
| Small Accent | 15 Bills (3 Roses) | 30 Minutes |
| Standard Gift | 30 Bills (6 Roses) | 60 Minutes |
| Grand Statement | 60+ Bills (12+ Roses) | 120 Minutes |
The Finishing Touch: Masculine-Elegant Packaging
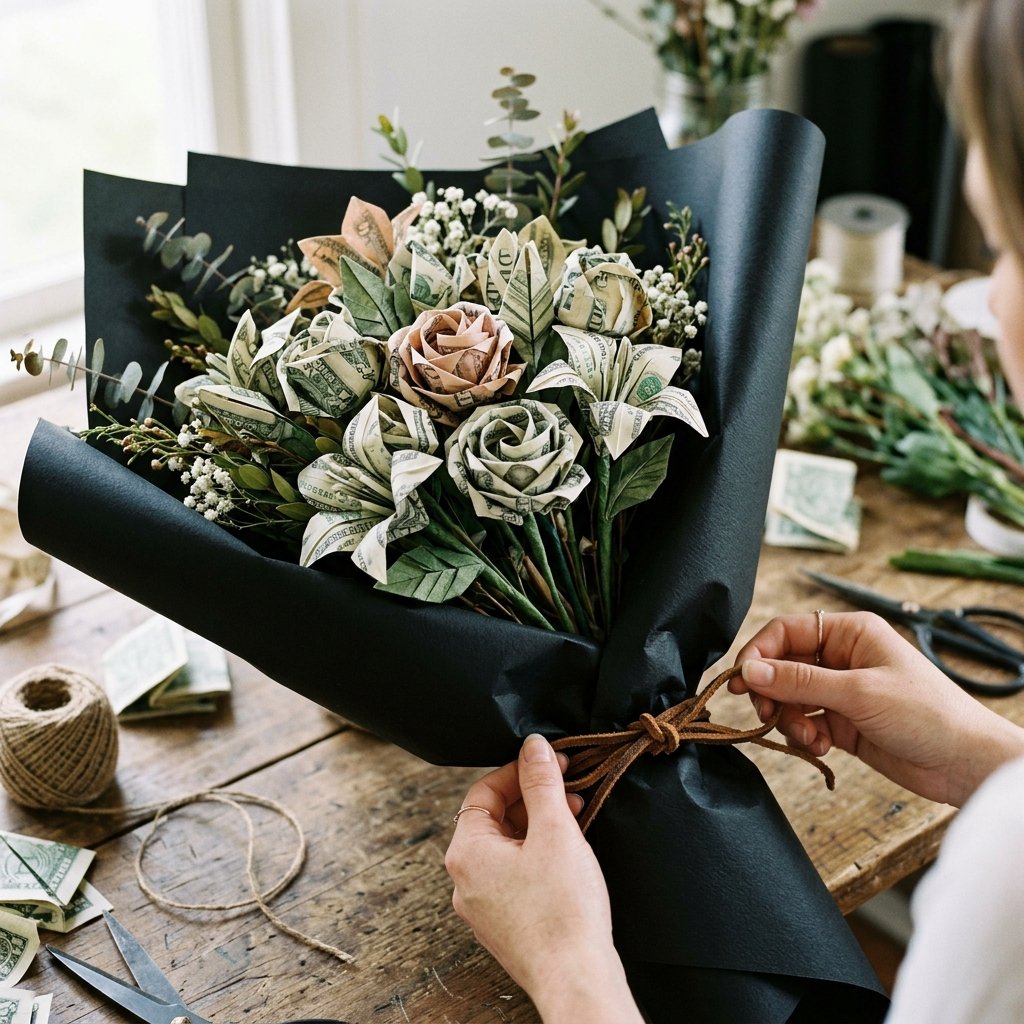
The Wrapping Protocol
Use heavy-duty Black or Charcoal Kraft Paper. Cut two large squares. Offset them so the corners create a star-like pattern. Place your bouquet in the center and fold the paper upward, securing it at the handle with Jute Twine or a Dark Leather Cord. This adds a masculine, practical touch that balances the delicate nature of the origami.
Pro-Tip: For a wedding gift, tuck a small, handwritten note into the ‘petals’ of the center rose. It adds a personal layer to the financial contribution.
Value Analysis: DIY vs. Store-Bought Gift Baskets
The Cost Breakdown
| Expense Item | Store-Bought Floral/Gift Basket | DIY Money Bouquet |
|---|---|---|
| Primary Gift Value | $30.00 (Flowers/Snacks) | $100.00 (Cash) |
| Service/Labor Fees | $25.00 | $0.00 |
| Delivery/Shipping | $15.00 | $0.00 |
| Total Cost to Giver | $70.00 | $105.00 (Supplies + Cash) |
| Value to Recipient | $30.00 (Temporary) | $100.00 (Liquid Asset) |
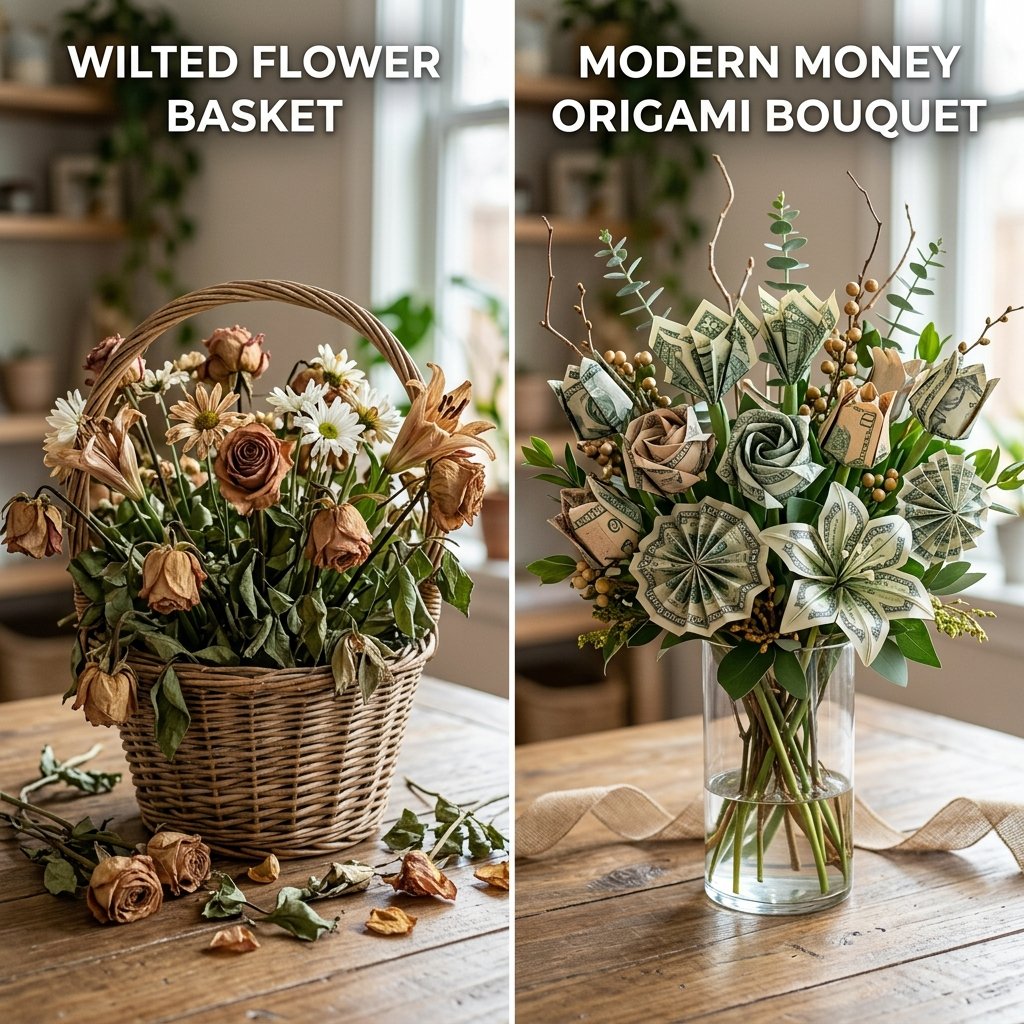
The ROI (Return on Investment) for your recipient is massive. They receive the emotional impact of a handmade gift and the financial flexibility of cash. For the giver, the 5 minutes spent on each rose is a small price to pay for a gift that will be remembered long after the wedding cake is eaten or the graduation cap is tossed.
Conclusion

Makenzie is the founder and lead writer at MoneyHackTips.com — a personal finance blog dedicated to delivering street-smart financial wisdom for real people on real budgets. With 300+ published articles covering everything from debt management to investing fundamentals, Makenzie’s mission is to make every dollar work harder. When not writing about money hacks, Makenzie is testing frugal living strategies, optimizing side hustles, and helping readers build financial freedom from scratch.