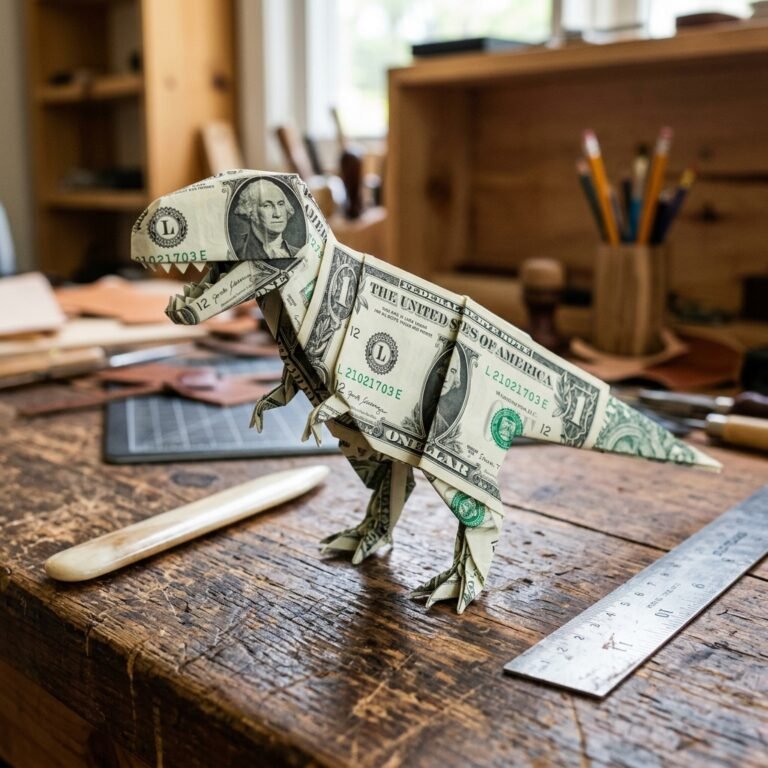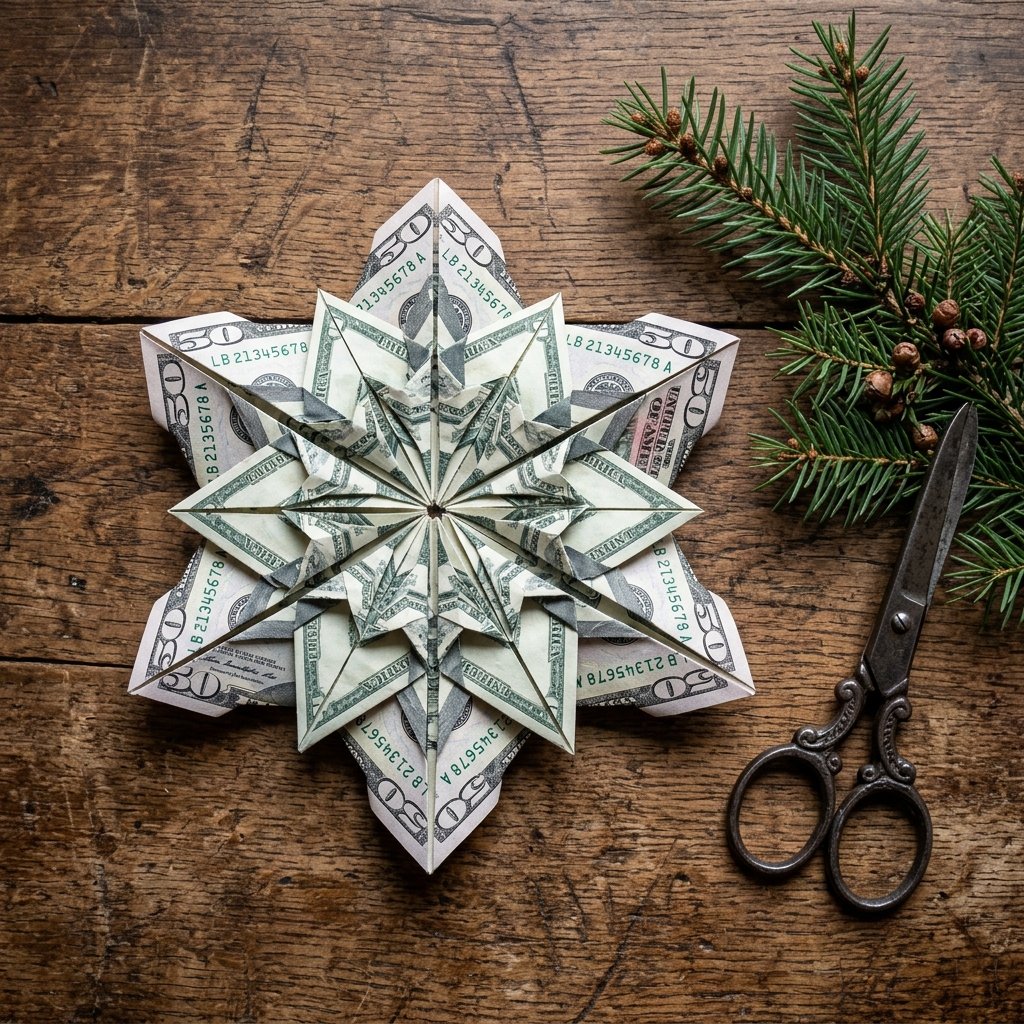

Let’s be honest: giving cash can sometimes feel like a last-minute cop-out. You want to be the resourceful friend who gives something memorable, but your schedule is packed and your budget is, well, exactly the amount of cash you’re handing over. Enter the money origami snowflake. This isn’t just a gift; it’s a clever, budget-savvy transformation that turns a standard legal tender into a handcrafted masterpiece in exactly 5 minutes. Whether you are a handy parent looking to wow your kids or a frugal DIYer wanting to elevate a wedding gift, this technique is your new secret weapon. We are moving beyond the plain white envelope and stepping into the realm of masculine-elegant paper engineering. By the end of this guide, you will have mastered the crisp folds and sharp angles required to make your currency look like it belongs in a gallery, not just a wallet.
The Strategic Advantage: Why Money Origami Wins
In the world of creative gift-giving, the presentation is 50% of the value. A $20 bill in a card is a transaction; a $20 bill folded into a geometric snowflake is an experience. This approach is resourcefully creative because it requires zero extra spending on wrapping paper or plastic bows that end up in the trash. You are using the medium itself to provide the decoration. This is rugged practicality at its finest. When you hand someone a piece of money origami, you are signaling that you invested the most valuable resource of all: your time. For the crafty expert, this is also a way to ensure the gift is remembered long after the money is spent.
The goal isn’t just to give money; it’s to give a moment of ‘How did you do that?’ that stays with the recipient.
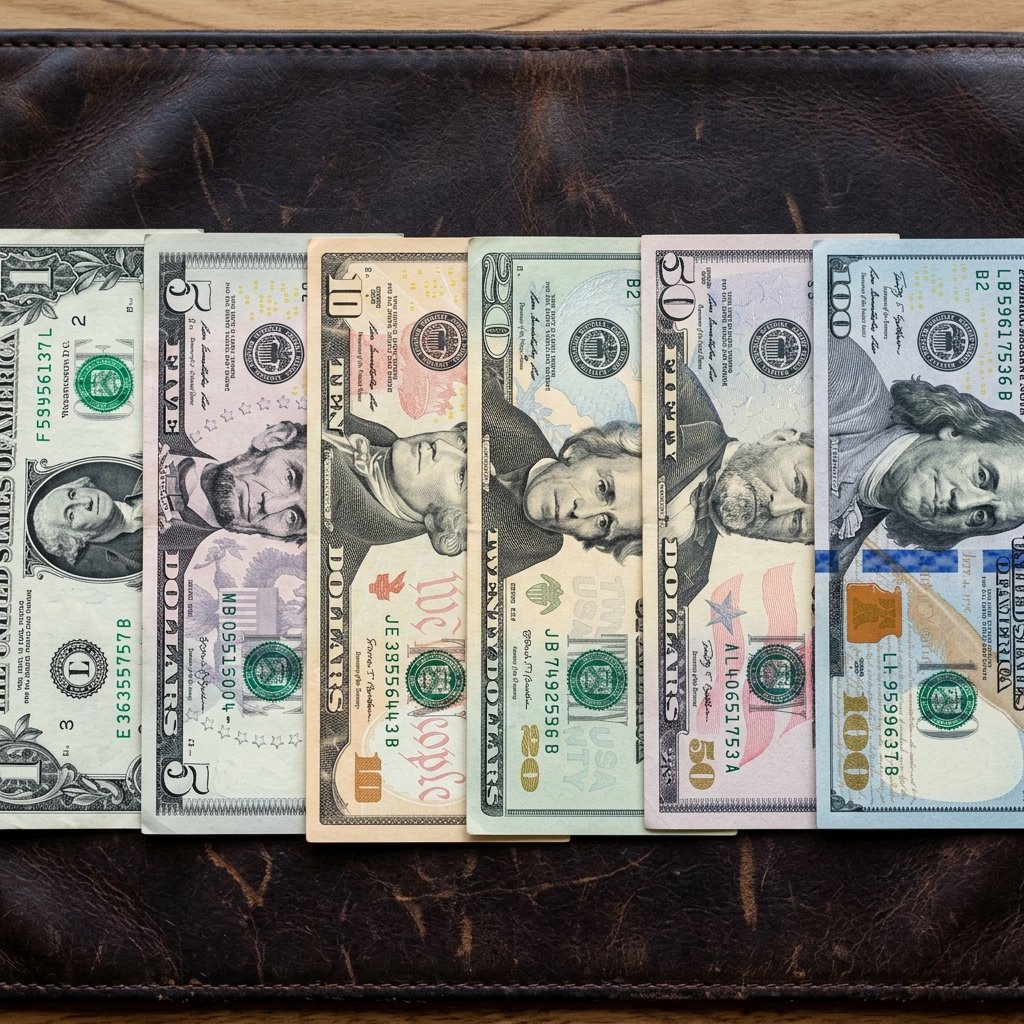
Below is a breakdown of how different denominations impact the ‘wow factor’ of your finished snowflake.
| Bill Denomination | Visual Impact | Best For… | Success Rate |
|---|---|---|---|
| $1 Bill | High Contrast | Practice & Kids | 100% |
| $5 Bill | Subtle Purple Tones | Coffee Lovers/Small Tips | 95% |
| $20 Bill | Classic Green/Gold | Birthdays & Graduations | 90% |
| $100 Bill | Elite/Sophisticated | Weddings & Big Milestones | 85% (Use a bone folder!) |
The Toolkit: Everything You Need for a Crisp Fold
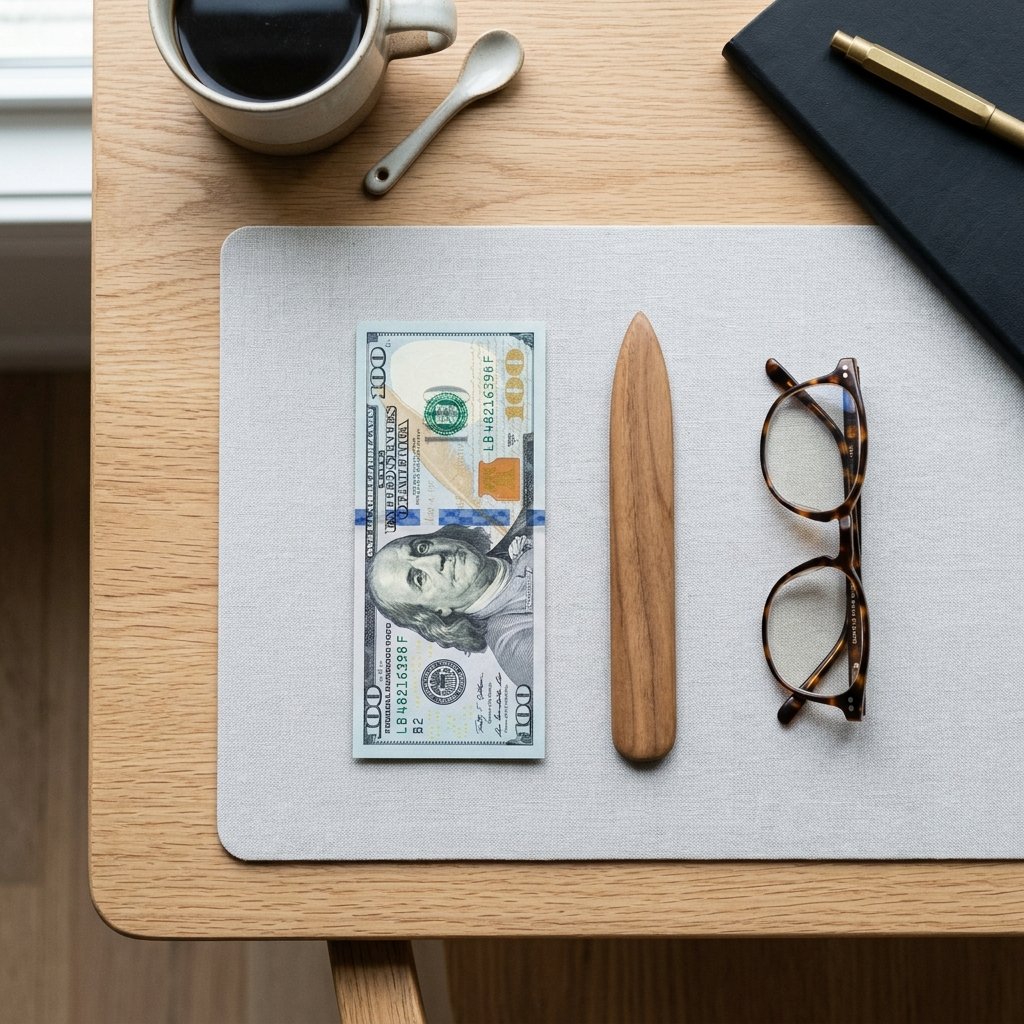
While you can technically do this with just your hands, a crafty-expert knows that the right tools make the difference between a floppy bill and a mind-blowing sculpture. To achieve those sharp, masculine-elegant lines, you want to gather a few basics. First and foremost: crispness is king. If you have a limp, wrinkled bill, you can actually iron it on low heat (no steam!) to bring back that factory-fresh rigidity. This is a pro-level hack for frugal DIYers who want their work to look expensive.
- A Crisp Bill: The newer, the better. Fresh from the bank is ideal.
- A Bone Folder or Credit Card: To score the edges for razor-sharp creases.
- A Flat Surface: Avoid the couch; use a desk or a kitchen counter.
- Patience: Only for the first 2 minutes while you learn the pattern.
Safety Note: Never use tape or glue on currency. It can devalue the bill or make it difficult for the recipient to spend. Real origami relies solely on the friction of the folds.
Step-by-Step: The 5-Minute Snowflake Blueprint
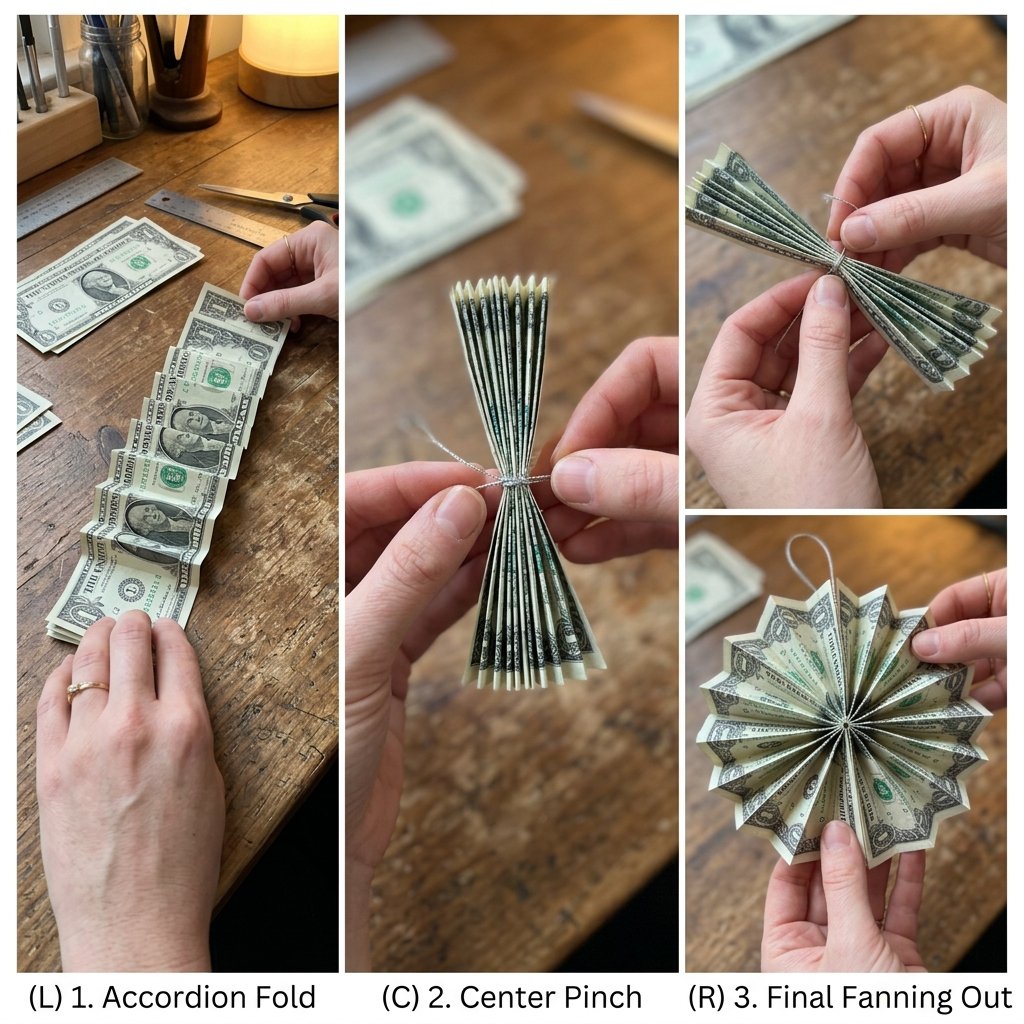
Follow these steps with precision. The beauty of the snowflake lies in its symmetry. If your first fold is off by a millimeter, the final product will show it. Stay encouraging with yourself—it’s just paper!
- The Initial Square: Since a bill is a rectangle, you must first create a ‘working square’ or use the long-edge technique. Fold the bottom right corner up to meet the top edge, creating a triangle. Crease it firmly.
- The Accordion Base: Unfold and flip the bill. Create an accordion fold (fan fold) along the length of the bill. Each segment should be roughly 1/2 inch wide. You should end up with a long, thin pleated strip.
- The Center Pinch: Find the exact midpoint of your pleated strip. Fold it in half so the two ends meet. Secure the center with a tight pinch. This is the ‘heart’ of your snowflake.
- The Wing Expansion: Gently pull the outer edges of the pleats outward while holding the center. It will begin to fan out like a circular accordion.
- The Locking Fold: Take the two meeting ends and tuck one pleat into the other. This ‘locks’ the circle. If you are using multiple bills for a mega-snowflake, you would join them here.
- The Petal Crimp: To create the ‘snowflake’ points, take the outer edge of each pleat and give it a small 40-degree reverse fold inward. This creates the jagged, icy look of a real snowflake.
Total time elapsed: 5 minutes. You now have a 3D geometric shape that looks like it cost a fortune in labor.
The ‘High-End’ Presentation: Rugged Meets Elegant

Now that you have your mind-blowing snowflake, don’t just toss it in a card. As a handy parent or budget-savvy gift-giver, you can upcycle household items to create a ’boutique’ feel. A masculine-elegant presentation makes the gift feel substantial.
Creative Display Ideas:
- The Floating Frame: Place the snowflake inside a $1.25 Dollar Tree floating frame. The transparency makes the origami look like a specimen in a museum.
- The Ornament Hook: Thread a small piece of fishing line through the center and hang it inside a clear glass ornament. This is a thoughtful DIY gift that the recipient can actually hang on their tree.
- The Shadow Box: For larger amounts (using multiple bills), arrange three snowflakes of different sizes in a small shadow box with a dark velvet background.
| Presentation Method | Estimated Cost | Time to Assemble | Vibe |
|---|---|---|---|
| Plain Envelope | $0.05 | 10 seconds | Standard/Boring |
| Clear Ornament | $1.00 | 2 minutes | Festive/Crafty |
| Floating Frame | $1.25 | 1 minute | Modern/Sleek |
| Velvet Box | $3.00 | 5 minutes | Luxury/High-End |
Mastering the Craft: Pro Tips for Frugal Crafters
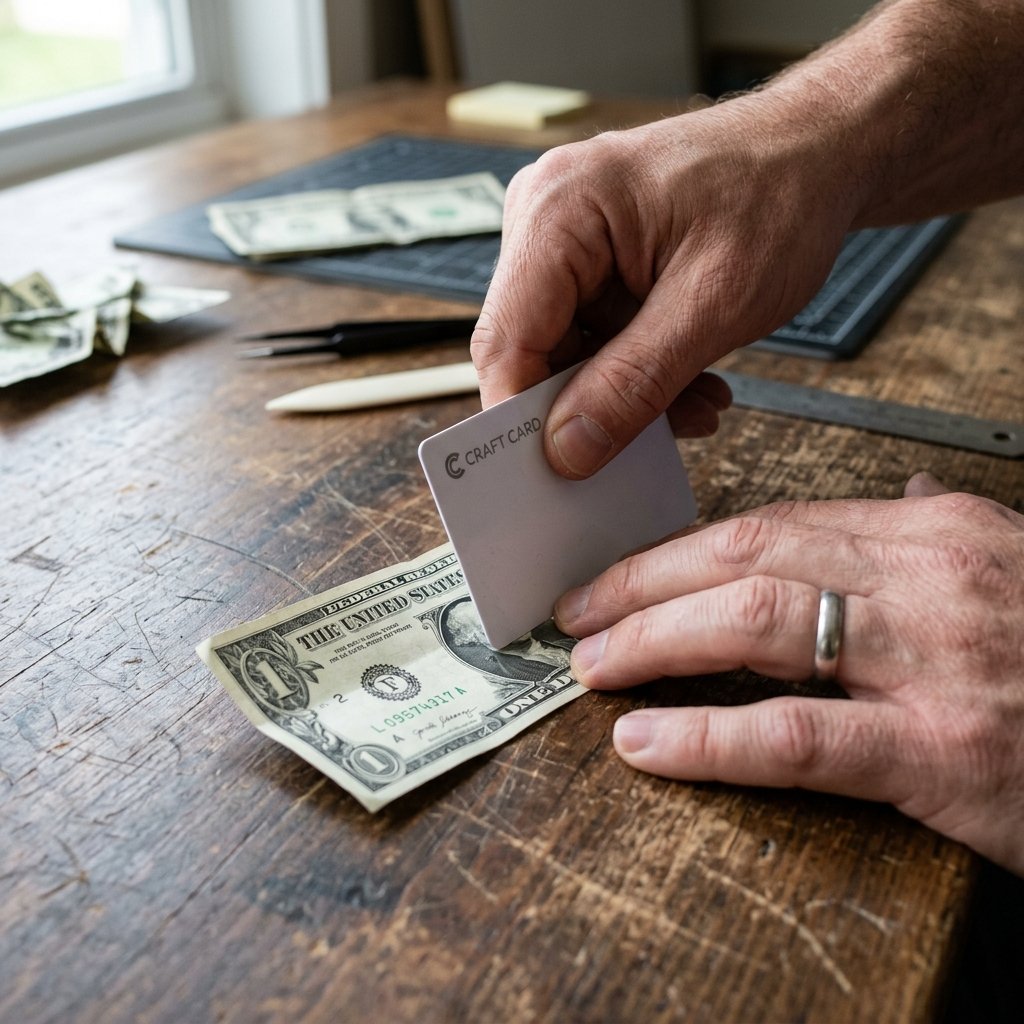
To truly reach the level of crafty expert, you need to understand the physics of the paper. US currency is a blend of 75% cotton and 25% linen. This means it behaves more like fabric than wood-pulp paper. It has a ‘grain.’ If you find the bill is resisting a fold, try massaging the fibers with your thumb before committing to the crease. This is a resourceful way to handle older, more stubborn bills. Also, remember that symmetry is your best friend. If you are making a set of these for a wedding, ensure every fold is identical for a sophisticated, uniform look.
Mantra: ‘Fold once, crease twice, impress forever.’
If you mess up, don’t worry! Unlike regular paper, the high cloth content of a bill makes it very forgiving. You can unfold it, flatten it out, and start over without the paper tearing easily. This makes it the perfect project for handy parents to teach to their kids—it’s a rugged material that can handle a few mistakes.
Conclusion
Transforming a simple bill into a mind-blowing money origami snowflake is the ultimate cash gift hack. It proves that being frugal doesn’t mean being cheap; it means being resourceful and creative. In just 5 minutes, you’ve taken a standard item and turned it into a thoughtful, handcrafted gesture that balances rugged practicality with masculine elegance. Whether you’re gifting for a holiday, a graduation, or a ‘just because’ moment, this snowflake will stand out in a sea of boring envelopes. So, grab a crisp bill, find a flat surface, and start folding. Your reputation as the ultimate gift-giver starts with the very first crease!

Makenzie is the founder and lead writer at MoneyHackTips.com — a personal finance blog dedicated to delivering street-smart financial wisdom for real people on real budgets. With 300+ published articles covering everything from debt management to investing fundamentals, Makenzie’s mission is to make every dollar work harder. When not writing about money hacks, Makenzie is testing frugal living strategies, optimizing side hustles, and helping readers build financial freedom from scratch.