
The Ultimate ‘Smart’ Gift for the Savvy Graduate
Let’s be honest: every graduate wants cash. Whether they are heading off to a dorm room, a first apartment, or a cross-country backpacking trip, liquid capital is the most practical tool you can give them. But as frugal DIYers and resourceful crafters, we know that sliding a twenty-dollar bill into a generic grocery store card feels a bit… uninspired. You want to give a gift that reflects the hard work they’ve put in—a gift that says, ‘I put time, effort, and a little bit of cleverness into this for you.’
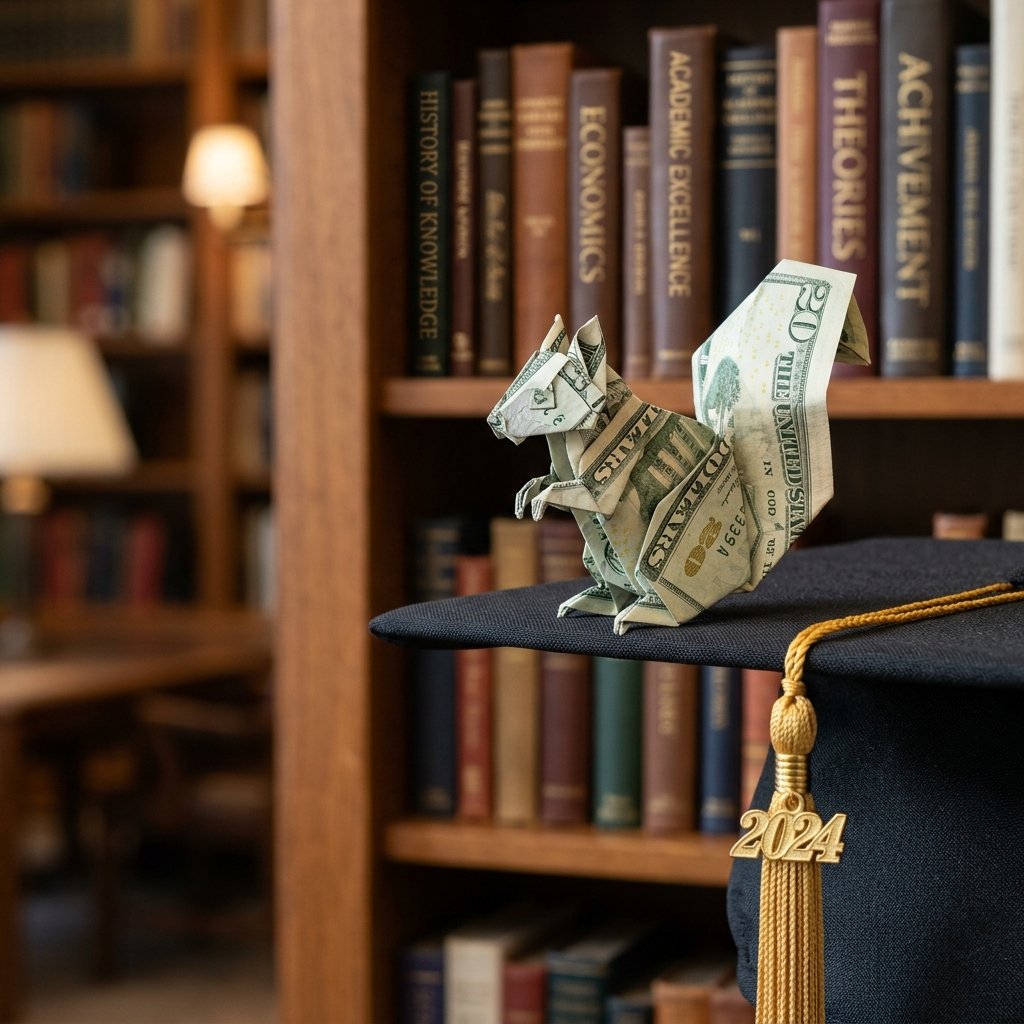
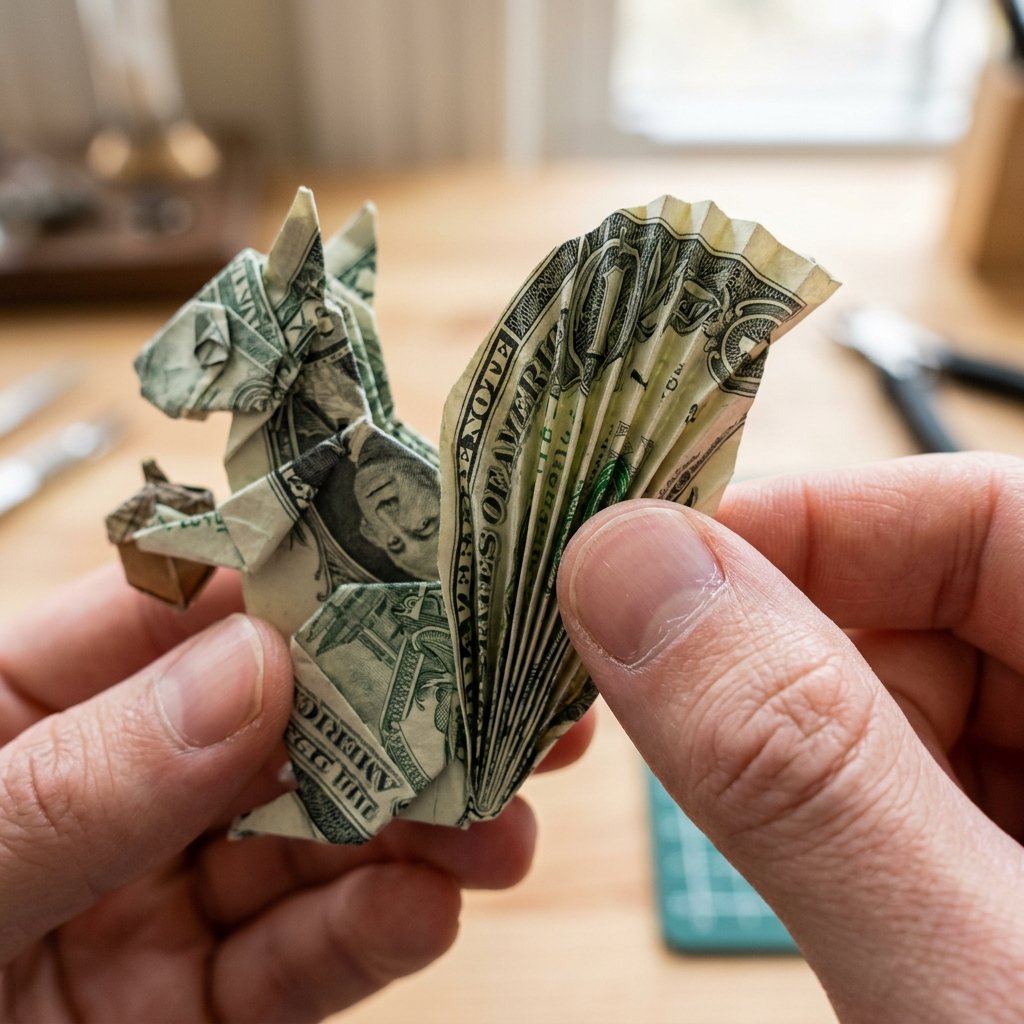
Enter the Money Origami Squirrel. Why a squirrel? Because squirrels are the ultimate symbols of preparation, resourcefulness, and ‘stashing away’ for the future. Just as a graduate has spent years gathering knowledge, they are now ready to head into the world and gather their own ‘nuts’ for success. This project is rugged, practical, and masculine-elegant, making it the perfect choice for any graduate. Best of all, it costs you $0 extra in materials—just the value of the bill itself and a few minutes of focused craftsmanship. Get ready to turn a flat piece of currency into a 3D masterpiece that will be the talk of the graduation party.
The Gear List: Preparing Your Currency for Construction
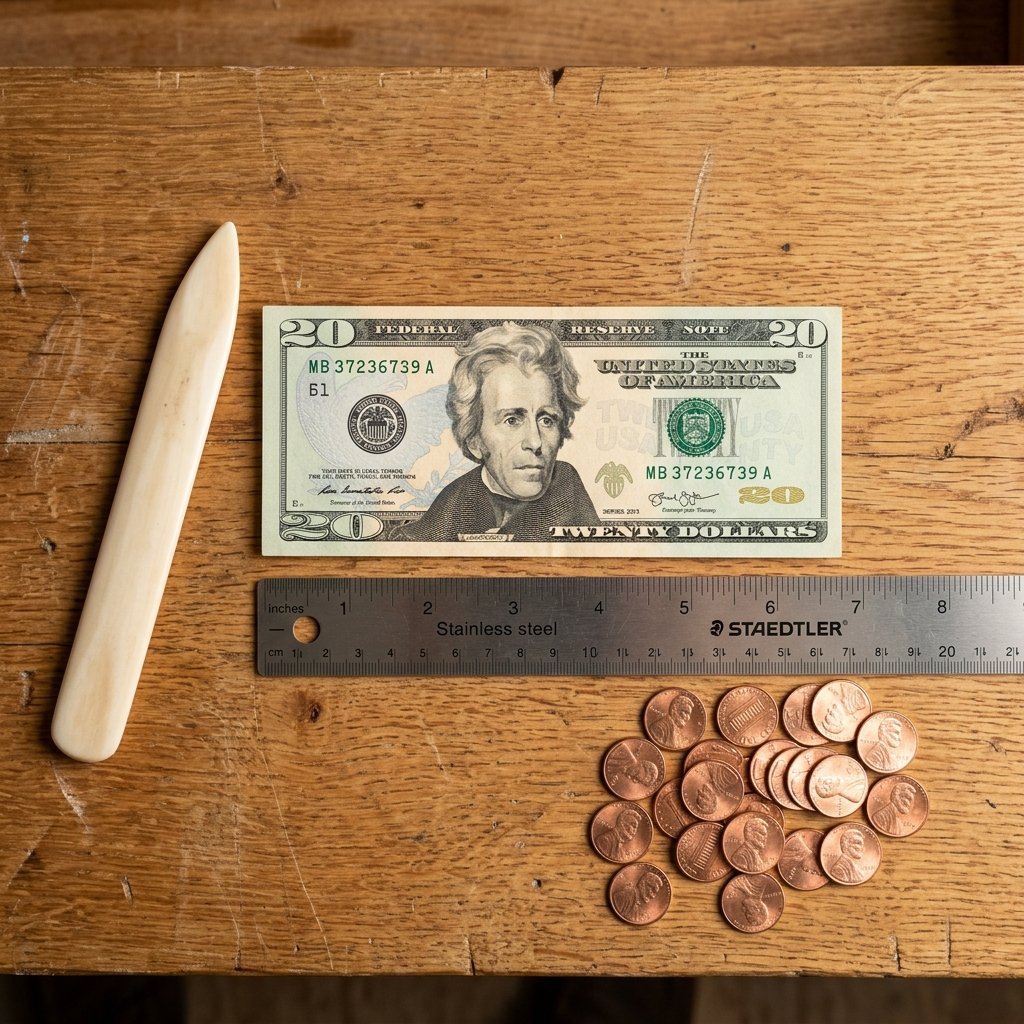
Before we dive into the folds, we need to talk about the ‘lumber’ of this project: the bill. You can’t build a high-end furniture piece with warped wood, and you can’t fold a crisp origami squirrel with a limp, wrinkled dollar bill. To achieve that professional, high-end look, you need to start with the right materials.
Essential Supplies
- A Crisp, New Bill: Go to the bank and specifically ask the teller for ‘uncirculated’ or ‘crisp’ bills. If the bill has been folded or crinkled, the squirrel will look messy and won’t stand up on its own.
- A Bone Folder (or a Credit Card): To get those sharp, military-precise creases, you need a hard edge. A bone folder is the pro’s choice, but a clean credit card or a ruler works just as well for the budget-savvy maker.
- A Clean, Hard Surface: Avoid folding on a tablecloth or carpet. A wooden desk or a glass table provides the resistance needed for clean lines.
- Optional: A ‘Nut’ Accessory: A penny, a small acorn, or even a rolled-up $1 bill can serve as the ‘nut’ your squirrel is holding.
Pro-Tip: If you absolutely cannot get a new bill from the bank, you can lightly mist an old bill with water and iron it on low heat (no steam!) between two pieces of parchment paper. This ‘starches’ the fibers and gives it a second life.
The Denomination Matrix: Choosing Your Bill Wisely
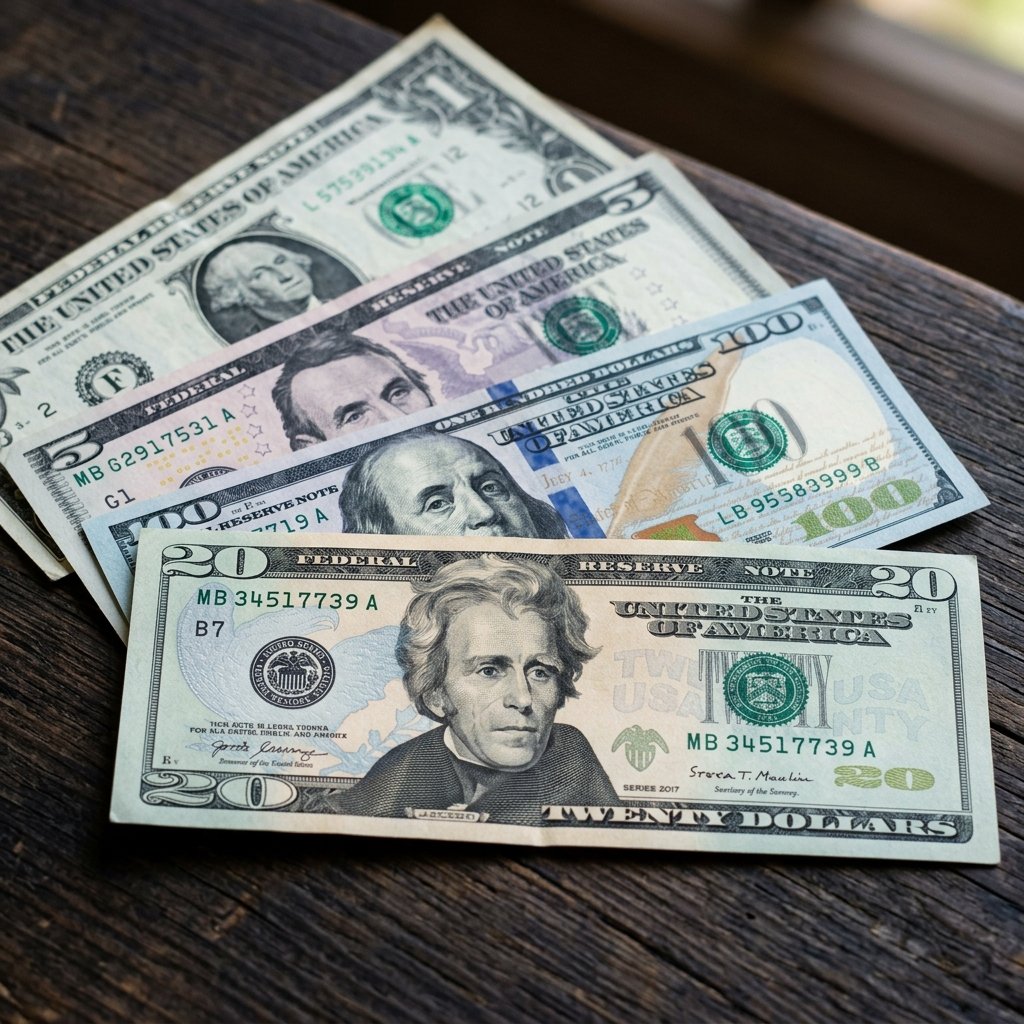
Not all bills are created equal when it comes to visual impact. Depending on your budget and the ‘wow factor’ you want to achieve, your choice of denomination matters. Because US currency is all the same size (6.14 x 2.61 inches), the folding mechanics don’t change, but the color and prestige do.
| Bill Denomination | Visual Impact | Best For… | The ‘Vibe’ |
|---|---|---|---|
| $1 Bill | Moderate | Practice or ‘Nut’ accessory | The Classic Greenery |
| $5 Bill | High | High-school graduations | The Lincoln Pink/Purple hue |
| $20 Bill | Very High | College graduations | The Jackson Green & Gold |
| $50/100 Bill | Legendary | Milestone achievements | The ‘Big League’ Gift |
For this tutorial, we recommend the $20 bill. It has a beautiful green-and-peach color palette that highlights the squirrel’s tail and body contours perfectly, and it’s a substantial gift that any graduate will appreciate.
The Master Blueprint: Step-by-Step Squirrel Folding
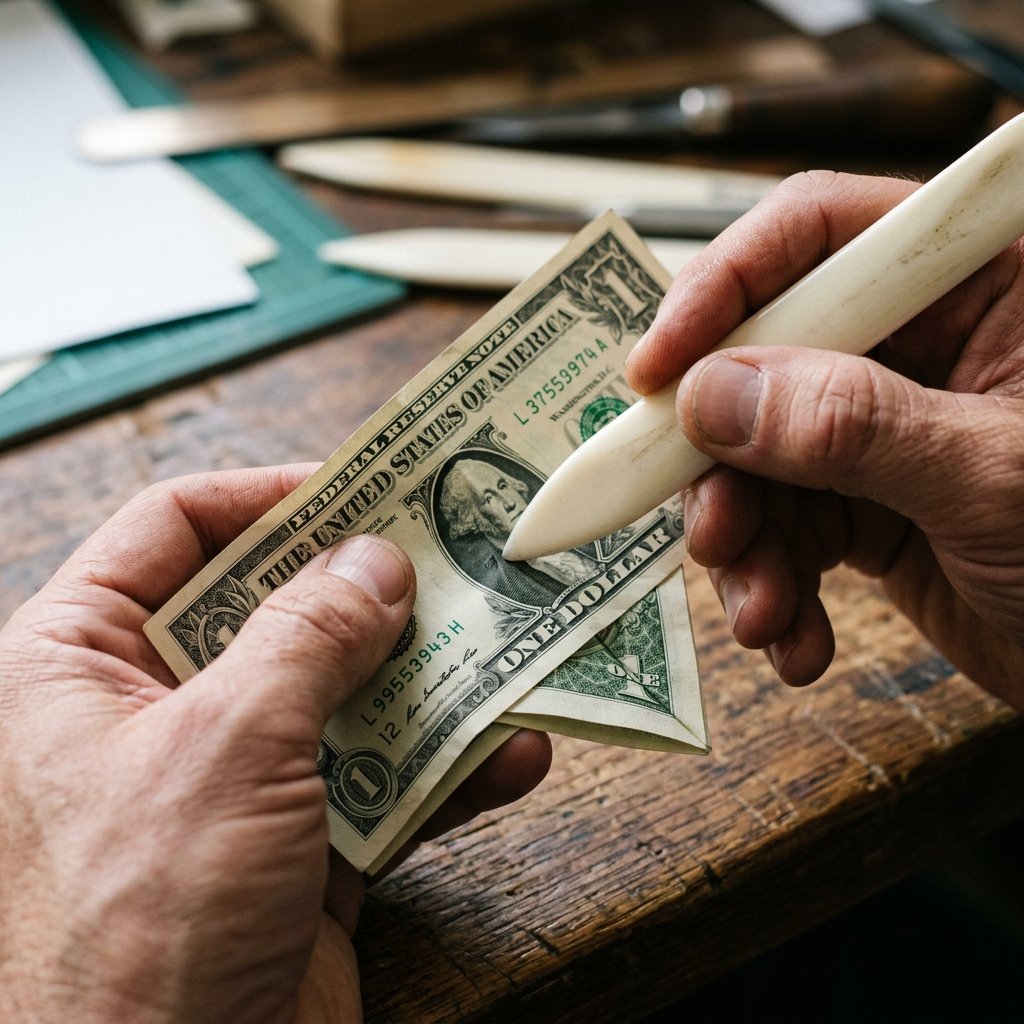
This is a high-precision project. Take your time. Each crease is a foundation for the next. Follow these steps carefully to ensure your squirrel looks like a piece of art, not a crumpled wad of cash.
- The Initial Vertical Fold: Lay the bill flat, face up. Fold the bill in half lengthwise (hot dog style). Crease it hard with your bone folder and then unfold it. This creates your center axis.
- Creating the ‘Body’ Quadrants: Fold the top and bottom edges inward to meet at the center crease you just made. You should now have a long, skinny rectangle.
- The Tail Prep: On the right side of the bill, fold the corners inward to the center line to create a pointed ‘V’ shape. Unfold them. These are your guide marks.
- The Tail Squash Fold: This is the trickiest part. Open the bill slightly and push the right end inward along the guide marks you just made. This will create a ‘sink’ or ‘squash’ fold that will eventually become the large, bushy tail.
- Forming the Legs: On the left side (the head side), fold the bill at a 45-degree angle toward the bottom. Repeat on the other side. This creates the ‘haunches’ of the squirrel.
- The Head and Ears: Fold the very tip of the left side downward to create a snout. Use a small reverse-fold to pop up two tiny points for the ears.
- The Tail Accordion: To give the tail that iconic ‘bushy’ look, create small accordion folds (zigzagging back and forth) on the right-side section you prepared earlier.
- The Final Stand: Gently pull the legs outward so the squirrel can balance. If done correctly, the squirrel will sit upright on its haunches with its tail arched over its back.
Folding Mantra: ‘Measure twice, crease once.’ If your folds aren’t symmetrical, your squirrel will lean to one side. Keep it balanced!
Building the Habitat: Creative Ways to Present Your Squirrel
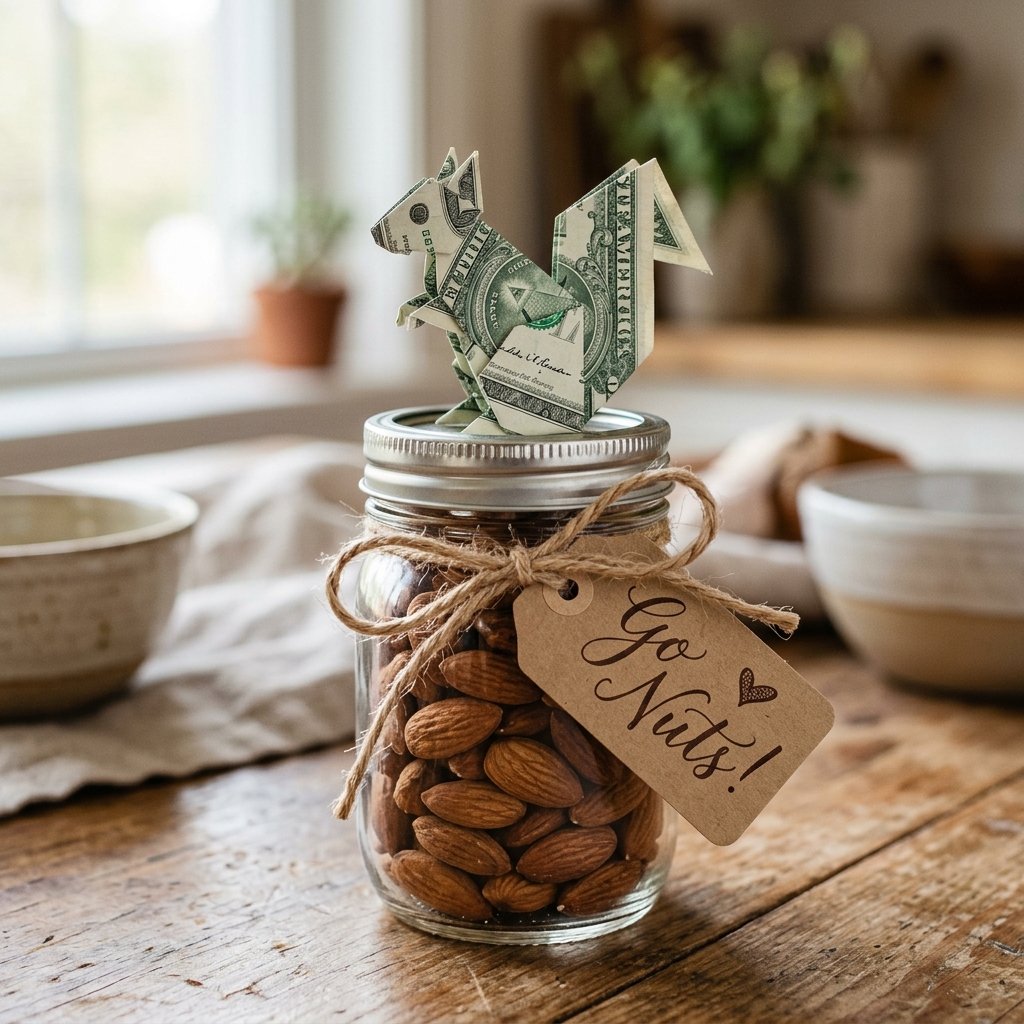
Now that you have a masterpiece, don’t just hand it over. A clever gift-giver knows that the presentation is the final 10% that makes the gift 100% better. Since our squirrel is a ‘gatherer,’ let’s lean into that theme.
Presentation Ideas for the Frugal Stylist
- The Shadow Box: Purchase a small, deep-set frame (check the Dollar Tree or thrift stores!). Place the squirrel inside on a bed of real acorns or moss. This turns the gift into a piece of temporary home decor.
- The ‘Graduation Nut’ Jar: Fill a small mason jar with ‘Nuts’ (honey-roasted peanuts or almonds). Nestled on top of the nuts, place the money squirrel. Attach a tag that says: ‘You’ve gathered the knowledge, now go get the nuts!’
- The Cardboard Forest: For the handy parents, cut a small ‘tree’ out of a cardboard shipping box. Use a craft knife to create a small notch for the squirrel to sit on a branch. It’s rugged, recycled, and looks incredibly cool.
By adding these elements, you increase the perceived value of the gift without spending more than a few dollars. It shows the graduate that you didn’t just stop at the bank—you crafted an experience.
Troubleshooting & The Professional’s Touch
Even the best crafters run into ‘paper fatigue.’ If your squirrel isn’t looking quite right, don’t panic. Here is how to fix common issues and add that masculine-elegant finish.
Common Fixes
- The Squirrel Won’t Stand: This usually means the base folds aren’t wide enough. Gently widen the ‘haunches’ at the bottom. If it’s top-heavy, check the tail—you may need to compress the accordion folds more tightly.
- The Paper is Tearing: US currency is actually a cotton-linen blend, so it’s tough, but it can fray if you use a sharp metal tool too aggressively. Use a gentle touch with your bone folder.
- The Tail Looks Flat: The secret is the ‘fluff.’ After accordion folding the tail, use your fingernail to gently spread the folds out like a fan. This adds volume and realism.
For a final touch, you can use a tiny, removable piece of clear glue dot to help the squirrel hold a ‘nut’ (like a penny). This ensures the squirrel keeps its pose even if the graduate moves it around to show off to their friends.
Conclusion
A Gift That Leaves a Lasting Impression
You’ve done it! You’ve taken a simple piece of paper currency and transformed it into a thoughtful, clever, and budget-savvy symbol of success. The Money Origami Squirrel isn’t just a gift; it’s a conversation starter and a testament to your resourcefulness as a DIYer. While the graduate will eventually spend the money (as they should!), the memory of the effort you put into the presentation will stick with them long after the ‘nuts’ have been gathered.
Remember, being frugal doesn’t mean being cheap—it means being innovative with what you have. Whether you’re a handy parent, a crafty friend, or a budget-conscious gift-giver, this project proves that a little bit of folding can go a long way. Congratulations to your graduate, and happy folding!

Makenzie is the founder and lead writer at MoneyHackTips.com — a personal finance blog dedicated to delivering street-smart financial wisdom for real people on real budgets. With 300+ published articles covering everything from debt management to investing fundamentals, Makenzie’s mission is to make every dollar work harder. When not writing about money hacks, Makenzie is testing frugal living strategies, optimizing side hustles, and helping readers build financial freedom from scratch.