
The Secret to Designer Style on a Dime
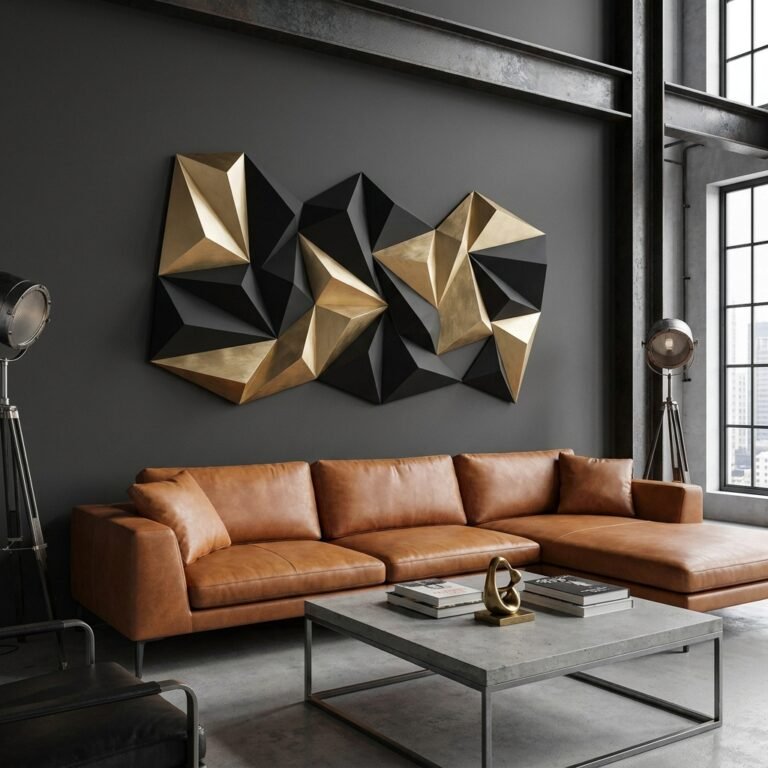
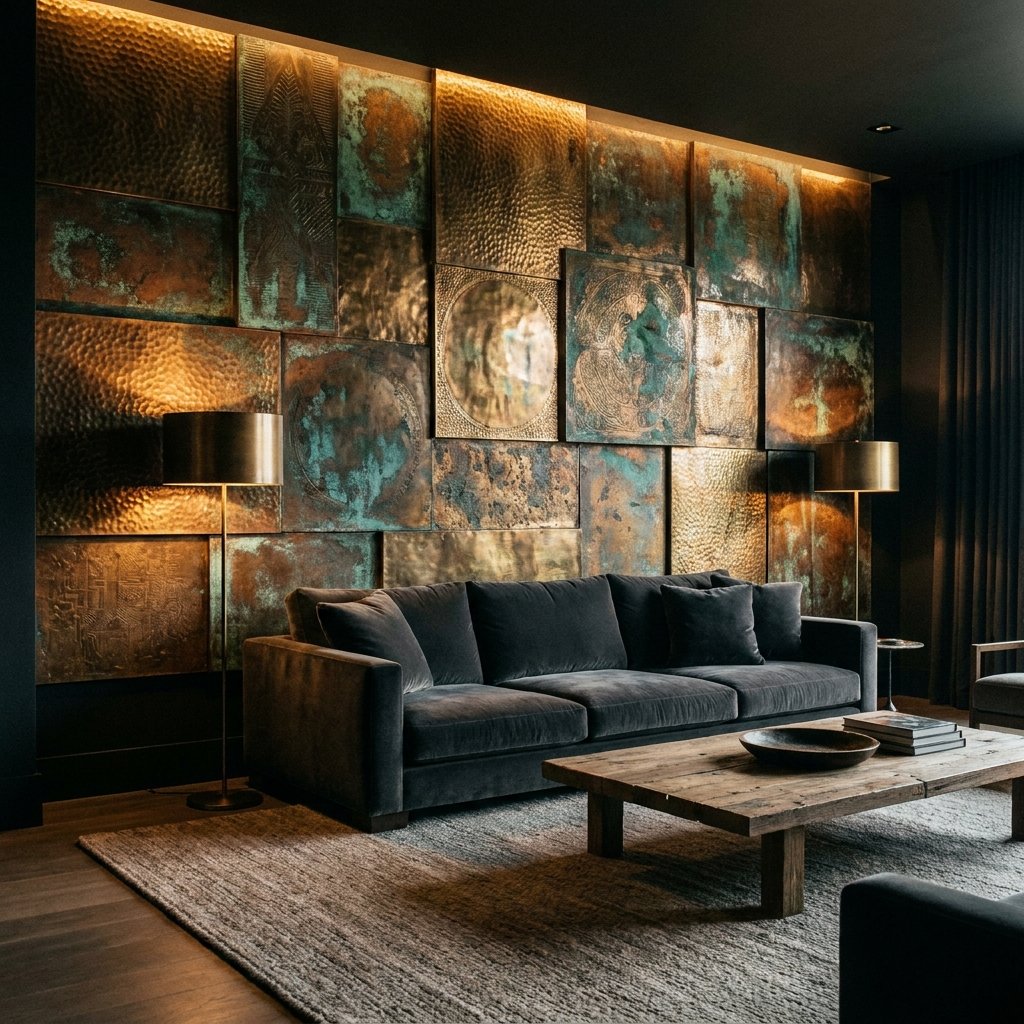
We’ve all been there—scrolling through high-end home decor catalogs like West Elm or Restoration Hardware, only to find that the stunning metallic wall installation you’ve fallen in love with costs more than your monthly car payment. But what if I told you that the secret to achieving that rugged, masculine-elegant aesthetic isn’t a high-limit credit card, but a quick trip to the local Dollar Tree? It’s true. With a bit of resourceful creativity and a few cans of the right paint, you can turn basic plastic charger plates into a sculptural masterpiece that looks like it was forged in a high-end metal shop.
This isn’t just about saving money; it’s about the crafty-expert thrill of the hunt and the satisfaction of upcycling. Whether you are a frugal DIYer looking to spruce up a bachelor pad or a handy parent wanting to add a touch of sophistication to the dining room, this hack is pure genius. We are going to take those $1.25 plastic blanks and give them a heavy, metallic soul that commands attention on any wall. Let’s dive into how we can achieve this high-end brass look without the high-end price tag.
The Essential Supply List & Cost Comparison
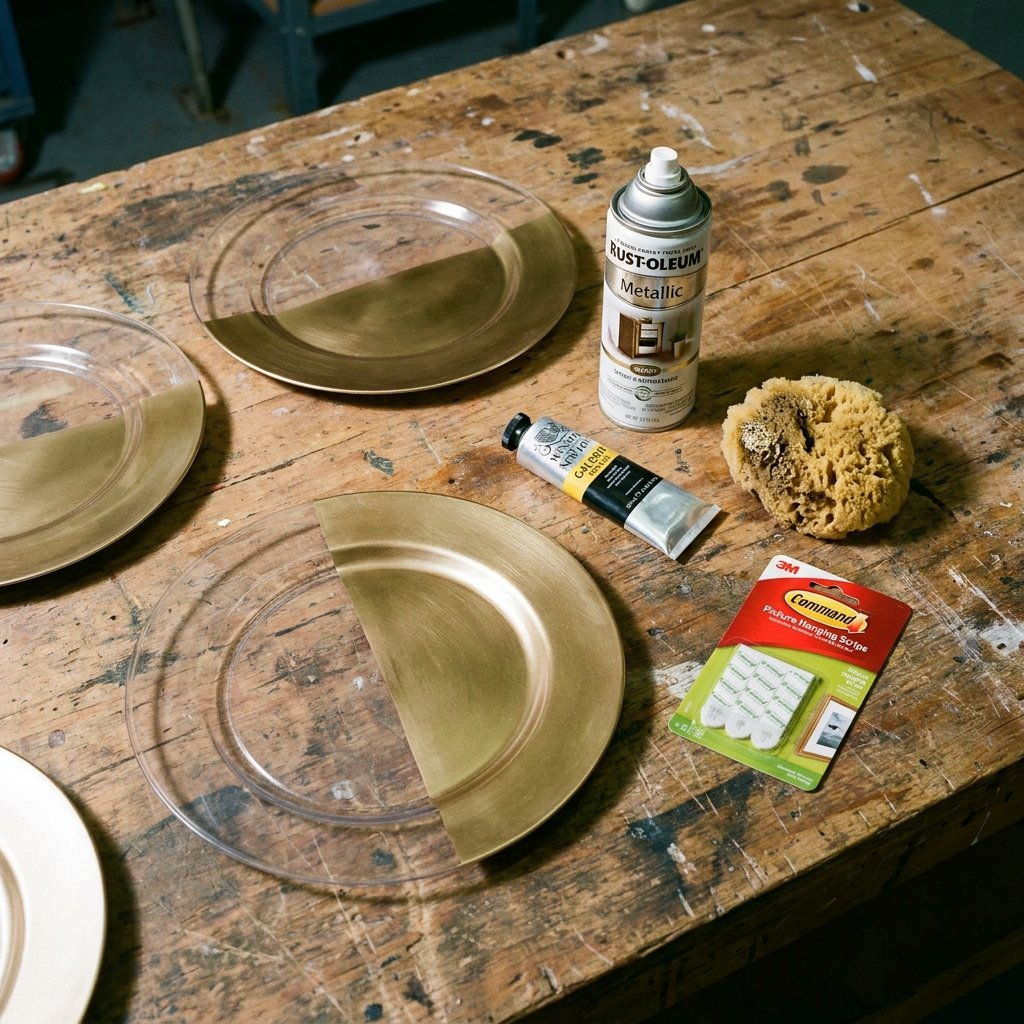
To pull off this clever and budget-savvy transformation, you need to start with the right foundation. The beauty of this project lies in its simplicity. You don’t need a workshop full of power tools—just a few key ingredients and a vision. Below is the breakdown of what you’ll need to gather before you start your transformation.
| Material | Source | Estimated Cost |
|---|---|---|
| Plastic Charger Plates (6-9) | Dollar Tree | $7.50 – $11.25 |
| Metallic Brass/Gold Spray Paint | Hardware Store | $6.00 |
| Black Acrylic Paint or Dark Wax | Craft Store/Pantry | $2.00 |
| Command Strips or Mounting Tape | Discount Store | $5.00 |
| Fine Grit Sandpaper | Existing Kit | $0.00 |
| Total Project Cost | – | ~$20.50 – $25.00 |
Why This Beats Retail
When you compare this to the alternatives found in luxury boutiques, the savings are staggering. A similar metal wall installation at a high-end retailer can easily run between $250 and $600. By doing it yourself, you are saving over 90% while maintaining total control over the finish and the layout.
“Frugality is not about spending less; it’s about making what you spend go further through the power of your own hands and imagination.”
Mastering the ‘Antique Brass’ Finish: Techniques for Realism
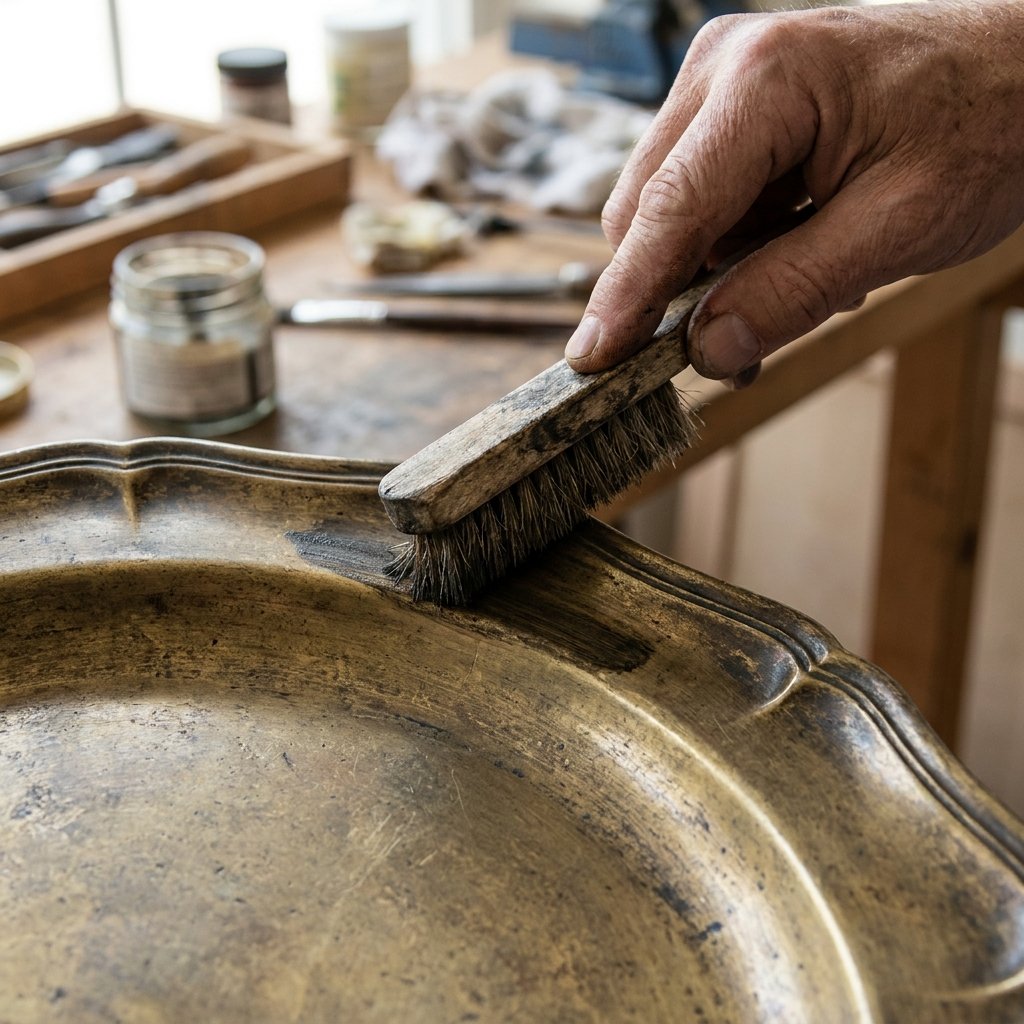
The biggest mistake most DIYers make is simply spray painting the plates and calling it a day. If you want that masculine-elegant brass look, you need depth. Real brass has a weight to it, a history, and a slight patina that catches the light in different ways. To achieve this, we use a two-step layering process.
- Step 1: The Base Coat. Use a high-quality metallic spray paint in a ‘Burnished Brass’ or ‘Antique Gold’ finish. Avoid ‘Bright Gold’ as it tends to look cheap and plastic-like.
- Step 2: The Aging Process. This is where the pure genius happens. By using a ‘dry brush’ technique with a tiny amount of black or dark brown acrylic paint, you can simulate the natural oxidation found in expensive metalwork.
- Step 3: The Texture. Before painting, lightly sand the plastic. This removes the ‘factory shine’ and gives the paint something to bite into, ensuring your finish doesn’t flake off in a month.
By layering these elements, the light will hit the high points of the plate’s rim while the dark wax sits in the crevices, creating a sophisticated, high-contrast look that fools even the most discerning eye.
The Step-by-Step Construction Guide
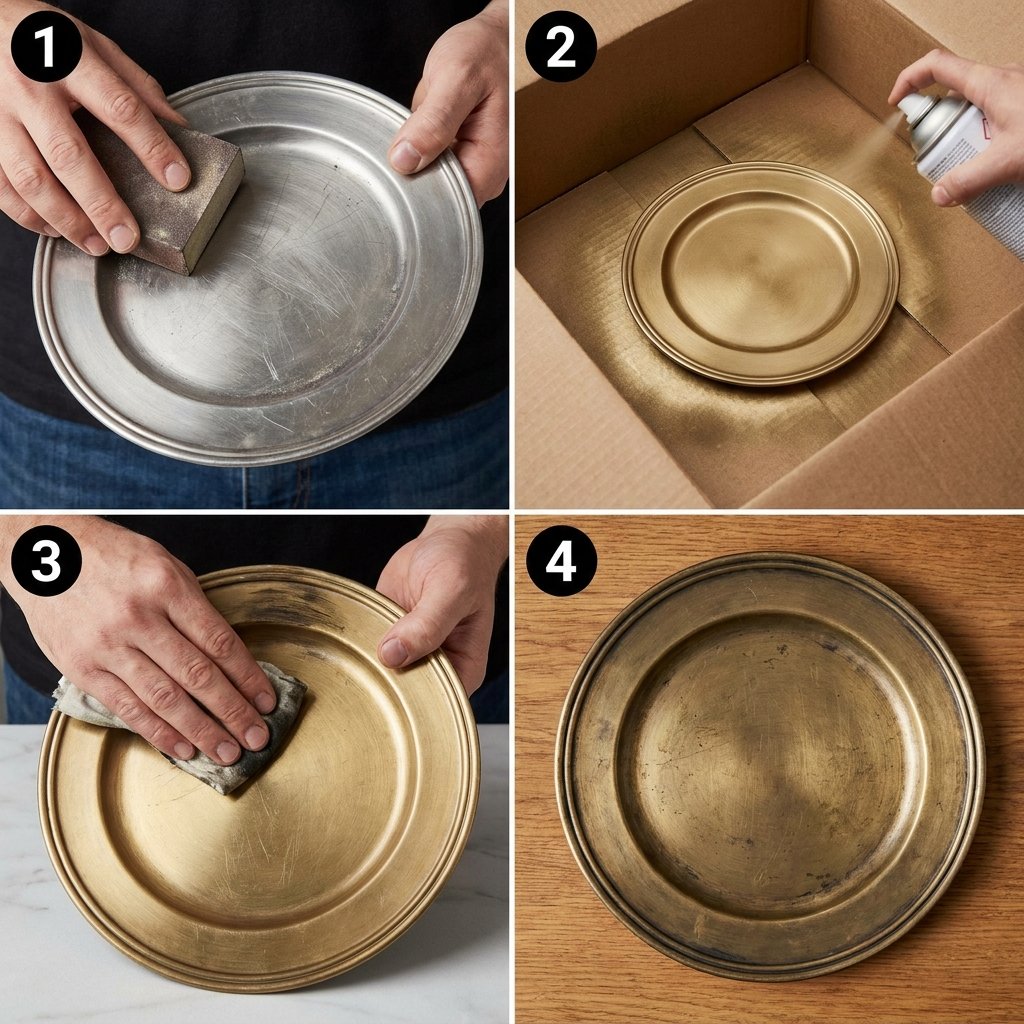
Ready to get your hands dirty? Follow these steps to ensure a rugged and durable finish that will last for years. This process is designed to be efficient, taking about 2 hours of active work plus drying time.
- Preparation: Wash each charger plate with dish soap to remove any oils or dust. Once dry, lightly scuff the surface with 220-grit sandpaper.
- Priming: (Optional but recommended) Apply a light coat of plastic-adhesion primer. This ensures your ‘brass’ stays put.
- The First Metallic Pass: Shake your spray paint for at least 2 minutes. Apply 2-3 thin, even coats, allowing 15 minutes between each. Pro-Tip: Don’t forget the edges!
- Adding the Patina: Once the base is dry (about 1 hour), take a damp sponge or a rag and dab a small amount of black paint onto the plate. Immediately wipe most of it off, leaving only a hint of darkness in the recessed patterns of the charger.
- Sealing the Deal: If you want a more matte, ‘industrial’ look, finish with a quick spray of matte clear coat. This protects the finish from fingerprints.
Safety First: Always perform spray painting in a well-ventilated area, preferably outdoors, and wear a mask to avoid inhaling fumes.
Advanced Layout Strategies: Grid vs. Cluster
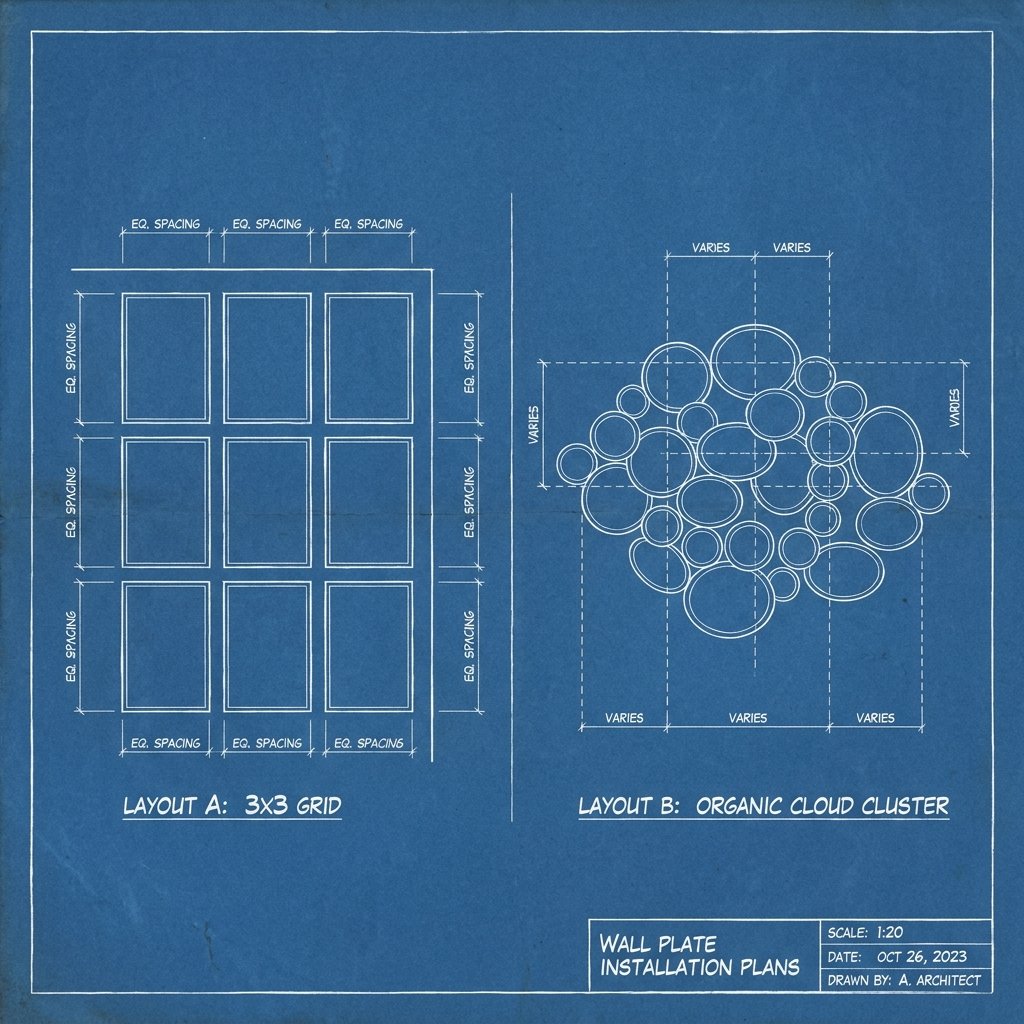
Now that your plates look like high-end brass, the way you hang them will define the room’s vibe. You are the architect of this wall, and there are two main ways to approach the installation.
The Modern Grid
For a clean, masculine-elegant look, use a level and a ruler to hang the plates in a perfect 3×3 or 2×4 grid. This creates a sense of order and mimics high-end architectural panels. Space them exactly 2 inches apart for a professional finish.
The Organic Cluster
If you want something more crafty and artistic, go for an organic cluster. Start with a central plate at eye level and radiate outward, overlapping some plates slightly (you can use small wooden blocks behind them to create depth). This looks incredible in dining rooms or over a console table.
| Layout Style | Best For | Vibe |
|---|---|---|
| Symmetrical Grid | Home Offices / Entryways | Formal, Professional |
| Organic Cluster | Living Rooms / Bedrooms | Eclectic, Artistic |
| Linear Row | Hallways / Above Beds | Modern, Minimalist |
Rugged Elegance: Styling and Maintenance
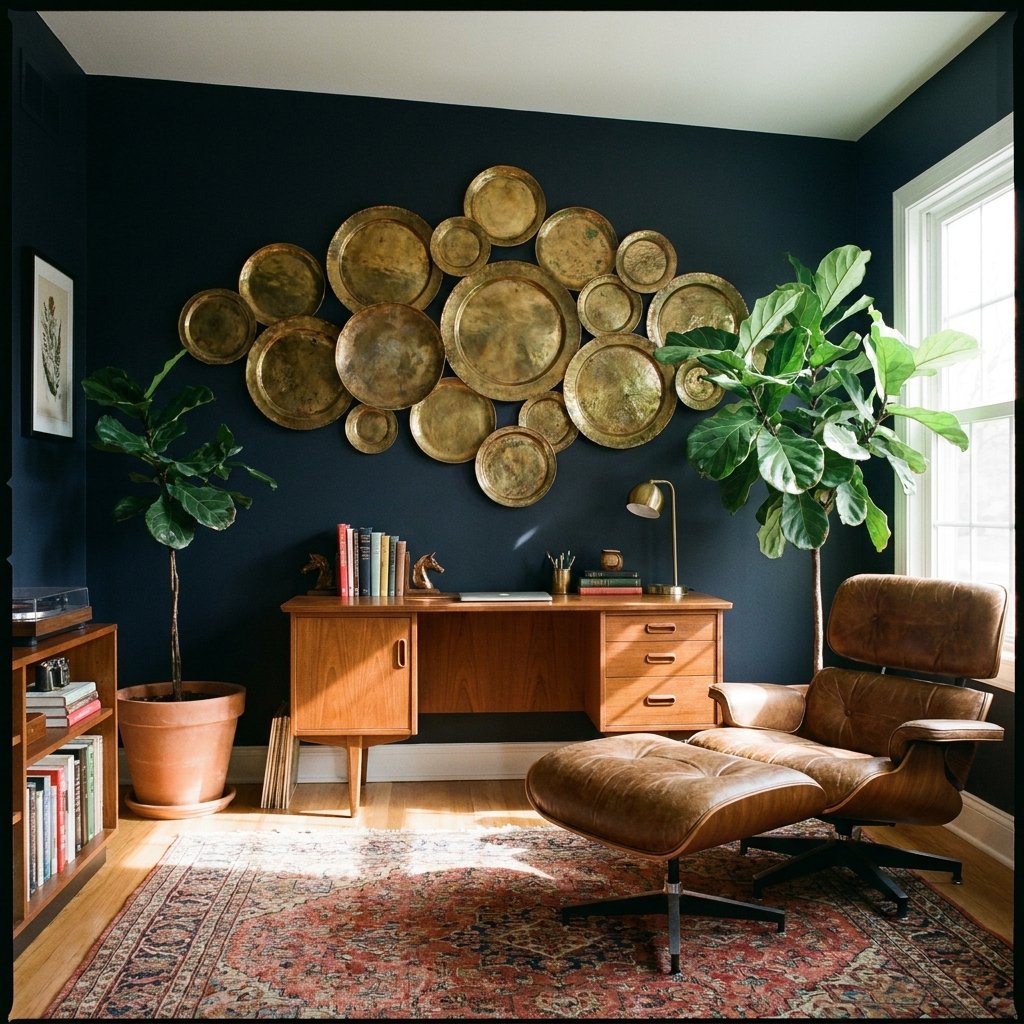
Once your masterpiece is on the wall, it’s time to style the rest of the space to match. This budget-savvy hack works best when paired with other natural textures. Think leather chairs, reclaimed wood tables, and linen curtains. The brass finish acts as a ‘warm neutral,’ adding a touch of luxury without feeling overly ‘glam.’
Maintenance is a breeze. Because we used a clear sealer, you only need to dust the plates once every few weeks with a soft microfiber cloth. Avoid using harsh chemical cleaners, as they can eat through the paint layers and reveal the plastic underneath. If a plate ever gets scuffed, a quick dab of your ‘aging’ paint will hide the mark perfectly, adding to the authentic patina.
“True design genius lies in the ability to see a finished masterpiece while looking at a pile of discarded plastic.”
Conclusion
Your High-End Home Awaits
By taking a resourceful and creative approach to home decor, you’ve proven that style isn’t about the price tag—it’s about the process. This Dollar Tree charger plate hack is more than just a craft; it’s a brilliant way to reclaim your space and express your personality without breaking the bank. You now have a wall that looks like it cost hundreds of dollars, yet you did it all for less than the cost of a takeout dinner. So, the next time you walk through those discount aisles, keep your expert-crafter eyes open. There is potential for beauty in every corner, waiting for someone with a little genius to bring it to life. Go ahead, hang those plates with pride!

Makenzie is the founder and lead writer at MoneyHackTips.com — a personal finance blog dedicated to delivering street-smart financial wisdom for real people on real budgets. With 300+ published articles covering everything from debt management to investing fundamentals, Makenzie’s mission is to make every dollar work harder. When not writing about money hacks, Makenzie is testing frugal living strategies, optimizing side hustles, and helping readers build financial freedom from scratch.