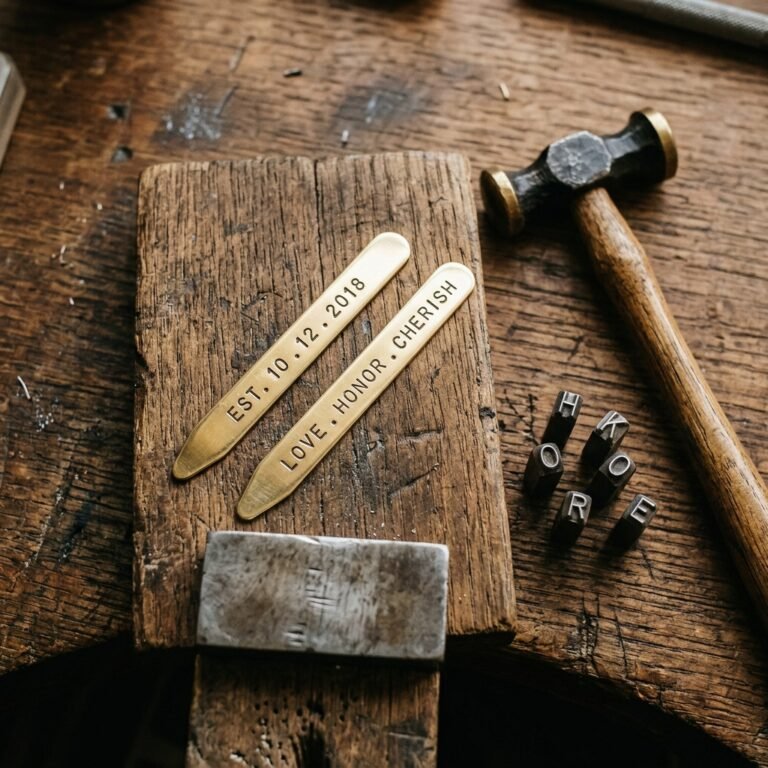
The Gift He Won’t Toss in a Drawer
Let’s be honest: finding a gift for the man who has everything—or the man who claims he wants nothing—is a Herculean task. We’ve all been there, hovering in the department store aisle, staring at overpriced wallets and gadgets that scream ‘afterthought.’ But what if you could hand him something rugged, professional, and entirely custom that you built with your own two hands? Even better, what if that high-end item cost you less than a fast-food lunch? Enter the DIY Personalized Leather Notebook Cover. This isn’t just a craft project; it’s a piece of gear. Whether he’s a field engineer, a creative writer, or just someone who needs to jot down grocery lists with a bit of gravitas, this cover is designed to age with him, developing a unique patina that tells a story. In this guide, we’re going to strip away the intimidation of leatherworking and show you how to source, cut, and stitch a masterpiece for under $10.
The Frugal Hunter’s Guide to Sourcing Leather
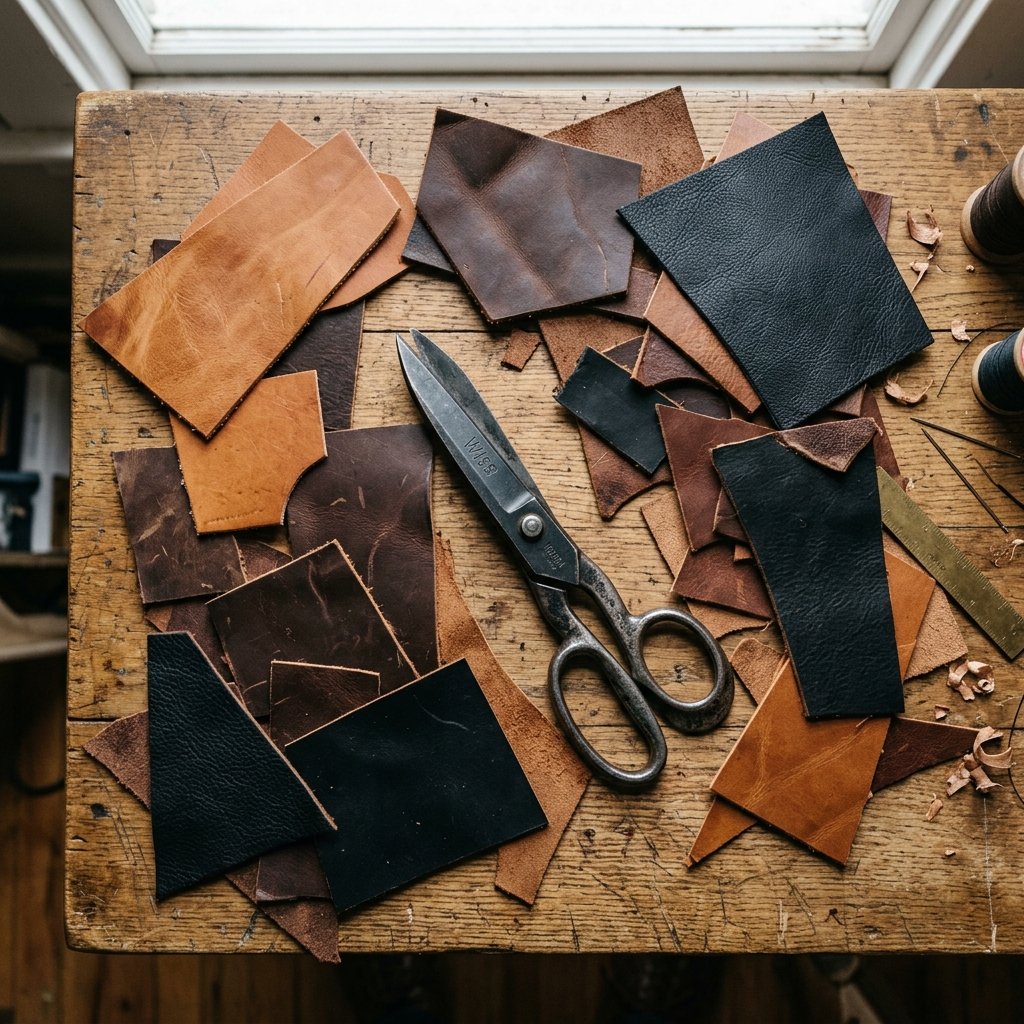
Professional leather hides can cost hundreds of dollars, but we aren’t buying a full cow today. To stay under our $10 budget, we need to be resourceful. The secret to high-end leather on a dime is ‘Remnants’ and ‘Upcycling.’ Check the scrap bins at local craft stores, or better yet, visit a thrift store. An old leather jacket with a tear in the sleeve or a discarded leather skirt can provide enough material for five or six notebook covers. When selecting your material, look for full-grain or top-grain leather; it’s thicker and will hold the shape of the notebook better than thin, bonded leather.
| Material Source | Estimated Cost | Pros |
|---|---|---|
| Thrifted Leather Jacket | $5.00 – $8.00 | Large yield, pre-softened feel. |
| Craft Store Scrap Bag | $7.00 – $9.00 | Variety of colors and textures. |
| Upholstery Shop Offcuts | Free – $5.00 | High-quality, durable thickness. |
| Old Leather Handbag | $3.00 – $6.00 | Often features unique hardware or linings. |
“The beauty of upcycling is that the leather already has character. A few scuffs or a slight fade only add to the rugged, masculine aesthetic we’re aiming for.”
The Essential Tool Kit: No Machine Required
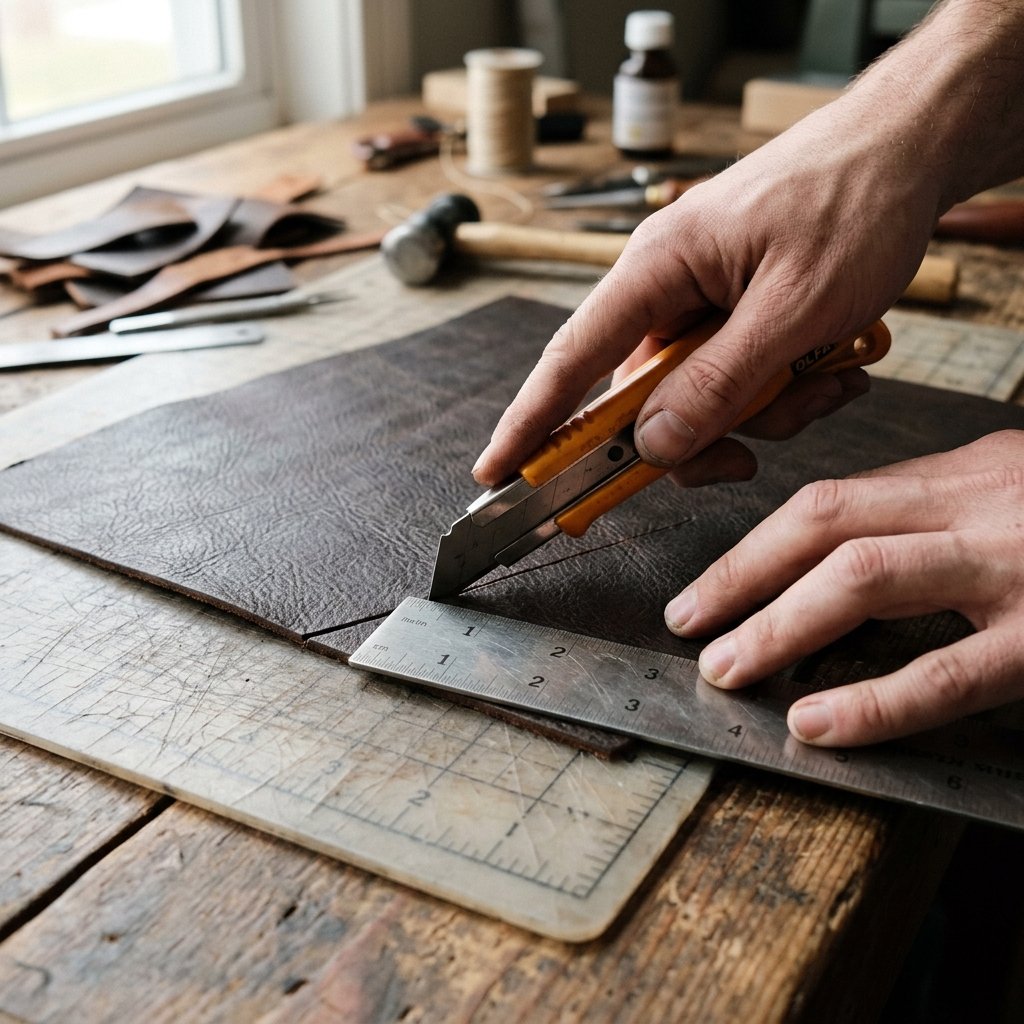
You don’t need an expensive industrial sewing machine to create a professional finish. In fact, hand-stitching leather is a mark of true craftsmanship. To keep costs low, we will focus on the Saddle Stitch method. You’ll need a few basics: a sharp utility knife, two heavy-duty needles, waxed thread, and a way to punch holes. If you don’t want to buy a leather punch, a small $2 finish nail and a hammer will work perfectly to prep your stitch lines.
Your Under-$10 Shopping List
- Leather Scrap: Approximately 1 square foot ($5.00)
- Waxed Polyester Thread: 1 spool ($2.50)
- Leather Needles: Pack of two ($1.50)
- Utility Knife: Already in your toolbox ($0.00)
- Metal Ruler: For straight cuts ($1.00)
Total Estimated Cost: $10.00
Safety Note: Always cut away from your body when using a utility knife. Leather is tough and requires pressure; if the blade slips, you want it heading toward the table, not your hand.
Measuring and Cutting for the Perfect Fit

Most pocket notebooks (like the classic Field Notes or Moleskine Cahier) are 3.5 x 5.5 inches. To ensure a snug fit, we need to account for the thickness of the notebook and the seam allowance. For a standard pocket notebook, you will need to cut one large rectangle for the outer shell and two smaller rectangles for the inner flaps that hold the notebook in place.
The Cut List
- Outer Shell: 6 inches tall by 8.5 inches wide.
- Inner Flaps (x2): 6 inches tall by 2.5 inches wide.
Use your metal ruler to ensure every corner is a perfect 90-degree angle. If you want a more sophisticated look, use a coin (like a quarter) as a template to trace and cut rounded corners. This prevents the corners from fraying or bending over time.
Personalization: Making It His Own
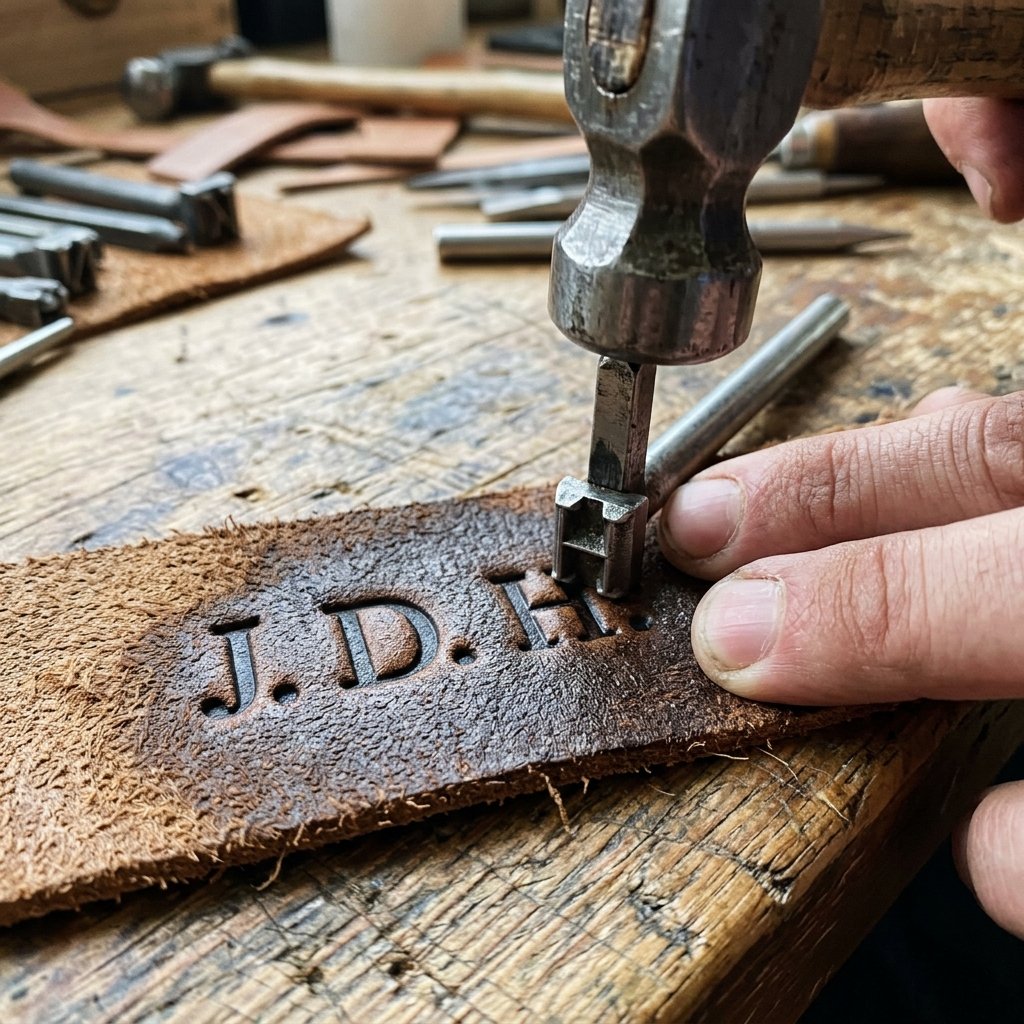
This is where the ‘treasure’ happens. A plain leather cover is nice, but a branded one is an heirloom. You have three budget-friendly options for personalization:
- Metal Stamps: If you have a set of alphabet stamps, you can dampen the leather slightly and hammer his initials into the bottom right corner.
- Pyrography (Wood Burning): Use a wood-burning tool to ‘tattoo’ a design or name into the leather. This creates a permanent, dark mark that looks incredibly rugged.
- Hand-Stitched Initials: Use a contrasting thread color to stitch a simple monogram.
| Method | Vibe | Difficulty |
|---|---|---|
| Stamping | Classic & Clean | Easy |
| Burning | Artisanal & Rugged | Moderate |
| Stitching | Crafty & Detailed | Easy |
The Master Stitch: The Saddle Stitch Technique
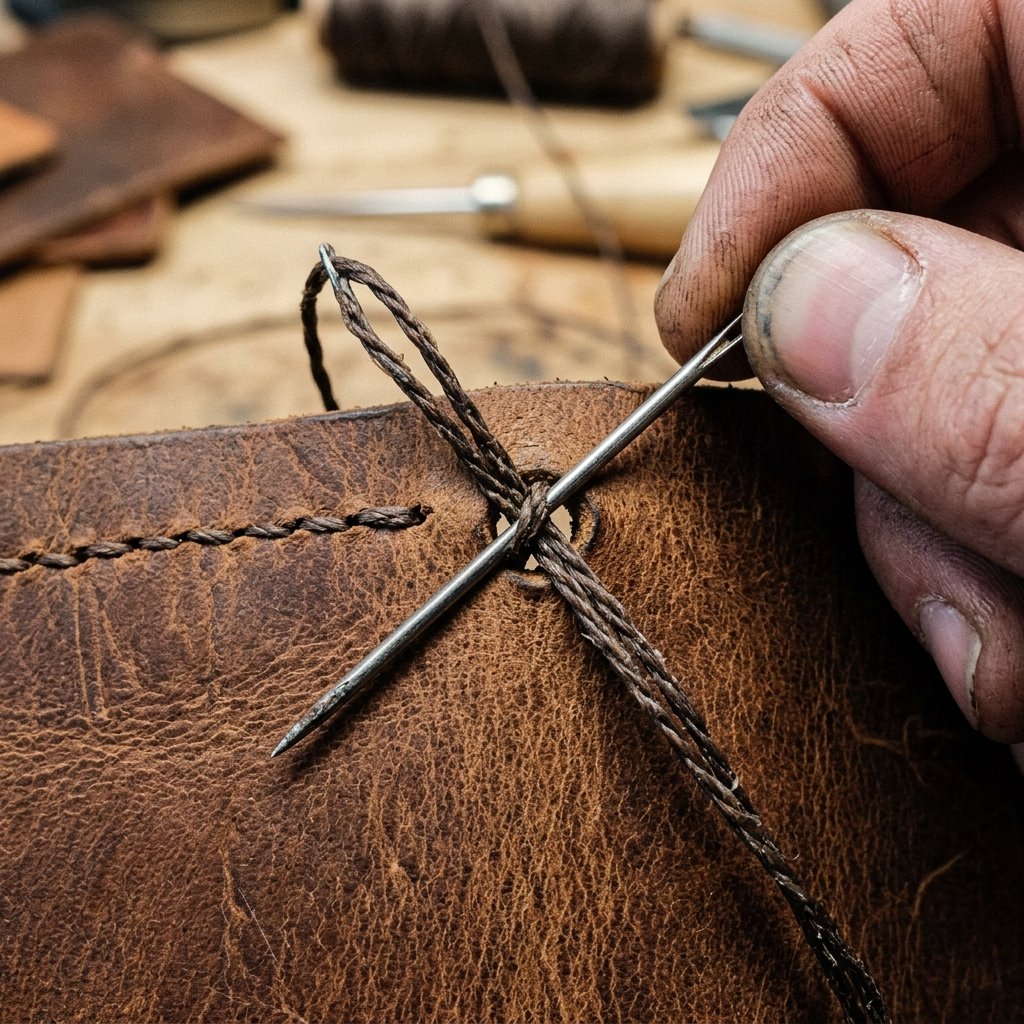
The Saddle Stitch is the gold standard of leatherworking because it is incredibly strong; if one thread breaks, the other still holds. To begin, use your nail or a stitching chisel to punch holes every 1/8th of an inch along the edges where the flaps meet the shell. Secure your leather in a ‘pony’ (or just hold it between your knees) and follow these steps:
- Thread a needle on both ends of a long piece of waxed thread.
- Pass one needle through the first hole until the thread is centered.
- Pass the left needle through the second hole.
- Pass the right needle through the same second hole from the opposite side.
- Pull both ends tight. Repeat this ‘figure-eight’ motion until the end.
- To finish, back-stitch two holes and cut the thread close. Use a lighter to melt the end of the waxed thread to lock it in place.
Finishing Touches: Burnishing and Conditioning
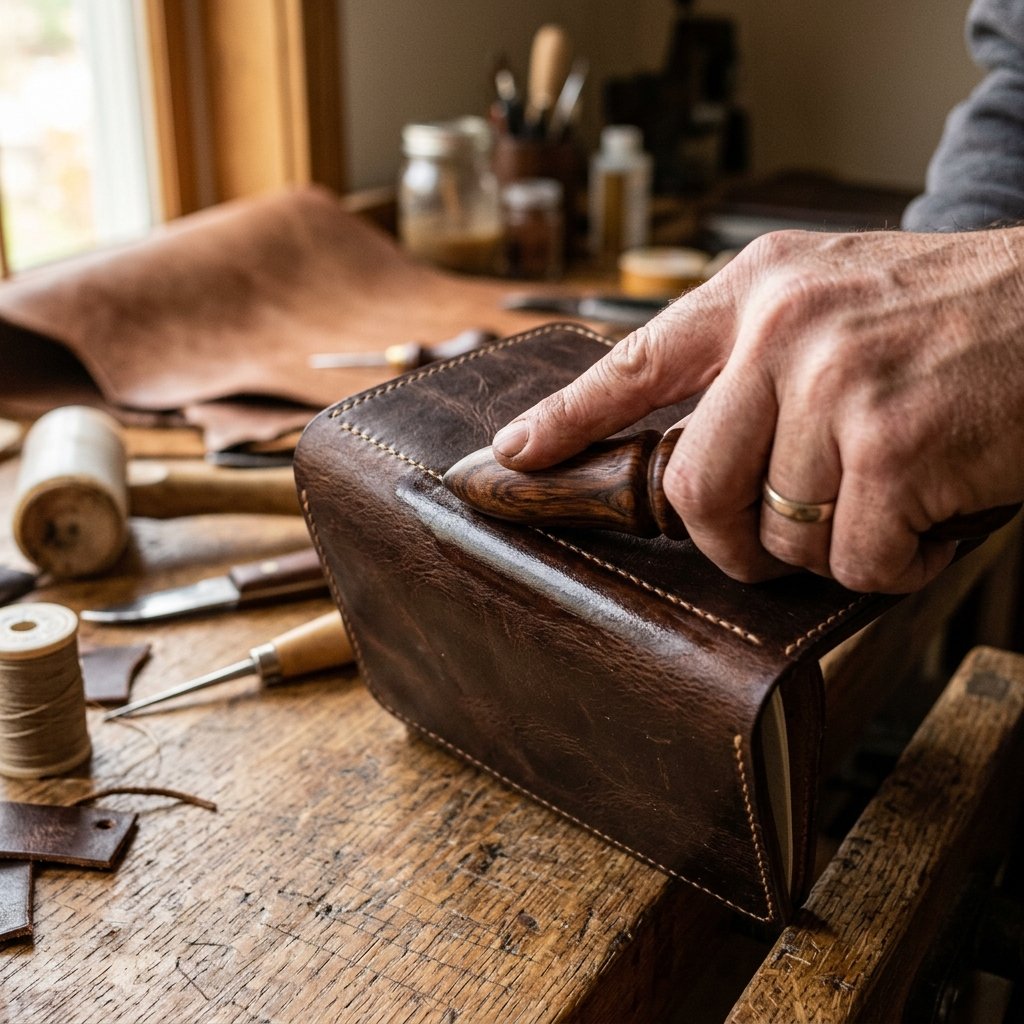
Raw edges look ‘homemade.’ Burnished edges look ‘handmade.’ To achieve a professional, slicked edge without buying expensive edge paint, simply rub a little bit of water or beeswax onto the cut edges of the leather. Take a smooth wooden object (like the handle of your screwdriver) and rub the edge vigorously. The friction creates heat, which seals the fibers and leaves a glossy, dark finish. Finally, rub a small amount of olive oil or coconut oil (if you don’t have leather conditioner) over the entire cover. This will deepen the color and protect the leather from moisture.
Conclusion
A Gift That Ages With Grace
Congratulations! You’ve just turned a few scraps of leather and some basic thread into a sophisticated, durable gift that would easily retail for $50 to $75 in a boutique. By choosing to DIY, you’ve not only saved over 80% of the cost, but you’ve also infused the gift with a level of care that can’t be bought. This notebook cover will go everywhere he goes—from boardrooms to campsites—and every time he pulls it out to jot down a thought, he’ll be reminded of the craft and effort you put into it. Now, go grab a pack of pocket notebooks, slide one into the flaps, and get ready to see the look of genuine appreciation on his face. Happy crafting!

Makenzie is the founder and lead writer at MoneyHackTips.com — a personal finance blog dedicated to delivering street-smart financial wisdom for real people on real budgets. With 300+ published articles covering everything from debt management to investing fundamentals, Makenzie’s mission is to make every dollar work harder. When not writing about money hacks, Makenzie is testing frugal living strategies, optimizing side hustles, and helping readers build financial freedom from scratch.