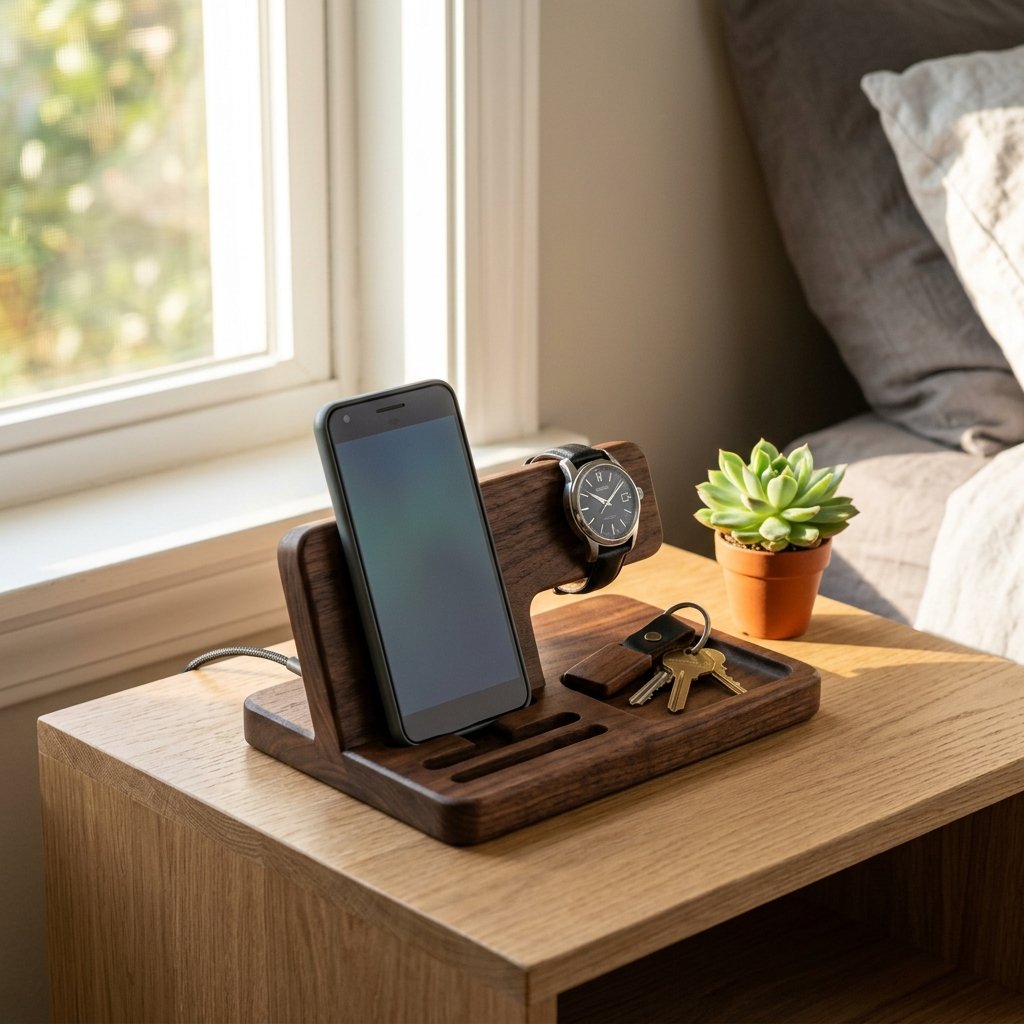

Mastering the Art of the Masculine Mantle
Let’s be honest: the average nightstand is a chaotic battlefield of tangled charging cables, loose change, and scattered everyday carry (EDC) items. For the frugal DIYer or the creative gift-giver, this clutter isn’t just a nuisance—it’s an opportunity. Today, we are going to reclaim that space by building a rugged, practical, and sophisticated wooden phone docking station. Whether you are using a piece of scrap oak from the garage or a $5 board from the local hardware store, this project is designed to look like a high-end boutique find while costing less than a cup of artisanal coffee.
This isn’t just about utility; it’s about the masculine-elegant aesthetic. We’re combining raw wood textures with functional design to create a piece that feels both grounded and refined. By the end of this afternoon, you’ll have a custom organizer that keeps his phone upright, his watch displayed, and his pockets empty of clutter. Best of all? You don’t need a massive workshop or expensive power tools to achieve professional results.
The Blueprint: Materials and Budget Breakdown

Before we make our first cut, we need to gather our supplies. The beauty of this project lies in its resourceful nature. You can often find the wood you need in the ‘cull bin’ of a hardware store or by upcycling an old pallet. For this specific build, we are aiming for a ‘two-piece interlocking’ design that is sturdy yet easy to disassemble for travel.
| Material/Tool | Quantity/Type | Estimated Cost |
|---|---|---|
| Wood Board | 1″ x 6″ x 24″ (Pine or Oak) | $0 – $7 |
| Wood Glue | Small Bottle (PVA) | $3 |
| Sandpaper | 80, 120, and 220 Grit | $4 |
| Wood Stain or Wax | Dark Walnut or Beeswax | $5 |
| Total Project Cost | DIY Savings vs. Retail | $12 – $19 |
Choosing Your Timber
If you want a rugged look, go with pine and use a dark stain to bring out the knots. For a more elegant finish, look for cherry or walnut scraps. Ensure the wood is at least 3/4 inch thick to provide enough weight so the station doesn’t tip over when a larger phone is docked.
Step 1: Measuring and Marking for Precision
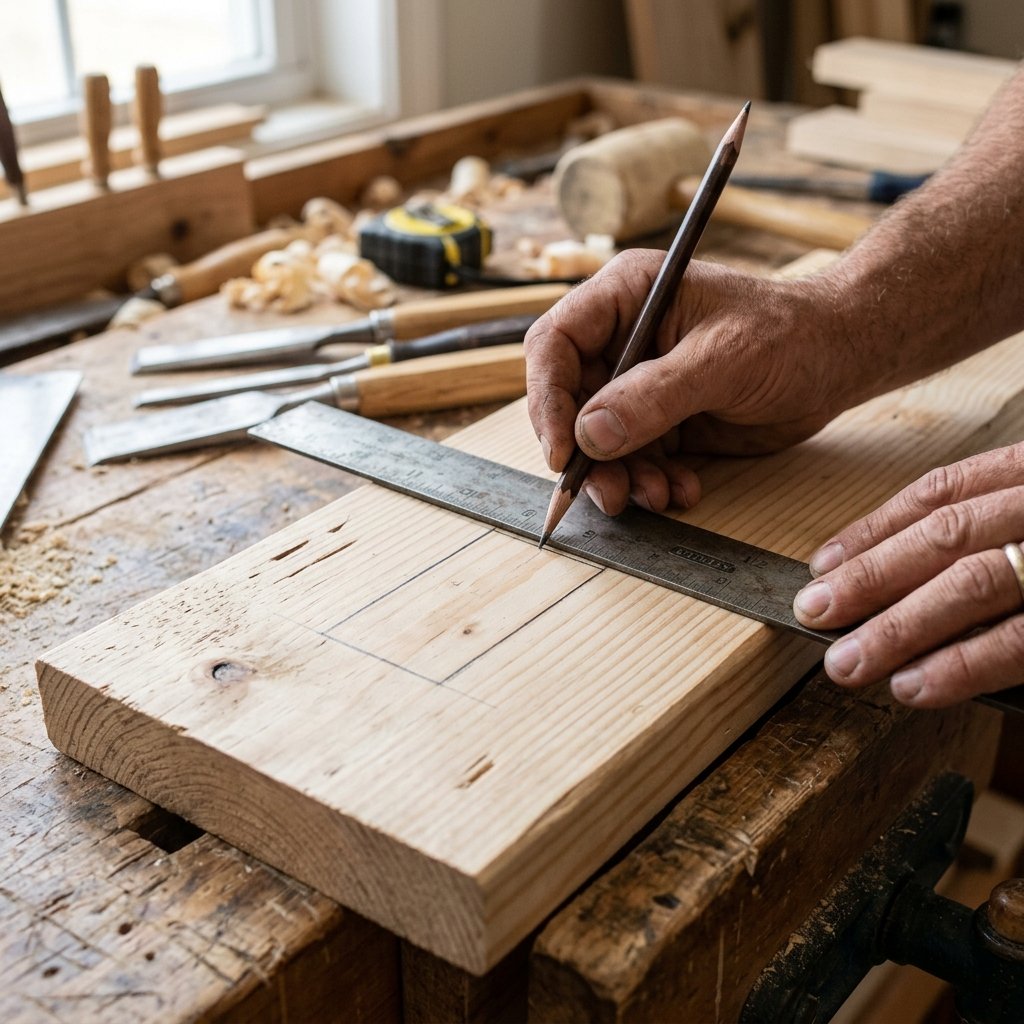
Precision is the hallmark of a crafty expert. We will create two main pieces: the Backrest (where the phone sits) and the Base (which holds the keys and wallet).
- Backrest: 7.5 inches tall by 5 inches wide.
- Base: 7.5 inches long by 5 inches wide.
Using your square, mark a slot on the Backrest that starts 1.5 inches from the bottom. This slot should be exactly the thickness of your wood (usually 3/4 inch). On the Base piece, mark a corresponding slot that starts 2 inches from the back edge. These slots will eventually slide into each other to create a rock-solid 90-degree joint without the need for screws.
“Measure twice, cut once, and always leave a 1/16th inch margin for sanding. A tight fit is better than a loose one.” — The Budget-Savvy Builder’s Mantra
Step 2: Cutting the Cord Groove and Slots

The most important feature of a docking station is the cord management. We need a way for the charging cable to pass through the wood so the phone can sit flush. Using a 3/8-inch drill bit, drill a hole in the center of the slot on the Backrest. Then, use a jigsaw or a hand saw to cut out the slots you marked in the previous step.
The Secret to a Clean Finish
When cutting slots, always cut on the inside of your pencil lines. You can always sand away excess wood to make the pieces fit, but you can’t put wood back if the slot is too wide. If you’re feeling extra clever, use a small chisel to square off the rounded corners left by the drill bit. This gives the project that hand-carved, artisanal feel that store-bought plastic stands just can’t match.
Safety Note: Always wear eye protection when cutting wood, and ensure your workpiece is firmly clamped to a table to prevent slipping.
Step 3: Sanding for a Masculine-Elegant Feel
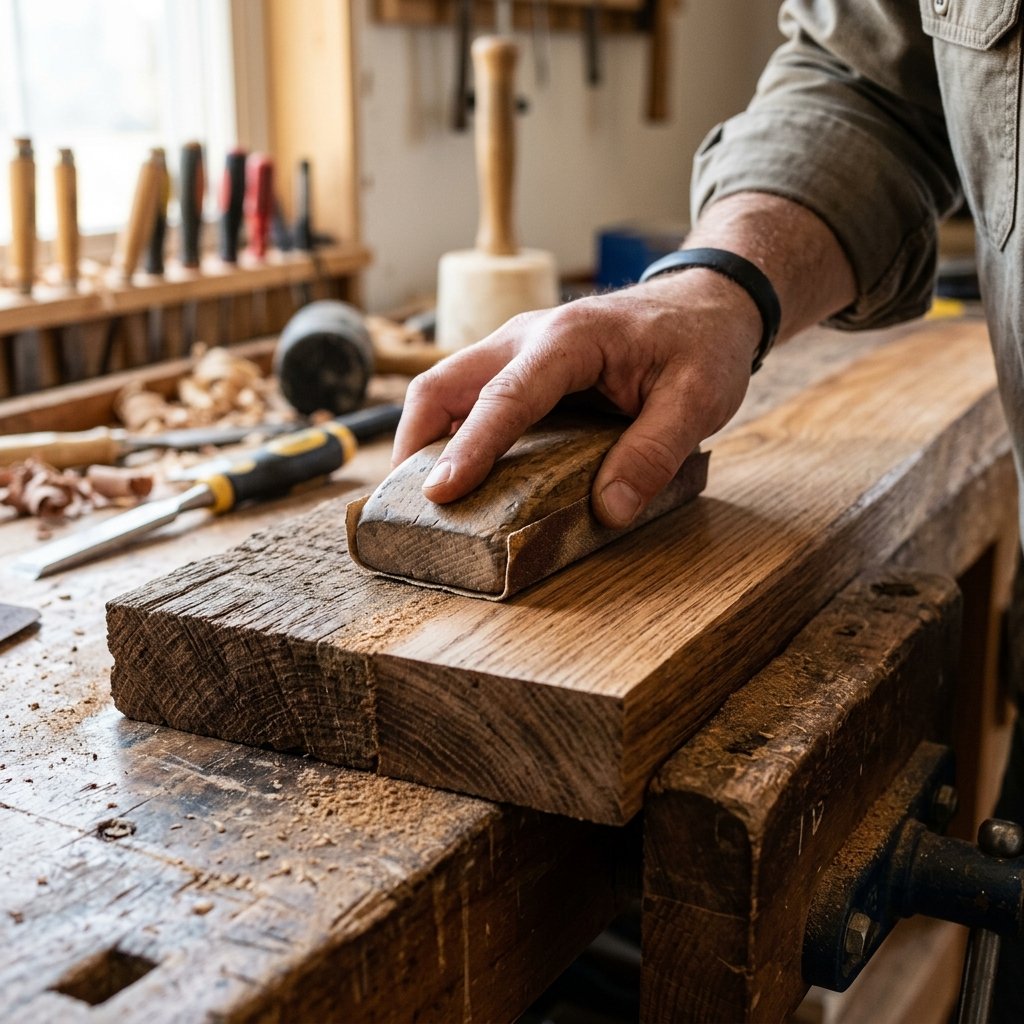
Sanding is where the transformation from ‘scrap wood’ to ‘luxury item’ happens. Start with 80-grit sandpaper to remove any rough saw marks. Progress to 120-grit to smooth out the surface, and finish with 220-grit for a finish that feels like satin.
- Softening the Edges: Don’t leave the corners sharp. Lightly sand the edges (called ‘breaking the edge’) to give the station a comfortable, worn-in feel.
- The Slot Fit: Test fit your two pieces. If they don’t slide together easily, wrap a piece of sandpaper around a thin scrap of wood and sand the inside of the slots until they glide together with just a bit of friction.
Spending an extra 20 minutes on sanding will make the difference between a project that looks like a middle-school shop class assignment and one that looks like a $60 boutique gift.
Step 4: Staining and Weathering (The Character Phase)
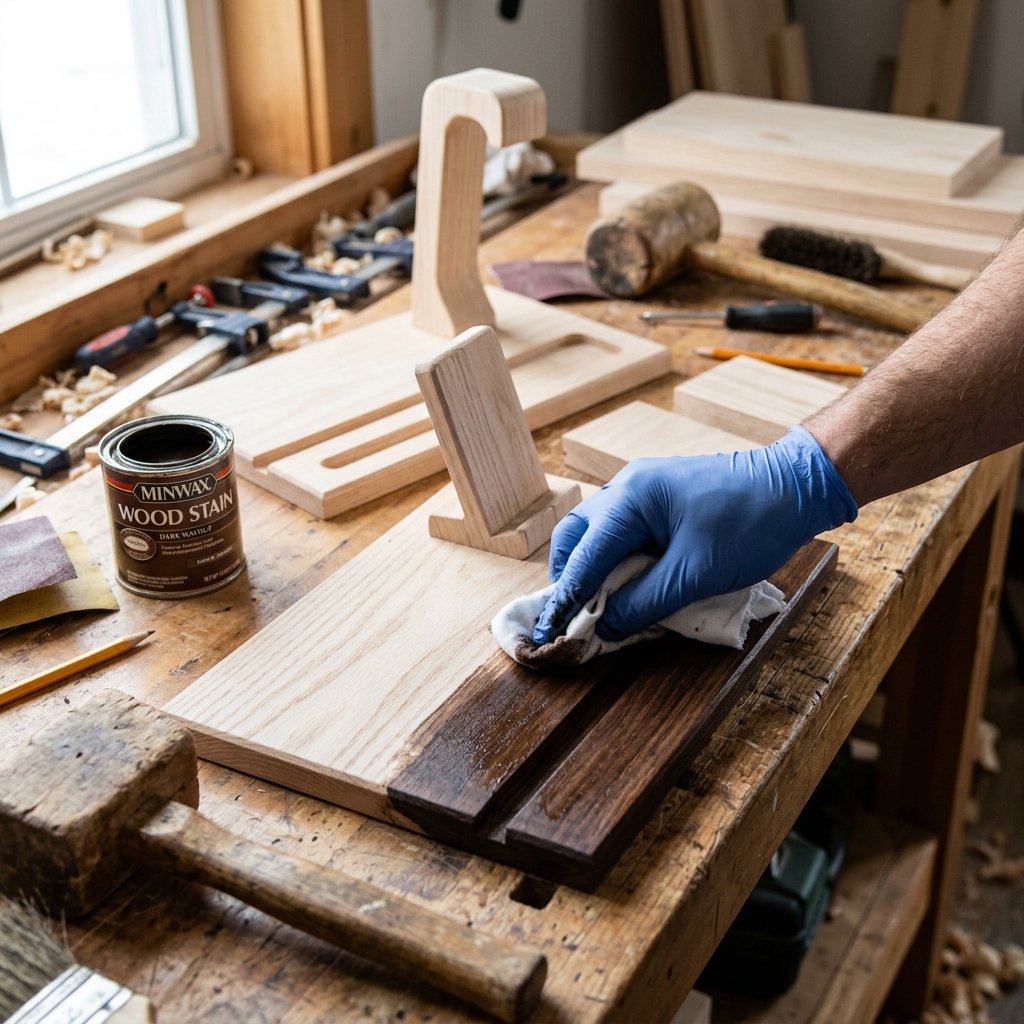
Now we add the soul. For a rugged and practical look, I recommend a dark oil-based stain or a homemade vinegar-and-steel-wool solution for an ‘aged’ patina. If you prefer a 100% natural finish, a simple rub of beeswax and olive oil will deepen the wood’s color while remaining non-toxic.
| Finish Type | Appearance | Drying Time |
|---|---|---|
| Dark Walnut Stain | Rich, Deep, Modern | 24 Hours |
| Beeswax/Oil | Matte, Natural, Warm | 1 Hour |
| Grey Weathering Wash | Rustic, Reclaimed, Driftwood | 4 Hours |
Apply the finish with a lint-free rag, rubbing in the direction of the grain. Let it sit for 5-10 minutes before wiping away the excess. This ensures the color is even and doesn’t become ‘muddy’ or sticky.
Step 5: Custom Upgrades and Personalization
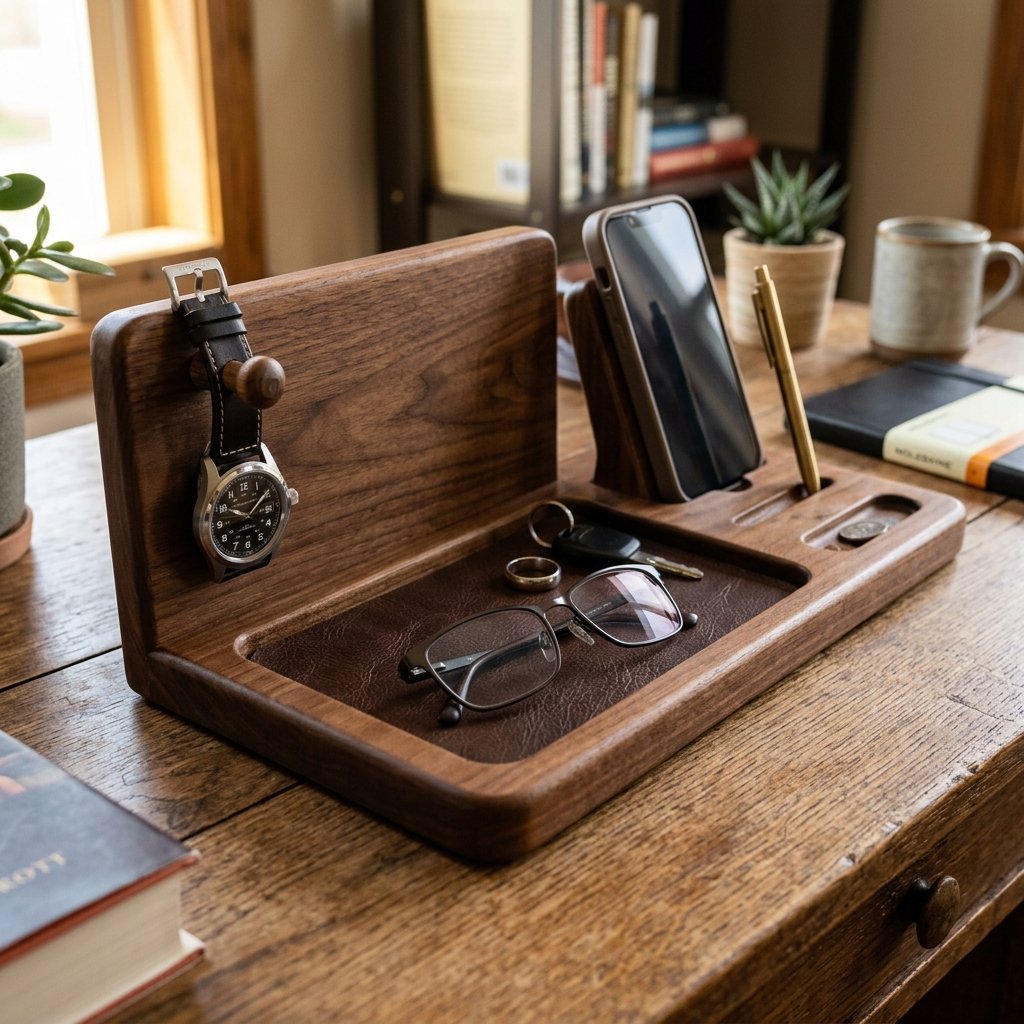
To truly make this a thoughtful gift, consider adding a few ‘pro’ features that cater to his specific needs. Since you are the maker, you can customize the dimensions on the fly.
Optional Add-ons:
- Leather Lining: Glue a small piece of scrap leather or felt into the base tray. This prevents keys from scratching the wood and adds a high-end tactile element.
- Watch Peg: Drill a small hole on the side of the Backrest and glue in a 1-inch dowel. This creates a dedicated spot to hang a watch or fitness tracker.
- Magnetic Strip: Hidden under the base, a small neodymium magnet can hold paperclips or a pocket knife in place.
These small details take minimal effort but add massive value, proving that budget-savvy doesn’t mean basic.
Conclusion
The Gift of an Organized Morning
There you have it—a rugged, masculine, and highly functional wooden docking station built for under $20. By taking the time to craft this yourself, you’ve created more than just a piece of furniture; you’ve created a daily ritual. No more frantic morning searches for the wallet or untangling cords in the dark. This project proves that with a little resourcefulness and a few hours of work, you can turn a simple board into a treasure that will be used every single day.
Whether you’re keeping it for your own nightstand or gifting it to a handy dad or creative partner, the satisfaction of saying ‘I built this’ is the ultimate reward. Now, go ahead—clear that clutter and enjoy the peace of an organized space!

Makenzie is the founder and lead writer at MoneyHackTips.com — a personal finance blog dedicated to delivering street-smart financial wisdom for real people on real budgets. With 300+ published articles covering everything from debt management to investing fundamentals, Makenzie’s mission is to make every dollar work harder. When not writing about money hacks, Makenzie is testing frugal living strategies, optimizing side hustles, and helping readers build financial freedom from scratch.