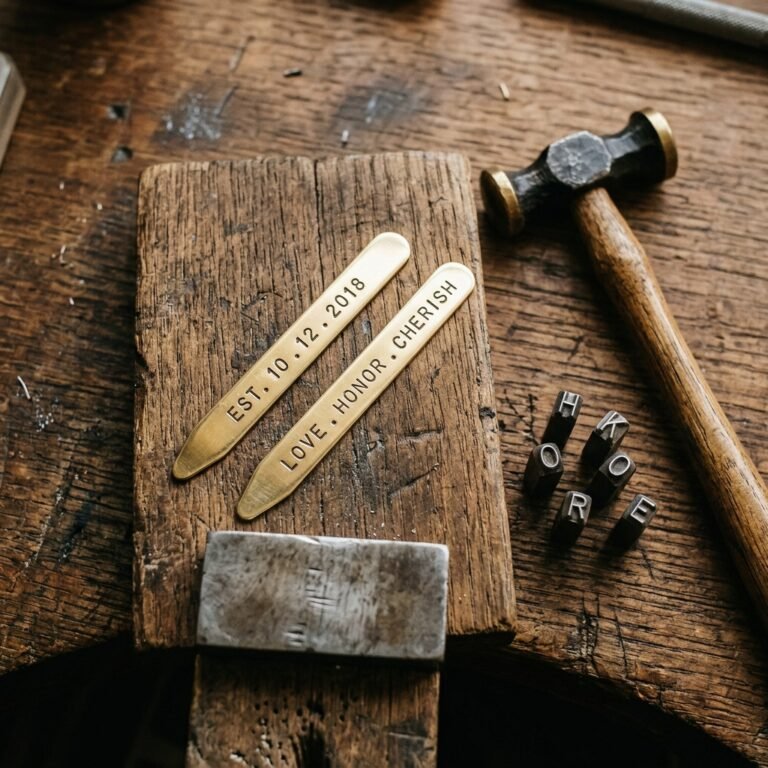
The Practical Magic of Upgrading the Cash Gift
Let us face a universal truth: dads are notoriously difficult to shop for. If he is a handy, rugged, or practical guy, he likely already owns the tools he needs, he has enough novelty grilling aprons to outfit a commercial kitchen, and another store-bought tie is just going to collect dust. So, what is the ultimate, fail-proof gift? Cold, hard cash. But handing your father a plain $20 or $50 bill in a generic $6 greeting card feels impersonal, lazy, and decidedly un-crafty.
Enter the money origami shirt. This clever, budget-savvy trick transforms standard currency into a miniature, tailored masterpiece. It is the perfect intersection of practical gifting and resourceful creativity. By taking 5 minutes to fold a crisp bill into a collared shirt, you are elevating the presentation from an afterthought to a handcrafted keepsake. Plus, it costs absolutely $0 in extra materials! You are utilizing the gift itself as the wrapping, making this the ultimate frugal DIYer’s dream.
“A thoughtful gift does not require a maxed-out credit card; it requires a clever approach, a bit of elbow grease, and the resourcefulness to turn the ordinary into the extraordinary.”
In this masterclass, we are going to walk you through the precise, step-by-step tailoring process to fold a money origami shirt. We will cover how to prep your “fabric” (because US currency is actually a cotton-linen blend!), which denominations make the boldest impact, and how to present this masculine, elegant gift so it knocks his work boots off.
Preparing Your Canvas: The Secret to Crisp Folds
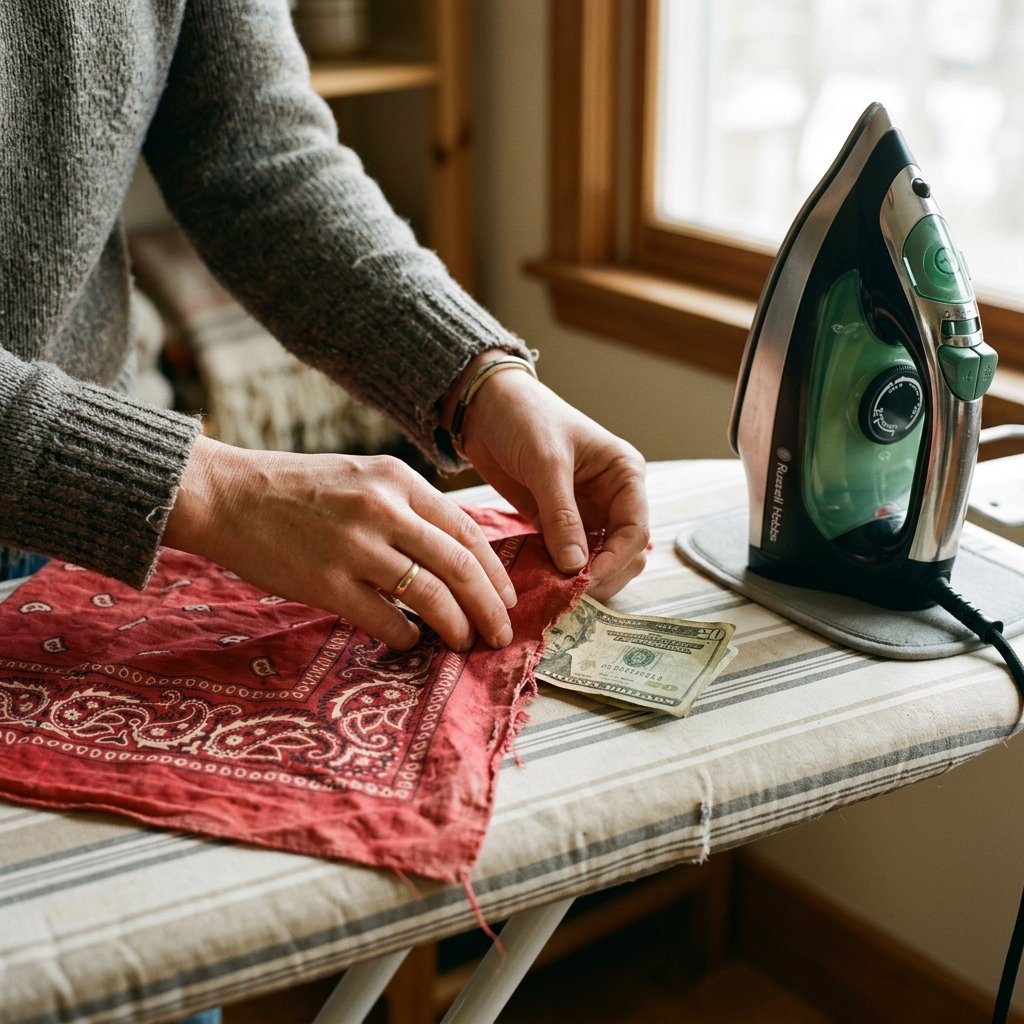
Ironing Out the Details
Before you make a single fold, we need to talk about your materials. The beauty of money origami lies in the crispness of the lines. A crumpled, soft, or worn-out bill will result in a sloppy shirt with a sagging collar—and no dad wants a sloppy collar. US currency is composed of 75% cotton and 25% linen, which means it behaves much more like fabric than standard paper. This is fantastic news for us frugal crafters because it means the bill can be ironed!
How to Safely Iron a Bill
- Step 1: Set your household iron to the lowest heat setting (usually the silk or synthetic setting).
- Step 2: Turn off the steam function entirely. Moisture can warp the fibers if you are not careful.
- Step 3: Place the bill flat on an ironing board and cover it with a thin cotton cloth or a clean bandana.
- Step 4: Gently press the iron over the cloth for about 5 to 10 seconds. Flip the bill and repeat.
Safety Note: Never iron a bill directly on high heat, and never leave the iron sitting on the currency. You want to press it, not cook it! If you are nervous about ironing, simply place the bill inside a heavy hardcover book for 24 hours before folding.
If you prefer to skip the ironing, head to your local bank branch. Ask the teller specifically for “crisp, uncirculated bills.” They are usually more than happy to accommodate, and these fresh bills fold with incredibly satisfying, sharp creases.
Choosing the Right Denomination: The Impact Matrix
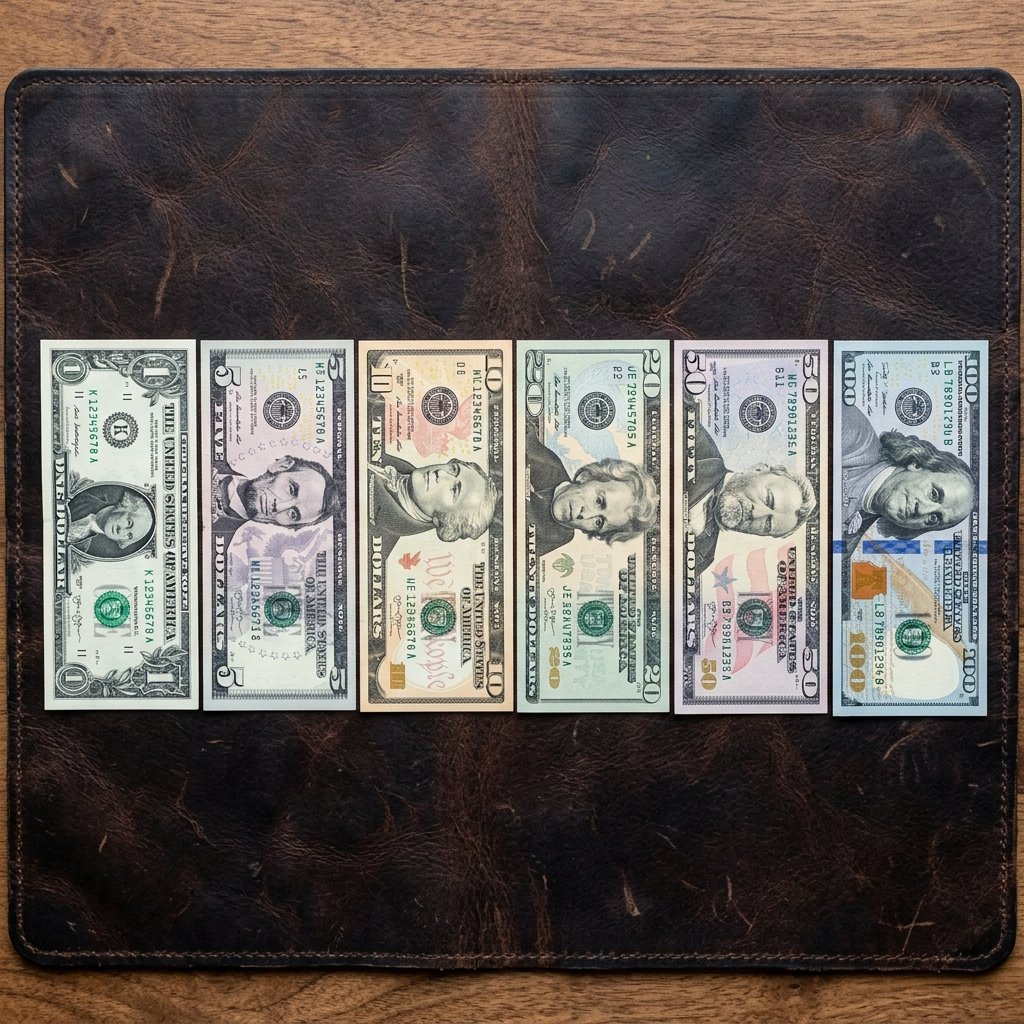
Strategic Gifting on a Budget
Not all bills are created equal when it comes to money origami. Because of the way the shirt is folded, specific parts of the bill’s design—like the portrait, the numbers, or the seals—will end up prominently displayed on the chest or the collar of the finished shirt. Choosing the right denomination is a clever way to customize the look of your Father’s Day gift while staying within your budget.
For instance, a $1 bill creates a classic, vintage-looking shirt, while a $20 bill offers a striking green hue with Andrew Jackson’s portrait often hidden, allowing the intricate border designs to act as a “pattern” for the fabric. Below is our handy guide to help you choose the perfect bill for your budget and desired aesthetic.
| Bill Denomination | Visual Impact & Design Features |
|---|---|
| $1 Bill | Classic green and white. The “ONE” text often lands perfectly on the back, making it look like a sports jersey. |
| $2 Bill | Rare and unique. The intricate back engraving of the Declaration of Independence gives the shirt a highly detailed, textured look. |
| $5 Bill | Features subtle purple and gray tones. The large number “5” can be positioned to look like a pocket logo. |
| $10 Bill | Warm orange and yellow hues. Creates a “flannel” or warm-toned shirt vibe, perfect for the rugged dad. |
| $20 Bill | The gold standard for gifting. Rich greens and subtle peach tones. Folds beautifully with crisp, modern borders. |
| $50 Bill | Patriotic red and blue background elements. Gives the shirt an expensive, high-end tailored appearance. |
| $100 Bill | The ultimate flex. The blue 3D security ribbon adds a striking vertical stripe right down the front of the shirt! |
The Master Tailor’s Guide: Folding the Shirt Step-by-Step
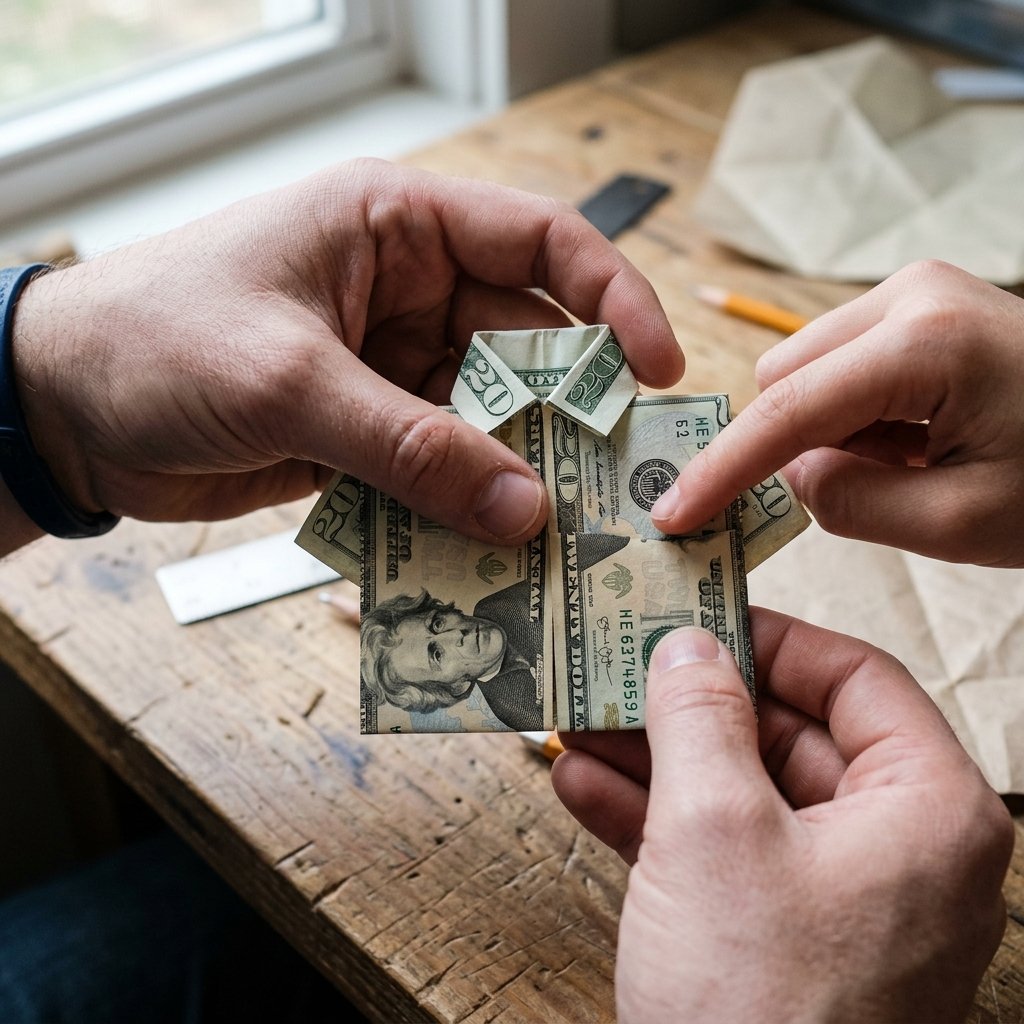
Precision Engineering for Your Cash
Now it is time to channel your inner master tailor. Clear your workspace, wash your hands (to avoid transferring oils to the crisp bill), and let’s start folding. This process requires patience and precision. Remember, every fold dictates the final symmetry of the shirt. Take your time, and use your thumbnail or a bone folder to crease every line sharply.
Phase 1: The Center Seam
- Position the Bill: Lay the bill flat on your table, face down (the back of the bill facing you). Orient it horizontally.
- The Half Fold: Fold the bill in half lengthwise (bottom edge to top edge). Crease it firmly to establish your center line, then unfold it completely. You should now have a horizontal crease running through the middle of the bill.
- The Cabinet Fold: Fold the top edge down so it meets the center crease perfectly. Then, fold the bottom edge up to meet the center crease. Your bill should now look like a long rectangle with a seam down the middle.
Phase 2: Tailoring the Collar
- Flip It Over: Turn the folded bill over so the smooth side is facing you, keeping it horizontal.
- The Collar Base: Fold one of the short ends inward by about 1/4 inch to 1/2 inch. This white border will become the collar of the shirt. Crease it sharply.
- Flip It Back: Turn the bill over again so the center seam is facing you.
- Shaping the Collar: Focus on the end where you just made the small fold. Take the top corner of this end and fold it diagonally downward so the point meets the center seam. Repeat with the bottom corner, folding it diagonally upward to meet the center seam. You should now see a perfect, distinct shirt collar forming!
Pro Tip: The angle of your diagonal folds determines how “spread” the collar will be. For a classic Oxford look, aim for a tight, narrow triangle.
Phase 3: Rolling Up the Sleeves
- Focus on the Opposite End: Move your attention to the end of the bill opposite the collar.
- The Sleeve Folds: Take the inner top edge (near the center seam) and fold it outward at an angle, letting it extend past the outer top edge. Repeat this on the bottom, folding the inner edge outward. These triangular flaps sticking out are your shirt sleeves.
Phase 4: The Final Fitting
- Assembling the Shirt: Now for the magic moment. Take the end with the sleeves and fold the entire bill in half, bringing the bottom edge up toward the collar.
- Tucking It In: Slide the folded edge neatly underneath the two collar flaps. The collar should hold the entire structure flat and secure. Press down on the bottom fold to lock everything in place.
Congratulations! You have just tailored a custom money origami shirt. It is rugged, it is clever, and it is ready to be gifted.
Elevating the Look: Adding the Origami Tie

The Ultimate Accessory
A tailored shirt is fantastic, but if you want to push this craft into the realm of “frugal genius,” you need to add a tie. Folding a tiny origami tie and slipping it under the collar of your money shirt adds a layer of sophisticated charm that dads absolutely love. It shows you went the extra mile.
You can fold a tie using a second bill (a $1 bill makes a great tie for a $20 shirt), but we highly recommend using a scrap piece of colored paper or a page cut from a vintage magazine. This provides a striking pop of contrast against the green currency.
How to Fold the Mini Tie
- Step 1: Cut a square piece of paper to exactly 1.5 inches by 1.5 inches.
- Step 2: Fold the square in half diagonally to create a triangle, then unfold it to leave a diagonal crease.
- Step 3: Fold the left and right edges inward to meet the center crease (this forms a kite shape).
- Step 4: Flip the shape over. Fold the top point down about a third of the way.
- Step 5: Fold the very tip of that point back up slightly to create the “knot” of the tie.
- Step 6: Flip it over again, fold the side edges inward one more time to narrow the tie, and you are done!
Use a tiny dab of removable mounting putty (or simply tuck it tightly) under the collar of your money shirt. The contrast of a plaid or solid blue paper tie against the detailed engravings of the dollar bill looks incredibly dapper.
Rugged & Clever Presentation Ideas
Thinking Outside the Envelope
You have spent the time crafting this incredible origami shirt, so please do not just toss it into a standard envelope! The presentation is where your DIY upcycling skills can truly shine. Here are a few budget-savvy, masculine ways to present your money origami shirt for Father’s Day.
1. The Miniature Clothesline
If you are gifting multiple shirts (for example, five $20 bills to make $100), string a piece of rustic twine across the inside of a thrifted picture frame or a shadow box. Use miniature wooden clothespins (available at the Dollar Tree for about $1.25 a pack) to hang the shirts on the line. It creates a stunning visual “wardrobe” that he can display on his desk before he spends the cash.
2. The Upcycled Cigar Box Wardrobe
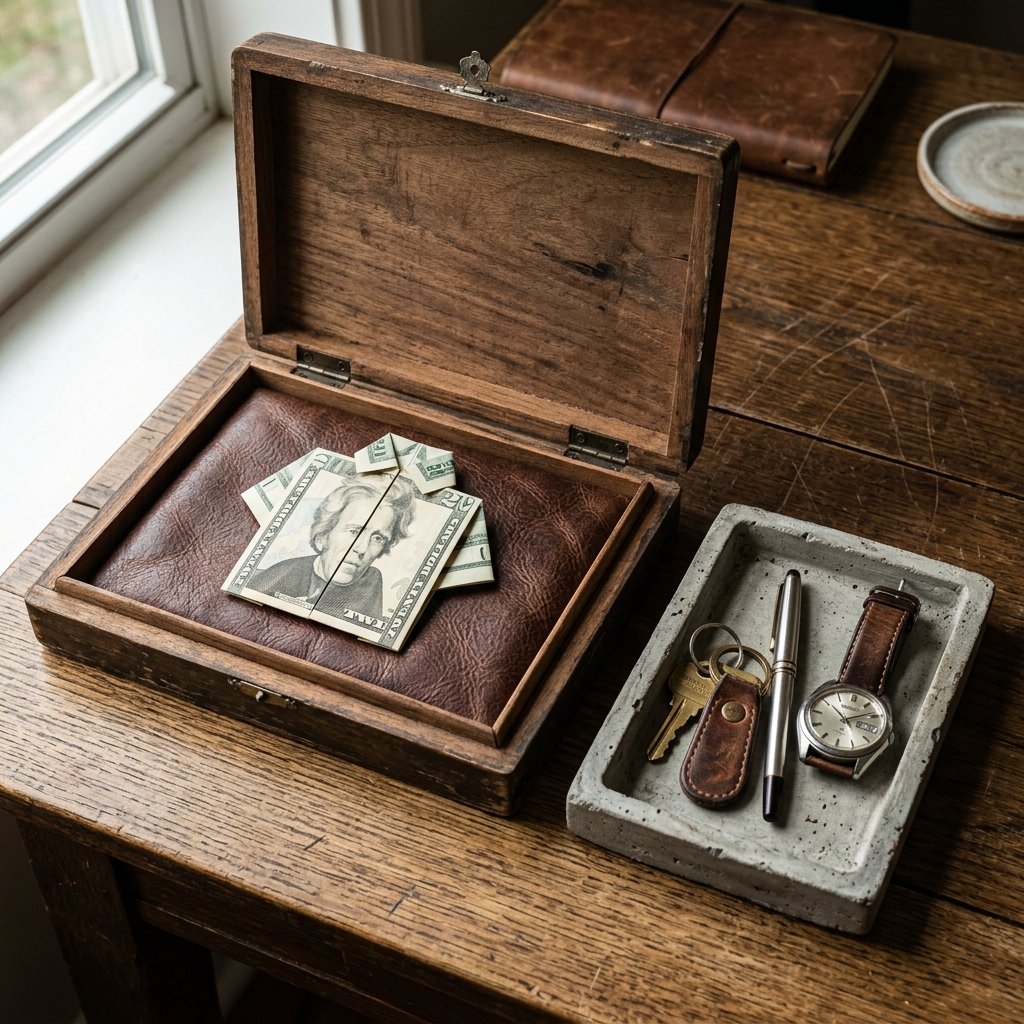
Visit your local tobacco shop and ask if they have any empty wooden cigar boxes. They often sell them for $2 or give them away for free. Line the bottom of the box with a scrap of felt or leather. Lay the folded money shirt inside like a freshly tailored garment from a high-end menswear boutique. It is a rugged, masculine presentation that costs next to nothing.
3. The DIY Concrete Valet Tray
If you really want to combine crafting with gifting, pour a simple DIY concrete valet tray. Once the tray is cured and sealed, place the money shirt right in the center. He gets a permanent, practical gift for his nightstand (to hold his keys and watch), and the clever cash gift sitting on top.
Conclusion
The Ultimate Payoff
Folding a money origami shirt is the epitome of thoughtful, budget-savvy gifting. It takes something inherently impersonal—cash—and transforms it into a customized, handcrafted token of appreciation. By taking just a few minutes out of your day, utilizing the natural fabric-like qualities of US currency, and applying some simple tailoring folds, you have created a Father’s Day gift that is clever, practical, and undeniably cool.
So, skip the greeting card aisle this year. Save that $6 and put it toward the gift itself. Grab a crisp bill, channel your inner craftsman, and give your dad a gift he will be showing off to his buddies long after Father’s Day is over. Happy folding, and stay resourceful!

Makenzie is the founder and lead writer at MoneyHackTips.com — a personal finance blog dedicated to delivering street-smart financial wisdom for real people on real budgets. With 300+ published articles covering everything from debt management to investing fundamentals, Makenzie’s mission is to make every dollar work harder. When not writing about money hacks, Makenzie is testing frugal living strategies, optimizing side hustles, and helping readers build financial freedom from scratch.