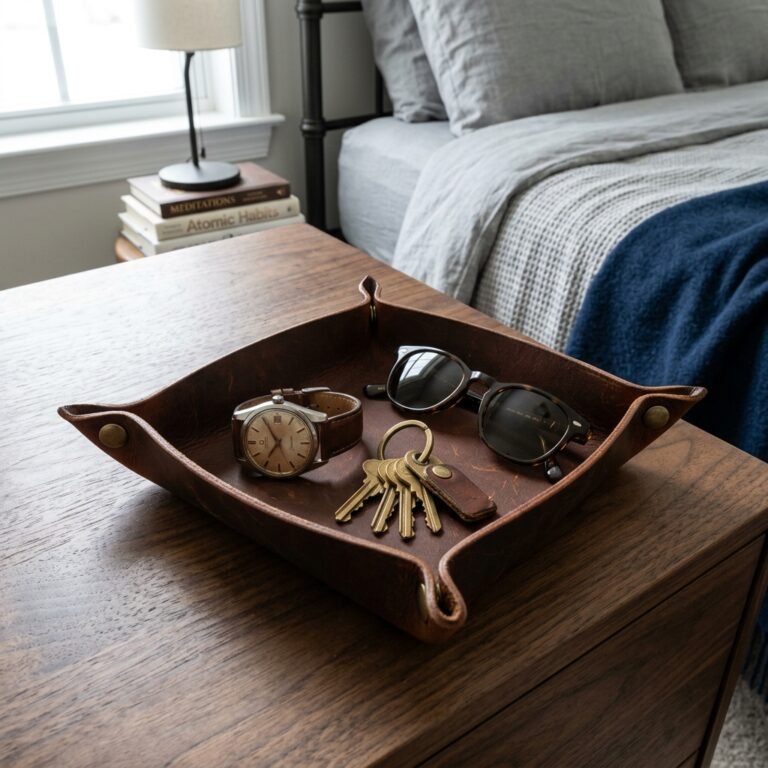

The War on Closet Chaos: Why You Need This Build
Let’s face it: a man’s tie collection is often the most neglected part of his wardrobe. We spend good money on silk, wool, and knit neckwear, only to have them end up draped over a plastic hanger or, worse, crumpled in a drawer. If you’ve looked at professional closet organizers lately, you’ve probably seen wooden tie racks retailing for $30 to $60. As a frugal DIYer, those prices should make your skin crawl. Why buy a mass-produced piece of plastic when you can craft a masculine-elegant, solid wood rack for under $5?
This project isn’t just about saving money; it’s about the satisfaction of building something with your own two hands that looks like it belongs in a high-end boutique. Whether you are a handy parent looking to organize the master suite or a crafty gift-giver searching for the perfect Father’s Day present, this guide will walk you through every cut, sand, and screw. We are going to take basic materials—often things you already have in your scrap bin—and turn them into a functional piece of art.
“A well-organized closet is the first step toward a well-organized mind. Don’t pay for what you can build with a little grit and a few spare minutes.”
Scouting Your Materials: The $5 Budget Breakdown
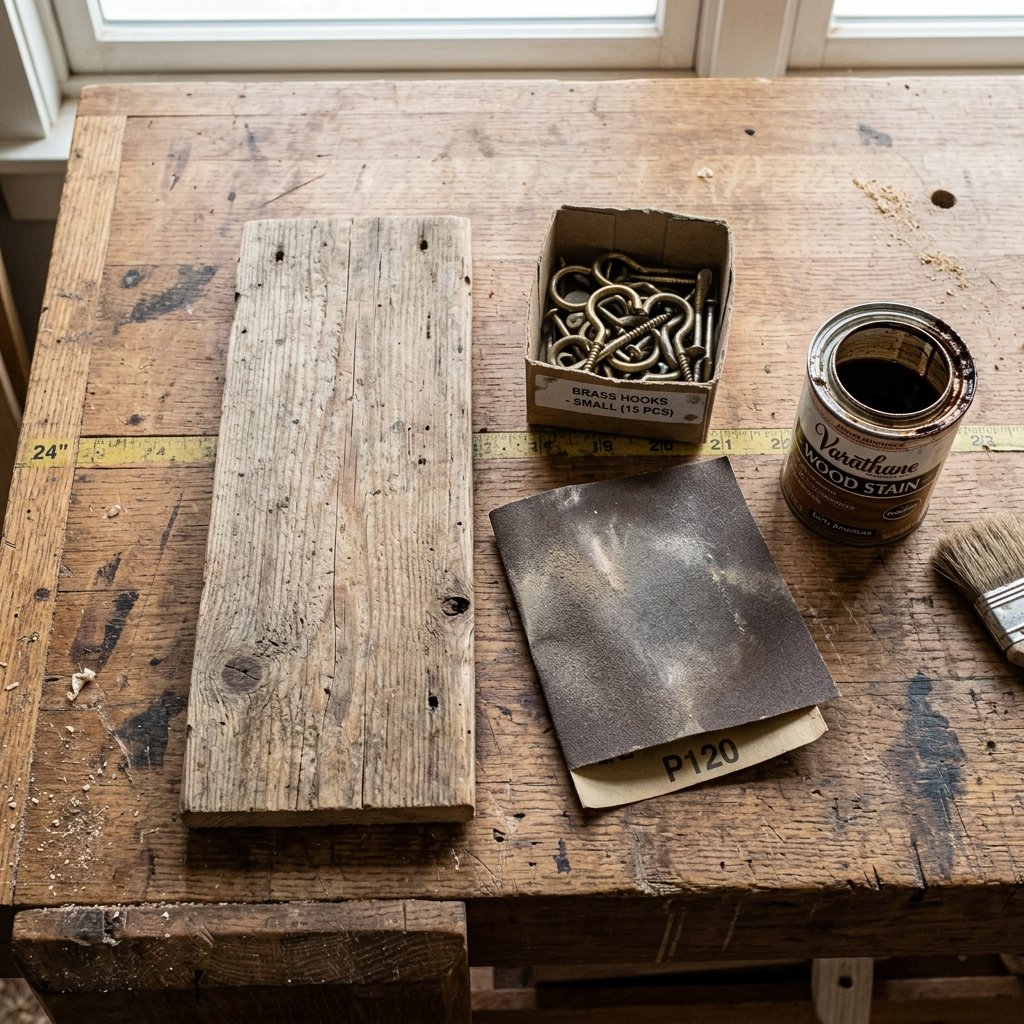
Resourceful Sourcing for the Budget-Savvy
The secret to keeping this project under $5 is resourcefulness. We aren’t heading to the premium hardwood aisle at the big-box store. Instead, we are looking for pine, poplar, or even high-quality pallet wood scraps. A single 1×3 board that is 18 inches long is all you need for the base. If you don’t have scraps, check the ‘cull lumber’ bin at your local hardware store where slightly bowed or ‘imperfect’ boards are often marked down by 70% to 90%.
The Material List
| Item | Source | Estimated Cost |
|---|---|---|
| 1×3 Pine Board (18″) | Scrap Bin / Cull Lumber | $0.50 – $1.00 |
| Small Brass L-Hooks (20 count) | Dollar Store / Bulk Pack | $2.00 – $3.00 |
| Sandpaper (120 & 220 Grit) | Workshop Stash | $0.50 |
| Wood Stain or Coffee | Pantry / Leftovers | $0.00 |
| Picture Hanging Wire/Hook | Hardware Stash | $0.50 |
| Total Project Cost | – | $4.50 – $5.00 |
Check your garage for ‘oops’ cans of stain or even dark wood furniture polish. If you truly have nothing, you can use strong black coffee or a mixture of vinegar and steel wool to create a beautiful, aged patina for $0. This is the essence of being a crafty expert: using what you have to create something better than what you could buy.
The Blueprint: Measuring for Maximum Capacity
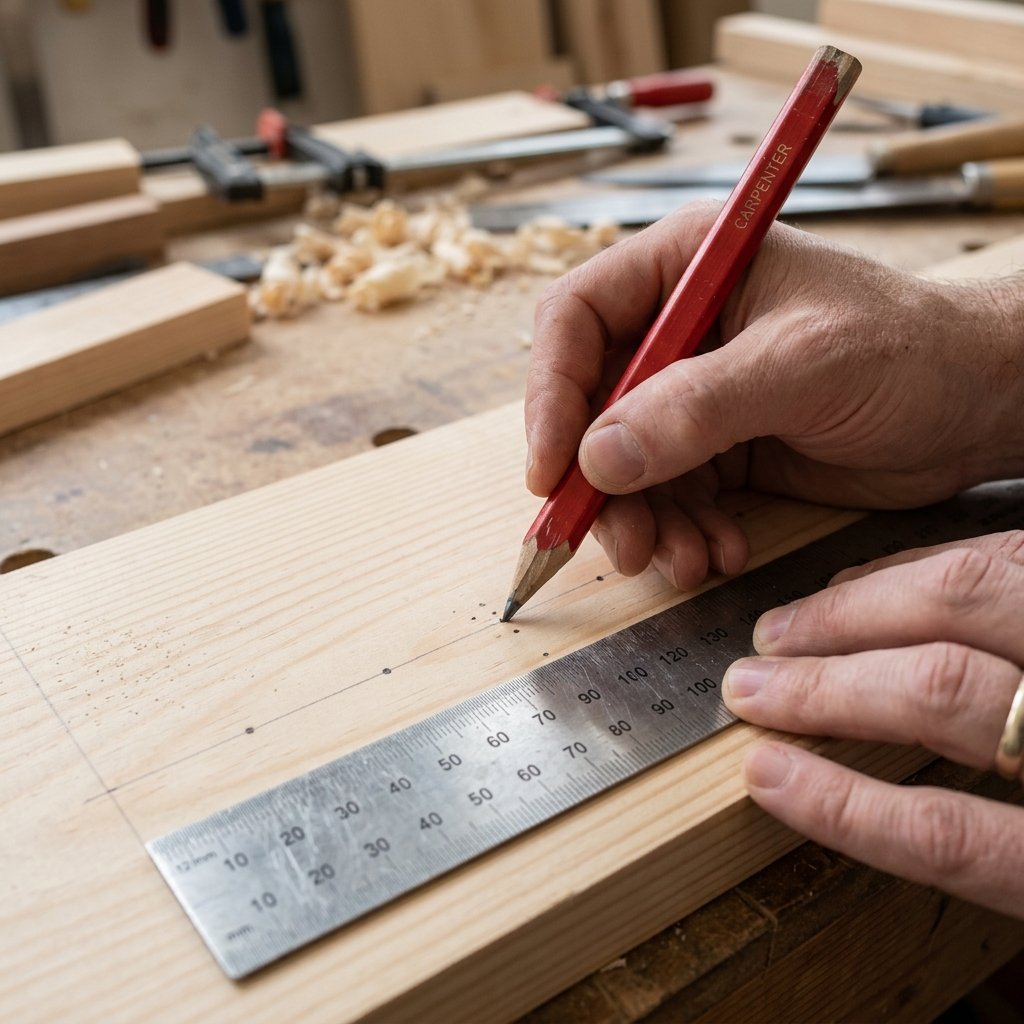
Precision Planning for the Perfect Hang
Before we touch a saw, we need a plan. A standard tie rack needs to accommodate the width of the ties without them overlapping too much. For an 18-inch board, we can comfortably fit 20 ties (10 on each side, or 20 in a single row if staggered). Use a pencil and a ruler to mark your hook placements. I recommend a 1.5-inch gap between hooks to ensure the ties don’t feel crowded.
Step-by-Step Layout Instructions
- Measure 1 inch in from each end of the board to allow for mounting hardware.
- Mark a center line horizontally across the board.
- Starting from your 1-inch mark, make a dot every 1.5 inches along that center line.
- If you want a ‘double-decker’ look, create two rows of marks, staggered so the top ties hang between the bottom ones.
“Measure twice, cut once, and drill even more carefully. Consistency in your spacing is what separates a ‘craft project’ from a ‘professional fixture’.”
Crafting the Rack: Cutting and Sanding
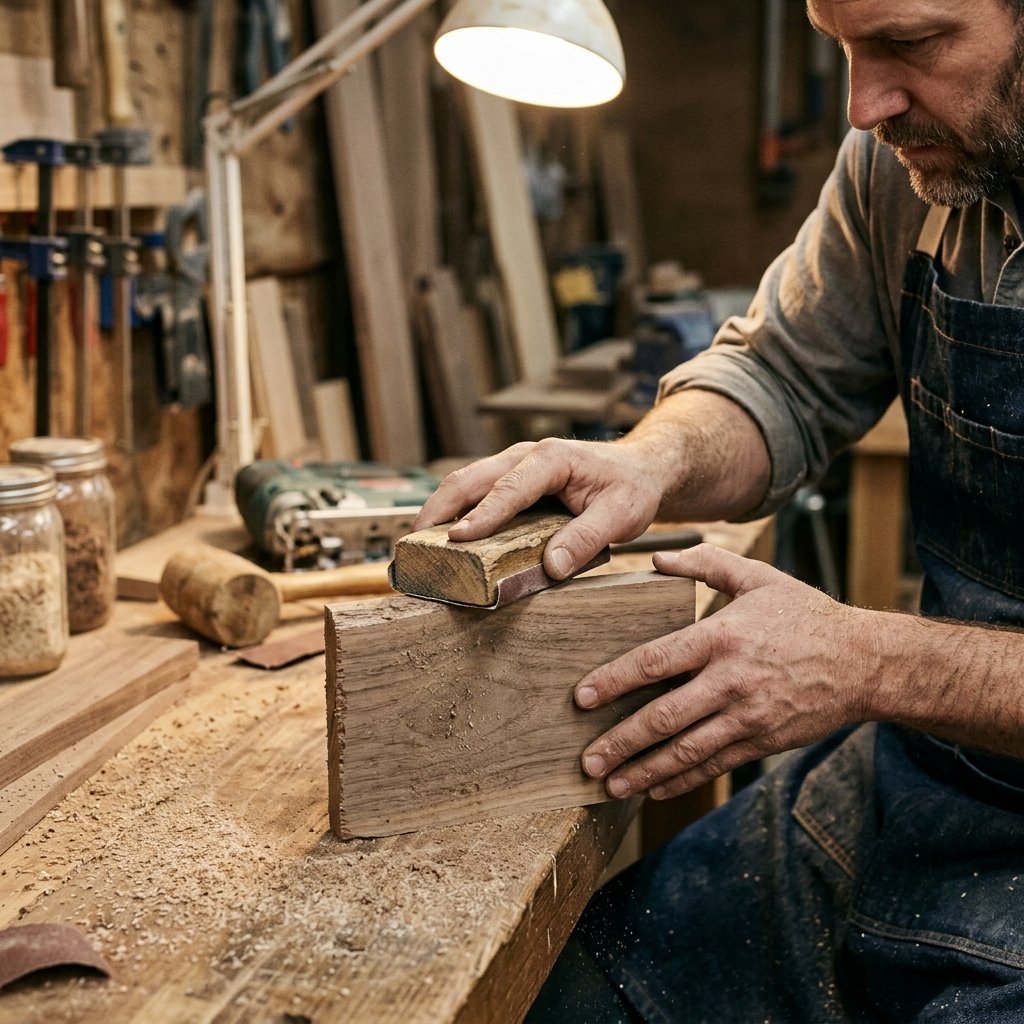
The Rugged Work: Shaping the Wood
Now it’s time for some manual labor. If your scrap wood is longer than 18 inches, use a hand saw to trim it down. The beauty of this project is its simplicity—you don’t need a miter saw or a table saw. A simple $10 hand saw will do the trick. Once cut, the most important step for a ‘masculine-elegant’ finish is the sanding. You want the edges to be slightly rounded (eased) so they feel soft to the touch and don’t snag your silk ties.
Sanding for Success
- Start with 120 Grit: Remove any stamps, rough saw marks, or splinters. Sand in the direction of the grain.
- Finish with 220 Grit: This makes the wood feel like glass. Spend at least 5 minutes on this stage.
- Soft Corners: Gently rub the sandpaper over the sharp edges of the board at a 45-degree angle to ‘break’ the edge.
Safety Note: Always wear a dust mask when sanding, especially if you are using reclaimed wood or pallets, as they can contain treatments or old finishes that shouldn’t be inhaled.
The Assembly: Installing Hardware with Ease
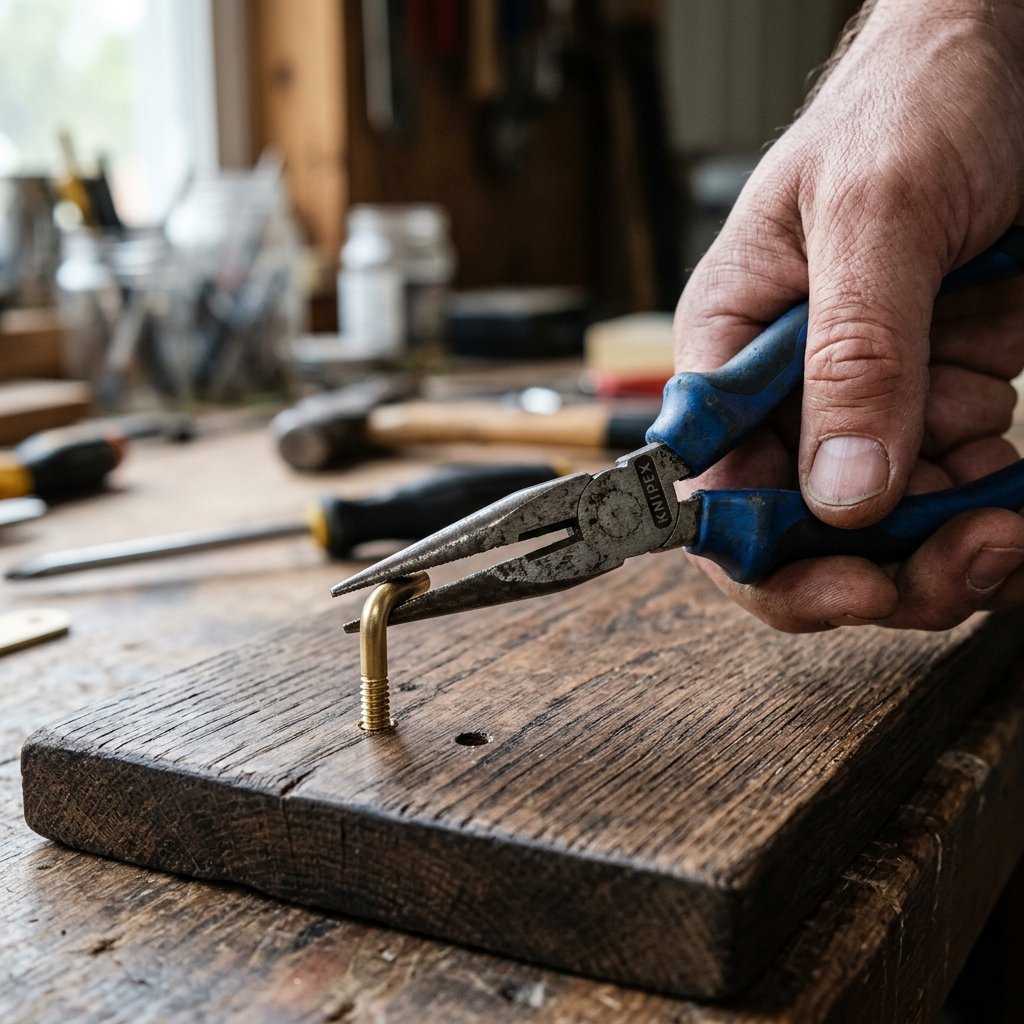
Driving it Home: The Hook Installation
Installing the hooks is where the rack truly takes shape. If you try to screw brass hooks directly into dry pine, you run a 90% risk of splitting the wood or snapping the head off the hook. You must pre-drill your holes. Use a drill bit that is slightly smaller than the shank of your L-hook. This ensures the threads catch firmly without stressing the wood fibers.
The Pro-Tip for Hook Alignment
To get all your hooks perfectly vertical without hurting your fingers, use a pair of pliers to finish the final turns. Once the hook is almost flush, give it one last turn so the ‘L’ shape points directly upward. This uniformity creates that high-end, bespoke look we are aiming for.
| Action | Tool Needed | Time Required |
|---|---|---|
| Pre-Drilling Holes | Power Drill / 1/16″ Bit | 3 Minutes |
| Starting Hooks | Hand Power | 5 Minutes |
| Final Tightening | Needle-nose Pliers | 5 Minutes |
Finishing Touches: Stains, Seals, and Style
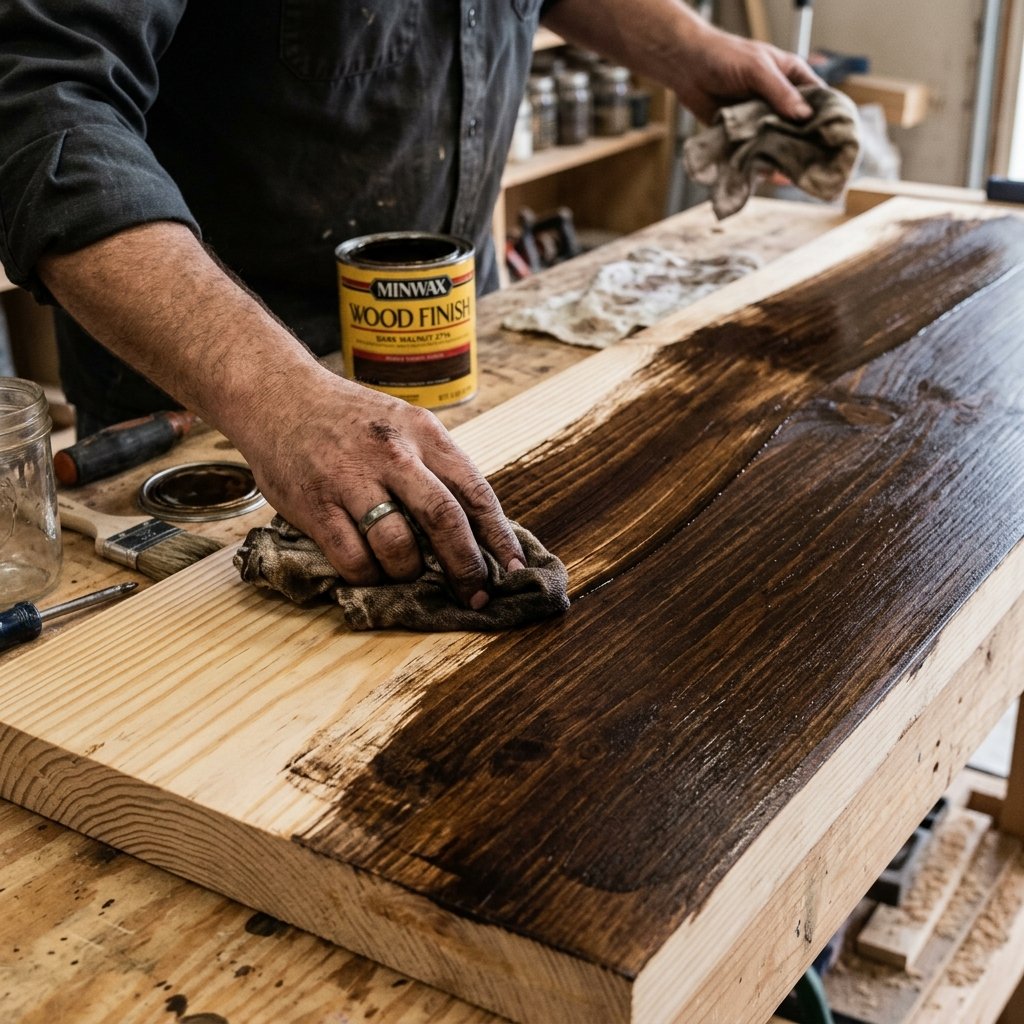
Achieving the Masculine-Elegant Aesthetic
A raw pine board looks like a 2×4 from a construction site. We want it to look like it came from a mahogany-clad library. This is where your budget-savvy finishing comes in. If you don’t have commercial stain, grab a box of cheap black tea. Steep three bags in half a cup of water and wipe it on. It will react with the tannins in the wood for a subtle, aged look. For a deeper, rugged finish, use a rag to rub in some dark walnut stain, then immediately wipe away the excess.
Protection for Your Ties
Since ties are often made of delicate silk, you must ensure the finish is completely cured and smooth. I recommend a quick coat of paste wax or even a bit of clear spray sealer. This prevents any oils from the stain from leaching into your expensive neckwear.
“The finish isn’t just about looks; it’s about protecting the investment you’ve made in your wardrobe. Smooth as silk is the goal.”
The Comparison: DIY vs. Big Box Store
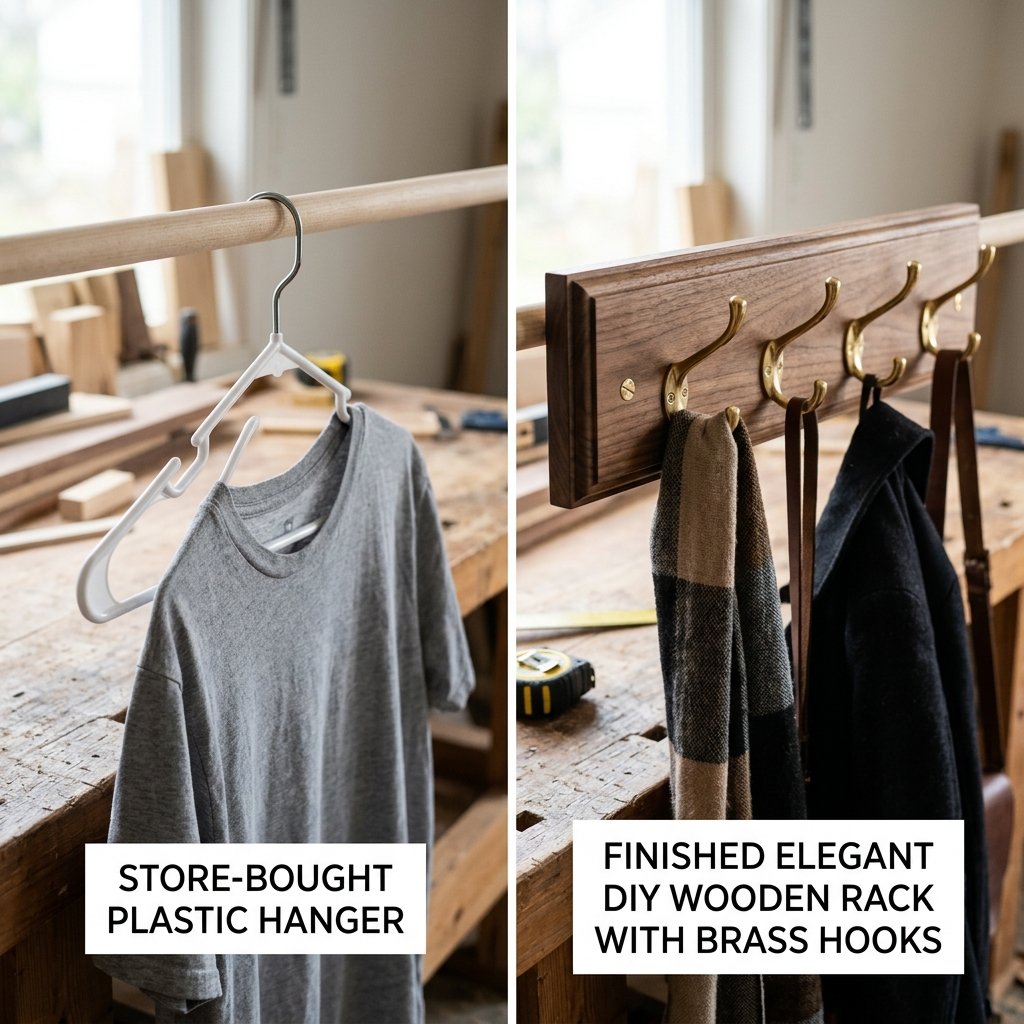
Why We DIY: The Value Proposition
Still not convinced? Let’s look at the numbers. When you buy a tie rack from a high-end home store, you aren’t just paying for the wood. You are paying for the shipping, the branding, the retail markup, and the plastic packaging. By building it yourself, you keep $25+ in your pocket and end up with a superior product made of solid wood rather than particle board or flimsy plastic.
| Feature | Store-Bought (Standard) | DIY Wooden Rack |
|---|---|---|
| Material | Plastic or Veneer | Solid Wood |
| Customization | None | Infinite (Size/Color) |
| Durability | Low (Snaps easily) | High (Lifetime use) |
| Price | $29.99 | $4.50 |
| Pride Factor | Zero | Off the Charts |
For the handy parent, this is also a fantastic project to do with a child. It teaches them the value of tools, the importance of measuring, and the satisfaction of frugal living through creativity.
Conclusion
Mastering Your Domain, One Tie at a Time
Building this $5 wooden tie rack is more than just a weekend project; it’s a statement of self-reliance. You’ve taken a few scraps of wood and some basic hardware and transformed them into a rugged, practical, and elegant solution for your closet. No more digging through drawers or dealing with tangled silk. You now have a custom piece of organization that looks like it cost ten times what you paid.
Remember, the skills you used here—measuring, pre-drilling, sanding, and finishing—are the foundation for almost every other woodworking project. Now that you’ve mastered the tie rack, what’s next? A matching belt rack? A valet tray? The world of trash-to-treasure upcycling is wide open. Go forth, stay frugal, and keep building!

Makenzie is the founder and lead writer at MoneyHackTips.com — a personal finance blog dedicated to delivering street-smart financial wisdom for real people on real budgets. With 300+ published articles covering everything from debt management to investing fundamentals, Makenzie’s mission is to make every dollar work harder. When not writing about money hacks, Makenzie is testing frugal living strategies, optimizing side hustles, and helping readers build financial freedom from scratch.