
The Quest for the Perfect Nightstand Organizer
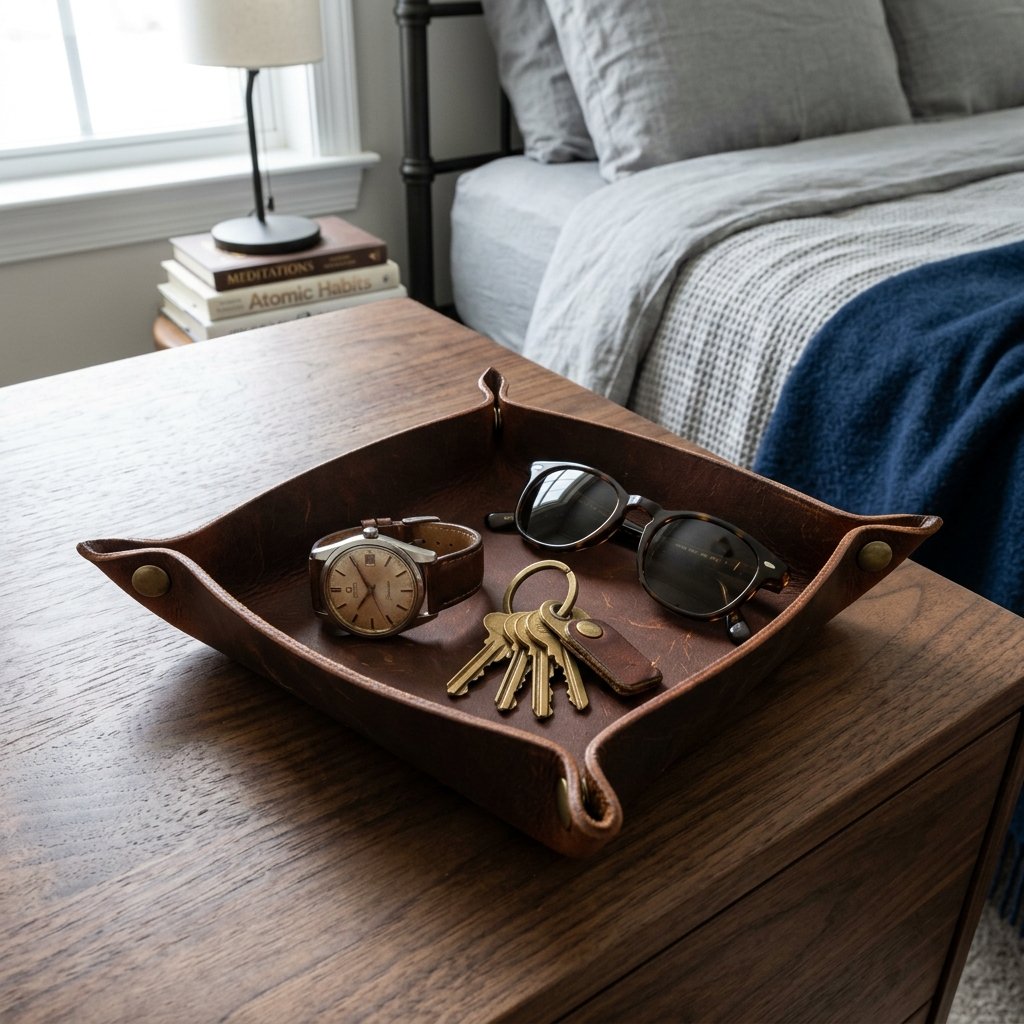
Let’s be honest: most men’s nightstands are a chaotic battlefield of loose change, tangled charging cables, and stray keys. We want to be organized, but plastic bins feel too clinical, and high-end leather goods from brands like Coach or Shinola can easily set you back $100 to $150. As a frugal DIYer, you know there is a better way. You can achieve that rugged, masculine-elegant aesthetic using basic tools and a bit of resourcefulness. This guide will show you how to craft a premium leather valet tray that looks like it belongs in a Madison Avenue boutique, but costs less than a fancy lunch.
The secret to a truly ‘high-end’ look isn’t just the material; it’s the finishing. By focusing on edge burnishing and hardware selection, we can turn a simple piece of cowhide into a sophisticated heirloom. Whether you are making this for yourself, as a Father’s Day gift, or as a budget-friendly groomsman present, this project is the ultimate ‘trash-to-treasure’ victory for the savvy maker.
The Budget Breakdown: Luxury vs. DIY

Before we pick up a knife, let’s look at the numbers. Why spend a week’s grocery budget on a branded tray when you can source the materials for pennies? Below is a comparison of what you’re getting into versus the retail giants.
| Feature | Store-Bought (Premium Brand) | DIY ‘Coach’ Dupe |
|---|---|---|
| Material | Genuine Leather | Full-Grain Veg-Tan Scrap |
| Hardware | Standard Steel | Solid Antique Brass |
| Price Tag | $125.00 | $8.50 – $12.00 |
| Time Investment | 10 Minutes (Shopping) | 45 Minutes (Crafting) |
| Satisfaction | Low | Extremely High |
By sourcing leather remnants or upcycling an old, heavy-duty leather jacket or belt, your costs can drop to nearly $0. For this project, we recommend a 5-6 oz weight leather for the perfect balance of flexibility and structure.
Gathering Your Rugged Toolkit
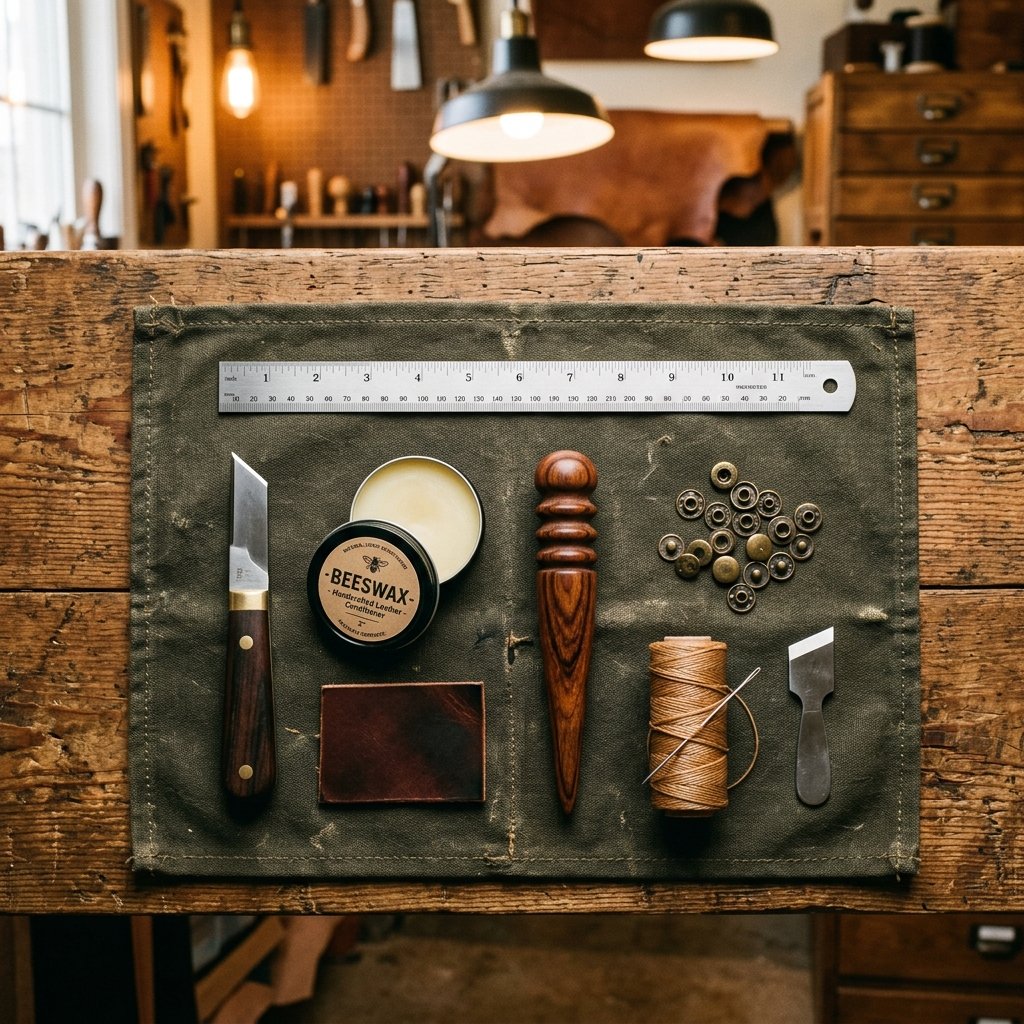
You don’t need a professional leather studio to get professional results. Most of these items are already in your junk drawer or can be found at a local craft store for a few dollars. If you’re a true frugal guru, you’ll find clever substitutes for the specialized tools.
- Leather Piece: An 8″ x 8″ square of vegetable-tanned leather (look for ‘scraps’ or ‘remnants’ online).
- Rotary Cutter or Utility Knife: For clean, crisp edges.
- Heavy-Duty Snaps or Rivets: Antique brass or gunmetal finishes provide that ‘Coach’ vibe.
- Snap Setter Tool: A basic kit is usually under $10.
- Edge Burnisher: A wooden dowel or even the back of a smooth plastic spoon works in a pinch!
- Water and Beeswax: For sealing those edges to a mirror shine.
Budget Mantra: The quality of the finish matters more than the price of the tool. Patience is your most valuable resource.
Step 1: Precision Cutting and Corner Prep

The difference between a ‘craft project’ and a ‘designer piece’ is the geometry. Start by cutting your leather into a perfect square. For a standard valet tray, an 8″ x 8″ square is ideal, resulting in a finished tray roughly 6″ x 6″.
- Measure twice, cut once: Use a metal ruler to ensure your lines are perfectly straight.
- The Corner Notch: To allow the leather to fold upward, you need to mark your snap placement. Measure 1.5 inches in from each corner on both sides. This is where your hardware will live.
- Rounding the Edges: Use a coin (a quarter works perfectly) as a template to trim the sharp corners into smooth, professional curves.
If you are upcycling an old leather bag, ensure you avoid any deep cracks or holes in the leather. We want a smooth, consistent surface for the interior of the tray where the ‘treasures’ will sit.
Step 2: The Secret to the ‘Coach’ Finish—Burnishing

Raw, fuzzy edges scream ‘amateur.’ To get that sleek, boutique look, we must burnish. This process uses friction to heat the leather fibers and bind them together with a sealant.
The Poor Man’s Burnishing Technique
- Dampen the edges of your leather square with a tiny amount of water.
- Rub the edge vigorously with a wooden burnisher or a piece of heavy denim fabric.
- Once the edge starts to look dark and smooth, apply a small amount of beeswax or even clear lip balm (if you’re really being resourceful!).
- Rub again until the edge shines. This creates a moisture-resistant barrier and a high-end aesthetic.
This step takes about 15 minutes but adds $50 of perceived value to the finished product.
Step 3: Hardware Installation and Assembly

Now it’s time to give the tray its shape. We are using snaps instead of permanent rivets so that the tray can be flattened for travel—a classic feature of high-end leather goods.
| Step | Action | Pro Tip |
|---|---|---|
| 1. Punch Holes | Use a leather punch or a sturdy nail at your 1.5″ marks. | Place a scrap piece of wood underneath to protect your table. |
| 2. Set Snaps | Insert the ‘male’ and ‘female’ parts of the snap into the holes. | Ensure the finished side of the snap faces outward. |
| 3. Hammer Time | Use your setting tool and a mallet to crimp the snaps together. | Don’t over-hammer, or you might crack the hardware. |
Once all four corners are snapped together, the flat square will transform into a structured tray. The tension of the leather should hold the walls upright and sturdy.
Folding Instruction: Pinch the corners together so the ‘pretty’ side of the leather forms the interior walls, then snap the hardware shut to lock the shape.
Step 4: Customization and Masculine Elegance

To truly rival a designer brand, consider adding a personalized touch. This is where you turn a simple object into a cherished gift. You can use a cheap set of metal letter stamps to emboss initials into the center of the tray.
How to Stamp Leather Like a Pro
- Lightly dampen the area you want to stamp with a sponge (this is called ‘casing’ the leather).
- Wait a minute until the leather returns to its natural color but feels cool to the touch.
- Place your stamp and give it one firm, vertical strike with a hammer.
- Do not double-hit, or you will get a ‘ghost’ image.
For a ‘Coach’ inspired look, keep the branding minimal. A simple set of initials in the bottom right corner or a small geometric icon in the center is all you need.
Maintenance: Keeping It Classy
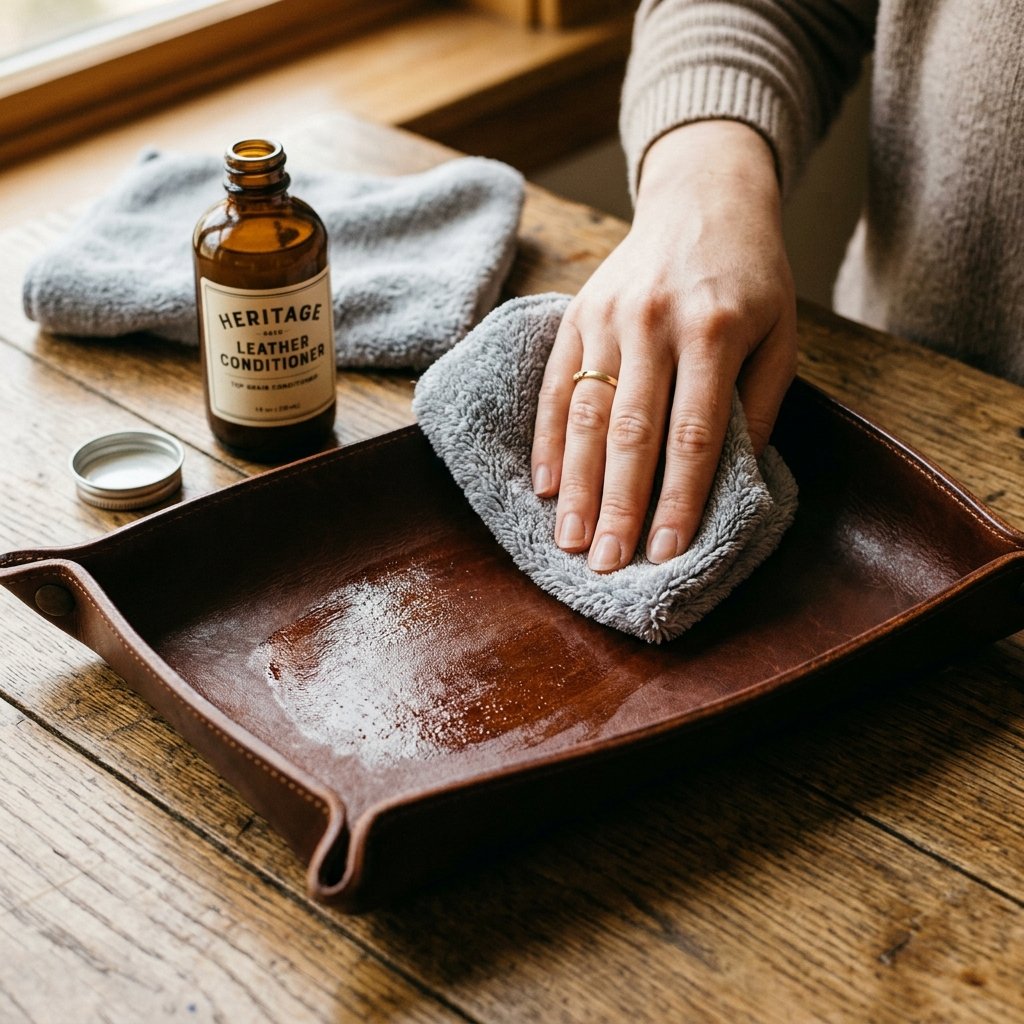
Leather is a natural material that gets better with age, developing a unique ‘patina.’ However, it does need a little love. To keep his nightstand looking sharp for years, follow these simple maintenance tips using household items.
- Conditioning: Every six months, rub a tiny amount of olive oil or coconut oil into the leather to keep it from drying out.
- Cleaning: Use a damp cloth to wipe away dust. Never soak the leather in water.
- Reshaping: If the tray loses its shape, simply unsnap it, lay it flat under a heavy book overnight, and re-snap it in the morning.
Conclusion
The $10 Masterpiece
Congratulations! You’ve just turned a humble piece of leather into a sophisticated organization tool that would look right at home in a high-end department store. By choosing to DIY, you’ve saved over $100, learned the ancient art of edge burnishing, and created a gift that is both rugged and elegant. This valet tray isn’t just a place for his keys; it’s a testament to your resourcefulness and craft. Now, go ahead and clear off that nightstand—style has finally arrived.

Makenzie is the founder and lead writer at MoneyHackTips.com — a personal finance blog dedicated to delivering street-smart financial wisdom for real people on real budgets. With 300+ published articles covering everything from debt management to investing fundamentals, Makenzie’s mission is to make every dollar work harder. When not writing about money hacks, Makenzie is testing frugal living strategies, optimizing side hustles, and helping readers build financial freedom from scratch.