
The Magic of Cardboard Engineering
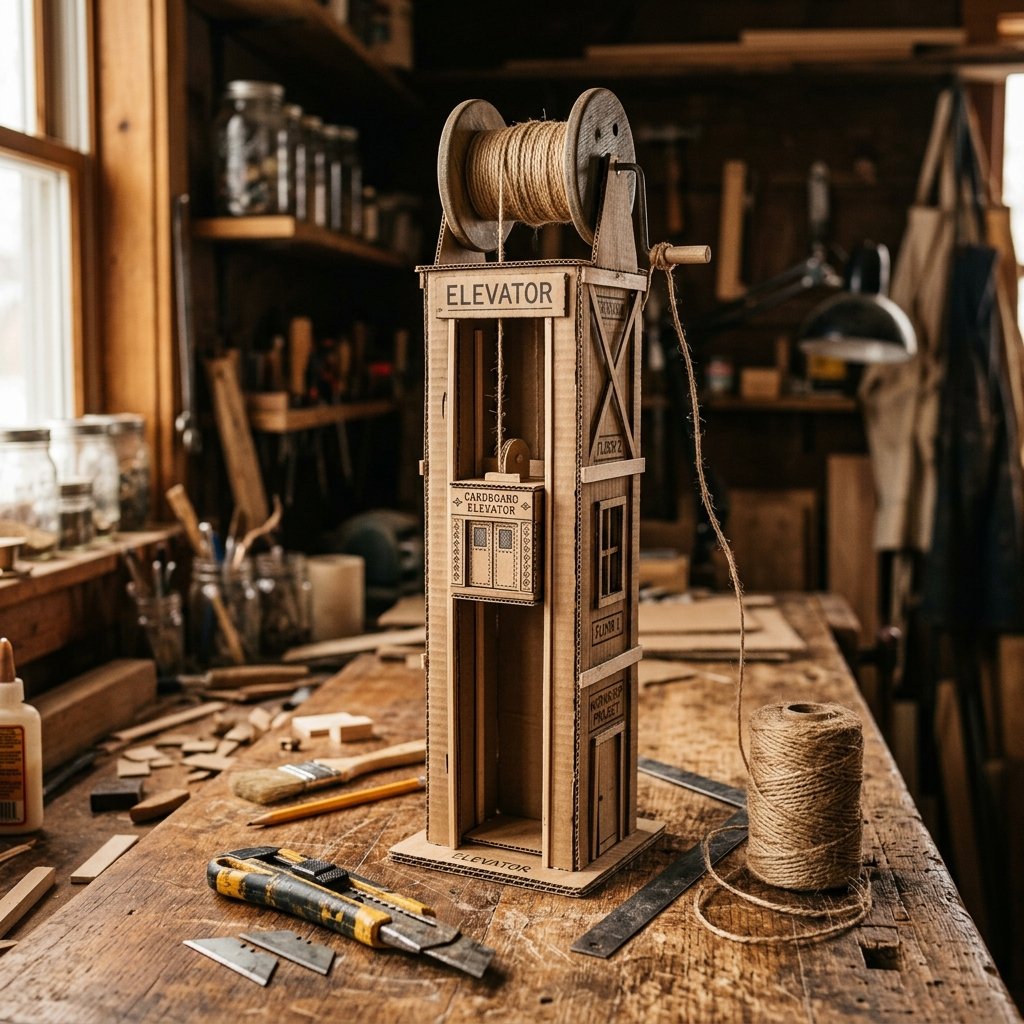
Welcome to the ultimate workshop where we turn the mundane into the magnificent. If you have a stack of shipping boxes gathering dust in the garage, you aren’t looking at trash—you are looking at the raw materials for an engineering marvel. The DIY Elevator Toy is more than just a plaything; it is a hands-on introduction to the world of physics, mechanical advantage, and the sheer joy of creating something from nothing. As frugal DIYers, we know that the best toys aren’t bought; they are built with grit, imagination, and a little bit of hot glue. In this guide, we are going to construct a multi-level elevator shaft featuring a working pulley system that will fascinate kids and adults alike. This project is rugged, practical, and incredibly rewarding. We are moving beyond simple crafts and stepping into the realm of home-grown robotics. Let’s get to work and show the world what a budget-savvy parent can do with a bit of resourcefulness.
The goal isn’t just to build a toy; it’s to build a memory of how we solved a problem with our own two hands.
The Scavenger Hunt: Sourcing Your Structural Steel
Gathering Your Materials
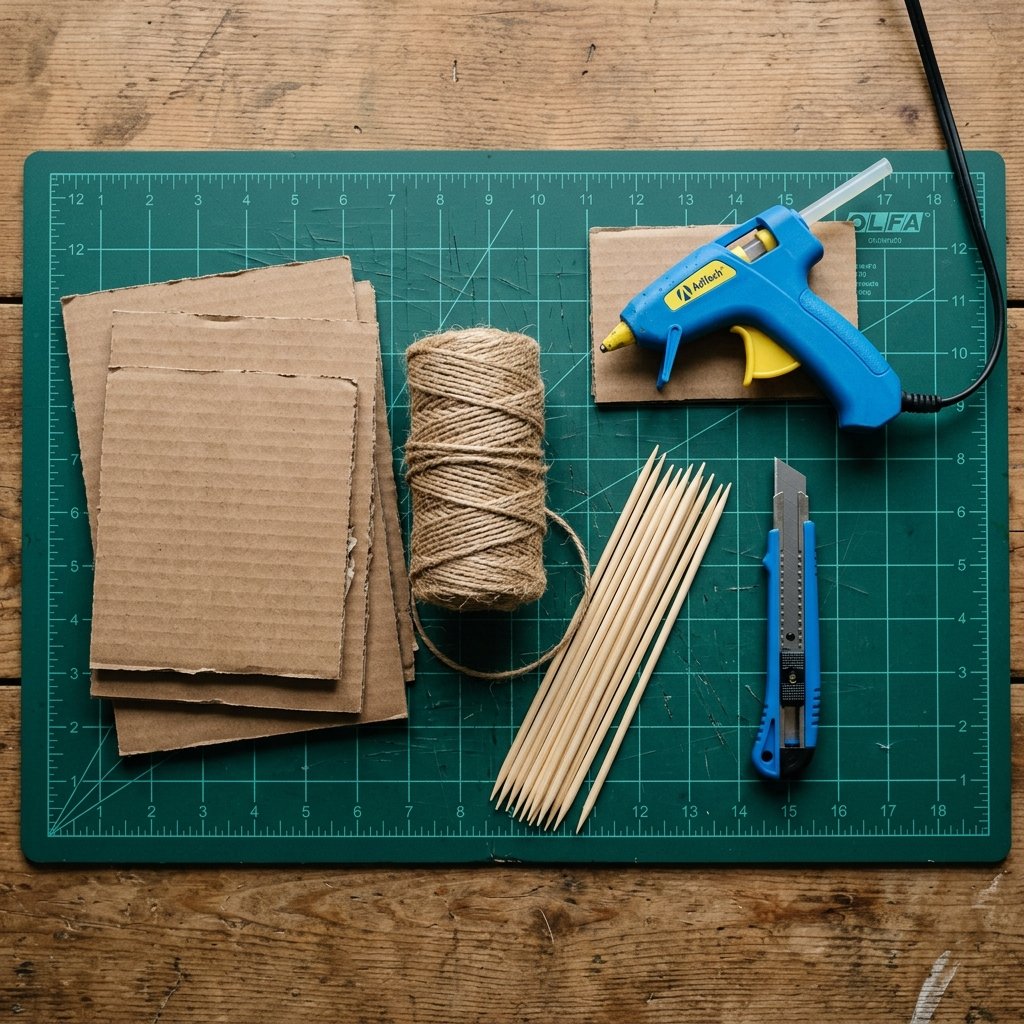
Before we make our first cut, we need to secure our supplies. The beauty of this project is that 90% of it should already be in your home. We are looking for high-quality, double-walled cardboard for the main shaft to ensure structural integrity. Avoid thin cereal boxes for the frame; we need the heavy-duty stuff that holds appliances or bulk deliveries. For the pulley, a simple wooden skewer and an empty thread spool will act as our winch. This is where your clever, resourcefully-creative mind shines—look at every piece of ‘trash’ as a potential component.
Materials List & Cost Breakdown
| Item | Purpose | Estimated Cost |
|---|---|---|
| Heavy Duty Cardboard | Elevator Shaft & Car | $0.00 |
| Wooden Skewers | Axle for Pulley | $0.10 |
| Cotton Twine or Paracord | The Hoist Cable | $0.20 |
| Empty Thread Spool | The Winch Drum | $0.00 |
| Hot Glue / Wood Glue | Adhesive | $0.50 |
| Total Investment | Professional Grade Fun | $0.80 |
The Comparison: Store-Bought vs. DIY
| Feature | Plastic Store Toy | DIY Cardboard Masterpiece |
|---|---|---|
| Price | $45.00 – $60.00 | Under $1.00 |
| Repairability | Impossible (Brittle Plastic) | Easy (Tape and Glue) |
| Educational Value | Low (Pre-assembled) | High (Hands-on Physics) |
| Customization | None | Infinite |
Foundation and Frame: Engineering the Elevator Shaft

Building the Tower
The shaft is the backbone of your elevator. It needs to be tall, straight, and sturdy. We recommend a height of at least 24 inches to allow for multiple floors. Start by cutting four identical rectangular panels. One of these panels will be your ‘front’—this is where you will cut out the doors for each floor. Precision is key here; use a metal ruler to ensure your lines are crisp and your corners are square. A true craftsman knows that a sturdy foundation prevents mechanical failure later on.
Step-by-Step Shaft Assembly
- Measure and cut four panels of 6×24 inches.
- On the front panel, mark floor openings at 0 inches, 8 inches, and 16 inches.
- Carefully cut out the door rectangles using a sharp utility knife.
- Glue the panels together to form a long rectangular column. Pro Tip: Use masking tape to hold the corners in place while the glue sets.
- Reinforce the internal corners with ‘L-shaped’ cardboard scraps for extra rigidity.
Measure twice, cut once, and always keep your blade sharp for the cleanest edges.
The Mechanical Core: Mastering Tension and Friction
Designing the Pulley System
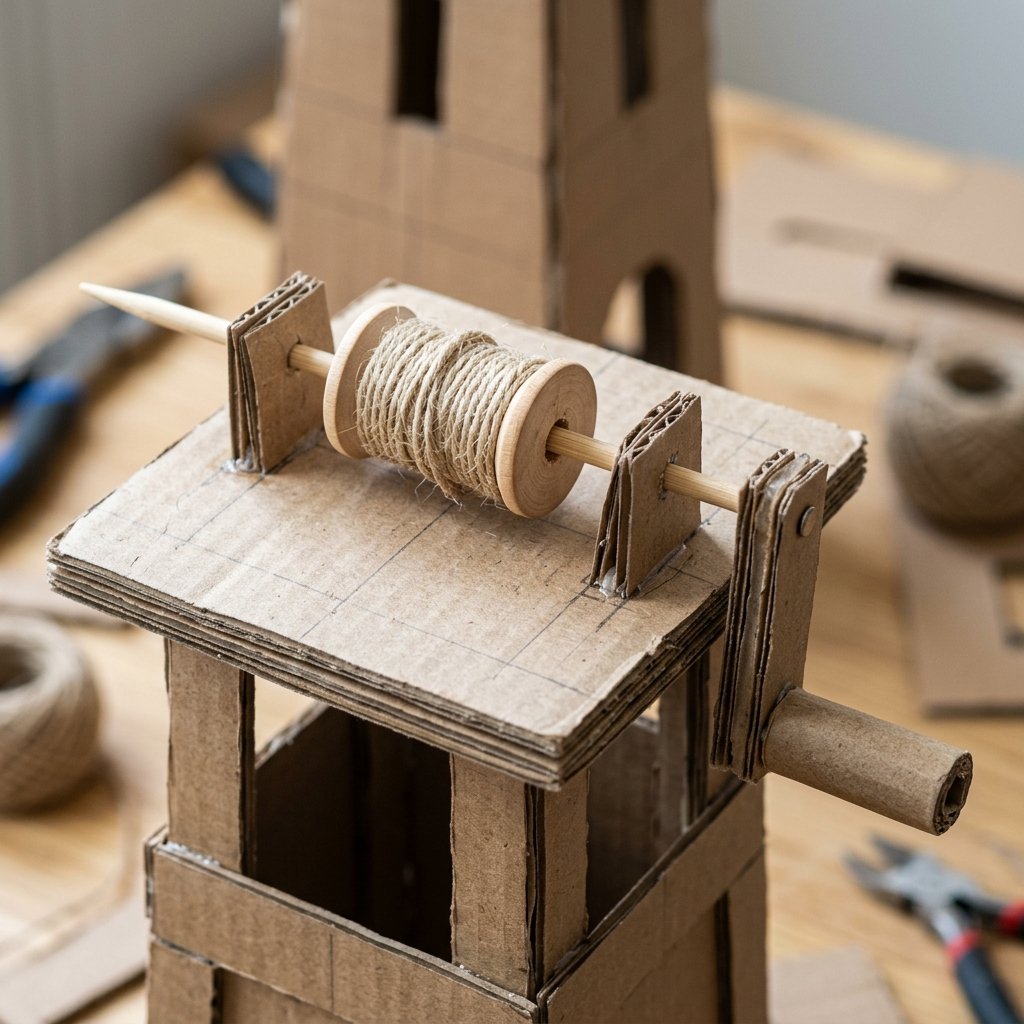
This is where the magic happens. A pulley system is a simple machine that redirects force. For our elevator, we will create a top-mounted winch. By rotating a handle at the top, the twine will wrap around a spool, lifting the elevator car. To make it truly ‘cool,’ we will incorporate a guide system using straws or small cardboard tubes to ensure the string doesn’t jump off the track. This is practical engineering at its finest.
The Winch Assembly
- The Axle: Pierce a wooden skewer through the top sides of the elevator shaft, about 1 inch from the peak.
- The Drum: Slide an empty thread spool onto the skewer inside the shaft. Secure it with a dab of hot glue so the spool turns with the skewer.
- The Crank: On the outside of the shaft, create a handle by gluing a small ‘L-shaped’ piece of cardboard to the end of the skewer.
- The Cable: Tie your twine securely to the center of the spool. Wind it a few times to ensure it has ‘grip.’
Ensure there is minimal friction between the skewer and the cardboard walls. If it’s sticking, widen the holes slightly or rub a little candle wax on the wood to act as a dry lubricant.
The Lift Cabin: Interior Design on a Micro-Budget

Crafting the Elevator Car
The car needs to be slightly smaller than the internal dimensions of the shaft to prevent jamming. If your shaft is 6×6 inches, make your car 5.5×5.5 inches. This clearance is vital for smooth operation. You can get creative here—add a ‘mirror’ using aluminum foil, or draw buttons for the different floors. This is the part your kids will interact with most, so make it rugged enough to handle heavy ‘cargo’ like action figures or toy cars.
Attaching the Hoist
- Construct a five-sided box (open at the front).
- Poke a small hole in the center of the ‘roof’ of the car.
- Thread the twine from your pulley through the hole and tie a large, secure knot on the underside.
- The Counterweight Trick: If the car is too light and the string tangles, glue a few pennies to the bottom of the car to add ‘ballast.’ This keeps the tension on the line perfect.
A balanced load is a happy load. Always test your tension before the final reveal.
The Physics of Play: Turning a Toy into a STEM Masterclass

Learning While Doing
Once the glue is dry and the elevator is operational, it’s time for the ‘Dad-expert’ or ‘Crafty-mom’ moment. Explain to the little ones how the pulley works. You’ve built a Class 1 Pulley. Discuss how the winch converts rotational motion into linear motion. This is the kind of practical knowledge that sticks. You can even challenge them to see how much weight the elevator can lift before the ‘cable’ snaps or the motor (their hand) gets tired.
STEM Concepts to Discuss
- Friction: Why do we need the spool to be smooth?
- Gravity: Why does the car fall if we let go of the handle?
- Mechanical Advantage: How does the diameter of the spool affect how fast the elevator moves?
- Load Bearing: How much weight can our cardboard floor hold?
This transforms a simple afternoon project into a foundational science lesson that feels like pure play. That is the hallmark of a truly clever DIYer.
Safety and Maintenance: Keeping the Gears Turning
Ensuring a Long-Lasting Toy
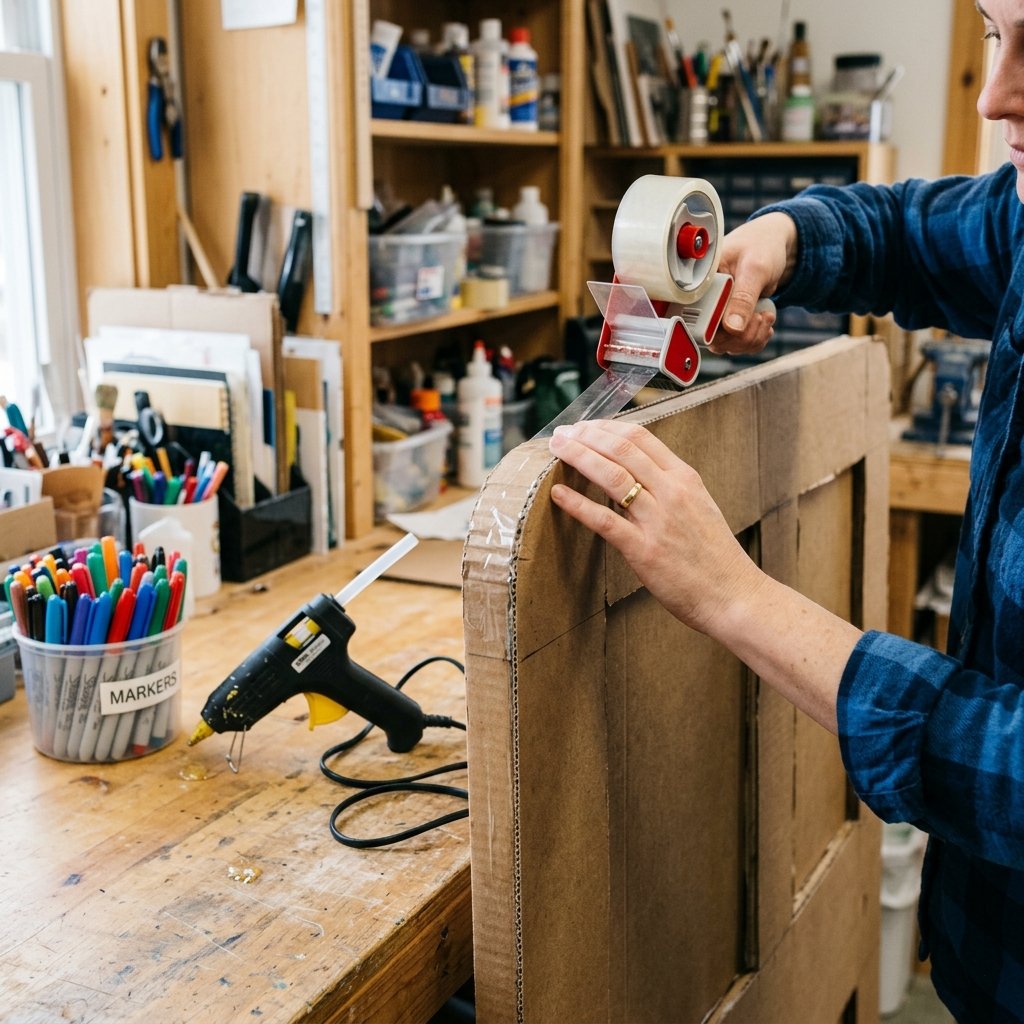
Cardboard is surprisingly durable, but it does have its limits. To ensure your masterpiece lasts through weeks of heavy play, consider a few pro-level reinforcements. Applying a thin layer of clear packing tape to the ‘high-traffic’ areas—like the edges of the doors and the handle—will prevent fraying and moisture damage. If the pulley starts to squeak, a tiny drop of vegetable oil or a rub of a crayon on the axle will keep it silent and smooth.
Safety Note: When building, ensure all utility knife work is done by an adult. For the kids, let them handle the ‘interior design’ with markers and stickers. Always keep small parts like beads or loose skewers away from toddlers.
| Potential Issue | Quick Fix |
|---|---|
| String Slipping | Add a guide loop made of a straw segment. |
| Wobbly Handle | Reinforce the skewer joint with a cardboard washer. |
| Sticking Car | Trim 1/8 inch off the sides for better clearance. |
Conclusion
The Triumph of the Trash-to-Treasure Guru
There you have it—the coolest cardboard toy ever, built for less than the price of a cup of coffee. You’ve taken basic household scraps and engineered a functional, educational, and incredibly fun toy that rivals anything found on a big-box store shelf. This project proves that you don’t need a massive budget to provide high-end experiences for your family; you just need a bit of resourcefulness and a ‘can-do’ attitude. Whether you’re a budget-savvy parent, a crafty gift-giver, or a frugal DIYer, building this elevator is a badge of honor. Now, go forth and upcycle! Your next masterpiece is probably sitting in your recycling bin right now.

Makenzie is the founder and lead writer at MoneyHackTips.com — a personal finance blog dedicated to delivering street-smart financial wisdom for real people on real budgets. With 300+ published articles covering everything from debt management to investing fundamentals, Makenzie’s mission is to make every dollar work harder. When not writing about money hacks, Makenzie is testing frugal living strategies, optimizing side hustles, and helping readers build financial freedom from scratch.