
The Magic of Trash-to-Treasure Learning
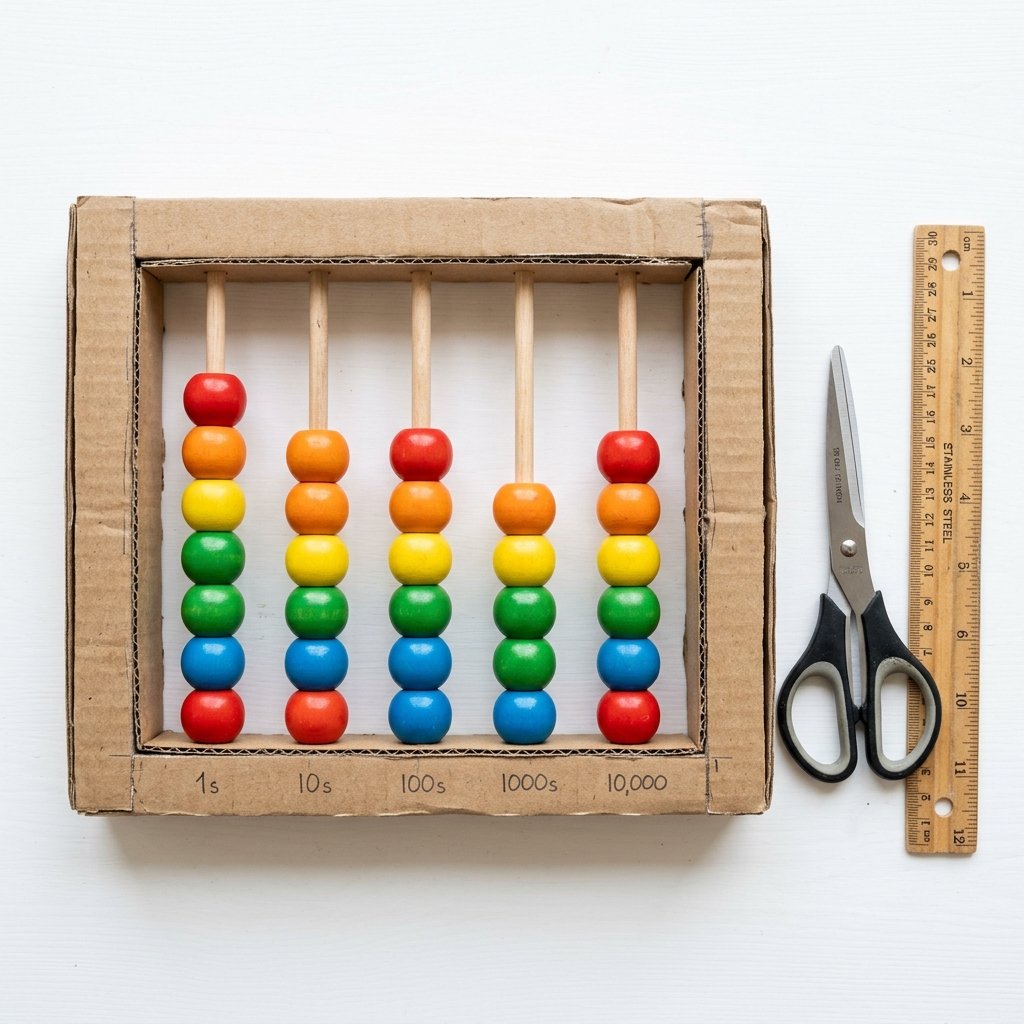
In a world of flashing plastic toys and expensive wooden ‘Montessori’ sets that can easily set you back $40 or more, there is a rugged, resourceful satisfaction in looking at a discarded shipping box and seeing a sophisticated mathematical tool. As a frugal DIYer, you know that the best toys aren’t bought; they are engineered at the kitchen table. Today, we are taking the humble cardboard box and upcycling it into a high-functioning counting abacus. This isn’t just about saving money; it’s about modeling creativity and resourcefulness for your children. In just 15 minutes, you can create a tactile, visual learning aid that helps toddlers master one-to-one correspondence, fine motor precision, and the basics of addition. This project is the epitome of masculine-elegant crafting—practical, sturdy, and undeniably clever.
The Blueprint: Why Cardboard is the King of Learning Tools
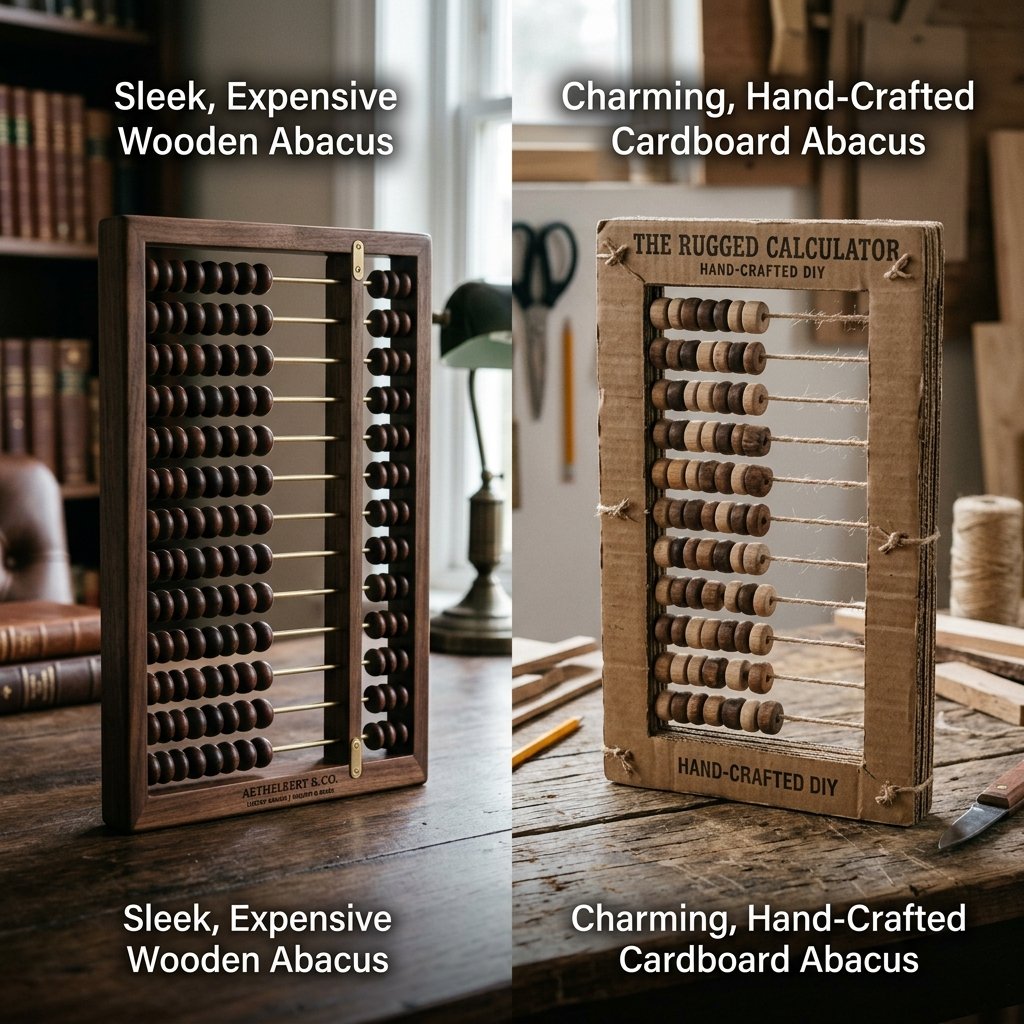
Before we pick up the utility knife, let’s talk strategy. Why cardboard? Aside from being 100% free, corrugated cardboard provides a structural integrity that is surprisingly durable for toddler play. It’s lightweight enough for small hands but rigid enough to stand upright during a math lesson. By choosing to build instead of buy, you are customizing the experience to your child’s needs. You can make the beads larger for tiny fingers or add more rows as they progress to hundreds and thousands.
Cost Comparison: DIY vs. Store-Bought
Let’s look at the numbers. A high-quality wooden abacus from a boutique toy store is a significant investment. Our DIY version? It’s practically negligible.
| Feature | Store-Bought Wooden Abacus | DIY Cardboard Abacus |
|---|---|---|
| Price | $25.00 – $45.00 | $0.00 – $2.00 |
| Material | Hardwood/Plastic | Recycled Corrugated Cardboard |
| Customization | None | Fully Adjustable |
| Build Time | N/A | 15 Minutes |
| Eco-Impact | New Production | 100% Upcycled |
Budget Mantra: Don’t pay for the brand name when you can build the utility. A toddler doesn’t care about the logo; they care about the movement of the beads.
Scavenging the Workshop: Materials and Tools
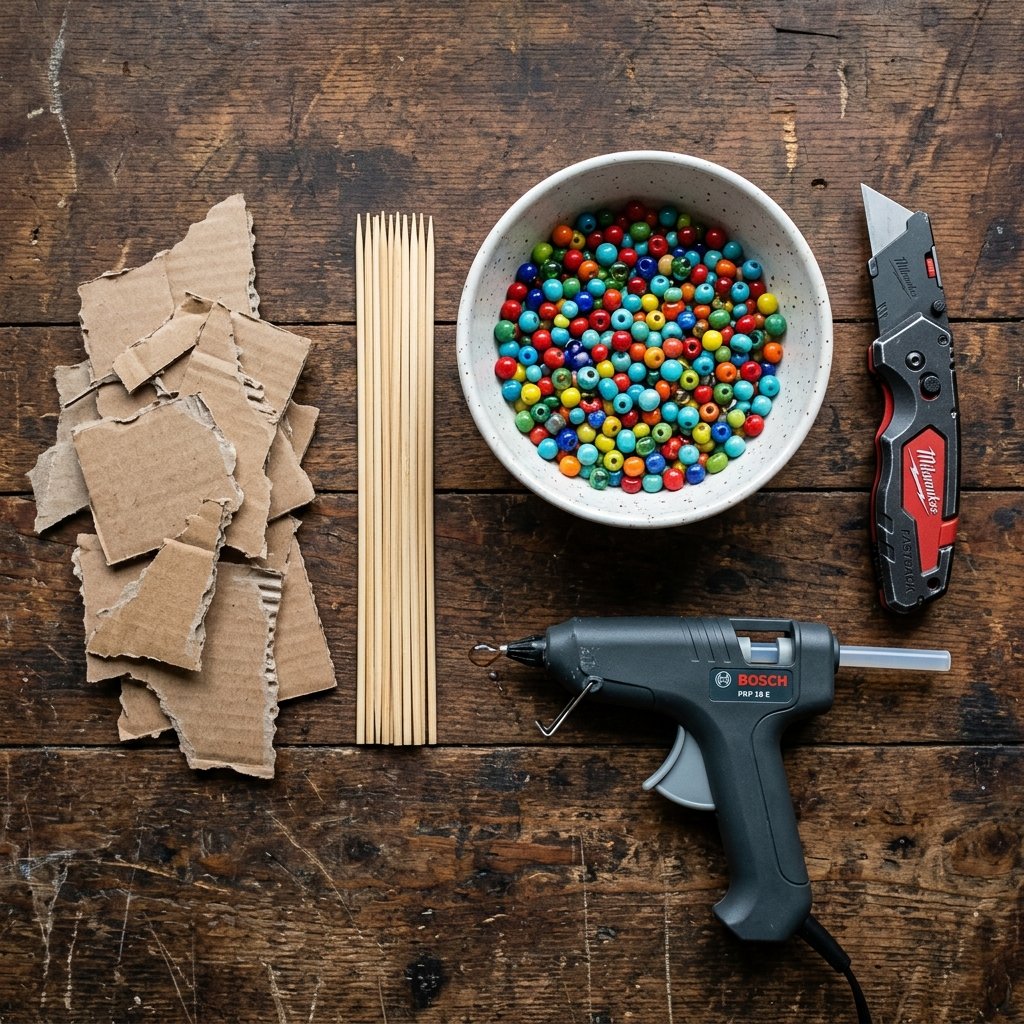
To execute this build with precision, gather your materials beforehand. You likely have 90% of these items in your junk drawer or recycling bin right now. If you don’t have wooden beads, look for large pasta shapes (like rigatoni) or even plastic bottle caps with holes punched through them.
The Essential Checklist
- One thick shipping box (double-walled cardboard is best for the frame).
- 5 to 10 wooden skewers or thin dowels (the ‘rods’).
- 50 to 100 beads (10 per rod).
- A sharp utility knife or heavy-duty scissors.
- Hot glue gun and extra glue sticks.
- A metal ruler for straight, professional edges.
- Optional: Paint or markers for a ‘high-end’ finish.
Precision is key here. Using a metal ruler ensures your frame looks like a piece of intentional decor rather than a scrap project. We are aiming for that ‘rugged-but-refined’ look that fits perfectly in a modern home.
The 15-Minute Assembly: Step-by-Step Construction
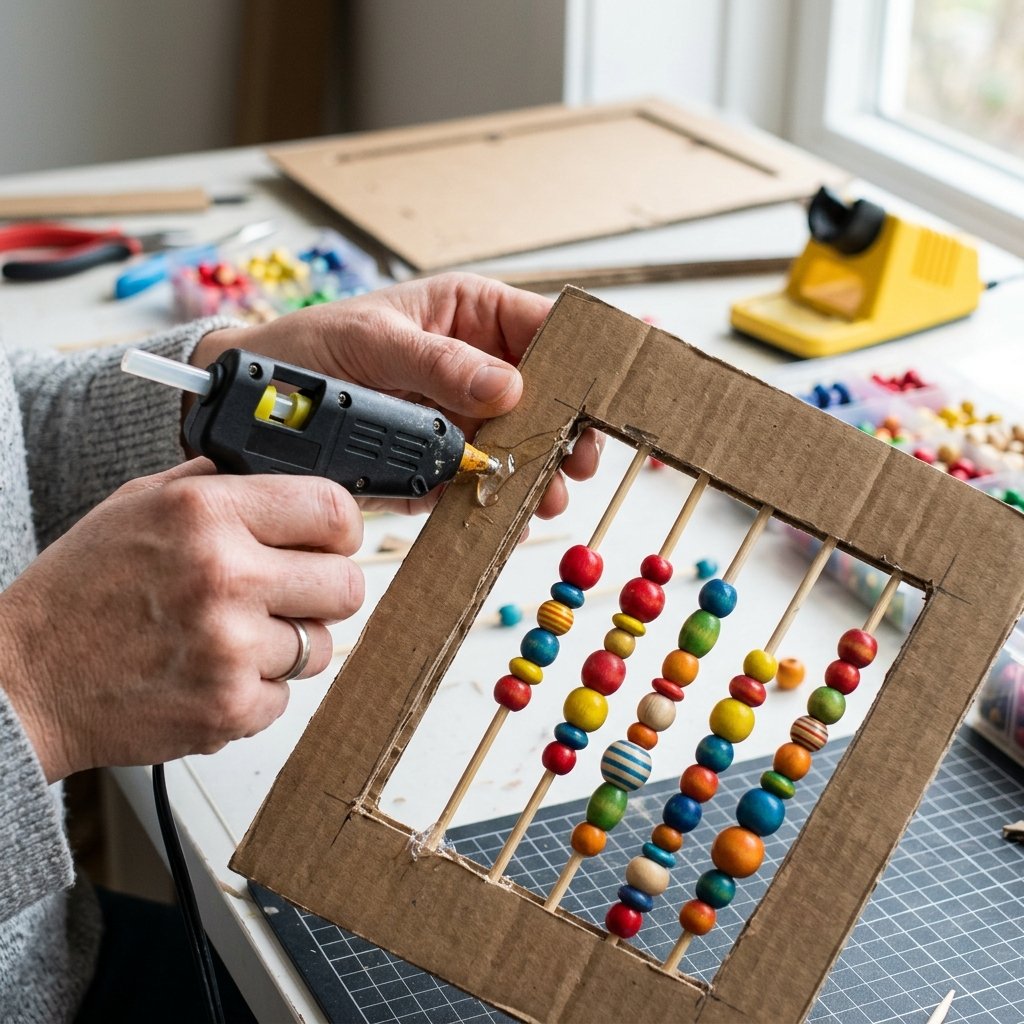
Follow these steps to ensure a sturdy build that survives the ‘toddler stress test.’ We want this abacus to be functional and aesthetically pleasing.
- Cut the Frame: Measure and cut two identical rectangles from your cardboard (approximately 8 inches by 10 inches). Cut a large ‘window’ out of the center of both, leaving a 2-inch border. These will be your front and back frames.
- Prepare the Rods: Measure the width of your window. Cut your skewers so they are 1 inch wider than the window opening. This ensures they have enough surface area to be glued to the frame.
- The Beading Phase: Slide 10 beads onto each skewer. For a more sophisticated look, use alternating colors or natural wood tones.
- Secure the Rods: Lay one frame flat. Space your skewers evenly across the window. Apply a generous bead of hot glue to the ends of the skewers and press them onto the cardboard border.
- The Final Seal: Apply glue to the entire border of the first frame and press the second frame on top, sandwiching the skewer ends between the two layers of cardboard.
Safety Note:
Always supervise toddlers during play. Ensure the skewers are trimmed of any sharp points and the beads are securely contained. If your child is still in the ‘mouthing’ phase, use extra-large beads to prevent choking hazards.
Customization & Aesthetics: The Designer Touch

Just because it’s cardboard doesn’t mean it has to look ‘cheap.’ As an event stylist on a dime, I recommend a few ‘pro’ tricks to elevate the look. You can transform this into a piece of ‘Dollar Tree Designer’ decor with minimal effort.
- The Wood Grain Trick: Use a brown permanent marker to draw subtle wood grain lines on the cardboard frame.
- The Industrial Look: Wrap the edges of the cardboard in black electrical tape or metallic washi tape for a sleek, modern finish.
- Color Coding: Paint each row of beads a different color to help your child identify ‘tens,’ ‘hundreds,’ and ‘thousands’ later on.
By taking an extra 5 minutes to finish the edges, you turn a simple craft into a thoughtful gift or a permanent fixture on the playroom shelf. It’s about the pride of craftsmanship.
Beyond Counting: Advanced Math Games

Now that your abacus is built, how do you use it? This tool is incredibly versatile. It grows with your child, moving from simple sensory play to complex arithmetic.
| Activity Type | Skill Level | How to Play |
|---|---|---|
| Color Sorting | Beginner | Ask the toddler to move all ‘red’ beads to the left. |
| Quantity Match | Intermediate | Call out a number (e.g., ‘3’) and have them slide 3 beads. |
| Simple Addition | Advanced | Slide 2 beads, then 3 more. Count the total together. |
| Patterning | Intermediate | Create a pattern (2 beads, 1 bead, 2 beads) and ask them to copy it. |
This hands-on approach to math builds ‘number sense’—the intuitive understanding of how numbers relate to each other. It’s much more effective than flashcards because it involves tactile feedback and visual spatial awareness.
Conclusion
The Frugal Parent’s Victory
Building this DIY cardboard abacus is a small project with a massive payoff. You’ve saved $30, kept cardboard out of the landfill, and provided your child with a high-quality educational tool that will last for years. This is what it means to be a resourceful maker: taking the mundane and making it magnificent. Whether you are a budget-savvy mom or a handy dad looking for a quick weekend project, this 15-minute build proves that you don’t need a big budget to provide a rich learning environment. Now, grab that delivery box from the porch and start crafting!

Makenzie is the founder and lead writer at MoneyHackTips.com — a personal finance blog dedicated to delivering street-smart financial wisdom for real people on real budgets. With 300+ published articles covering everything from debt management to investing fundamentals, Makenzie’s mission is to make every dollar work harder. When not writing about money hacks, Makenzie is testing frugal living strategies, optimizing side hustles, and helping readers build financial freedom from scratch.