
The Rugged Path to Time-Telling Mastery
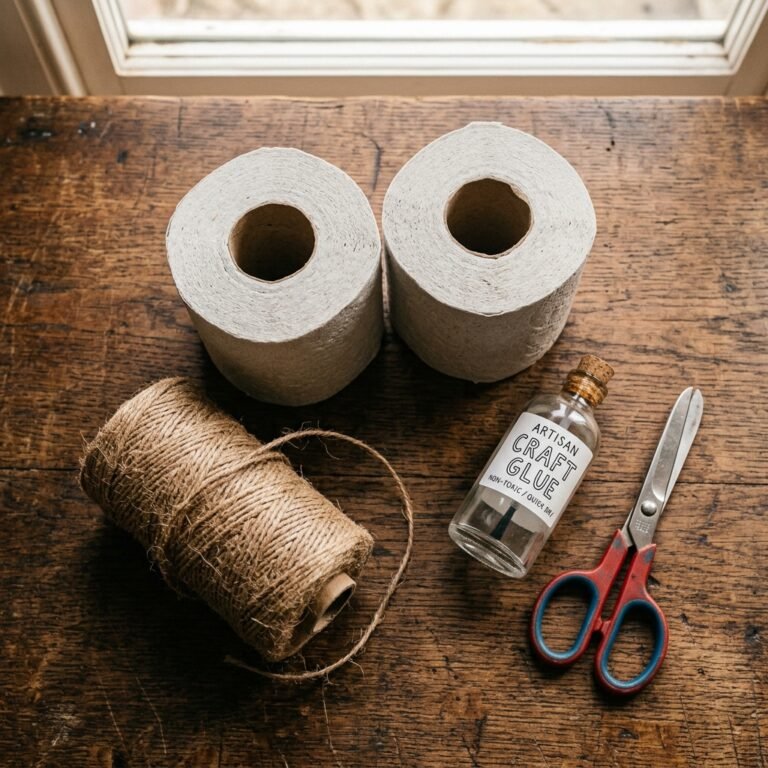
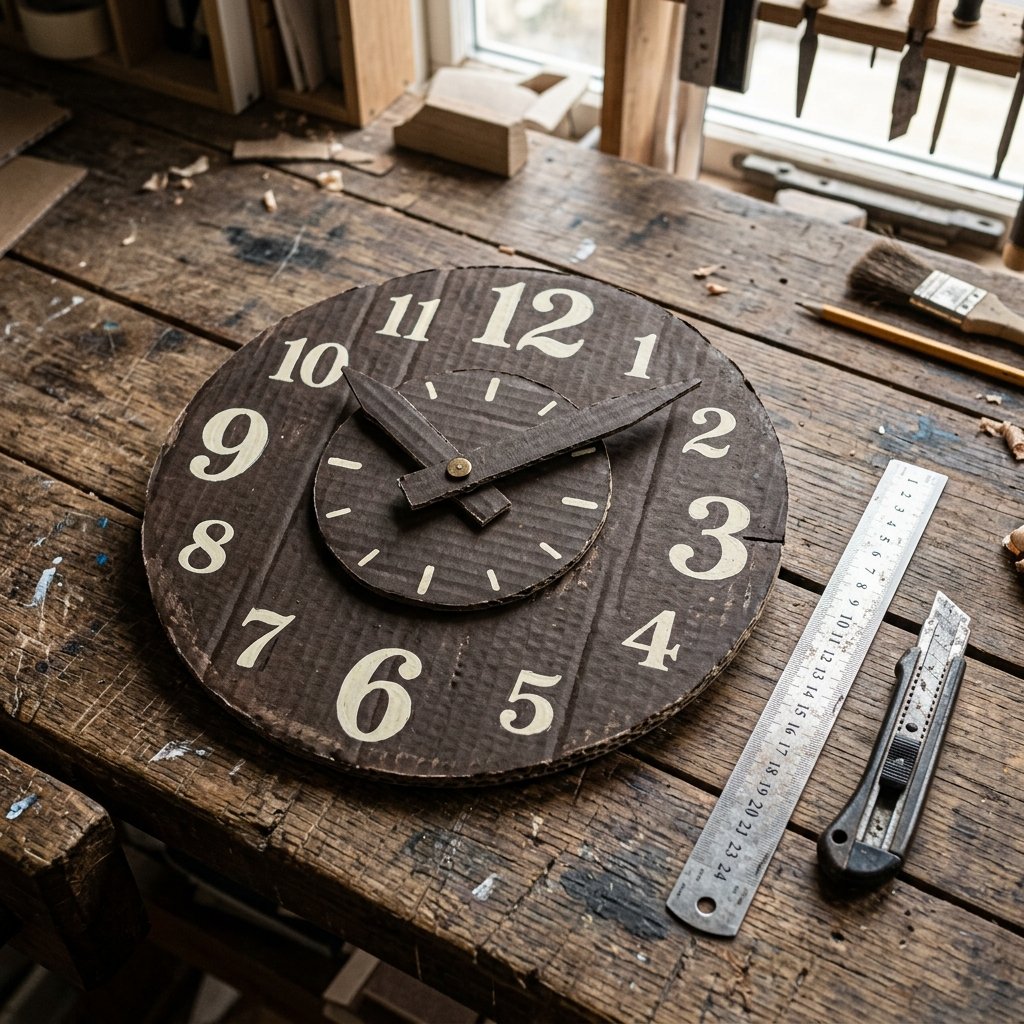
In an age of digital screens and instant gratification, there is something profoundly grounding about a tactile, analog tool. As a frugal DIYer, you know that the best toys aren’t bought—they are built. Teaching a toddler the abstract concept of time is no small feat, but by utilizing the rugged, versatile medium of cardboard, we can create a hands-on learning experience that is as durable as it is educational. This project isn’t just about making a clock; it is about resourcefully repurposing household waste into a high-value educational asset. We are going to take that Amazon box sitting in your recycling bin and turn it into a clever, masculine-elegant teaching tool that will survive the energetic hands of a curious three-year-old. Forget spending $25 on a plastic store-bought version; we are going to craft something better for $0.
The Inventory: Sourcing Your Scraps and Tools
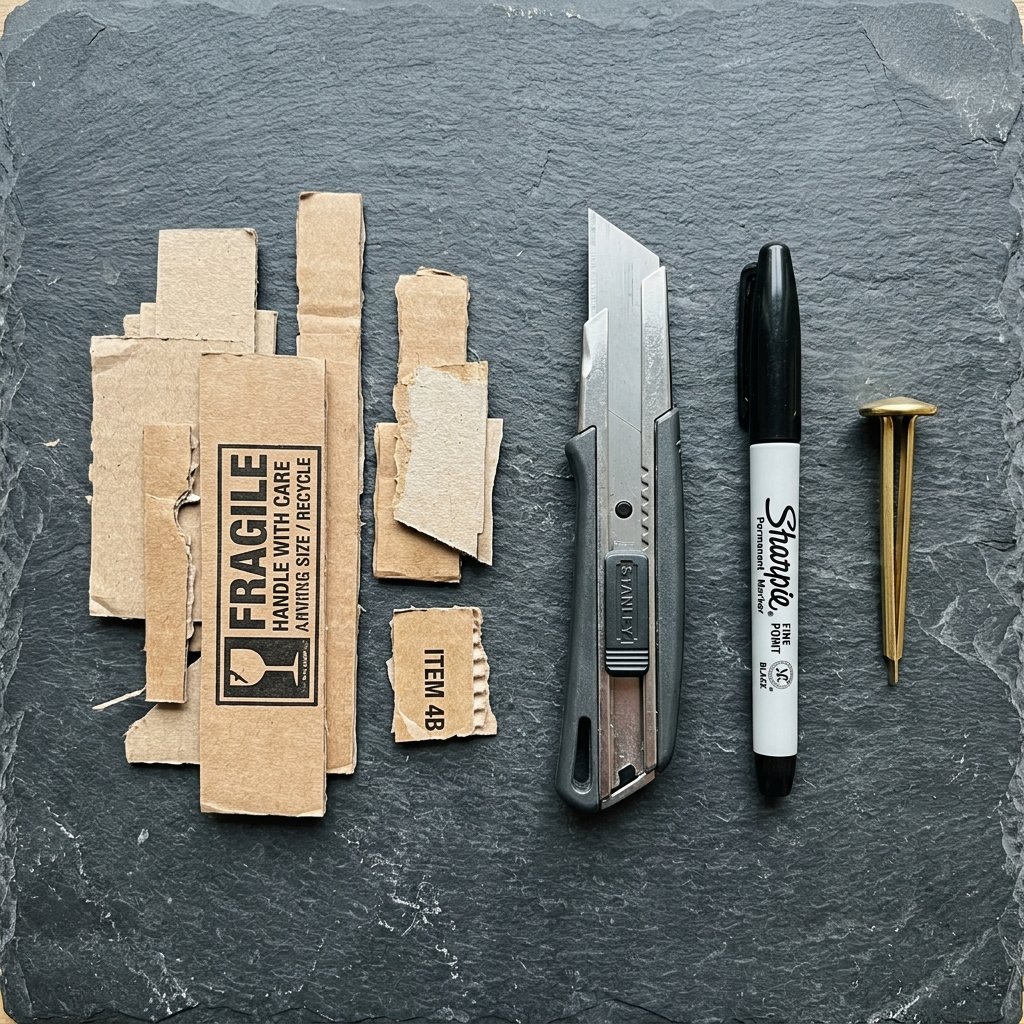
A true craftsman starts with a thorough inventory of their workshop—even if that workshop is just your kitchen table. To build a clock that feels intentional and sturdy, we need to select the right grade of cardboard. Look for double-walled corrugated cardboard for the main face to ensure it doesn’t warp under the pressure of enthusiastic toddler adjustments.
Materials Needed & Estimated Cost
| Item | Source | Cost |
|---|---|---|
| Corrugated Cardboard | Shipping Boxes / Pizza Boxes | $0.00 |
| Metal Fastener (Brad) | Office Supplies Drawer | $0.05 |
| Permanent Markers | Home Office | $0.00 |
| Utility Knife or Heavy Scissors | Toolbox | $0.00 |
| Total Investment | Resourcefulness | ~$0.05 |
When selecting your cardboard, avoid pieces with heavy grease stains or structural folds that might interfere with the clock face’s integrity. We want a clean, flat surface that can take a beating and still look sharp on a playroom shelf.
Precision Engineering: Crafting the Clock Face
Step 1: The Perfect Circle
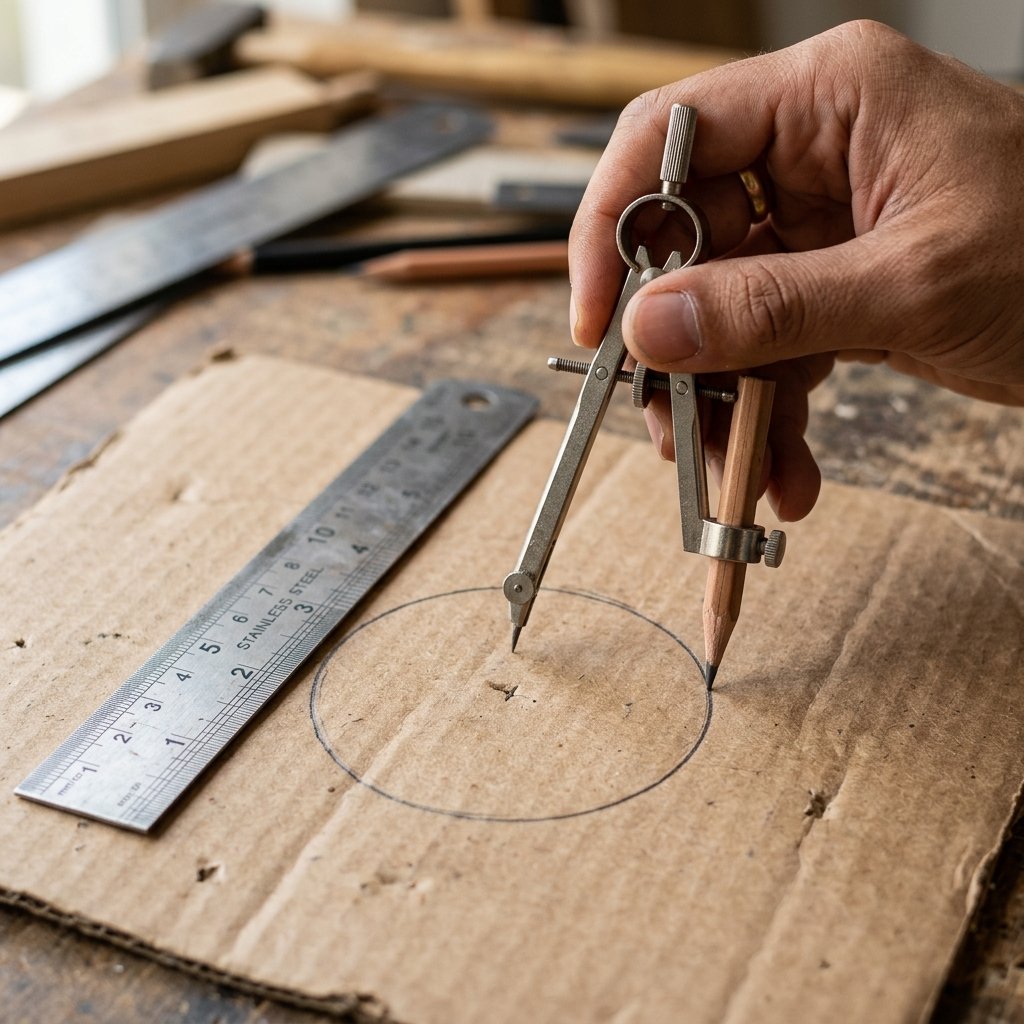
To begin, you need a large, circular template. A dinner plate or a large mixing bowl usually does the trick. Trace the outline onto your thickest piece of cardboard. Using a sharp utility knife, carefully cut along the line. Remember: a rugged finish doesn’t mean a sloppy one. Take your time to ensure the edges are smooth.
“Precision is the hallmark of the budget-savvy maker. Measure twice, cut once, and save your materials for the next project.”
Step 2: Designing the Dial
Divide the circle into four quadrants first (12, 3, 6, and 9) to ensure your spacing is symmetrical. This is where we apply a touch of masculine elegance. Use a bold, clean font for the numbers. For a toddler, contrast is key. Use a dark black marker for the hour numbers (1-12) and a vibrant blue or red for the minute intervals (5, 10, 15, etc.) if you choose to include them. This visual separation helps the child distinguish between the two different time measurements.
The Mechanics: Movable Hands and Kinetic Learning
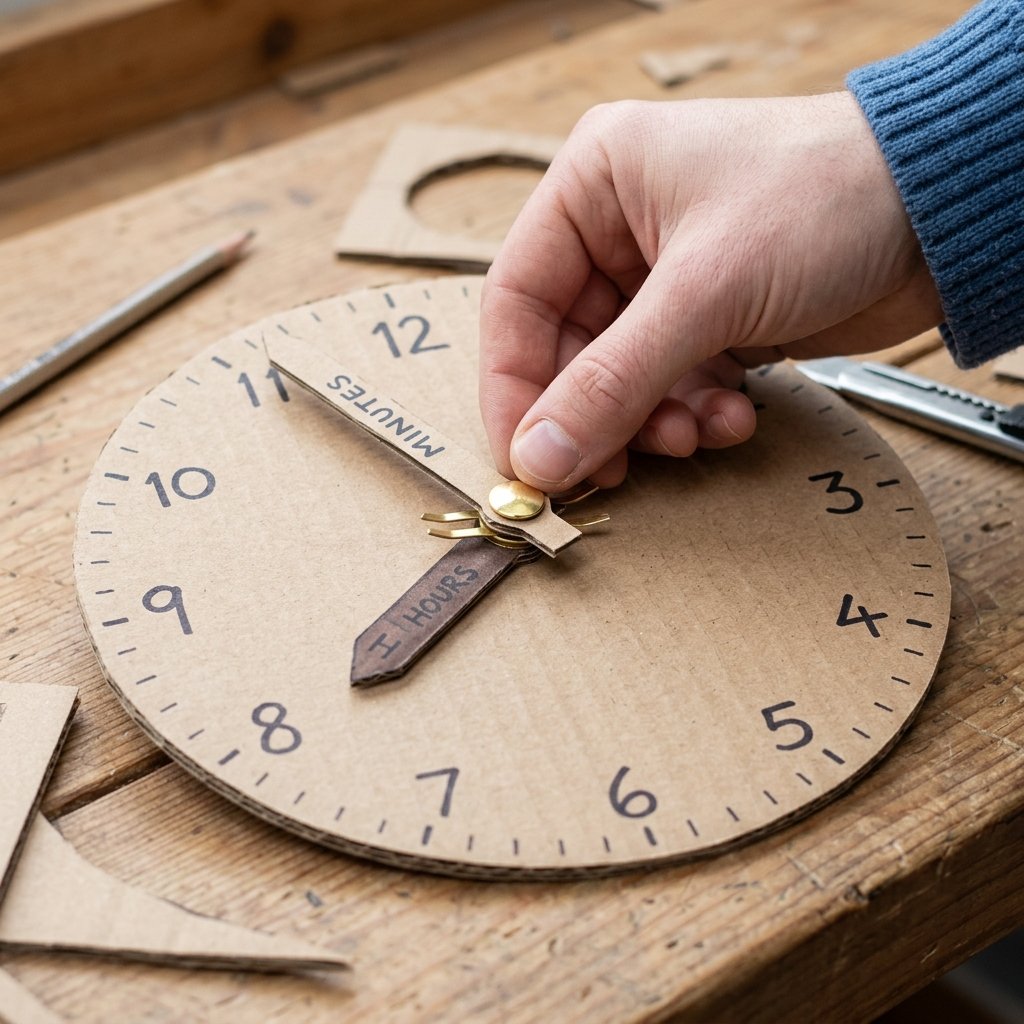
The heart of our cardboard clock lies in its movement. We need two hands: a short one for hours and a long one for minutes. To make these truly durable, I recommend layering two pieces of thin cereal-box cardboard together with a dab of glue. This prevents the hands from bending or tearing when your toddler inevitably tries to spin them like a propeller.
Assembly Instructions:
- Punch the Center: Use a nail or the tip of your scissors to poke a small hole exactly in the center of the clock face and at the base of each hand.
- The Fastener: Thread your brass brad through the minute hand, then the hour hand, and finally through the clock face.
- The Tension Hack: Fold the legs of the brad on the back of the clock. Pro-Tip: Don’t pull them too tight! Leave about 2 millimeters of slack so the hands can rotate freely without friction.
“A tool that doesn’t move is just a picture. A tool that moves is a lesson.”
The Curriculum: How to Teach Time with Your Creation
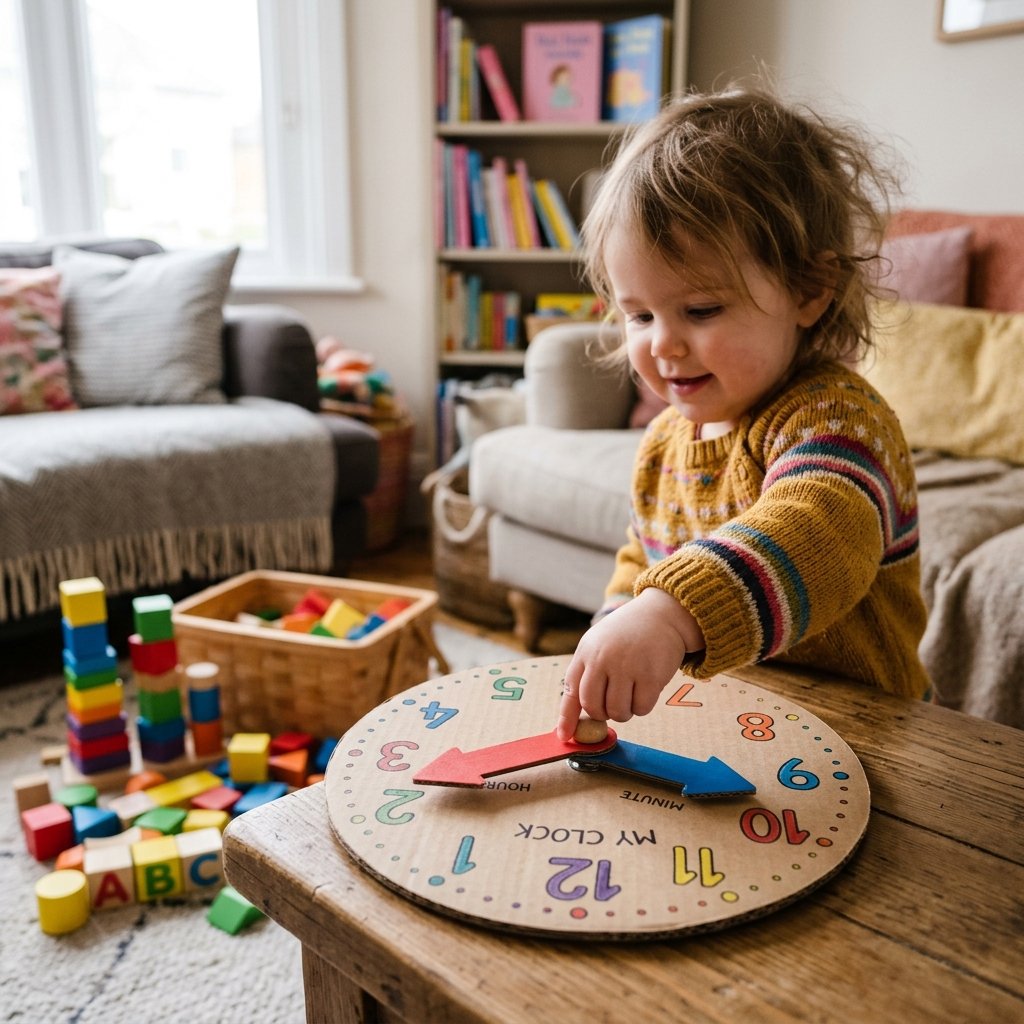
Engaging the Toddler Mind
Now that your rugged masterpiece is complete, it is time to put it to work. Teaching time to a toddler is about association, not just numbers. We want to link specific times to their daily routine. This makes the concept of ‘7 o’clock’ tangible rather than abstract.
| Time of Day | Activity | Visual Cue |
|---|---|---|
| 8:00 AM | Breakfast Time | Short hand on 8, Long hand on 12 |
| 1:00 PM | Nap Time | Short hand on 1, Long hand on 12 |
| 7:30 PM | Bedtime Stories | Short hand between 7 and 8 |
The ‘O’Clock’ Drill
Start exclusively with the hour hand. Cover the minute hand with a piece of tape or remove it temporarily. Ask your child to ‘point the arrow’ to the number that represents their age or the number of snacks they have. Once they master the numbers 1-12, introduce the long minute hand as the ‘fast runner’ that tells us exactly when things happen.
Upgrades for the Modern Maker: Aesthetic and Durability
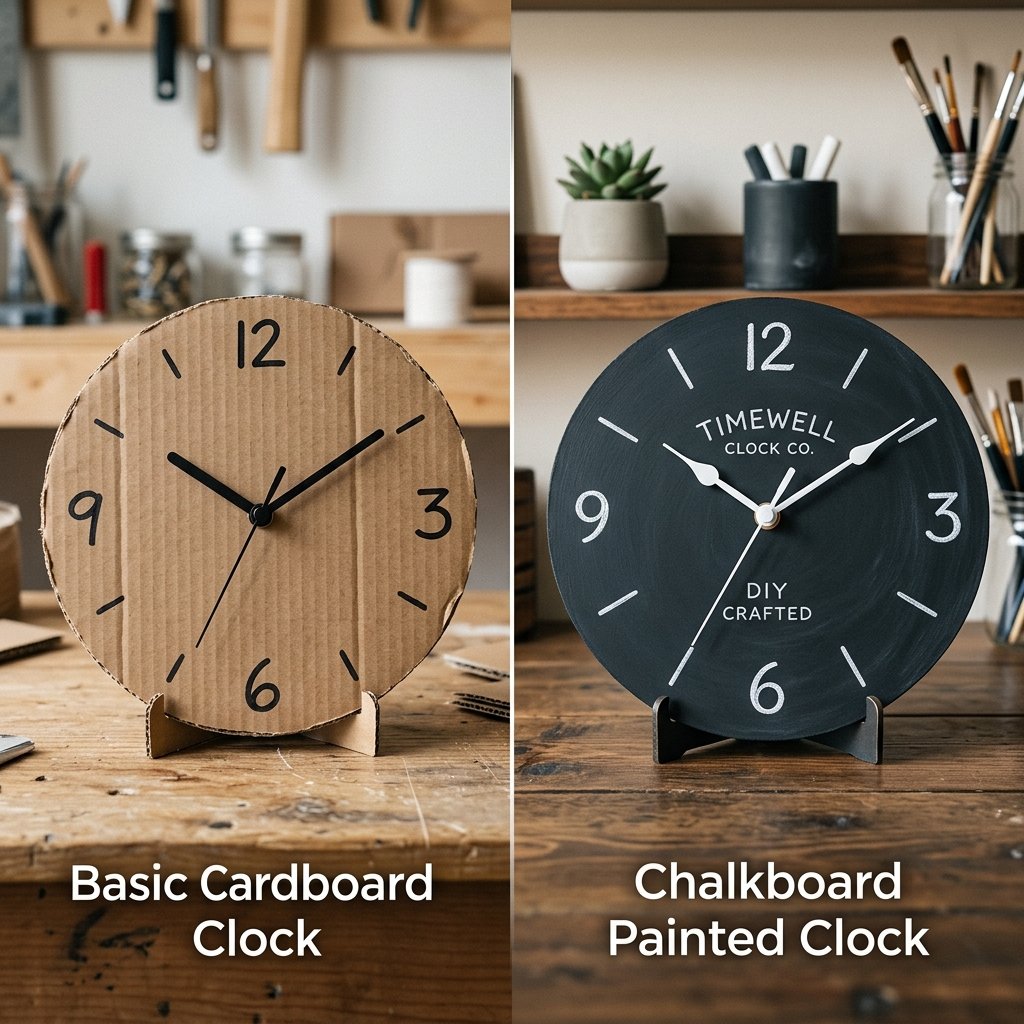
If you want to take this project from a ‘rainy day craft’ to a ‘heirloom-style toy,’ consider these clever upgrades. A simple coat of matte varnish or even a light spray of clear sealer will protect the cardboard from sticky fingers and moisture. For a more sophisticated look, you can use a wood-grain contact paper over the cardboard before cutting your circle.
Durability Comparison
| Feature | Standard Cardboard | Upgraded Reinforced |
|---|---|---|
| Lifespan | 2-4 Months | 1-2 Years |
| Toddler Resistance | Moderate | High |
| Visual Appeal | Rustic | Professional/Boutique |
By adding a small piece of Velcro to the back of the hands and the clock face at the ’12’ position, you can create a satisfying ‘click’ or ‘lock’ sensation when the hour is complete, providing tactile feedback that aids in the learning process.
Conclusion
The Gift of Time and Resourcefulness
Building this DIY cardboard clock proves that you don’t need a massive budget to provide high-quality educational tools for your children. With just a bit of clever engineering and a few scraps of trash, you’ve created a functional piece of equipment that bridges the gap between play and learning. This project embodies the spirit of the frugal maker: it is practical, it is rugged, and it is incredibly effective. So, next time a delivery arrives at your door, don’t just see a box—see the next great lesson for your little one. Happy crafting, and enjoy these precious minutes of teaching!

Makenzie is the founder and lead writer at MoneyHackTips.com — a personal finance blog dedicated to delivering street-smart financial wisdom for real people on real budgets. With 300+ published articles covering everything from debt management to investing fundamentals, Makenzie’s mission is to make every dollar work harder. When not writing about money hacks, Makenzie is testing frugal living strategies, optimizing side hustles, and helping readers build financial freedom from scratch.