
The Great Wedding Industry Heist
Let’s talk straight: the wedding industry is built on the assumption that you’ll pay a 500% markup just because a word starts with ‘W’. I’ve seen couples shell out $1,500 to $3,000 just to rent a wooden frame for twenty minutes. As a frugal DIYer with a penchant for rugged practicality and masculine-elegant design, that doesn’t sit right with me. You don’t need a massive inheritance to have a jaw-dropping altar. You need a trip to the hardware store, a few clever hacks, and the willingness to get your hands a little dirty. In this masterclass, we are going to build a professional-grade, photo-ready wedding arch for under $100. Whether you want the sleek look of an urban industrial copper frame or the rugged charm of a reclaimed timber A-frame, I’m going to show you how to out-style the pros without emptying your savings account.
The Financial Reality: Rental vs. Retail vs. Resourceful DIY
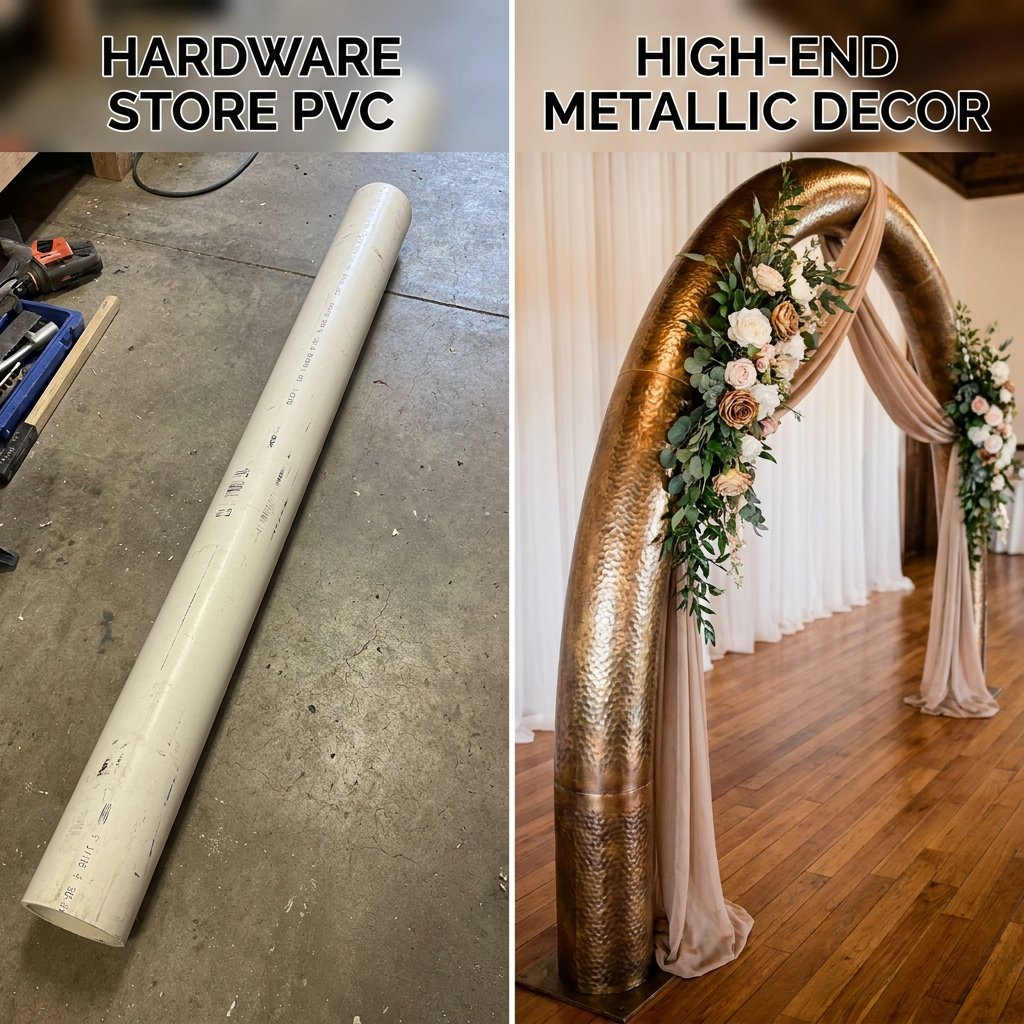
Why DIY is the Only Logical Choice
When you rent an arch, you aren’t just paying for the wood; you’re paying for the warehouse space, the delivery truck, the insurance, and the labor. When you buy a pre-made arch online, you’re usually getting flimsy, lightweight metal that will tip over if a guest sneezes. By building it yourself, you control the weight, the stability, and the aesthetic. Most importantly, you keep your hard-earned cash for the honeymoon.
| Option | Estimated Cost | Pros | Cons |
|---|---|---|---|
| Professional Rental | $800 – $2,500 | No labor required | High cost, strict return times |
| High-End Retail Buy | $400 – $900 | Ready to assemble | Often flimsy, hard to customize |
| The Resourceful DIY | $45 – $95 | Customizable, heavy-duty, yours to keep | Requires 2-4 hours of labor |
The secret to a budget wedding isn’t doing things ‘cheaply’; it’s doing things ‘resourcefully.’ A $10 can of metallic spray paint can turn a $2 PVC pipe into a $200 copper rod in exactly five minutes.
The Modern ‘Copper’ Hexagon: A PVC Masterpiece
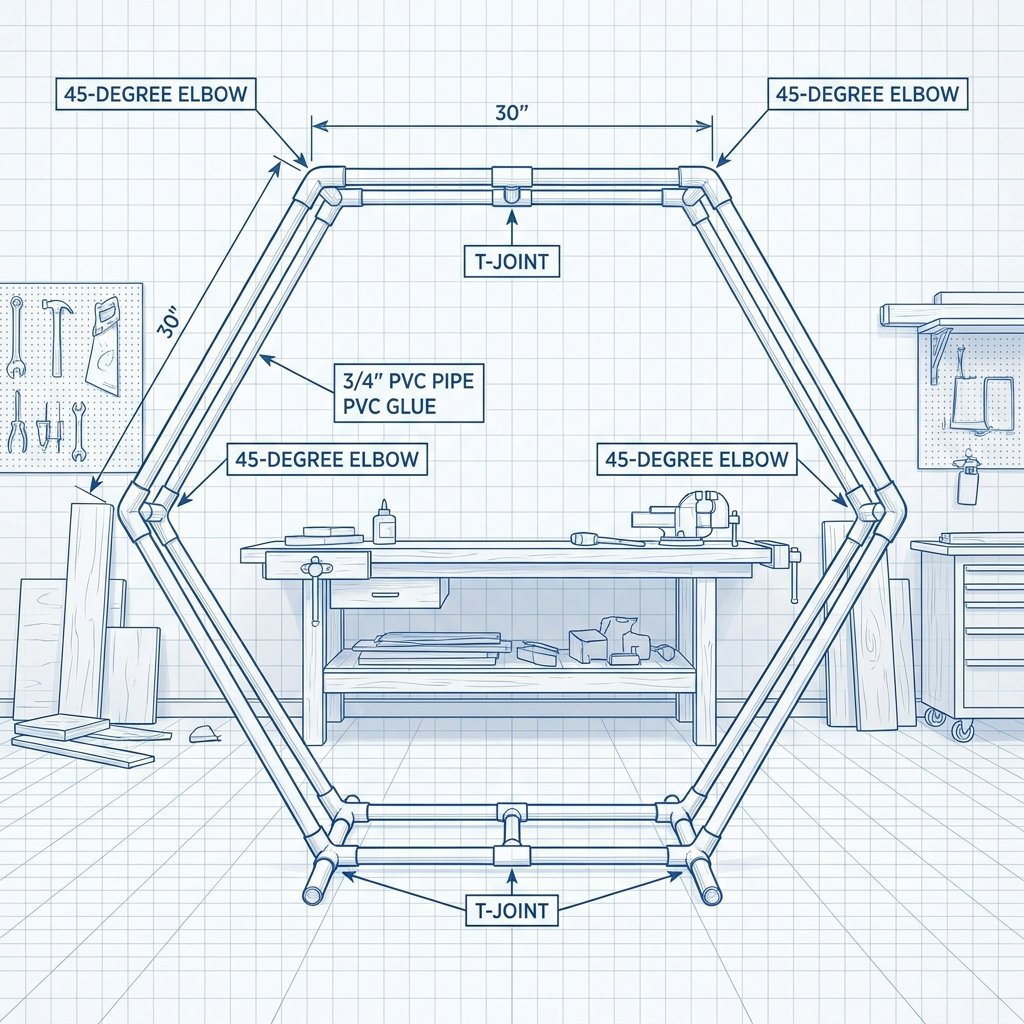
The Industrial Chic Aesthetic
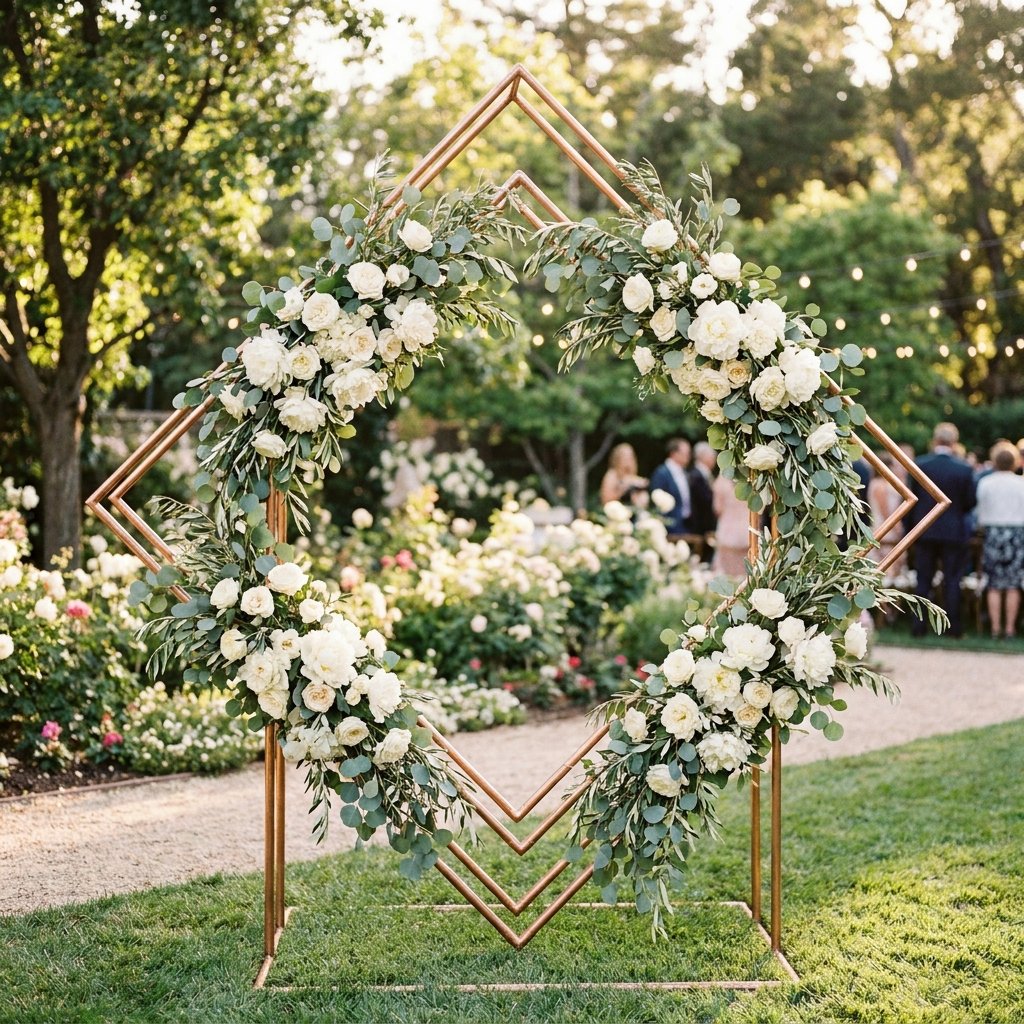
Real copper piping is gorgeous, but it’s currently priced like precious gold. To get that sleek, geometric look for under $60, we use 1-inch PVC pipe and a clever ‘Hammered Copper’ paint technique. This arch is lightweight for transport but can be weighted down for ultimate stability.
Materials & Cut List
- 4x 10-foot lengths of 1-inch PVC pipe (Schedule 40 for rigidity)
- 6x 45-degree PVC elbows
- 2x PVC T-joints (for the base)
- 1x Can of high-quality metallic copper spray paint
- 1x Small container of PVC cement
Step-by-Step Assembly
- Measure and Cut: Cut your PVC into six equal lengths of 3.5 feet for the hexagon sides. Cut two 2-foot pieces for the base stabilizers.
- Dry Fit: Assemble the hexagon using the 45-degree elbows. Do not glue yet! Ensure the shape is symmetrical on a flat floor.
- The Base: Use the T-joints at the bottom two corners to attach your 2-foot stabilizer feet. This creates a ‘T’ shape at the floor level.
- The Paint Secret: Lightly sand the PVC to remove the shiny finish and manufacturer text. Apply two thin coats of copper spray paint. Pro-Tip: Use a ‘hammered’ texture paint to hide any minor imperfections in the plastic.
- Final Glue: Once dry, use PVC cement on the base joints for stability, but leave the top joints ‘dry-fitted’ so you can disassemble the arch into two halves for transport.
The Rugged Timber A-Frame: Reclaimed and Refined
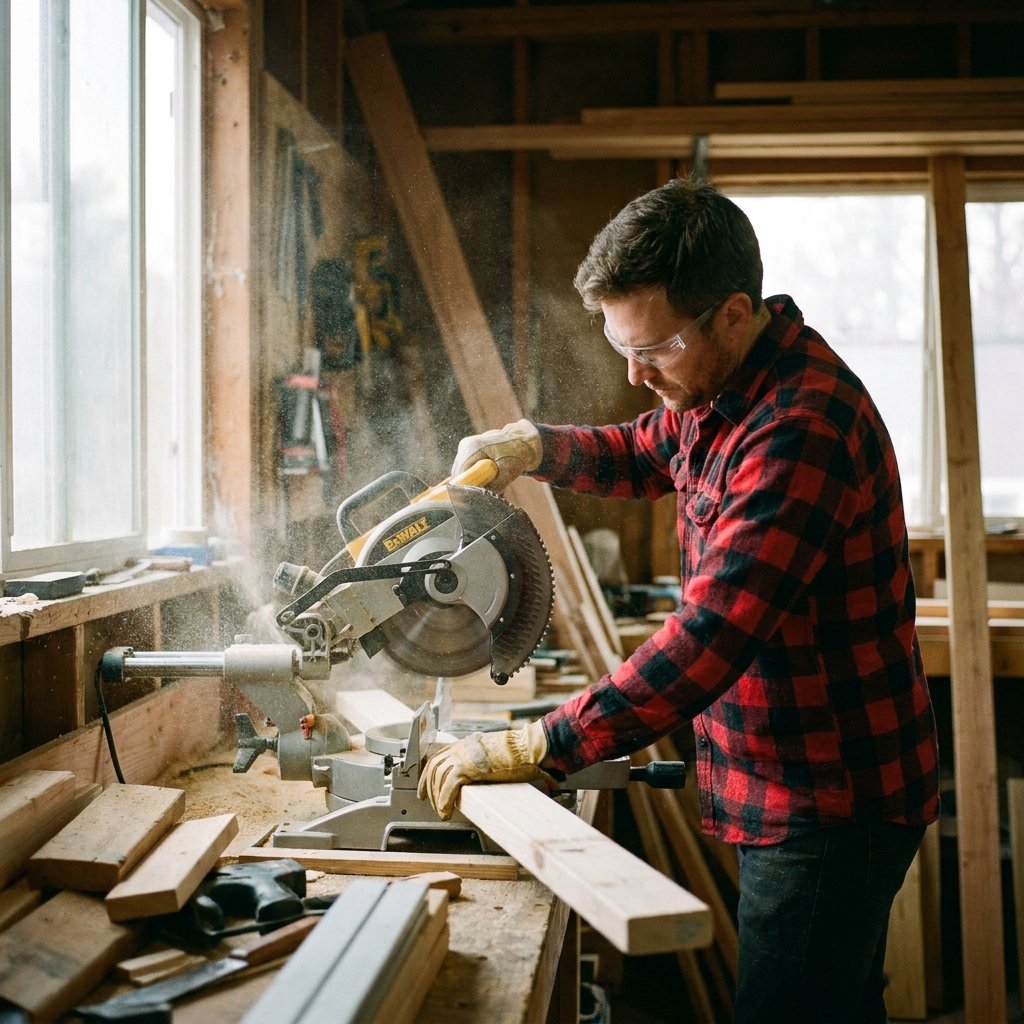
For the Rustic or Boho Bride
If you prefer a more masculine-elegant, earthy vibe, the A-frame timber arch is your best friend. It’s incredibly stable and looks like it belongs in a high-end mountain resort. We’ll use common 2x4s and a dark walnut stain to mimic the look of expensive cedar or reclaimed barn wood.
| Material | Quantity | Estimated Price |
|---|---|---|
| 8-foot 2×4 Untreated Studs | 4 | $16.00 |
| Box of 3-inch Wood Screws | 1 | $6.00 |
| Dark Walnut Wood Stain | 1 Pint | $9.00 |
| Heavy Duty Hinges | 2 | $12.00 |
| Total Cost | — | $43.00 |
The Construction Process
This build is about angles. You want the two main beams to meet at the top at a 60-degree angle. Use a miter saw to cut the tops of your 8-foot boards so they flush together perfectly. Use the hinges on the back of the joint so the arch can fold flat for transport. This is a 15-minute task that saves you hundreds in delivery fees.
Measure twice, cut once, and always sand your edges. A rugged look should still feel intentional, not unfinished.
The Floral Illusion: Making Dollar Tree Greenery Look Lush
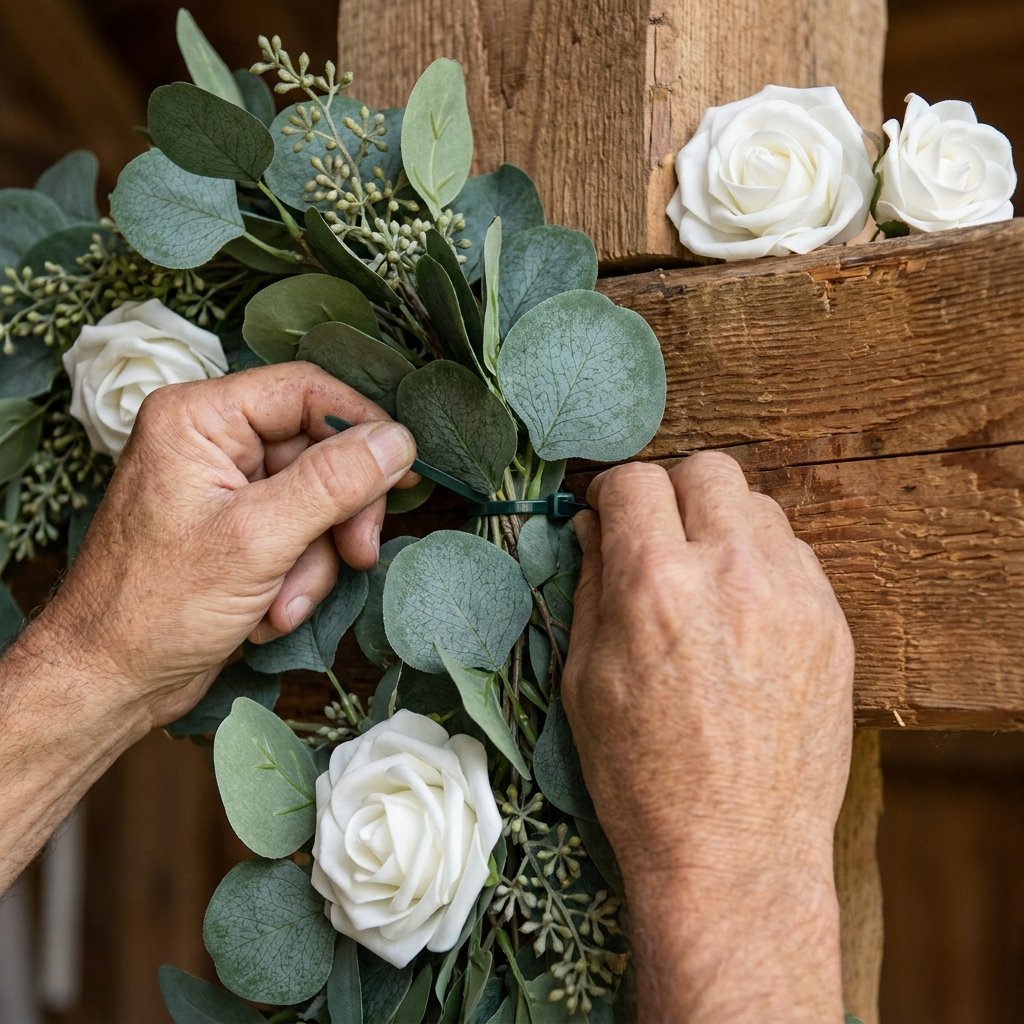
The ‘Ziptie and Layer’ Method
Fresh flowers for an arch can cost $500+. Instead, we use a base of high-quality faux greenery and ‘nest’ a few real blooms at the focal points. This creates the illusion of a fully fresh installation at 10% of the cost.
- The Base: Buy 6-8 strands of eucalyptus or ivy garland from a discount store.
- The Volume: Use green zip ties to attach the garland to your arch. Never use tape; it will fail under the heat of the sun.
- The Focal Point: Focus 80% of your decor on the top left corner and 20% on the bottom right. This asymmetrical look is modern and requires fewer materials.
- The Real Touch: On the morning of the wedding, tuck 5-10 real roses or peonies into the faux greenery using water tubes (floral picks).
Cost Comparison: Florals
| Floral Type | DIY Cost | Florist Cost |
|---|---|---|
| Full Fresh Arch | $250 | $800+ |
| Faux/Real Hybrid | $65 | N/A |
Stability and Logistics: The ‘Sandbag’ Secret
Ensuring Your Arch Doesn’t Topple
The biggest fear of any DIY bride or groom is the arch blowing over mid-vows. Professional florists use heavy steel bases, but we have a clever, budget-savvy alternative: The Decorative Sandbag.
How to Anchor for Under $10
- PVC Arch: Fill the bottom 2-foot base pipes with dry sand before capping them. This adds 10-15 lbs of low-center-of-gravity weight.
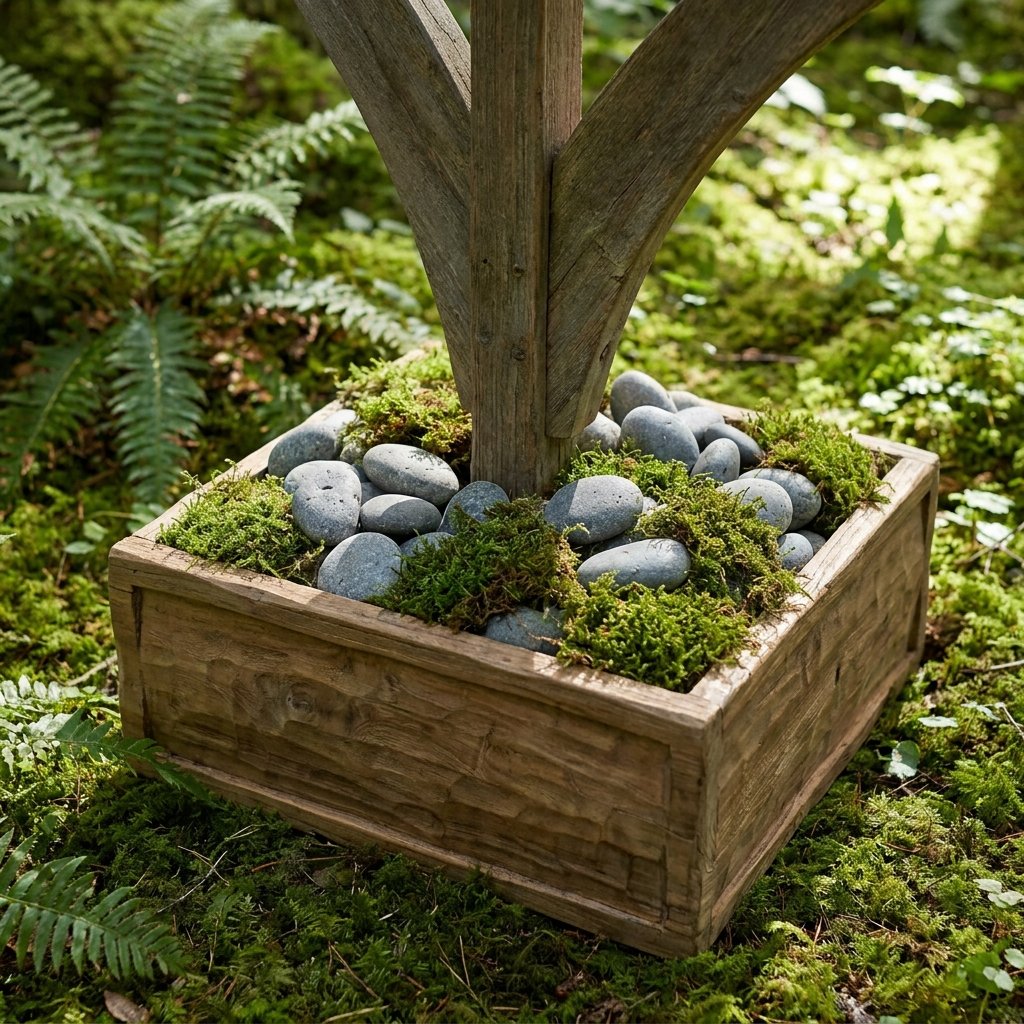
- Timber Arch: Use ‘tent pegs’ if on grass. If on a hard surface, create ‘weighted crates.’ Take two small wooden crates from the craft store, place the arch legs inside, and fill the crates with heavy stones or bricks. Cover the stones with moss or extra greenery.
Safety Note: If your wedding is outdoors, always plan for 15mph winds. An arch is essentially a giant sail; anchor it like your marriage depends on it!
Conclusion
Your Masterpiece Awaits
Building your own wedding arch isn’t just about saving $1,000—though that certainly helps pay for a better open bar. It’s about the pride of standing under something you created with your own hands. By using industrial materials like PVC or common lumber and elevating them with clever painting and floral techniques, you prove that elegance isn’t bought; it’s engineered. You now have the blueprints for a professional-grade altar that is sturdy, transportable, and undeniably beautiful. Grab your drill, head to the hardware store, and start building the centerpiece of your big day. You’ve got this!

Makenzie is the founder and lead writer at MoneyHackTips.com — a personal finance blog dedicated to delivering street-smart financial wisdom for real people on real budgets. With 300+ published articles covering everything from debt management to investing fundamentals, Makenzie’s mission is to make every dollar work harder. When not writing about money hacks, Makenzie is testing frugal living strategies, optimizing side hustles, and helping readers build financial freedom from scratch.