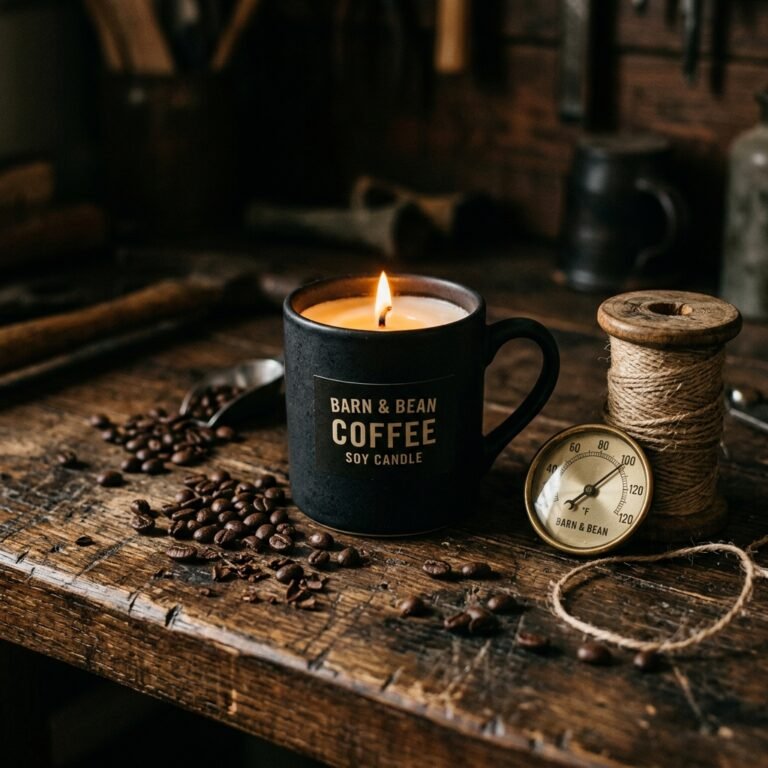
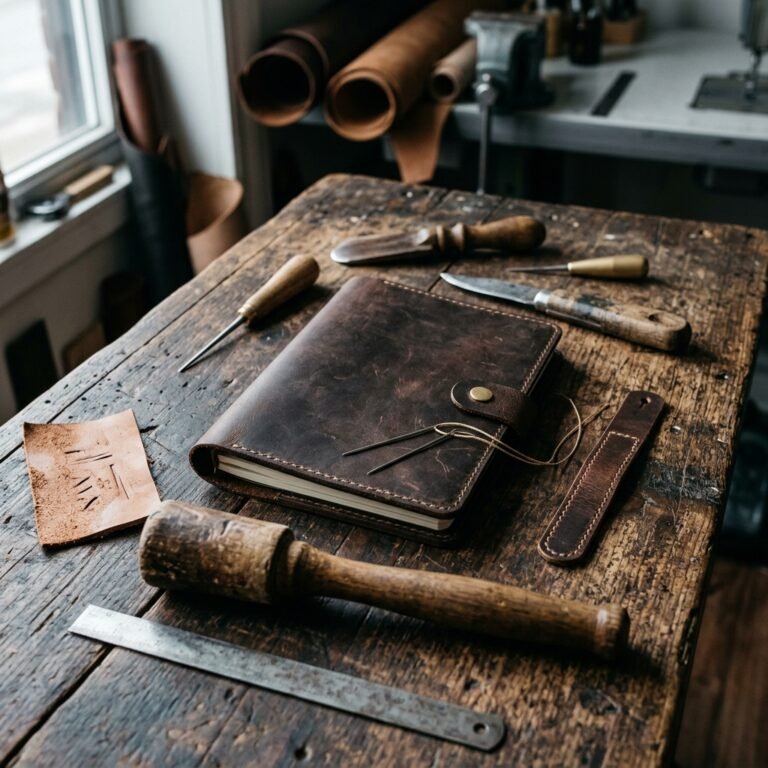
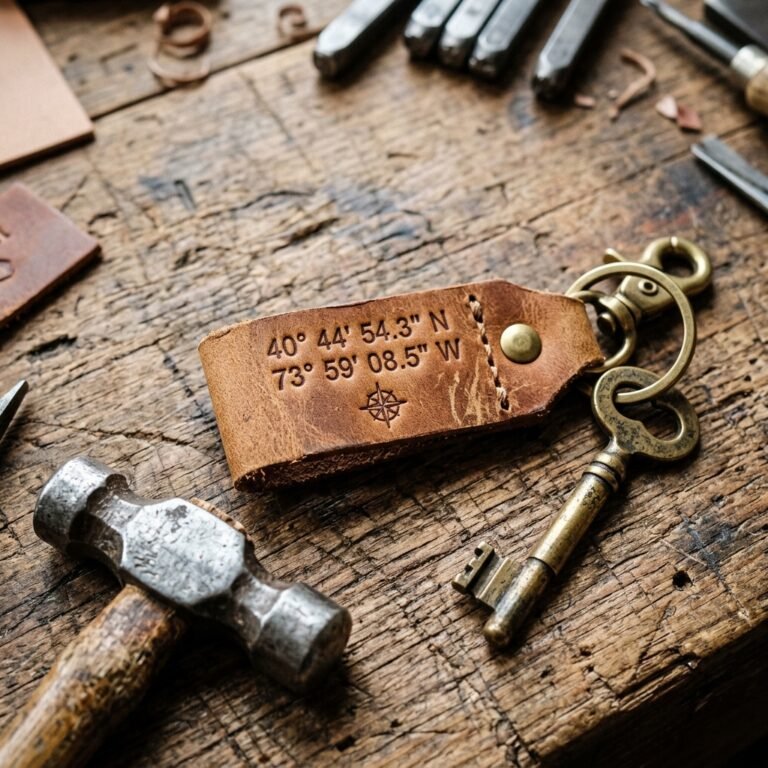
The Intersection of Rugged Utility and Frugal Elegance
There is something undeniably satisfying about the weight of a Mason jar in your hand, but when you wrap that glass in hand-stitched, high-quality leather, it transforms from a simple kitchen staple into a piece of artisanal gear. As a frugal DIYer, you know that the best gifts aren’t found on a department store shelf; they are built at the workbench. This project is the ultimate ‘trash-to-treasure’ maneuver, allowing you to take a $1.25 jar and a few scraps of leather to create a gift that looks like it belongs in a high-end boutique for $50 or more. Whether you are crafting for a coffee-obsessed friend, a rugged outdoorsman, or simply upgrading your own morning ritual, this guide will walk you through the precise, masculine-elegant art of leather wrapping.
Sourcing Your Materials: The Budget-Savvy Hunt

Finding the Perfect Hide on a Dime
You don’t need to buy a full side of leather for this project. In fact, the most resourceful crafters look for remnants or upcycle old materials. Look for vegetable-tanned leather if you want to stamp designs, but for a simple wrap, even a thrifted leather jacket or an old belt can work. Here is the breakdown of what you’ll need to gather:
- Mason Jar: A standard 16 oz or 24 oz wide-mouth jar works best.
- Leather Scraps: Look for 4-5 oz weight (about 1.6mm to 2.0mm thick).
- Waxed Thread: 0.8mm or 1.0mm polyester thread provides that classic rugged look.
- Stitching Needles: Two blunt-tipped tapestry or harness needles.
- Hole Punch: A rotary punch or a set of stitching chisels.
| Material Item | Source Tip | Estimated Cost |
|---|---|---|
| Mason Jar | Thrift store or bulk pack | $0.50 – $1.50 |
| Leather Scrap | Thrifted jacket or scrap bag | $1.00 – $3.00 |
| Waxed Thread | Online craft supply | $0.20 (per project) |
| Total Cost | Handmade Savings | $1.70 – $4.70 |
The Blueprint: Measuring and Cutting for a Precision Fit
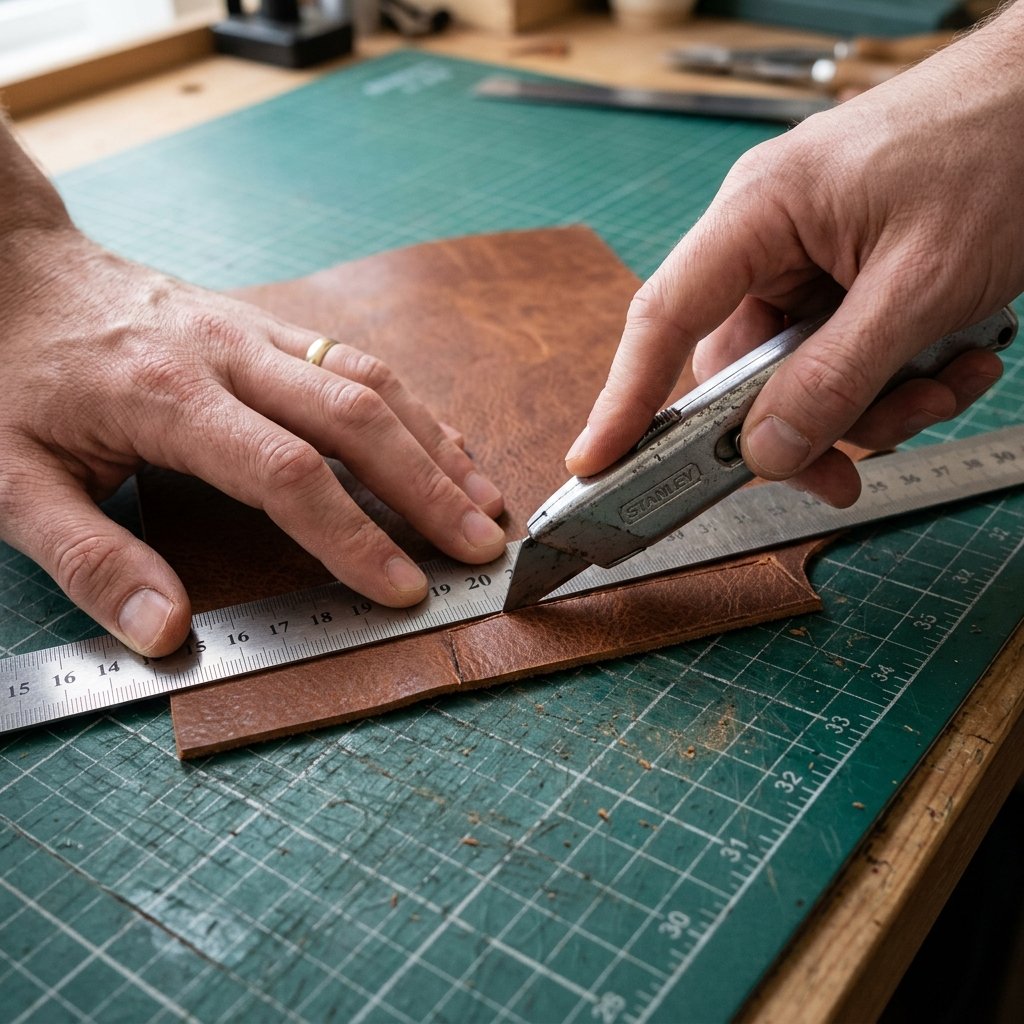
The Secret to a Non-Slip Sleeve
The biggest mistake beginners make is cutting the leather too loose. Leather stretches over time, especially when exposed to the heat of a fresh cup of coffee. To ensure a snug, professional fit, we use the ‘stretch-to-fit’ method. Follow these steps for a perfect wrap:
- Measure the Circumference: Wrap a flexible measuring tape around the jar. For a standard wide-mouth jar, this is usually 10.5 inches.
- Subtract for Tension: Subtract 1/2 inch from your total measurement. This gap will be pulled closed by your stitching, creating the tension needed to keep the sleeve from sliding off.
- Determine Height: Measure from the base of the jar to just below the rim. Usually, 3.5 to 4 inches is the sweet spot.
- The Cut: Use a sharp utility knife and a metal straight edge. A single, confident pass is better than several jagged cuts.
“Measure twice, cut once, and always pull your stitches tighter than you think you need to. The leather will eventually yield to the glass, creating a permanent bond.”
The Stitching Masterclass: The Iconic Saddle Stitch
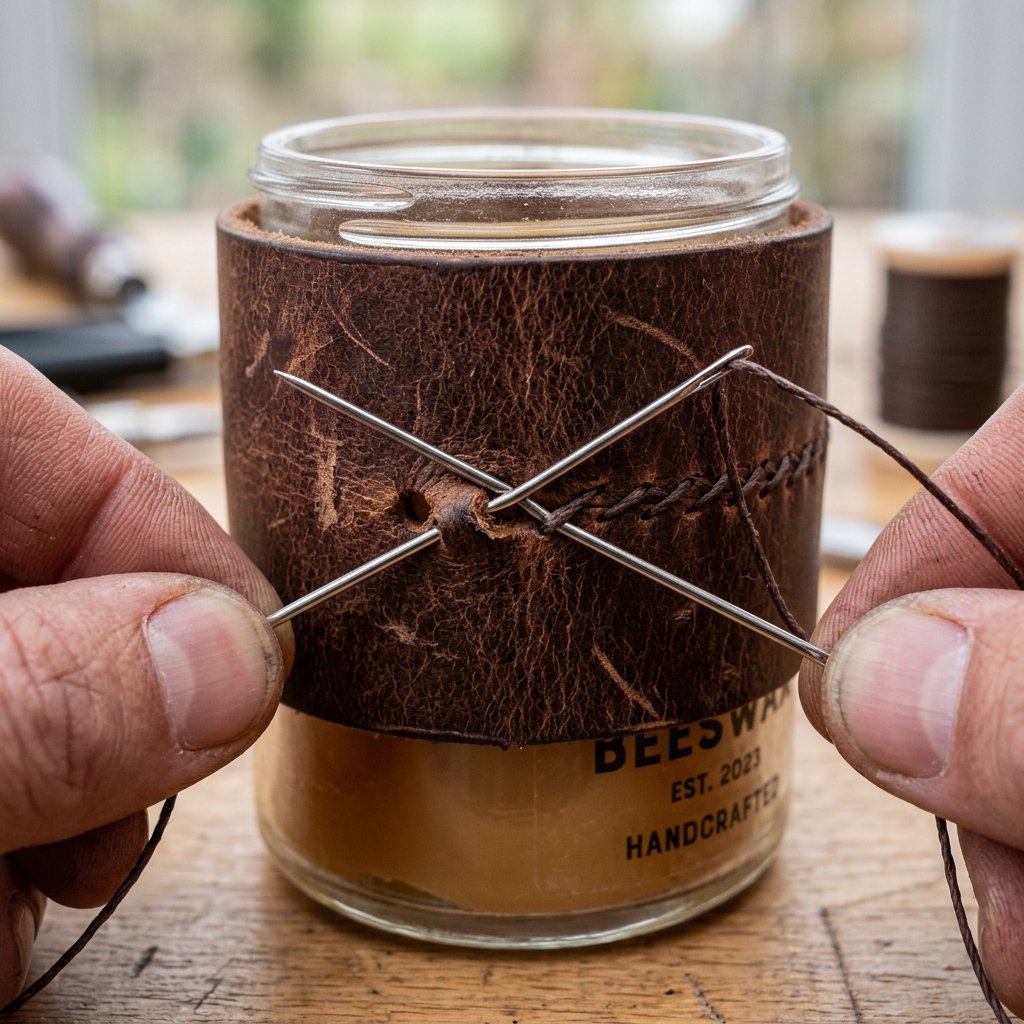
Achieving the Boutique Look with Two Needles
We aren’t just ‘sewing’ here; we are performing a saddle stitch. This is the hallmark of high-quality leatherwork because it won’t unravel even if one thread is cut. It provides that rugged, masculine-elegant aesthetic that makes this gift so special.
Step-by-Step Stitching Guide:
- Punch the Holes: Use your rotary punch or stitching chisel to create holes 1/8 inch from the edge on both short sides of your leather rectangle. Space them exactly 1/4 inch apart.
- Prepare the Thread: Measure a length of thread 4 times the height of your leather. Thread a needle onto both ends of the string.
- The Cross-Over: Pass the first needle through the top holes of both sides of the leather (which should now be wrapped around the jar). Center the thread so you have equal lengths on both sides.
- The Weave: Pass the left needle through the next hole to the right. Then, pass the right needle through that same hole to the left. Pull both ends tight.
- Repeat: Continue this ‘figure-eight’ pattern until you reach the bottom.
| Stitch Type | Durability | Visual Style | |
|---|---|---|---|
| Saddle Stitch | Extreme | High-End / Rugged | |
| Lock Stitch (Machine) | Moderate | Commercial / Thin | |
| Whip Stitch | Low | Rustic / Simple |
Customization: Branding, Handles, and Personalization
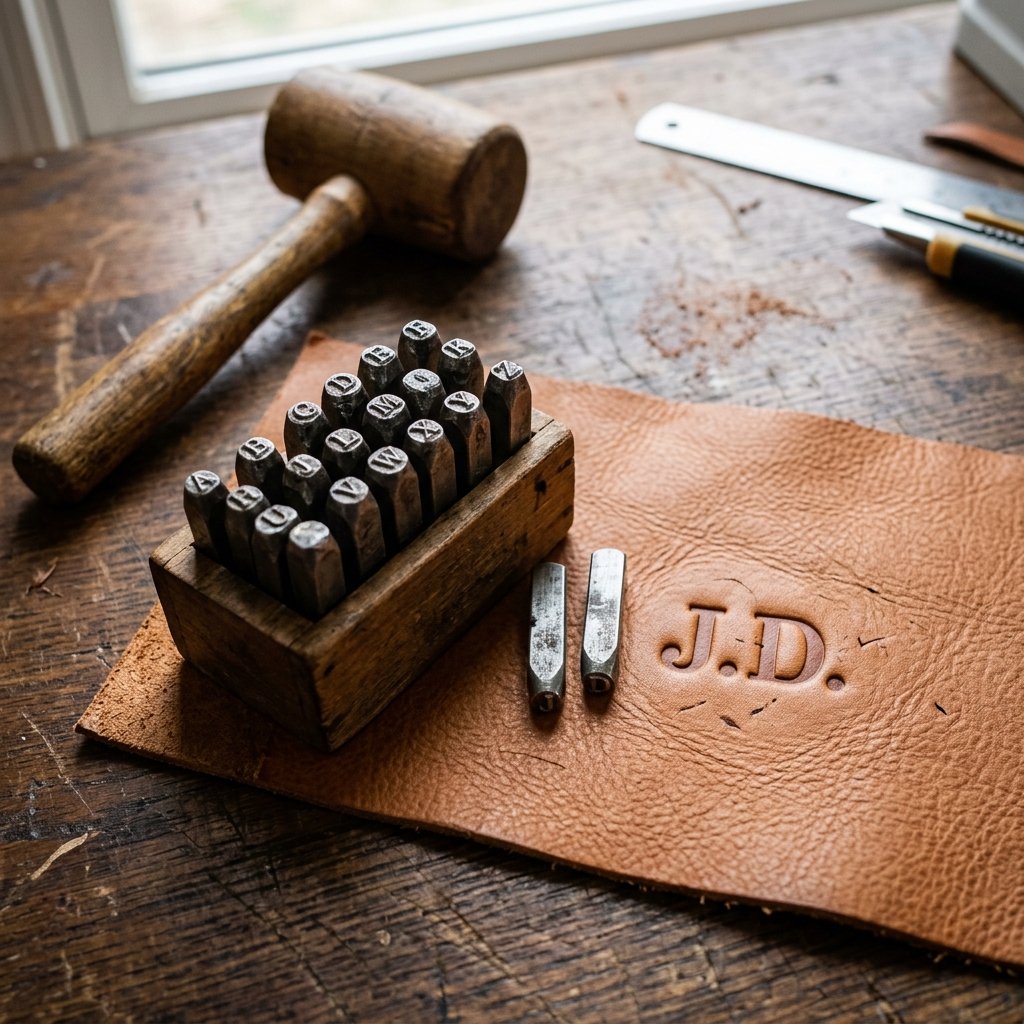
Making it Truly One-of-a-Kind
To elevate this from a ‘craft project’ to the ultimate gift, you need to add a personal touch. Since you are saving so much money by DIYing, you can afford to spend a few extra minutes on the details. Here are three ways to customize your mug:
- Leather Stamping: Before you wrap the leather around the jar, use metal letter stamps to indent the recipient’s initials or a short mantra like ‘STAY SHARP’ into the hide. Wet the leather slightly (casing) before stamping for a deeper, permanent impression.
- The Braided Handle: If you want a mug with a handle, cut three thin strips of leather, braid them tightly, and rivet them to the main wrap before stitching it onto the jar.
- Edge Finishing: For a professional look, rub the edges of the leather with a wooden burnisher and a bit of water or beeswax. This creates a smooth, shiny, ‘finished’ edge that won’t fray.
“A gift is a reflection of the giver. Take the extra five minutes to burnish those edges; it’s the difference between a ‘hobby’ and a ‘craft’.”
Care and Maintenance: A Gift That Lasts a Lifetime
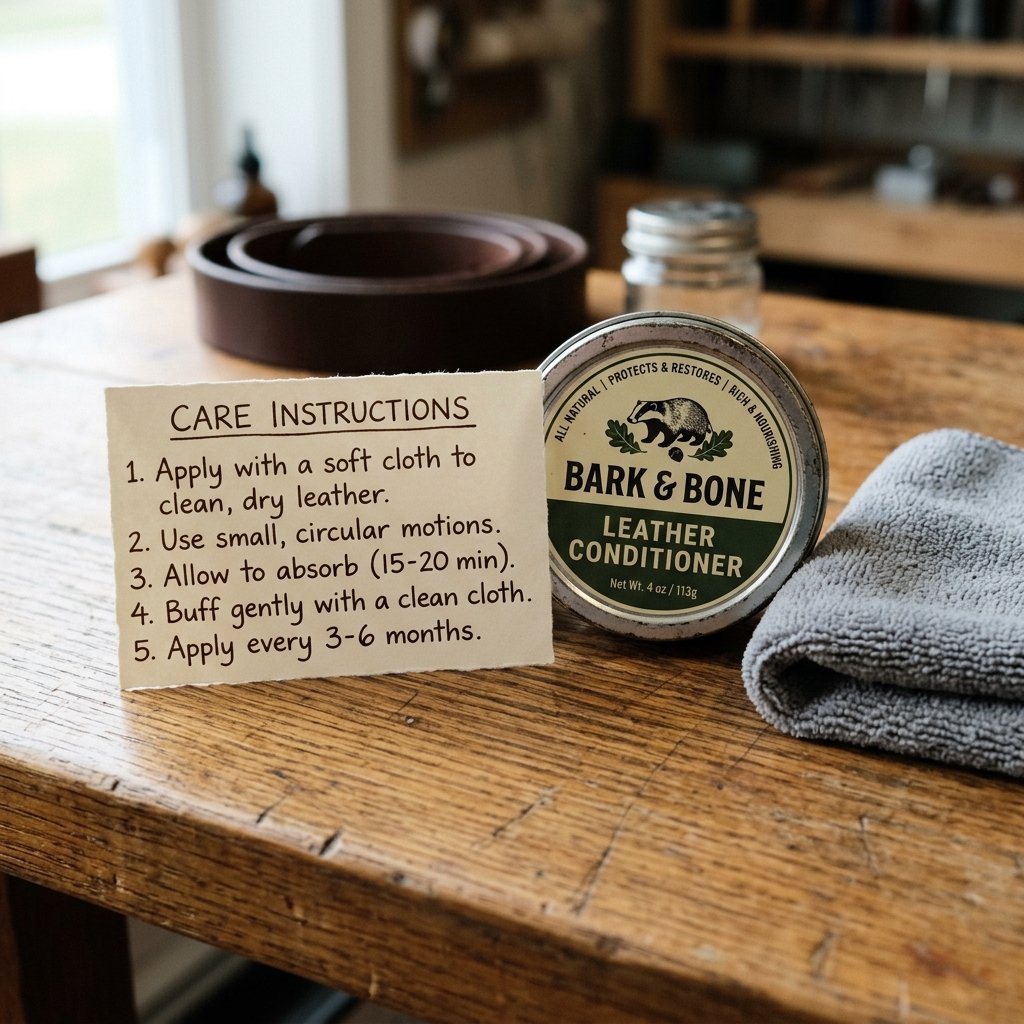
Teaching the Recipient to Respect the Hide
Because this is a rugged, practical gift, it needs to be treated correctly. Include a small ‘care card’ with the gift to ensure the leather stays supple for years. Leather and glass have different cleaning needs, so instructions are vital.
Care Instructions:
- Removability: Remind them that the sleeve is designed to be tight. If they need to wash the jar in the dishwasher, they should slide the sleeve off first.
- Conditioning: Suggest applying a light coat of beeswax or neatsfoot oil once every six months to keep the leather from drying out due to the heat of the coffee.
- Spills: If coffee spills on the leather, wipe it immediately with a damp cloth. The patina will develop over time, telling the story of every cup shared.
| Action | Frequency | Benefit |
|---|---|---|
| Wipe with damp cloth | After spills | Prevents staining |
| Apply Beeswax | Every 6 months | Waterproofs & softens |
| Remove for washing | Every use | Protects leather structure |
Conclusion
The Ultimate Satisfaction of the Handmade Gift
By following this guide, you’ve done more than just make a mug; you’ve mastered a foundational skill in leatherworking and created a masculine-elegant masterpiece for under $5. This DIY leather-wrapped Mason jar mug stands as a testament to the fact that resourcefulness and style go hand-in-hand. Whether it’s the smell of the leather, the warmth of the coffee, or the knowledge that it was built by hand, the recipient is sure to cherish this gift. Now, grab your needles, find some scrap, and start crafting—your morning brew (and your budget) will thank you.

Makenzie is the founder and lead writer at MoneyHackTips.com — a personal finance blog dedicated to delivering street-smart financial wisdom for real people on real budgets. With 300+ published articles covering everything from debt management to investing fundamentals, Makenzie’s mission is to make every dollar work harder. When not writing about money hacks, Makenzie is testing frugal living strategies, optimizing side hustles, and helping readers build financial freedom from scratch.