
The Timeless Appeal of Personalized Leather
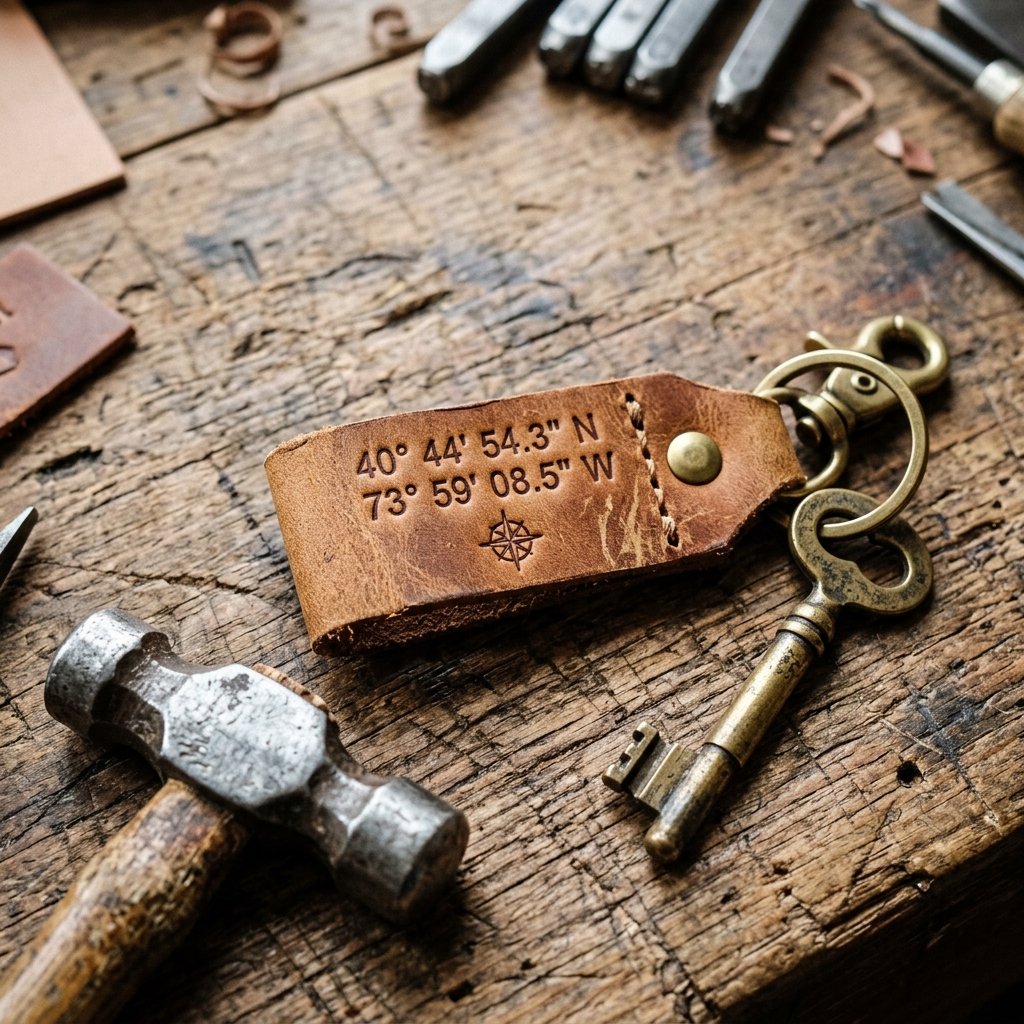
There is something inherently masculine, elegant, and deeply sentimental about a piece of weathered leather. It tells a story, not just through the marks it bears, but through the memories it holds. In a world of mass-produced plastic trinkets, a DIY Leather Coordinates Keychain stands out as a beacon of craftsmanship and thoughtfulness. Whether you are commemorating the spot where you first met, the location of a childhood home, or the coordinates of a life-changing adventure, this project allows you to gift a piece of history for less than the price of a fancy latte.
As frugal DIYers, we know that boutique shops often charge upwards of $40 to $60 for these exact items. Today, we are going to bypass those retail markups by using resourceful sourcing and clever hand-stamping techniques. We will turn a small scrap of leather into a heirloom-quality accessory that will develop a beautiful patina over years of use. This guide is designed for the crafty expert and the budget-savvy beginner alike, ensuring that your finished product looks like it belongs in a high-end haberdashery rather than a craft bin.
Sourcing Your Canvas: The Art of the Leather Scrap
Finding Quality Leather Without the Boutique Price Tag
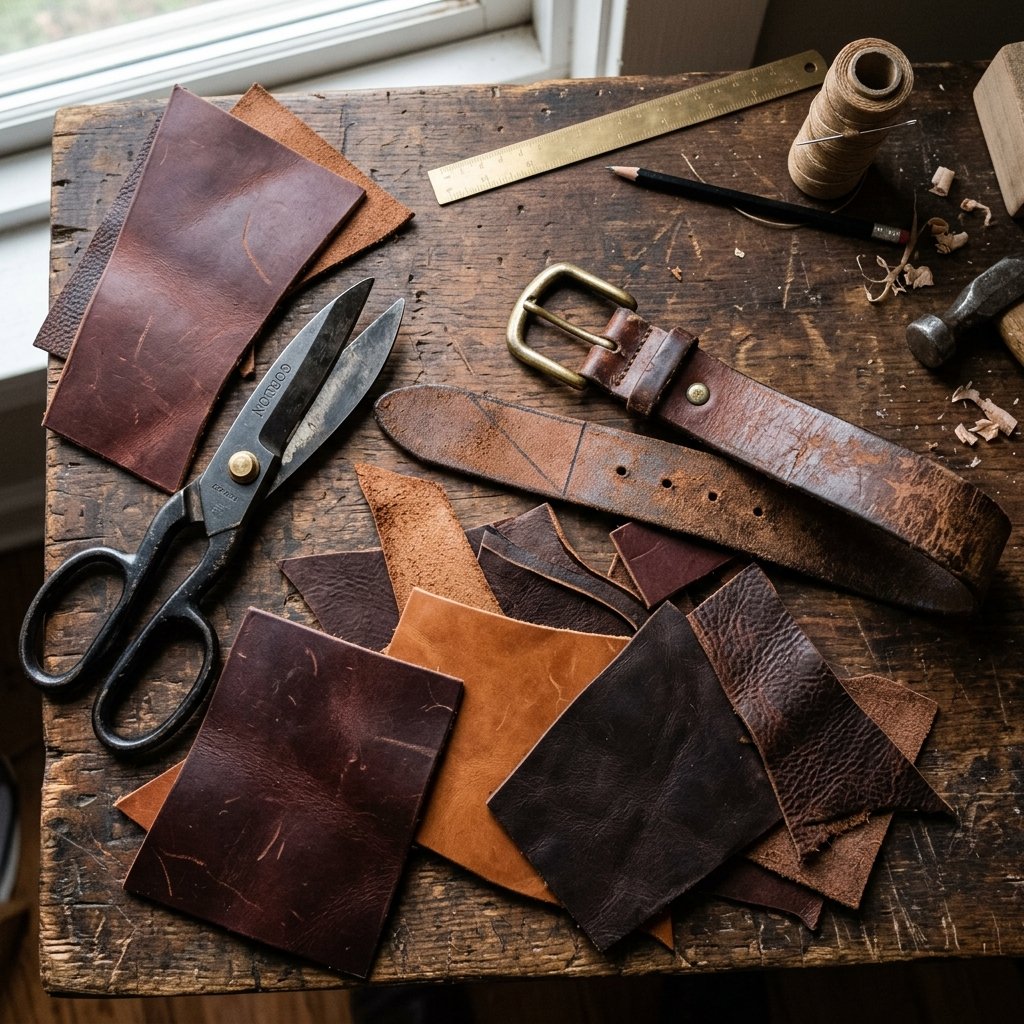
The secret to a stunning leather project isn’t spending a fortune at a specialty tannery; it is about being a resourceful hunter. For a keychain, you only need a strip of leather approximately 1 inch by 4 inches. Buying a full hide is unnecessary and expensive. Instead, look for ‘remnant bags’ at craft stores or, better yet, upcycle an old leather belt from a thrift store.
Frugal Guru Tip: When sourcing at thrift stores, look for belts marked ‘Full Grain’ or ‘Vegetable Tanned.’ Avoid ‘Genuine Leather’ or ‘Bonded Leather’ as these are often layers of scrap glued together and will not take a stamp well or last through the years.
Below is a breakdown of how much you can expect to spend when you DIY versus buying retail:
| Material Item | Estimated DIY Cost | Retail Equivalent |
|---|---|---|
| Leather Scrap (approx. 4″) | $0.50 | $15.00 |
| Heavy Duty Key Ring | $0.25 | $5.00 |
| Metal Rivet/Chicago Bolt | $0.30 | $5.00 |
| Labor & Personalization | $0.00 | $25.00+ |
| Total | $1.05 | $50.00 |
The Minimalist Tool Kit: Crafty Alternatives
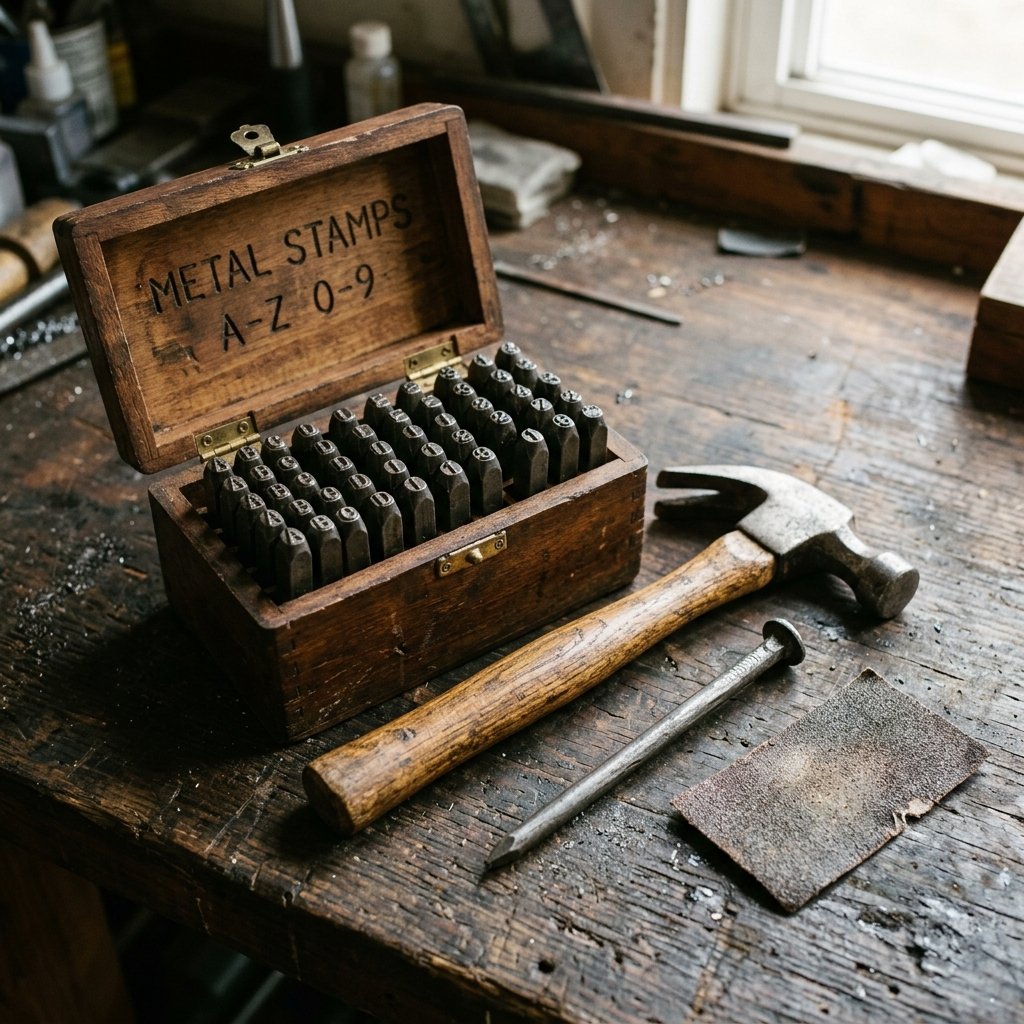
Every Tool Has a Budget Double
You don’t need a professional leather studio to achieve professional results. While there are specialized tools for every step, many household items can fill the gap. A heavy hammer, a steady hand, and a flat, hard surface are your primary requirements.
- The Stamp Set: You will need a 1/8 inch or 3mm metal alphabet/number stamp set. These are a one-time investment of $10-$15 that can be used for hundreds of future gifts.
- The Punch: Instead of a $20 rotary punch, you can use a large nail and a hammer to create your rivet hole.
- The Mallet: Use a rubber or wooden mallet if you have one to protect your stamps, but a standard metal hammer works if you strike with consistent, moderate force.
| Professional Tool | Budget-Savvy Alternative |
|---|---|
| Leather Rotary Punch | Large Nail & Hammer |
| Edge Burnisher | Smooth wooden dowel or back of a spoon |
| Leather Dye | Strong brewed coffee or walnut husks |
| Polymer Cutting Board | Thick scrap of flat wood |
Mapping Your Memories: Finding the Coordinates
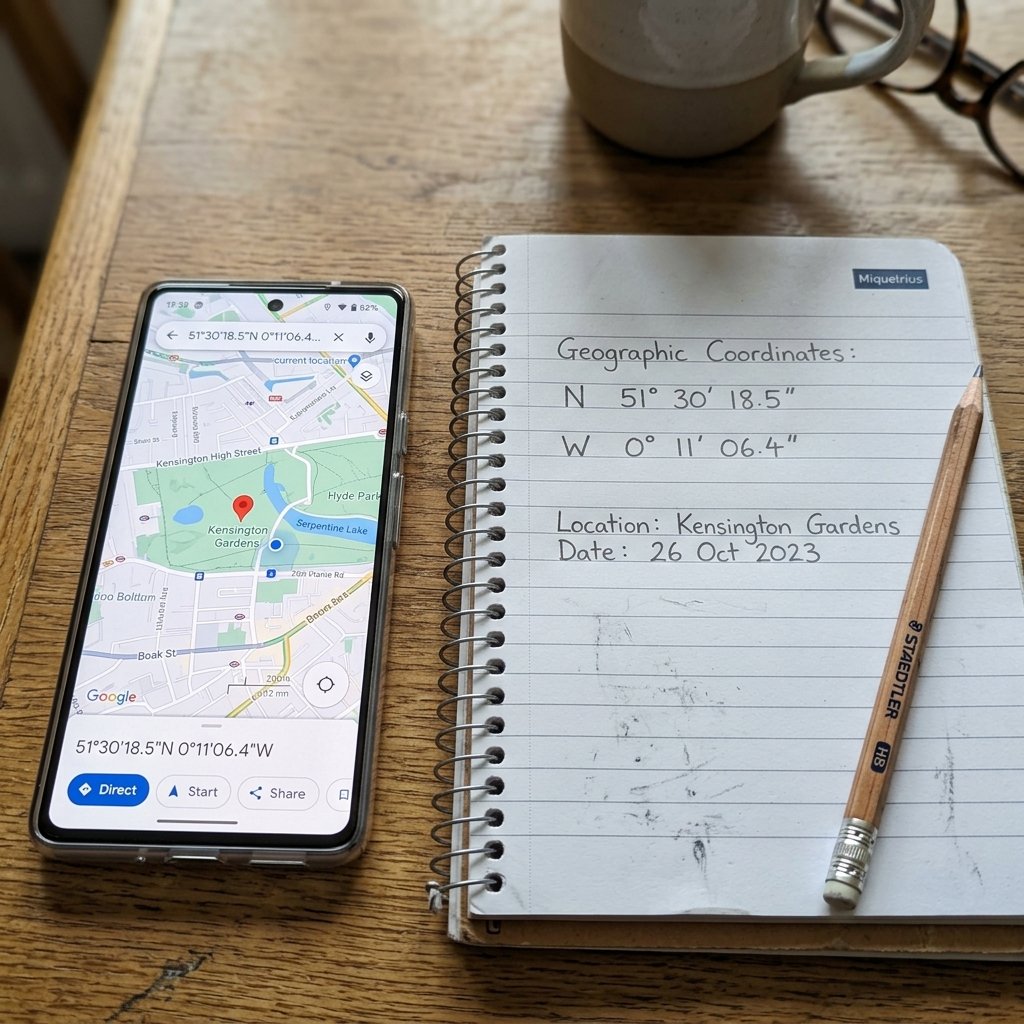
Precision in the Details
The soul of this gift lies in the numbers. To find the exact coordinates, use a free mapping service. You want the Decimal Degrees (DD) or Degrees, Minutes, and Seconds (DMS). For a keychain, DMS usually looks more ‘technical’ and sophisticated.
- Open your preferred map app and drop a pin on the specific location.
- Copy the coordinates (e.g., 34.0522° N, 118.2437° W).
- Simplify the numbers for the stamp. You may want to omit the decimals if your leather strip is short.
Safety Note: When using metal stamps, always work on a solid surface like a concrete floor or a heavy workbench. A flimsy kitchen table will bounce, causing ‘ghost’ images where the stamp hits twice.
Step-by-Step: Stamping and Shaping
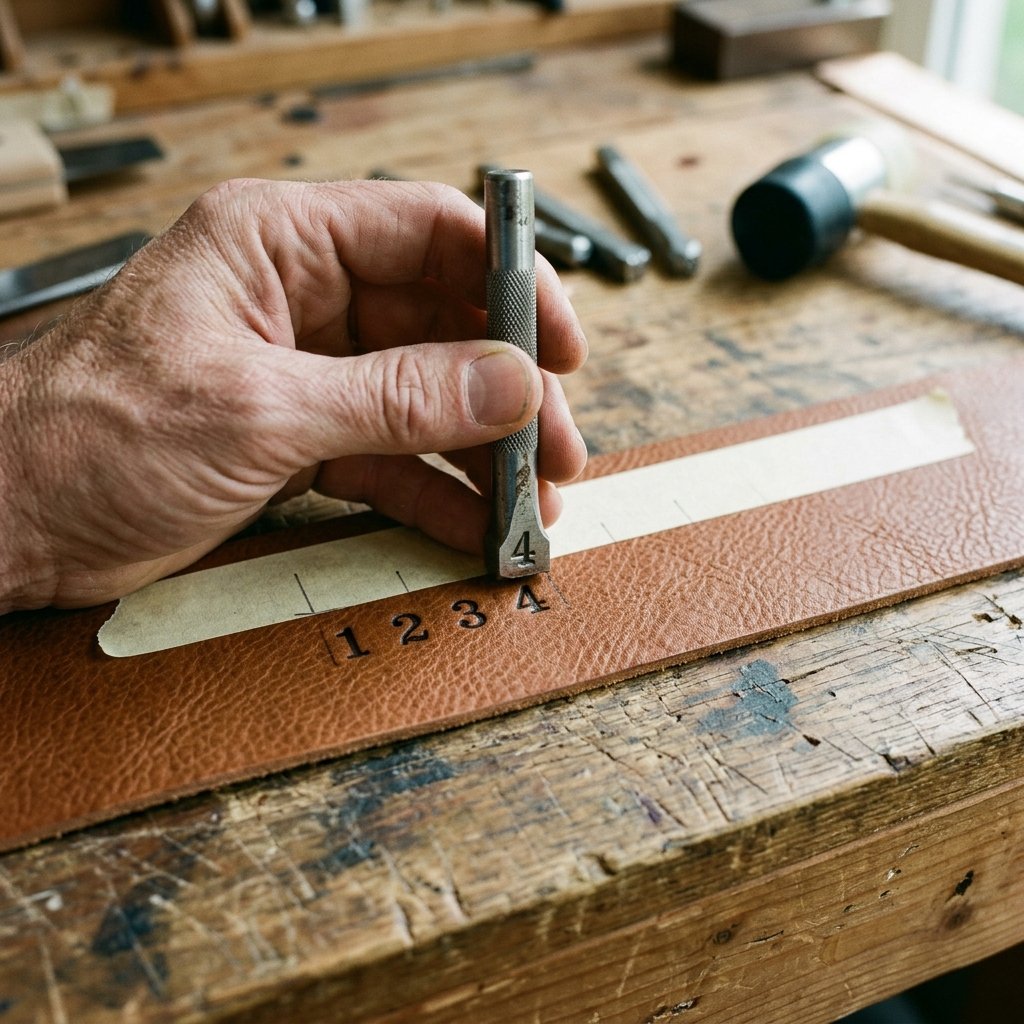
The Crafting Process
Follow these steps with patience. Leather is a forgiving medium, but stamping is permanent!
- Prep the Leather: Cut your leather to size (1″ x 5″ is a safe bet). Use a damp sponge to lightly moisten the surface. This is called ‘casing’ and makes the leather fibers softer to accept the impression.
- Practice First: Always use a scrap piece of the same leather to test your striking force. One firm hit is better than three light ones.
- Align Your Guide: Use a piece of masking tape as a straight-line guide on the leather. This ensures your coordinates don’t ‘drift’ uphill as you stamp.
- Stamp the Center: Start with the middle characters and work your way out to ensure the coordinates are centered on the fob.
- Punch the Hole: Fold the leather over your key ring to find the perfect placement for the rivet. Mark it with a pencil and punch through both layers.
The Finishing Touches: Rugged Elegance
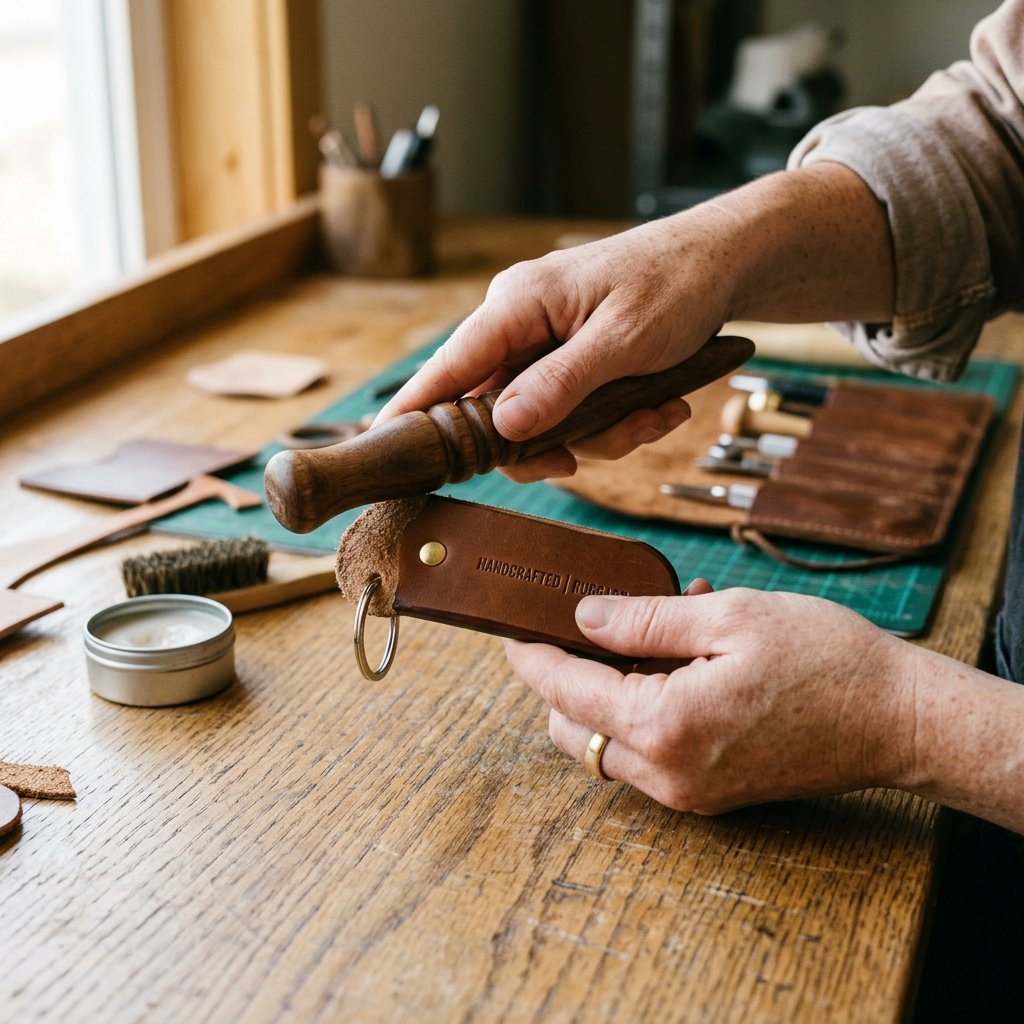
Burnishing and Conditioning
To make your keychain look truly professional, you must address the edges. Raw, fuzzy edges scream ‘amateur.’ We want ‘artisan.’
- Sanding: Lightly sand the edges of your leather with 220-grit sandpaper to even out the cut.
- Burnishing: Rub a little bit of water (or even saliva, in a pinch) on the edge. Take a smooth wooden object and rub the edge vigorously until it becomes slick, dark, and shiny. This heat-friction process seals the fibers.
- Conditioning: Rub a small amount of olive oil, beeswax, or commercial leather balm into the surface. This protects the leather from hand oils and moisture.
The Mantra: A gift made by hand is a luxury of time, not a luxury of price.
Conclusion
A Gift That Ages With Grace
You have now created a stunning DIY leather coordinates keychain that rivals any boutique offering. By being resourceful with your materials and precise with your technique, you’ve crafted a piece that is both rugged and deeply personal. This keychain won’t just hold keys; it will hold a memory that the recipient will carry with them every single day. As the leather darkens and softens over time, the coordinates will remain—a permanent reminder of a special place. Remember, the best gifts aren’t found in a catalog; they are built at the workbench with heart and a little bit of budget-savvy grit. Happy crafting!

Makenzie is the founder and lead writer at MoneyHackTips.com — a personal finance blog dedicated to delivering street-smart financial wisdom for real people on real budgets. With 300+ published articles covering everything from debt management to investing fundamentals, Makenzie’s mission is to make every dollar work harder. When not writing about money hacks, Makenzie is testing frugal living strategies, optimizing side hustles, and helping readers build financial freedom from scratch.