
The Art of the Sentimental Journey
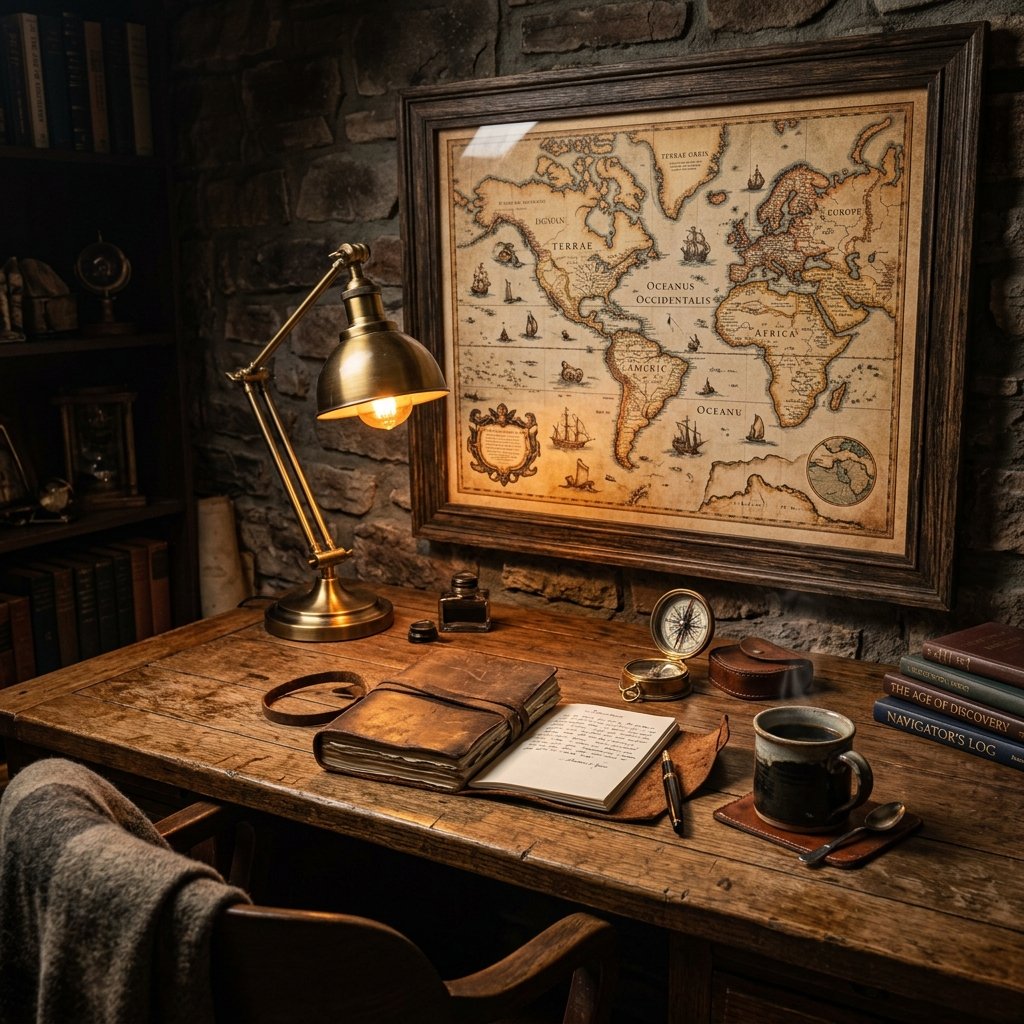
Let’s face it: finding a gift for the man in your life that is both romantic and rugged is a tall order. You want something that says, ‘I cherish our history,’ without it feeling overly saccharine or fragile. Enter the Vintage Map Wall Art. Whether it’s the coordinates of where you first met, the city where you bought your first home, or the rugged terrain of his favorite hiking trail, a map is more than just paper—it’s a blueprint of your shared life. As a budget-savvy crafter, I’m going to show you how to take a $1.00 thrifted map and turn it into a $150 gallery-worthy piece of masculine-elegant decor. We aren’t just making art; we are preserving a legacy using little more than some kitchen staples and a bit of resourceful grit.
The Master Plan: Choosing Your Meaningful Location
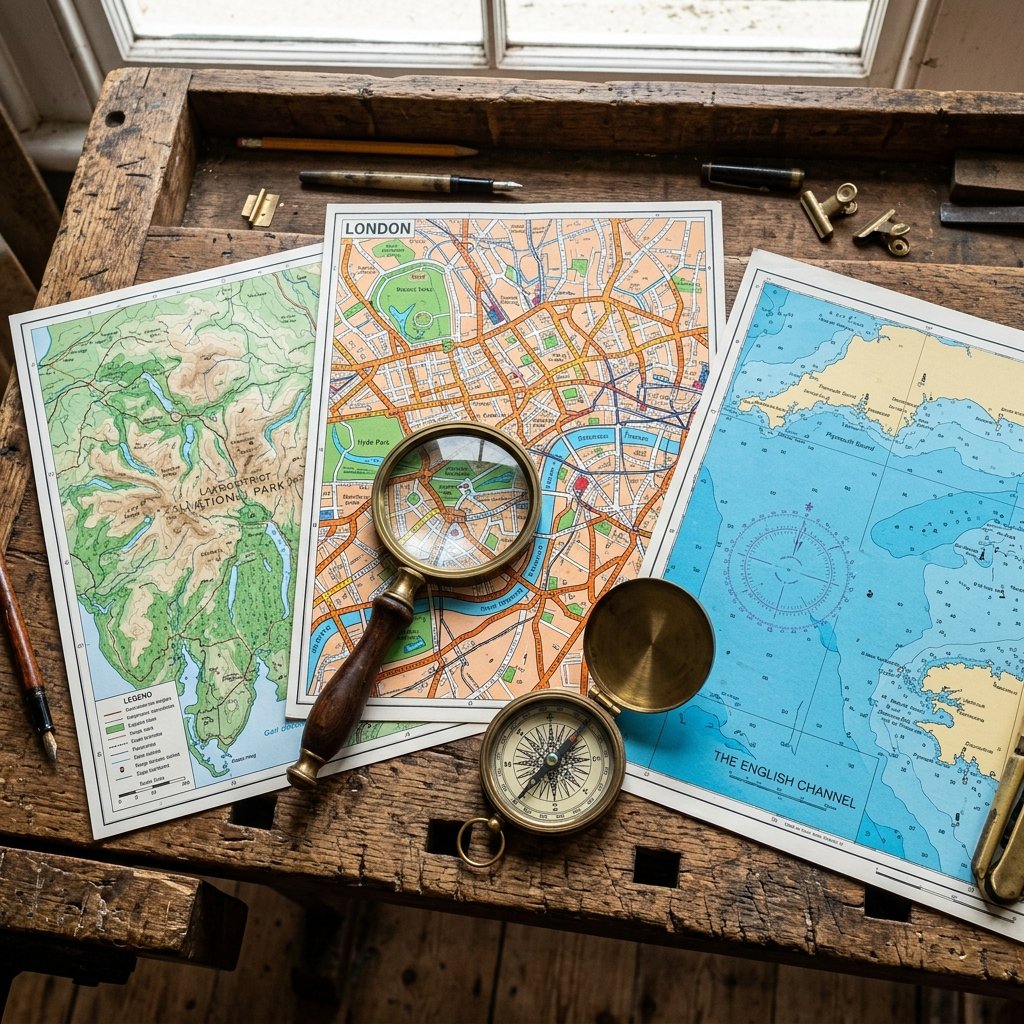
Selecting the Right Map Type
Before we pick up a paintbrush or a bottle of glue, we need to decide on the ‘soul’ of the piece. Not all maps are created equal. For a gift that truly resonates, you need to choose a location that carries weight. Consider these three archetypal approaches:
- The ‘Where It All Began’ Map: A detailed street map of the neighborhood where you had your first date.
- The ‘Adventure’ Map: A topographical map of a mountain range he conquered or a national park you visited together.
- The ‘Heritage’ Map: A vintage-style nautical chart of his family’s ancestral coastline.
The beauty of this project is that you don’t need to find a 100-year-old original. We can use free digital archives (like the USGS or New York Public Library Digital Collections) and print them on standard paper. The ‘magic’ happens in the aging process we’ll tackle later.
The Budget Breakdown: Luxury Look for Less
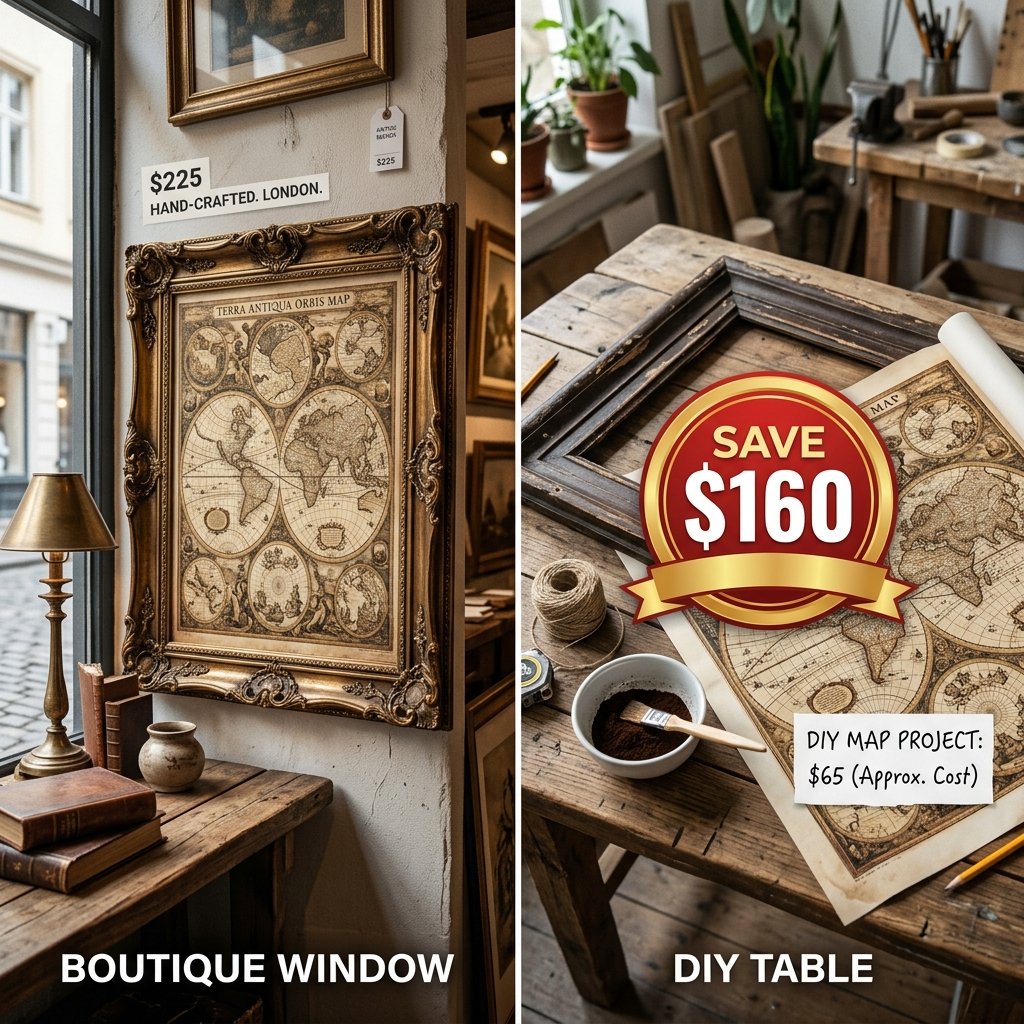
DIY vs. High-End Retail
If you were to walk into a high-end home goods store or order a custom framed map online, you would easily part with $120 to $250. By being crafty and sourcing your materials resourcefully, we can bring that cost down to nearly zero. Here is how the math shakes out for the frugal DIYer.
| Material | Store-Bought Price | DIY/Upcycled Cost |
|---|---|---|
| Large Format Map | $45.00 | $0.00 (Public Domain Print) |
| Hand-Distressed Wood Frame | $85.00 | $4.50 (Thrift Store Find) |
| Professional Mounting | $40.00 | $1.25 (Dollar Tree Foam Board) |
| Custom Aging Treatment | Included | $0.10 (Leftover Coffee Grounds) |
| Total | $170.00+ | $5.85 |
The secret to high-end decor isn’t the price tag; it’s the attention to texture and the story behind the materials.
The ‘Ancient Parchment’ Secret: Aging Your Paper
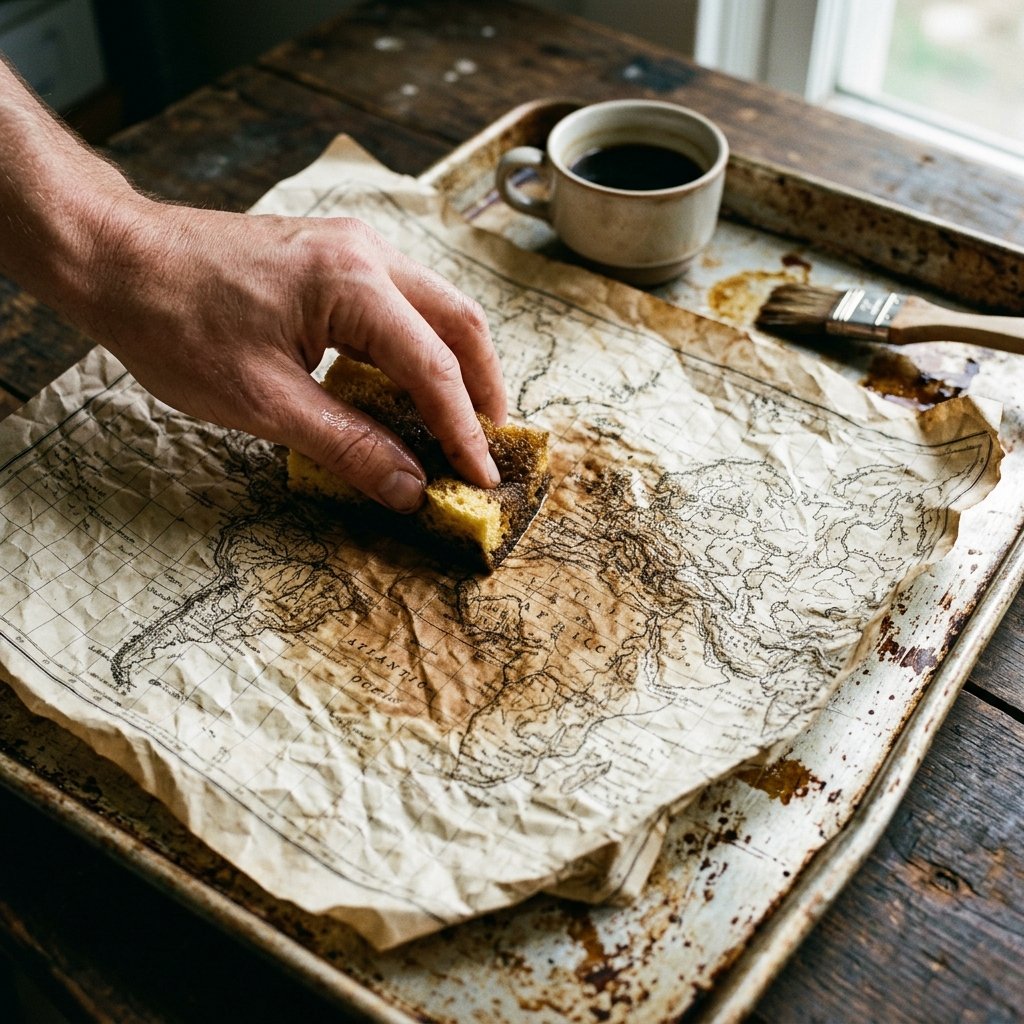
The Coffee & Tea Staining Method
To give your modern print-out that ‘rugged explorer’ vibe, we need to artificially age the fibers. This is where your inner chemist comes out. You will need a tray larger than your map, strong black coffee, and a few tea bags.
- Brew the ‘Ink’: Brew a very strong pot of coffee. The darker the roast, the deeper the stain. Add two black tea bags for a more ‘yellowed’ antique look.
- Crumple for Character: Lightly crumple your printed map into a ball, then smooth it back out. This creates micro-tears in the paper that will absorb more pigment, mimicking decades of folding.
- The Soak: Place the map in a shallow baking tray and pour the cooled coffee over it. Let it sit for 5 to 10 minutes.
- The Oven Trick: For a crisp, parchment-like texture, place the wet map on a clean cookie sheet and ‘bake’ it in the oven at the lowest setting (approx 170°F) for 3-5 minutes. Watch it like a hawk so it doesn’t burn!
Safety Note: Always keep a close eye on paper in the oven. It should only stay in long enough to dry and slightly curl the edges. Never leave it unattended.
Rugged Framing: From Thrift Store Trash to Masculine Elegance
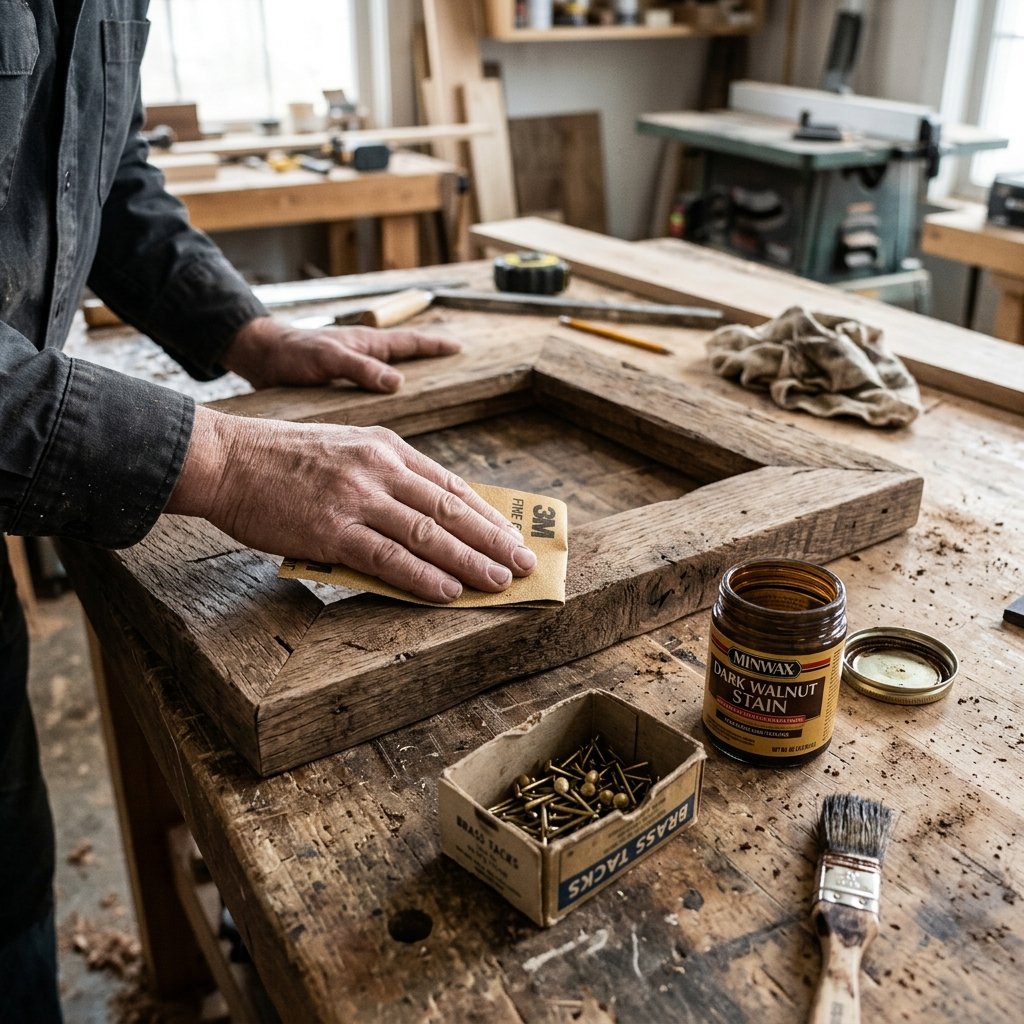
Prepping the Frame
We aren’t looking for a perfect, shiny frame. We want something with heft and history. Look for solid wood frames at thrift stores, even if the art inside is hideous. We are going to ‘man it up’ with a simple sanding and staining technique.
- Step 1: Remove the old glass and backing. Discard the ’80s floral print’ that came with it.
- Step 2: Use a medium-grit sandpaper to strip away any glossy varnish. We want the raw grain to show through.
- Step 3: If the wood is too light, rub it down with a mixture of steel wool and apple cider vinegar (let the wool sit in the vinegar overnight first). This creates a natural ‘ebonizing’ effect that looks like weathered barn wood.
- Step 4: For a final masculine touch, use brass upholstery tacks in the corners of the frame to give it an industrial, ‘steampunk’ edge.
Assembly: The Professional Mounting Technique
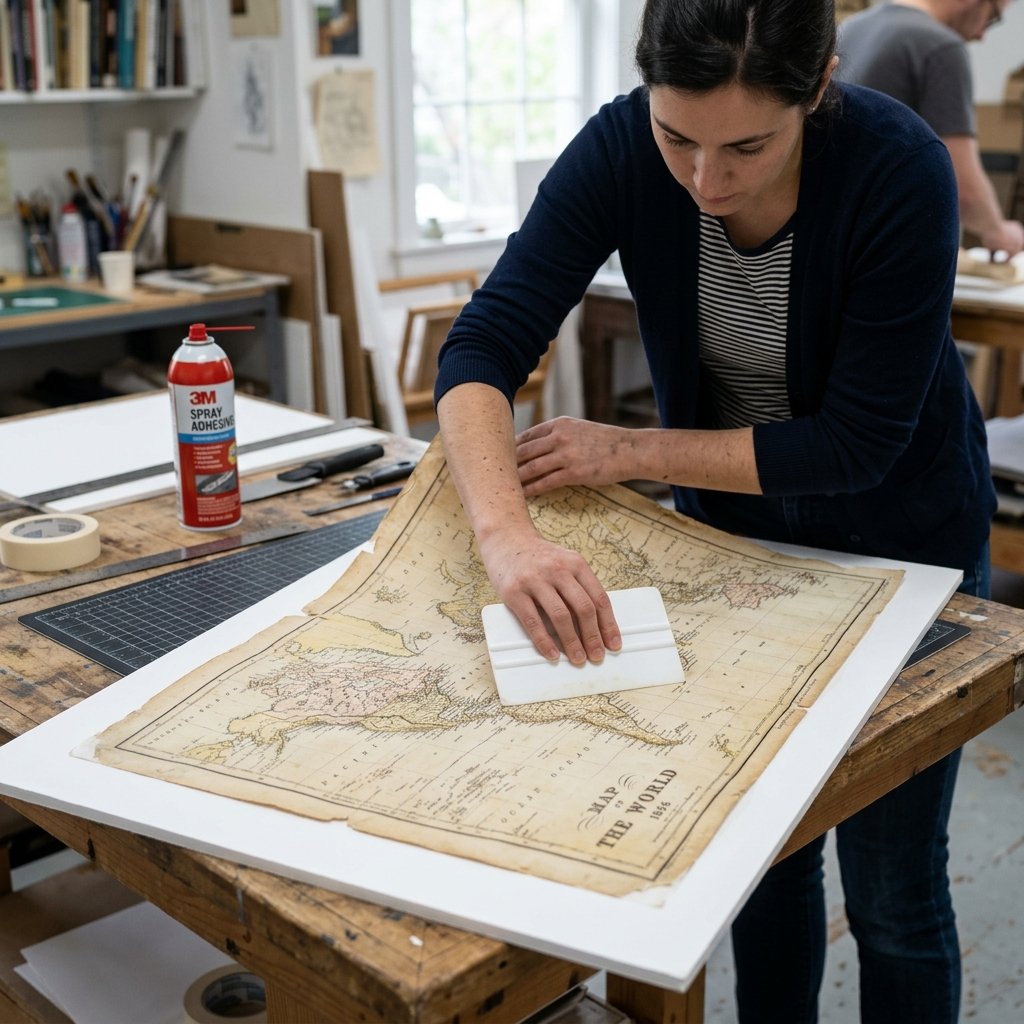
Securing the Legacy
To ensure the map doesn’t sag over time, we need a solid mount. Using spray adhesive is the cleanest way to do this without causing the paper to ripple.
Mounting Steps:
- Measure Twice: Cut your foam board to fit the frame dimensions exactly.
- The ‘Tack’ Spray: In a well-ventilated area, spray a light, even coat of adhesive onto the foam board—not the map itself.
- The Roll-Out: Starting from the top edge, slowly lay the map onto the board, using a clean brayer or a plastic ruler to smooth out air bubbles as you go.
- The Floating Look: If your frame is deep, don’t use glass. A ‘naked’ map allows the texture of the aged paper to really pop, giving it a more authentic, historical feel.
Conclusion
A Gift That Maps Your Future
By taking the time to source a meaningful location and applying these resourceful aging techniques, you’ve created more than just a piece of wall decor. You’ve created a conversation piece that honors his interests and your shared journey. This Vintage Map Wall Art proves that you don’t need a massive budget to give a gift that feels substantial, thoughtful, and high-end. Now, find a prominent spot on the wall, drive in a sturdy nail, and watch his face light up when he realizes you didn’t just buy this—you built it. Happy crafting, and here’s to many more adventures on your map!

Makenzie is the founder and lead writer at MoneyHackTips.com — a personal finance blog dedicated to delivering street-smart financial wisdom for real people on real budgets. With 300+ published articles covering everything from debt management to investing fundamentals, Makenzie’s mission is to make every dollar work harder. When not writing about money hacks, Makenzie is testing frugal living strategies, optimizing side hustles, and helping readers build financial freedom from scratch.