
The Ultimate Rainy Day Hero Move
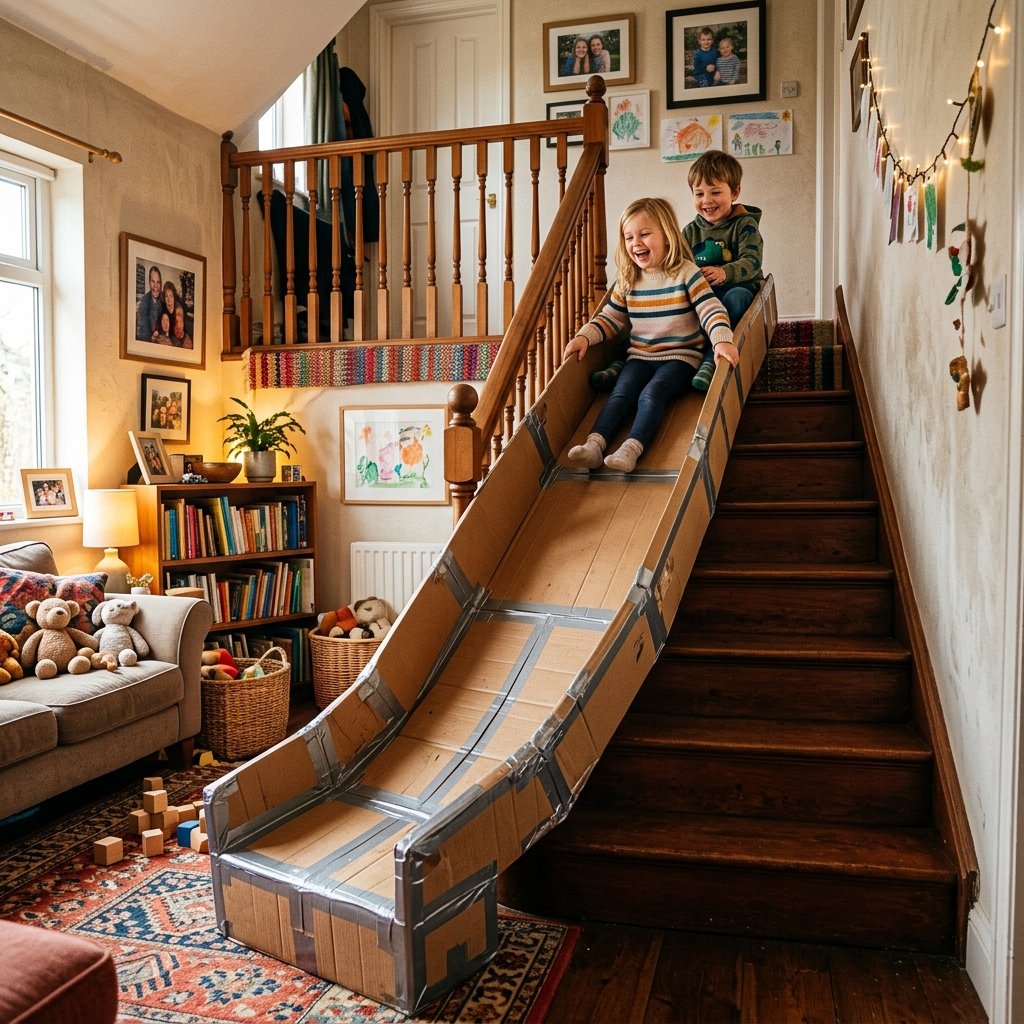
Let’s be honest: every parent has faced that moment where the energy levels inside the house are hitting a fever pitch, the rain is pouring outside, and the local indoor playground is charging $20 a head. You look at your stairs and see a hazard; I look at those stairs and see the framework for a $0 indoor theme park. Turning your stairs into a cardboard slide isn’t just a clever way to upcycle those massive shipping boxes taking up space in your garage; it’s a masterclass in resourceful engineering that will earn you legendary status in your household. We aren’t just taping paper to wood here; we are building a rugged, high-speed, structural descent that is as safe as it is exhilarating. Whether you are a frugal DIYer looking to save a buck or a crafty parent wanting to create a core memory, this guide will walk you through the physics, the materials, and the construction of the most epic DIY project your living room has ever seen.
The Blueprint: Sourcing Your High-Performance Materials
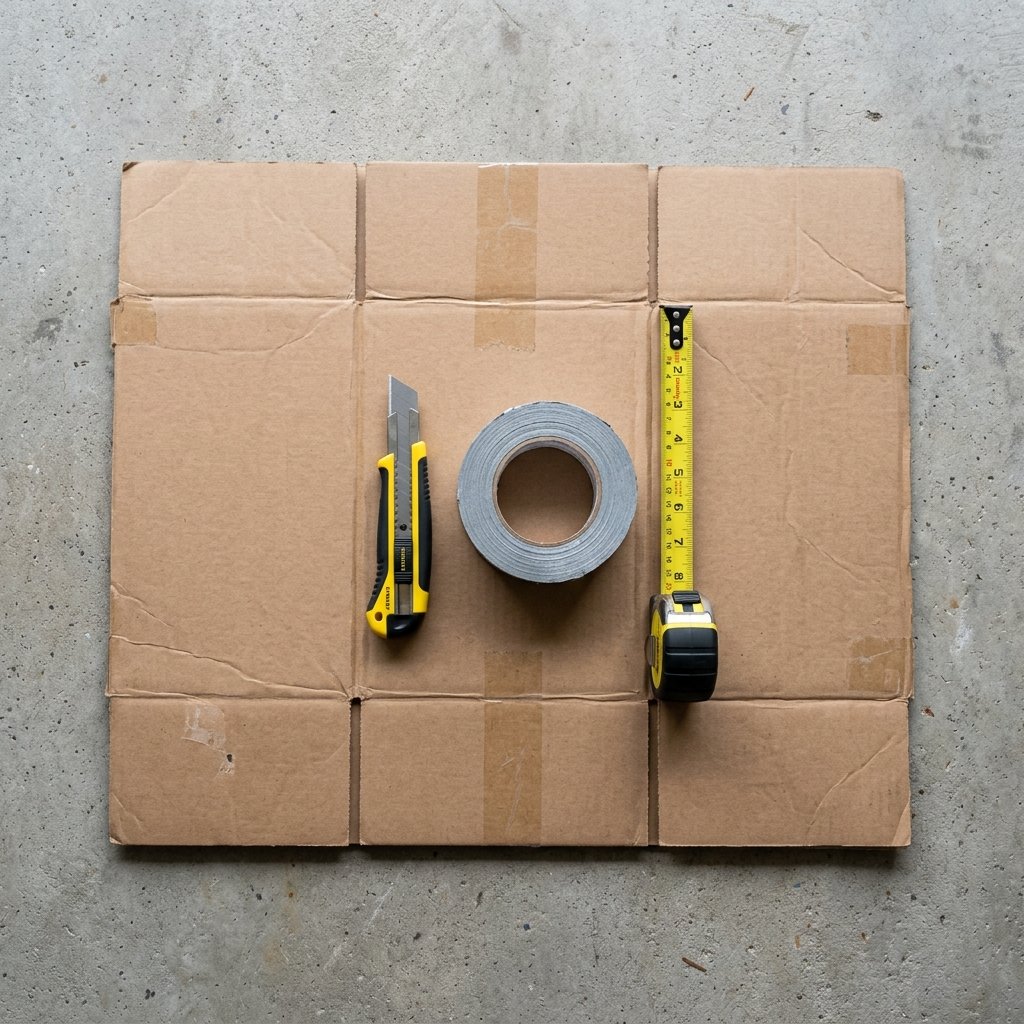
Not all cardboard is created equal. To build a slide that handles the weight of a growing kid (and maybe a very brave adult), you need industrial-grade materials. Forget the flimsy cereal boxes; we are hunting for the heavy-duty stuff. The best part? These materials are usually 100% free if you know where to look. You want double-walled corrugated cardboard—the kind used for shipping refrigerators, washing machines, or large furniture pieces. These provide the structural integrity needed to bridge the gaps between your steps without sagging.
The Material Checklist
- Large Appliance Boxes: The gold standard for length and thickness.
- Industrial Duct Tape: Don’t skimp here; you need the high-tack, fiber-reinforced variety.
- Utility Knife: With fresh, sharp blades for clean cuts.
- Measuring Tape: Precision matters when you’re fitting a slide to a specific incline.
- Packing Blankets or Cushions: For the crucial ‘landing zone’ at the bottom.
| Material | Source | Estimated Cost |
|---|---|---|
| Heavy-Duty Cardboard | Recycling center / Appliance store | $0.00 |
| Industrial Duct Tape | Hardware store / Junk drawer | $5.00 |
| Utility Knife | Toolbox | $0.00 |
| Landing Cushions | Living room sofa | $0.00 |
| Total Project Cost | Resourceful DIY | $5.00 |
The secret to a smooth ride is in the grain of the cardboard. Always ensure the internal ‘ribs’ of the corrugated board run vertically down the stairs, not horizontally across them. This prevents the slide from buckling under weight.
Engineering the Descent: Structural Integrity and Safety
Physics of the Slide
Before we start taping, we need to understand the ‘stair-gap’ problem. Each step creates a void. If you simply lay one thin sheet of cardboard down, the first child to sit on it will sink into the ‘trough’ of the step. To solve this like a pro, we use the ‘Telescoping Method.’ By overlapping multiple sheets of thick cardboard, you create a rigid bridge that distributes weight across the noses of the stairs.
The Safety Protocol
Safety is paramount when you’re turning a transit area into a recreation zone. Follow these non-negotiable rules:
- The Anchor Point: The top of the slide must be securely anchored to the top landing. If the top slips, the whole structure fails.
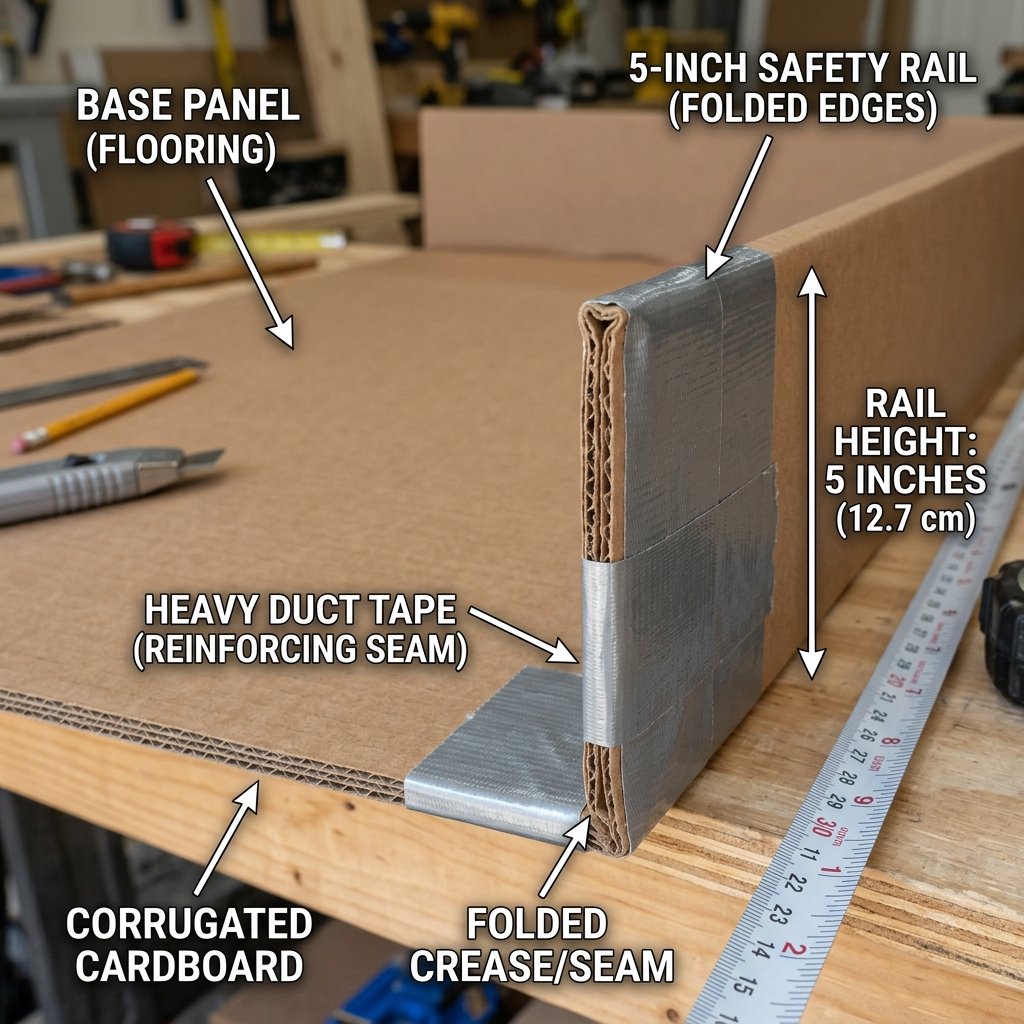
- The Side Rails: Fold the edges of your cardboard upward by 4 to 6 inches to create guardrails. This keeps the ‘pilot’ centered and prevents friction burns from the stair banisters.
- The Landing Zone: You need at least 6 feet of clear space at the bottom of the stairs, padded with every pillow, sleeping bag, and sofa cushion you own.
Never allow sliding in socks; bare skin or rubber-soled shoes provide the necessary grip for ‘controlled’ descents if the speed gets too high.
Step-By-Step Construction: Building the Beast
Step 1: Measuring and Cutting
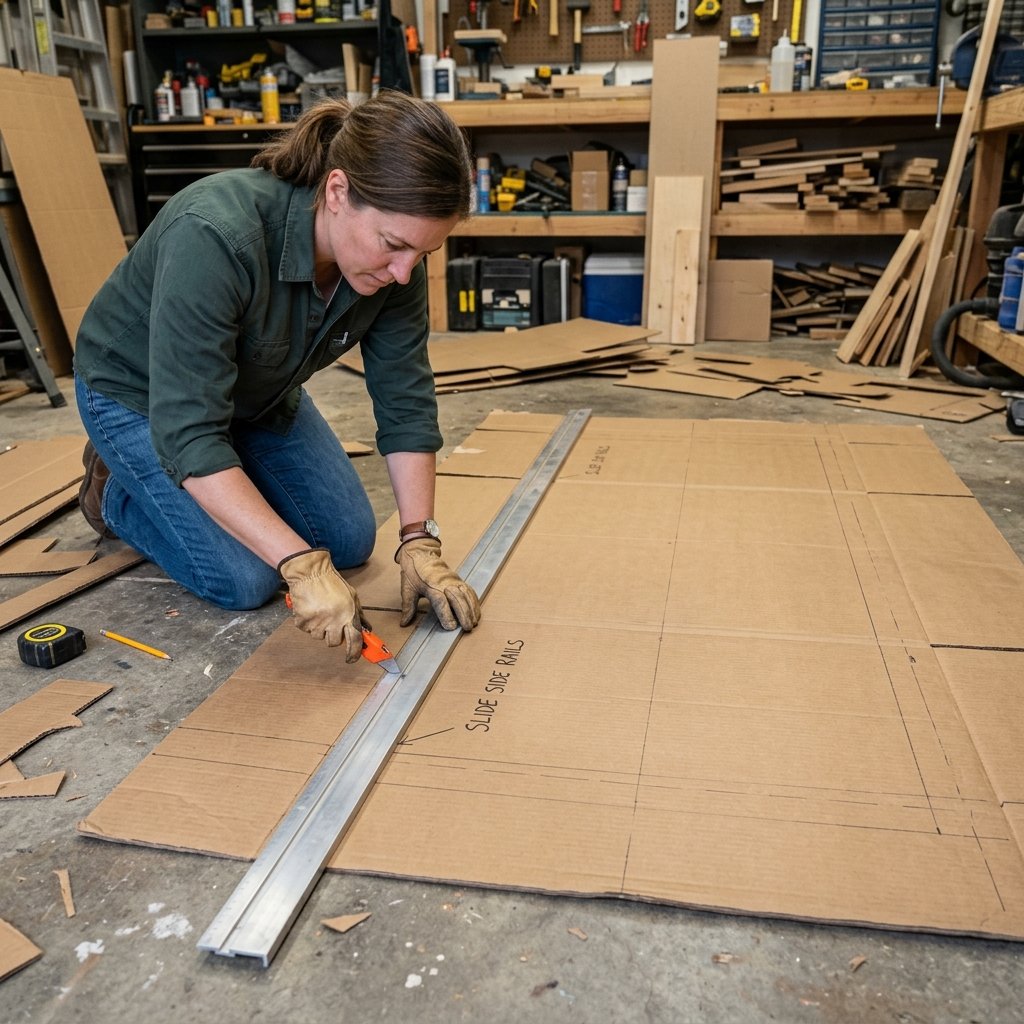
Measure the total length of your staircase from the top landing to the floor. Add 3 feet for the ‘run-out’ at the bottom. Cut your large cardboard boxes into wide strips. Most residential stairs are about 36 inches wide; your slide should be roughly 24 to 30 inches wide to allow for those side rails.
Step 2: The Telescoping Assembly
- Place your first sheet at the bottom of the stairs.
- Place the second sheet overlapping the first by at least 12 inches. Crucial: The top sheet must always overlap over the bottom sheet (like roof shingles) so the rider’s weight moves with the seam, not against it.
- Tape the seams across the entire width using three layers of duct tape.
Step 3: Creating the Side Rails
Using the back of your utility knife (the dull side), score a line 5 inches from each edge. Fold these flaps upward. This creates a ‘U-channel’ that is significantly stronger than a flat sheet. Tape the corners of these rails at the overlapping seams to ensure they stay upright.
Step 4: The Top Anchor
Fold the top 12 inches of your slide over the top landing of the stairs. Use a heavy piece of furniture (like a sideboard or a heavy-duty tension rod) to weight it down, or use painters’ tape (which won’t damage floor finishes) to create a wide, multi-point anchor.
| Phase | Action | Time Investment |
|---|---|---|
| Prep | Sourcing & Cutting Boxes | 20 Minutes |
| Assembly | Taping & Overlapping | 30 Minutes |
| Safety Check | Anchor & Cushioning | 10 Minutes |
| Total Build Time | Instant Fun | 60 Minutes |
The DIY vs. Store-Bought Reality Check
Why Build When You Can Buy?
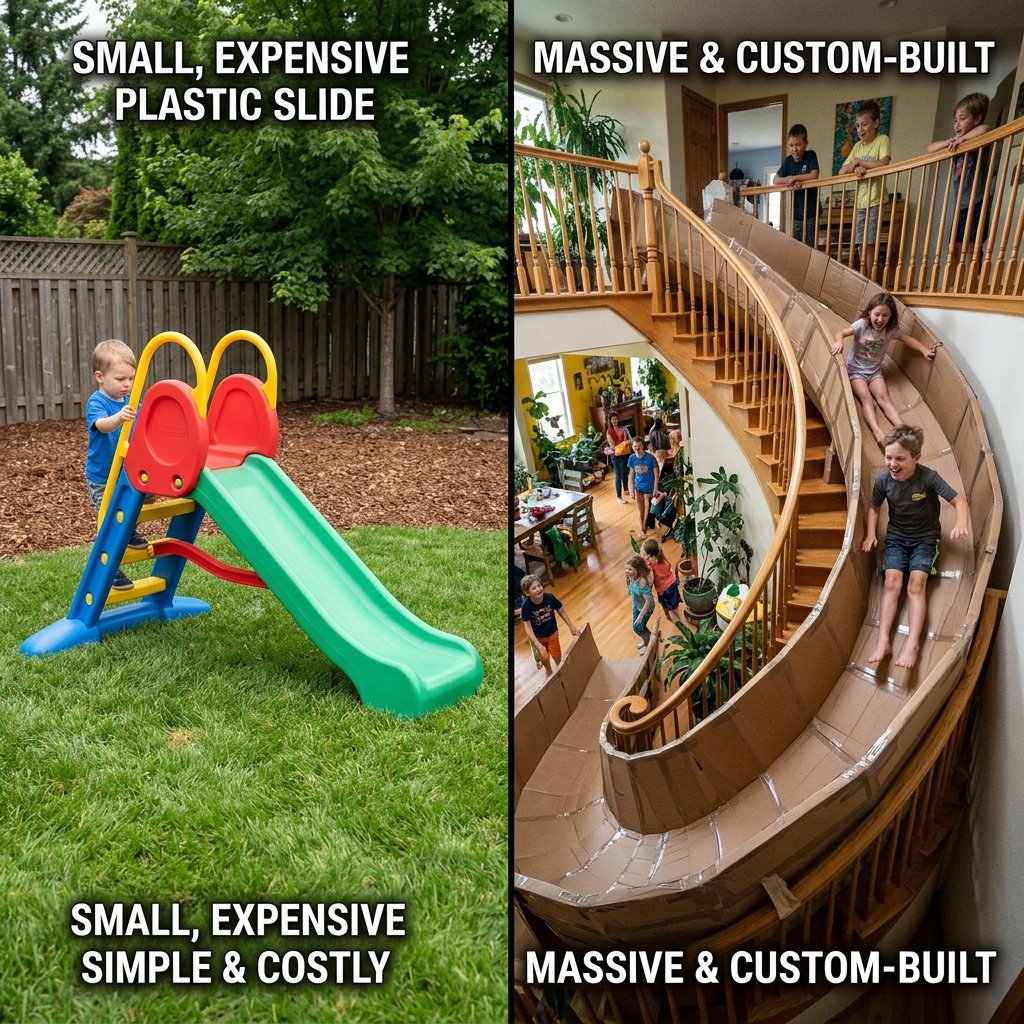
You might see plastic stair slides advertised online for $100 to $300. While those are fine, they lack the custom fit and the ‘epic’ scale of a DIY cardboard version. Plus, once the kids are tired of the cardboard slide, you simply recycle it. No bulky plastic equipment to store in your attic for the next five years. This is the epitome of budget-savvy parenting: providing a high-value experience with zero long-term clutter and zero financial drain.
Comparison Table
| Feature | Store-Bought Plastic Slide | DIY Cardboard Epic Slide |
|---|---|---|
| Price | $150+ | $0 – $5 |
| Storage | Bulky, takes up closet space | Recyclable, zero footprint |
| Customization | Fixed length | Fits any staircase perfectly |
| Parental ‘Cool’ Factor | Moderate | Off the charts |
The DIY approach also teaches your kids about engineering, friction, and the value of creating their own fun. It’s a rugged, practical lesson in resourcefulness that a plastic box from a warehouse simply can’t provide.
Conclusion
The Verdict: A Masterpiece of Frugal Fun
By the time you finish the final tape reinforcement, you’ll have transformed your home into the ultimate playground. Building an epic DIY cardboard stair slide is more than just a craft; it’s an exercise in being the resourceful, clever, and budget-savvy parent your kids will remember forever. You’ve taken ‘trash,’ applied some basic engineering, and created a high-speed attraction for the cost of a roll of tape. So, gather your boxes, sharpen your blade, and prepare for the sound of pure joy echoing through your halls. Just remember: keep the landing soft, keep the rails high, and maybe—just maybe—take one test slide yourself. You earned it. Happy sliding!

Makenzie is the founder and lead writer at MoneyHackTips.com — a personal finance blog dedicated to delivering street-smart financial wisdom for real people on real budgets. With 300+ published articles covering everything from debt management to investing fundamentals, Makenzie’s mission is to make every dollar work harder. When not writing about money hacks, Makenzie is testing frugal living strategies, optimizing side hustles, and helping readers build financial freedom from scratch.