
The Chaos of the Commute: Why Your Car Needs a Tactical Overhaul
Let’s be honest: the backseat of your car is likely a graveyard for rogue french fries, stray charging cables, and half-empty water bottles. For the frugal DIYer, the solution isn’t a $45 plastic organizer from a big-box store that will probably crack in the winter or sag under the weight of a tablet. No, the solution lies in your rag bin. By repurposing old, worn-out 100% cotton t-shirts into high-tensile ‘tarn’ (t-shirt yarn), you can engineer a custom, washable, and incredibly rugged storage system. This project is the ultimate marriage of practicality and resourcefulness. We aren’t just cleaning the car; we are building a bespoke cargo solution that fits your specific gear perfectly. Whether you are a handy parent managing toddler toys or a rugged traveler needing a spot for your multi-tool and flashlight, this guide will save your sanity without costing you a single dime.
The Raw Materials: Sourcing and Sorting Your Fabric
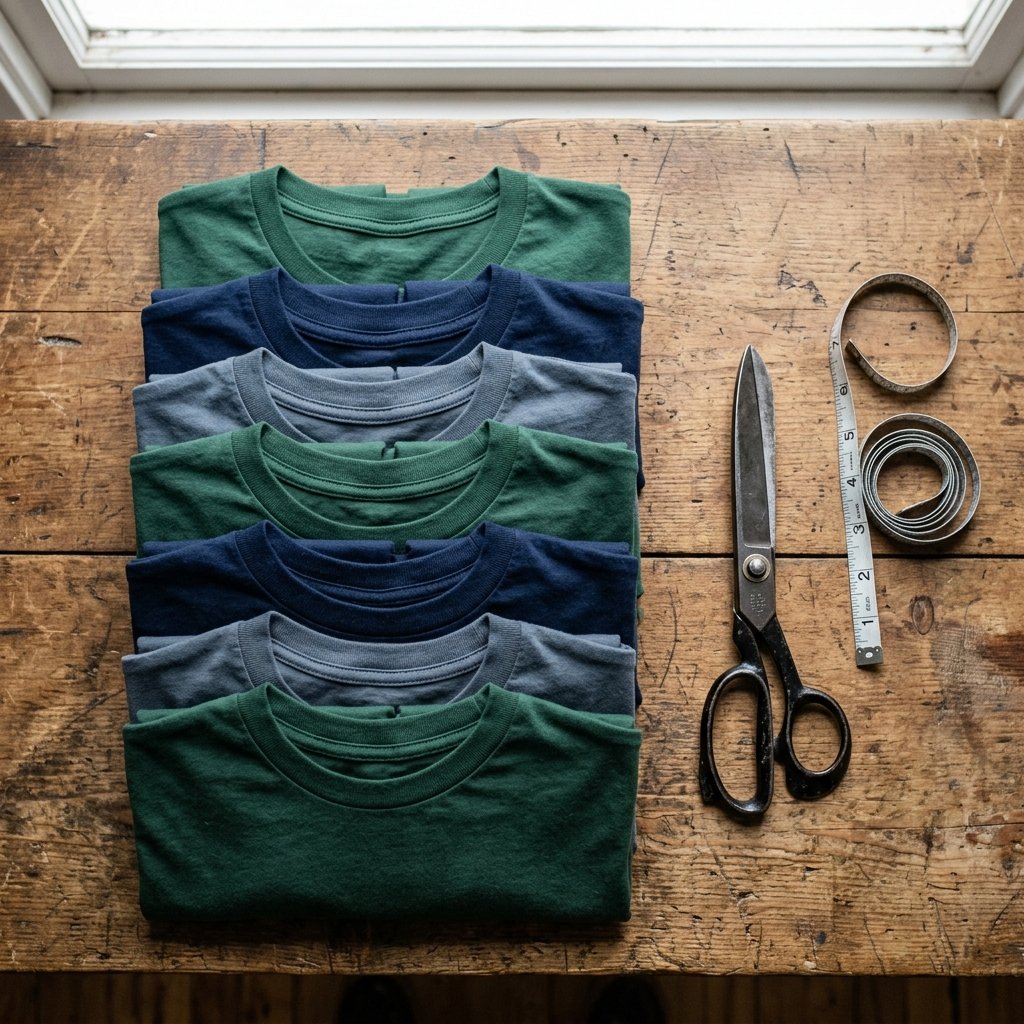
Not all t-shirts are created equal when it comes to structural integrity. To build an organizer that won’t stretch into a useless bag after one week, you need to be selective about your textile choices. We are looking for 100% cotton jersey. Avoid shirts with side seams if possible, as they create weak points in your yarn. If you have shirts with heavy graphic prints, these can add a cool, rugged texture, but they might be harder to stretch. Look for those ‘retired’ gym shirts or the ones with a few holes that make them unwearable but still hold plenty of viable fabric.
Material Selection Matrix
| Fabric Type | Stretch Factor | Durability Rating | Best Use Case |
|---|---|---|---|
| 100% Cotton Jersey | High | Excellent | Main structural grid and pockets |
| Cotton/Poly Blend | Medium | Good | Decorative accents or light-duty loops |
| Heavyweight Beefy-T | Low | Superior | Load-bearing straps and headrest hooks |
Before you start cutting, ensure your shirts are clean and dry. You will need approximately 4 to 6 large adult shirts to create a standard-sized organizer with multiple pockets. This is the perfect time to clear out that drawer of ‘maybe I’ll wear it’ shirts and turn them into something that actually serves a purpose.
The Fabrication Phase: Engineering Continuous T-Shirt Yarn

The secret to a professional-looking DIY project is the quality of your yarn. We aren’t just cutting strips; we are creating a continuous strand of ‘tarn’ that allows for seamless weaving or knitting. This process minimizes knots, which are the primary failure points in handmade gear. By using a clever ‘spiral cut’ method on the torso of the shirt, you can turn one garment into 30 to 50 feet of usable cordage in under 10 minutes.
The Master Cutter’s Mantra: Lay the shirt flat, cut off the hem, cut off the sleeves, and work only with the rectangular tube of the body. Precision in the initial cut leads to strength in the final product.
- The Tube Prep: Lay the shirt flat on your workspace. Cut straight across from armpit to armpit, discarding the top portion. Cut off the bottom hem. You are left with a fabric tube.
- The Fringe Cut: Fold the tube in half vertically, but leave about 1 inch of the bottom layer protruding past the top layer. Cut slits every 1 inch across the folded fabric, stopping at that 1-inch overlap.
- The Diagonal Connection: Open the shirt so the uncut 1-inch strip is centered. Use your scissors to cut diagonally from the first slit to the second, the second to the third, and so on. This creates one long, continuous strand.
- The Stretch: This is the magic part. Pull the strand firmly between your hands. The edges will curl inward, creating a rounded, durable cord that looks like high-end boutique yarn.
The Build: Constructing the Structural Grid
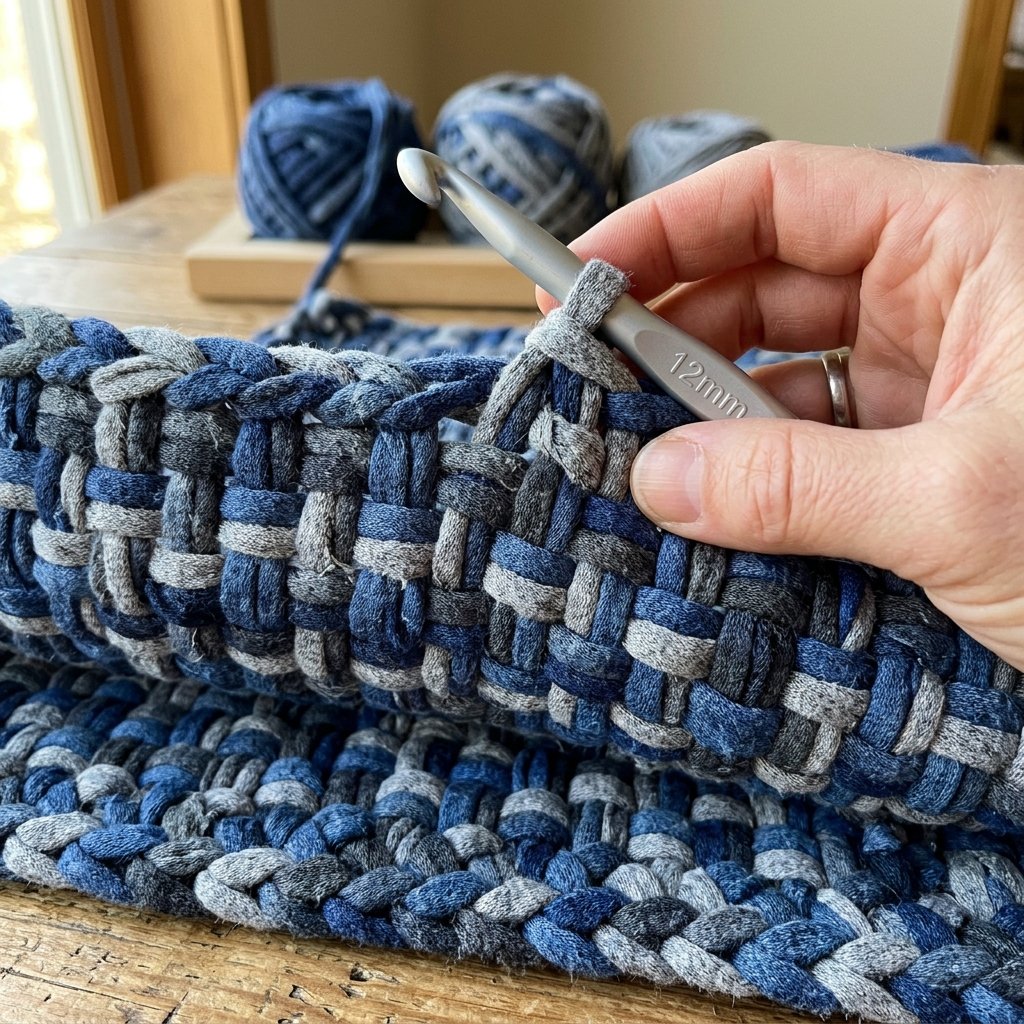
Now that you have your yarn, it’s time to build the chassis of your organizer. We will use a modified finger-knitting technique or a simple crochet chain to create a thick, reinforced backing. This grid needs to be stiff enough to hold weight but flexible enough to contour to the back of your car seat. A standard organizer usually measures about 18 inches wide by 24 inches long.
DIY vs. Store-Bought: The Value Proposition
| Feature | Store-Bought Plastic | DIY T-Shirt Yarn |
|---|---|---|
| Cost | $25 – $60 | $0.00 |
| Durability | Brittle, prone to cracking | Flexible, high-tensile strength |
| Washability | Wipe down only | 100% Machine Washable |
| Customization | Fixed pocket sizes | Bespoke to your gear |
To start, create a foundation chain that matches the width of your seat. Use a double-strand technique (using two strands of yarn at once) to ensure the backing is ‘overbuilt’ for maximum longevity. Weave the strands in a dense ‘waffle’ pattern to create a surface that won’t sag when you add heavy items like tablets or tools.
Tactical Pocket Placement and Reinforcement
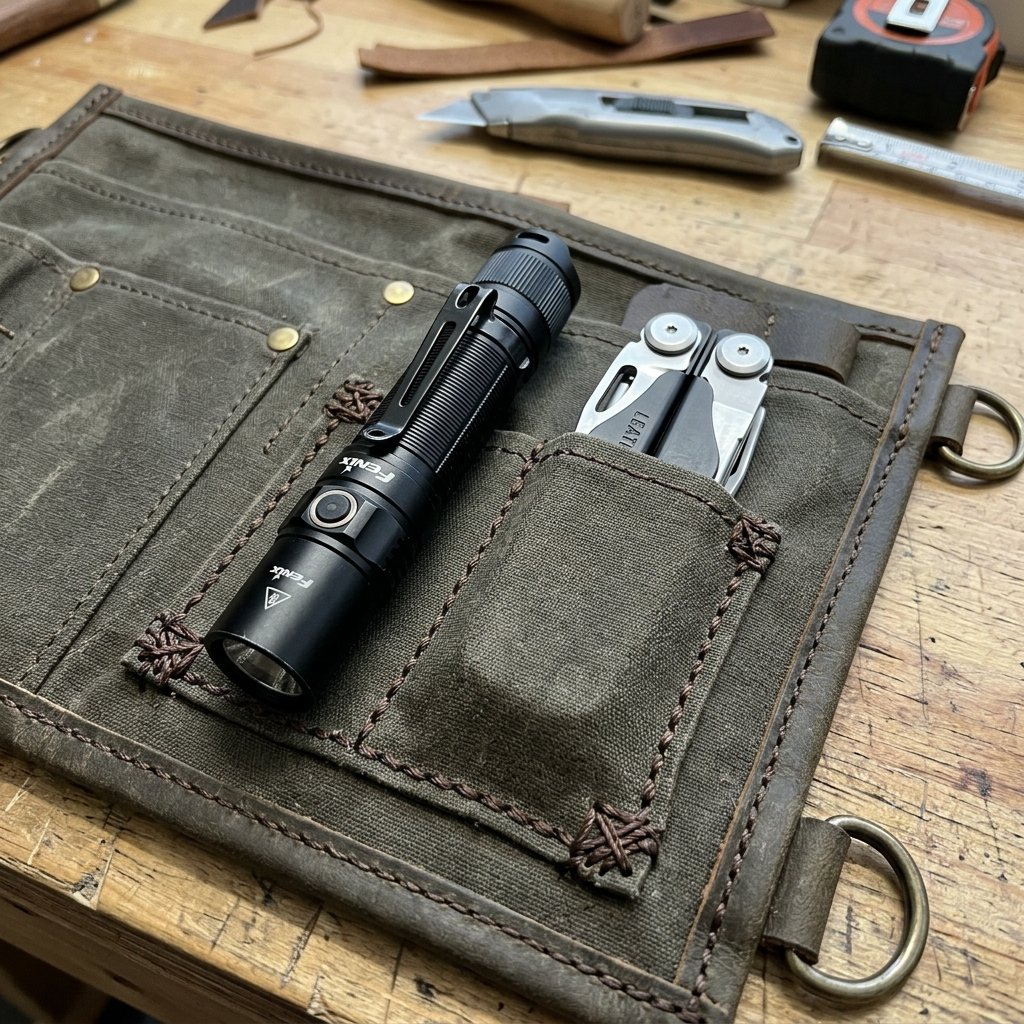
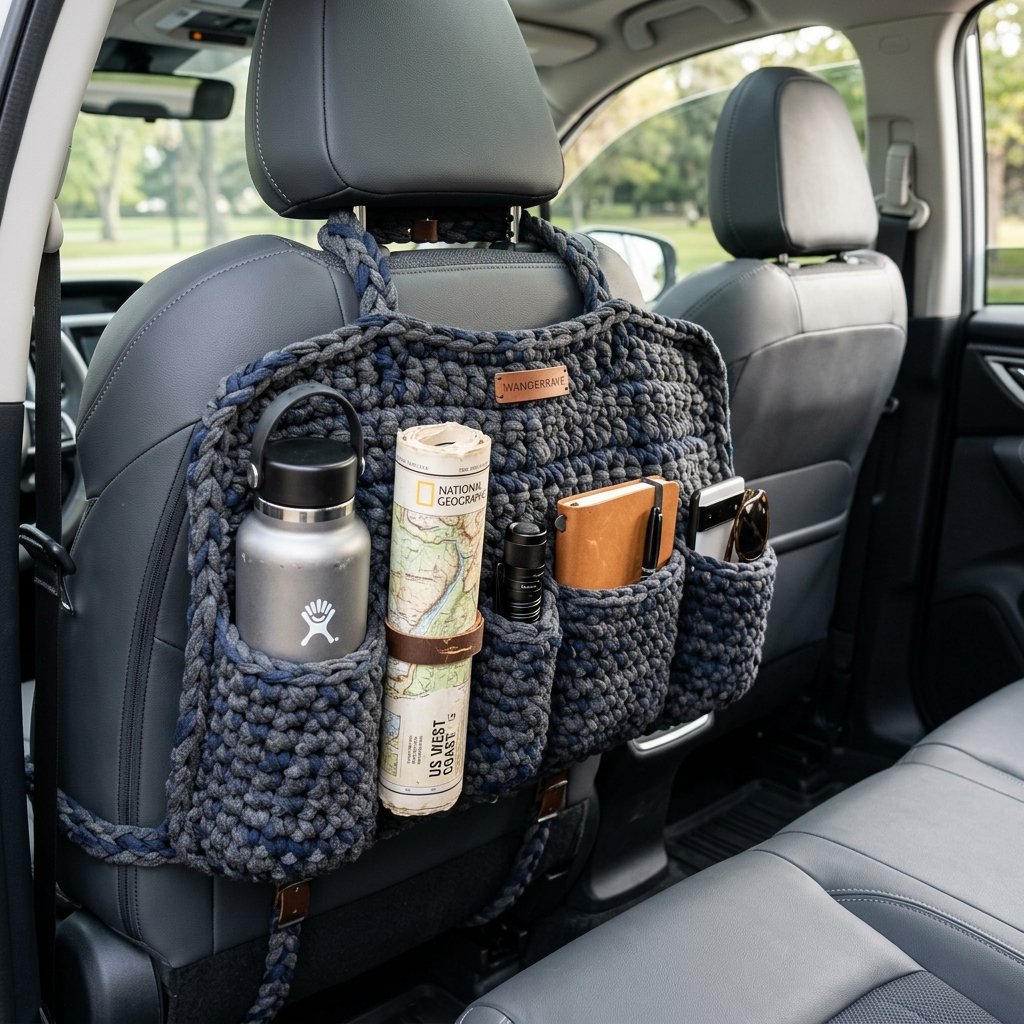
This is where your inner designer shines. Unlike generic organizers, you can size these pockets for your specific needs. Do you have a specific oversized water bottle? A favorite tablet? A bulky first-aid kit? Measure them now. We will create ‘patch pockets’ by knitting smaller rectangles and ‘welding’ them onto the main grid using a simple whip stitch with more t-shirt yarn.
- The Tech Pocket: Use a tighter stitch pattern to protect screens from scratches.
- The Utility Loops: Create small, high-tension loops at the top for hanging sunglasses or carabiners.
- The Bottom Mesh: Use a looser, wider weave for the bottom pocket to allow dirt or crumbs to fall through, keeping the organizer clean.
Pro Tip: When attaching pockets, use a cross-stitch reinforcement at the corners. These areas take the most stress when you are shoving items into the organizer while on the road.
Installation: Securing the Load
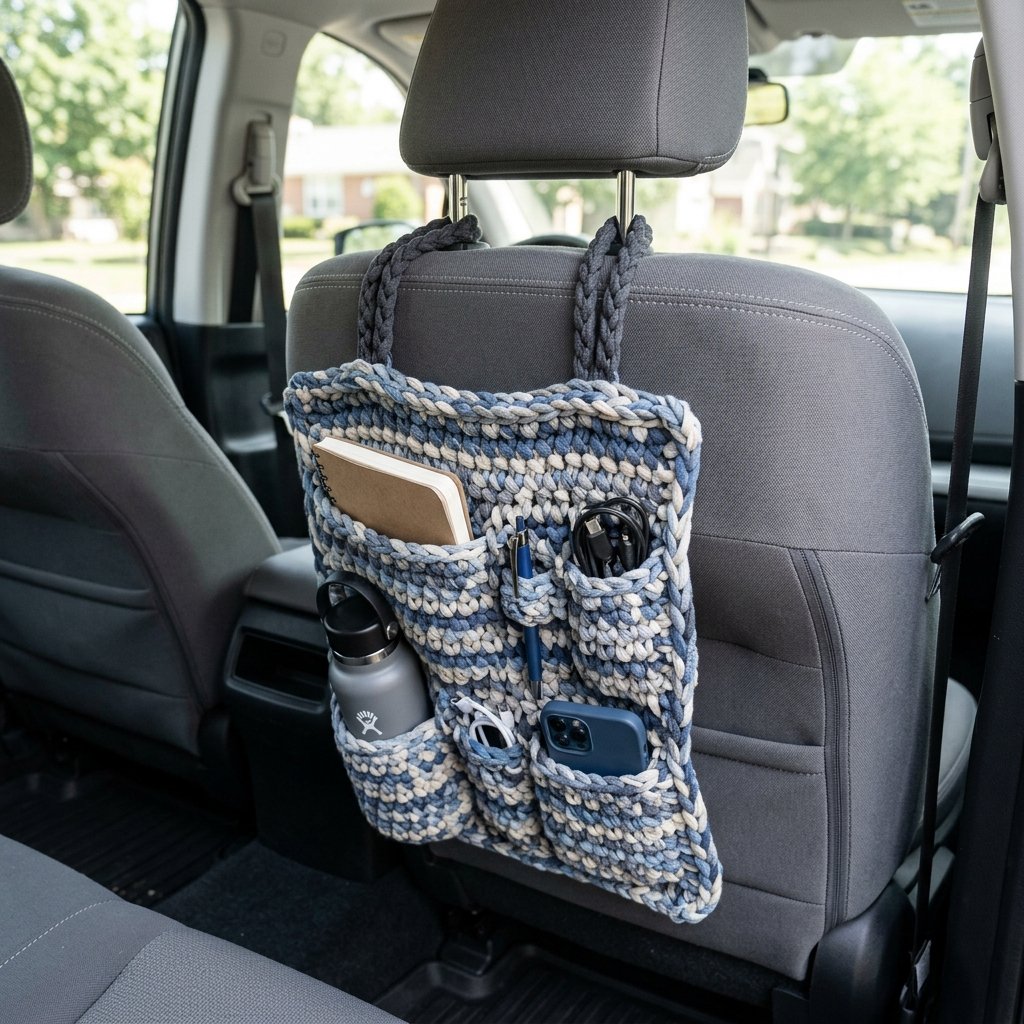
A floppy organizer is a useless organizer. To secure your masterpiece, we will create two heavy-duty top straps that loop around the headrest posts and two bottom tension cords that hook under the seat frame. This four-point mounting system ensures the organizer stays flush against the seat even during sharp turns or sudden stops.
Installation Timeline
| Step | Action | Time Required |
|---|---|---|
| 1 | Measure headrest post distance | 1 minute |
| 2 | Braid heavy-duty support straps | 10 minutes |
| 3 | Attach straps to top corners | 5 minutes |
| 4 | Thread bottom tension cord | 5 minutes |
For the top straps, I recommend a three-strand braid using your thickest yarn. This distributes the weight across the headrest posts and prevents the fabric from digging into the seat material. For the bottom, use a single strand of yarn with a simple slip knot that allows you to tighten or loosen the tension as needed.
Conclusion
Victory Over the Void: Your New Mobile Command Center
By investing just a few hours of your time and zero dollars from your wallet, you have successfully transformed household waste into a high-functioning piece of automotive gear. This DIY t-shirt yarn organizer isn’t just about tidying up; it’s a testament to resourceful engineering and clever craftsmanship. You’ve saved at least $30 and kept several pounds of textile waste out of the landfill. Now, every time you reach back for your sunglasses or your passenger grabs a water bottle, you’ll feel that distinct satisfaction that only comes from a job well done with your own two hands. Keep it clean, keep it organized, and stay crafty!

Makenzie is the founder and lead writer at MoneyHackTips.com — a personal finance blog dedicated to delivering street-smart financial wisdom for real people on real budgets. With 300+ published articles covering everything from debt management to investing fundamentals, Makenzie’s mission is to make every dollar work harder. When not writing about money hacks, Makenzie is testing frugal living strategies, optimizing side hustles, and helping readers build financial freedom from scratch.