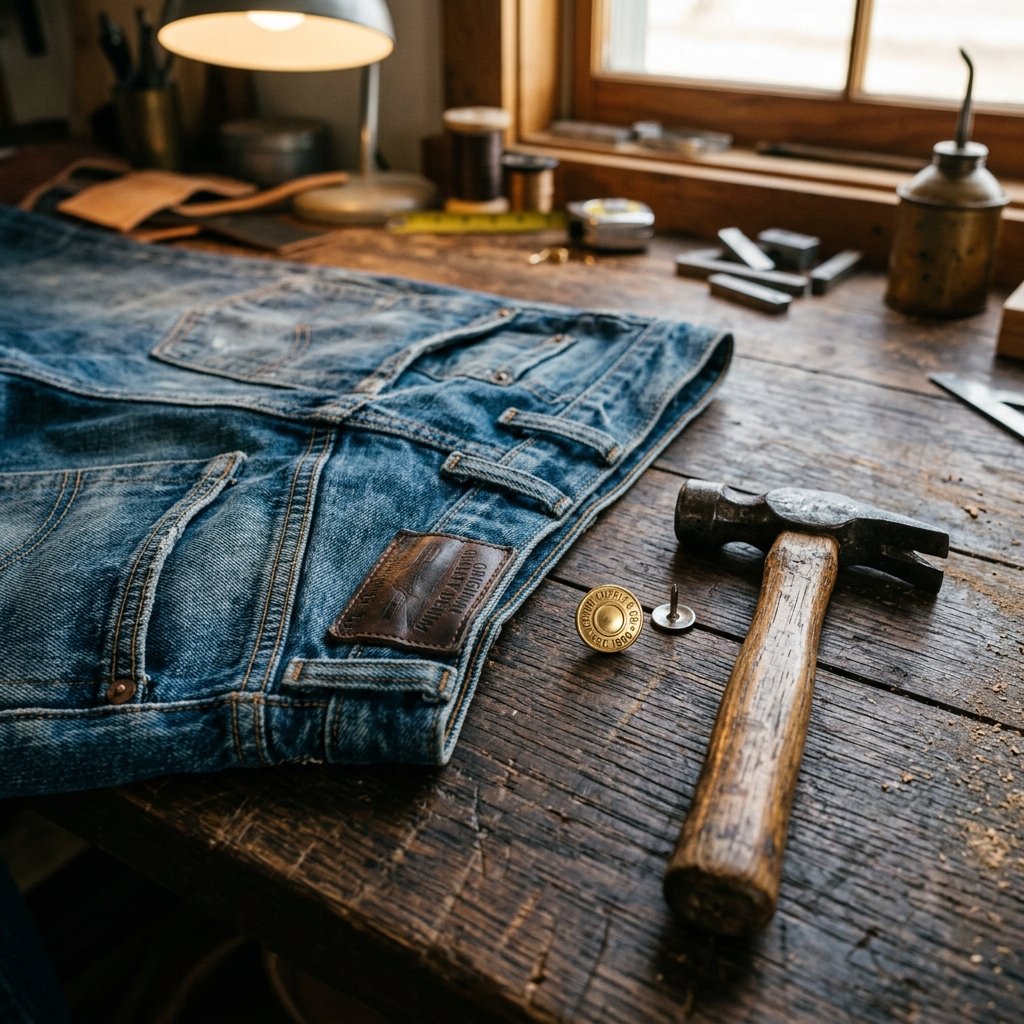

The Denim Disaster: A Problem Every Handy Person Faces
We’ve all been there. You’re getting ready for a big day, you go to fasten your favorite pair of rugged, perfectly-worn-in denim, and—pop. The button flies across the room, disappearing into the void under the dresser. For most people, this is a tragedy that ends in a trip to the tailor or, worse, the trash can. But you? You’re a resourceful DIYer. You know that a missing button isn’t a death sentence for your wardrobe; it’s a two-minute challenge. In this guide, we aren’t just fixing a garment; we are reclaiming it with a rugged, masculine-elegant solution that requires zero sewing skills, no needles, and definitely no expensive tailoring fees.
The secret lies in the ‘Tack Button’—the same heavy-duty hardware used by professional denim manufacturers. This hack is about speed, durability, and that satisfying feeling of fixing something with your own two hands. Whether you’re a busy parent, a budget-savvy student, or a craftsman who values his gear, this $1 fix will save your $80 jeans every single time.
The No-Sew Arsenal: What You Need for a Professional-Grade Fix
Gathering Your Supplies
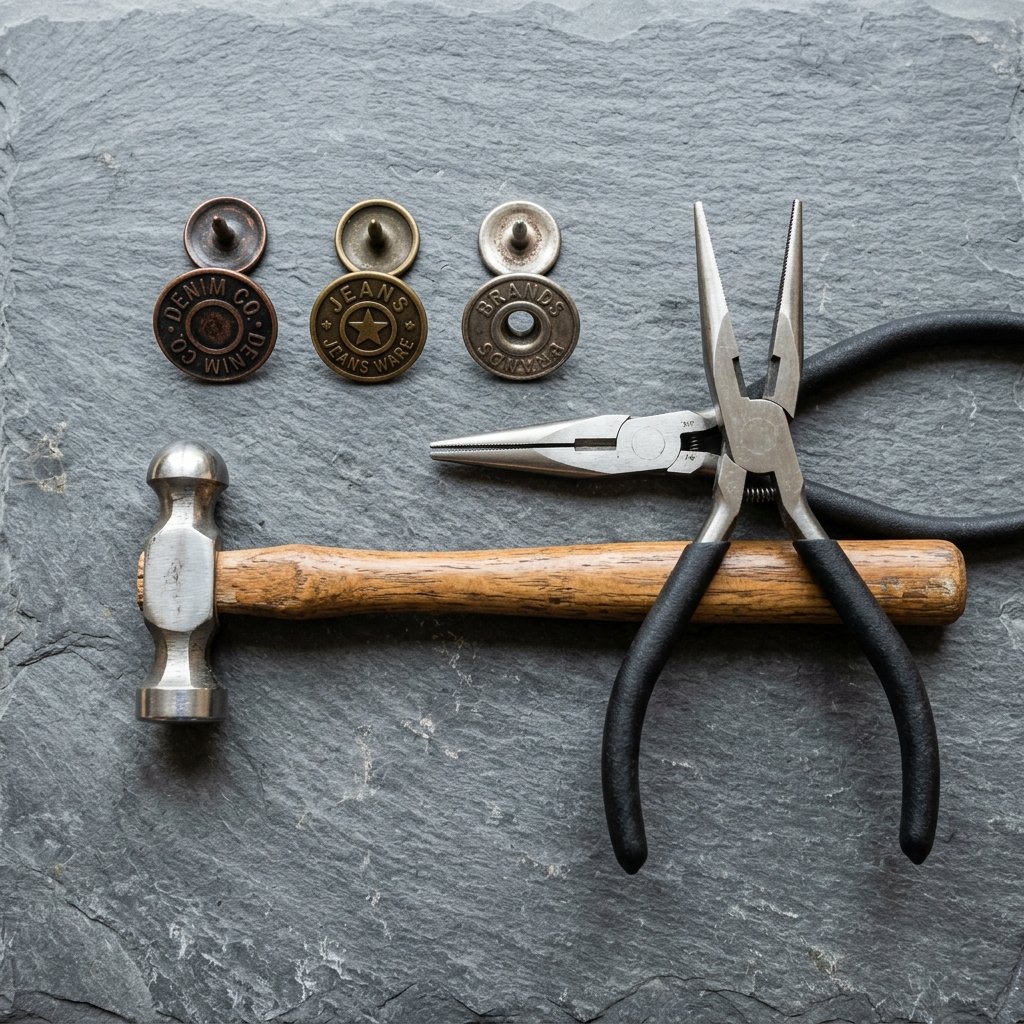
To perform this quick-strike repair, you don’t need a sewing kit. In fact, leave the thread in the drawer. We are using hardware. The primary component is the Jean Tack Button. These are two-piece units consisting of the decorative front button and a sharp, nail-like tack that secures it from the back. You can find these in bulk for pennies, making each repair cost roughly $0.10 to $0.25.
| Item | Purpose | Estimated Cost |
|---|---|---|
| Replacement Tack Button | The new hardware for the waistband | $0.15 |
| Small Hammer or Mallet | To drive the tack into the button head | $0.00 (Owned) |
| Solid Surface | A workbench or concrete floor for stability | $0.00 |
| Pliers (Optional) | To remove any remaining jagged metal | $0.00 |
Why This Beats Traditional Sewing
Traditional buttons are held on by thread, which is the weakest point of the garment. Denim is a heavy, high-tension fabric. A sewn-on button will eventually wobble and tear the fibers. A metal tack button, however, creates a permanent, structural bond with the fabric that can withstand hundreds of pounds of pressure. It is the gold standard for rugged durability.
The 120-Second Strike: Step-by-Step Installation

The Process of Precision
Ready to save your jeans? Follow these steps with confidence. The entire process takes less time than it does to brew a cup of coffee.
- Clear the Debris: Use your pliers or fingers to remove any leftover metal or loose threads from where the old button lived. If the hole is too large, move the new button location 1/4 inch to the left or right to find fresh, strong denim.
- Insert the Tack: Take the sharp tack piece and push it through the back of the waistband. You want the point to be sticking out of the front of the jeans.
- Position the Button: Place the decorative button head onto the point of the tack. It should sit loosely on top.
- The Decisive Strike: Place the jeans facedown on a hard surface (like a piece of scrap wood or a sturdy table). Ensure the button head is flat against the surface.
- Hammer it Home: Give the back of the tack a firm, straight-down tap with your hammer. You will feel and hear a ‘click’ as the tack locks into the internal mechanism of the button.
Position the tack pin from the inside out, ensure it’s straight, and give it one decisive, vertical strike with the hammer to lock the internal clutch.
Pro-Tip for Precision
If you are worried about scratching the decorative face of the button, place a small piece of cardboard or a scrap of cloth between the button and the hard surface before hammering. This keeps the finish looking pristine and professional.
Emergency Field Repairs: When You’re Caught Off Guard
The ‘MacGyver’ Methods
What if the button pops while you’re at work, at a wedding, or out on the trail? You don’t have a hammer or a replacement tack. This is where the resourceful crafter shines. These temporary fixes will hold your pants up until you can get home to do the permanent repair described above.
- The Key Ring Trick: If the button is gone but the hole is intact, slide a small silver key ring through the buttonhole and loop it over the metal nub of the zipper. Zip up, and the ring stays hidden, acting as a secondary anchor.
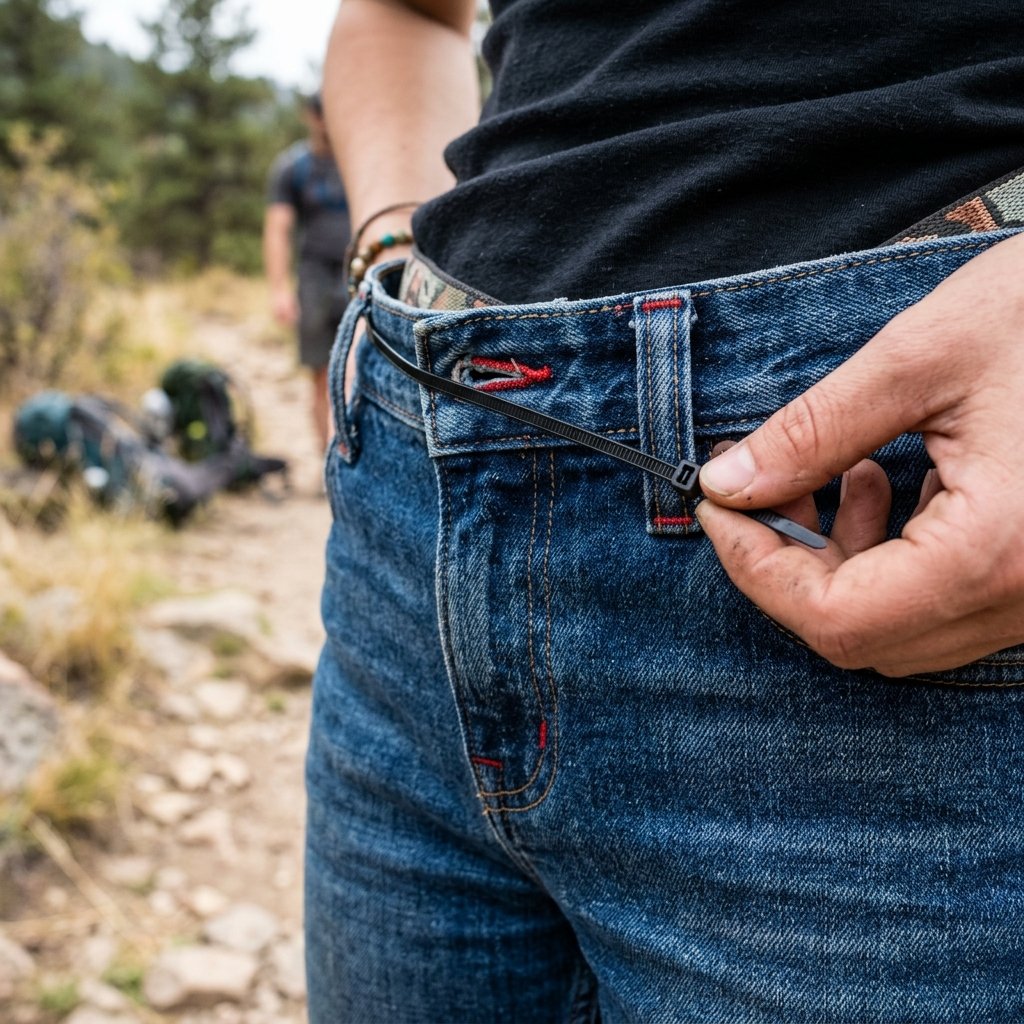
- The Zip Tie Savior: Thread a small plastic zip tie through the fabric where the button was and through the buttonhole. Zip it tight and snip the tail. It’s 100% secure and virtually invisible under a belt.
- The Bachelor Button: Keep a ‘Bachelor Button’ (a screw-on version of the tack button) in your EDC (Everyday Carry) kit. These require no tools—you simply screw the back into the front by hand.
| Emergency Method | Durability | Visibility | Tool Required |
|---|---|---|---|
| Key Ring | Medium | Hidden | None |
| Zip Tie | High | Low | Scissors/Knife |
| Screw-on Button | High | None | None |
Reinforcing the Fortress: Preventing Future Button Failure
Maintenance for the Long Haul
A button usually fails because the fabric around it has weakened or ‘blown out.’ To ensure your new repair lasts for the life of the garment, follow these preventative maintenance tips:
Reinforce the Hole
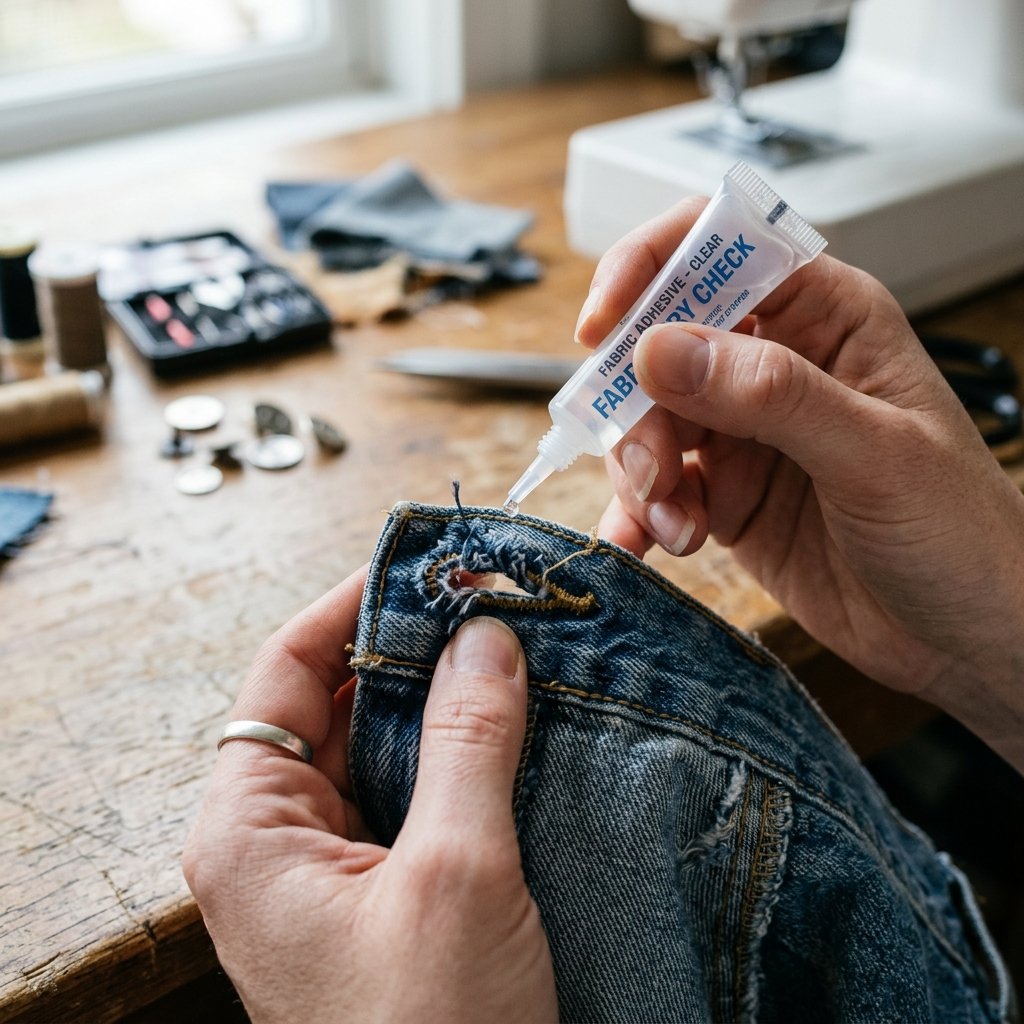
If the denim is fraying where the button goes, apply a small dab of clear nail polish or fabric glue to the edges of the hole. This acts as a ‘liquid weld,’ sealing the fibers and preventing the hole from expanding under tension. For a more rugged fix, iron a small patch of denim interfacing to the inside of the waistband before inserting your new tack button.
The Tension Test
If your buttons are popping frequently, it might be a sign of high tension. Consider using a waistband extender or simply ensuring that when you hammer the tack, it is perfectly vertical. A crooked tack is a weak tack. A properly installed metal button should be able to support the full weight of the jeans and then some.
The best repair is the one you only have to do once. Take thirty extra seconds to reinforce the fabric, and you’ll never search for a lost button again.
Conclusion
Mastering the Art of the Quick Fix
In a world of fast fashion and disposable goods, the ability to repair your own clothing is a superpower. By spending less than 2 minutes and a few cents on a tack button, you’ve saved your favorite pair of jeans and kept money in your pocket. This isn’t just about a button; it’s about the frugal mindset of a maker who values quality and knows how to maintain it. So, the next time you hear that dreaded ‘pop,’ don’t reach for your wallet—reach for your hammer. You’ve got this!

Makenzie is the founder and lead writer at MoneyHackTips.com — a personal finance blog dedicated to delivering street-smart financial wisdom for real people on real budgets. With 300+ published articles covering everything from debt management to investing fundamentals, Makenzie’s mission is to make every dollar work harder. When not writing about money hacks, Makenzie is testing frugal living strategies, optimizing side hustles, and helping readers build financial freedom from scratch.