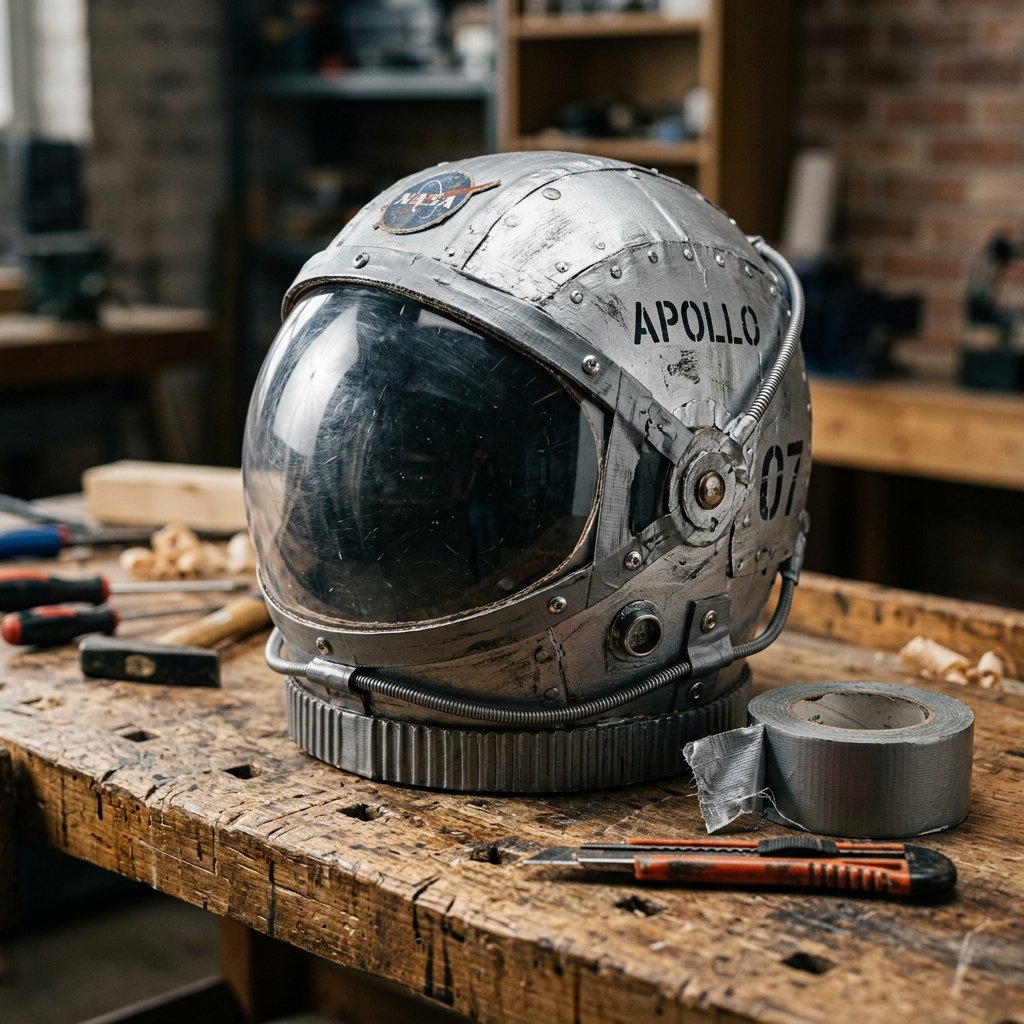

Listen up, fellow space explorers and budget-conscious engineers. We live in an era where the most sophisticated toys are often found right on your doorstep—inside the shipping boxes of your latest online orders. Why drop $30 or $50 on a flimsy, mass-produced plastic helmet that will crack in a week when you can build a rugged, custom-fitted, and infinitely more stylish piece of aerospace gear from a $0 cardboard box? This isn’t just a craft project; it is a lesson in resourceful engineering and the ultimate trash-to-treasure transformation. Today, we are taking that brown corrugated cardboard and turning it into a vessel for the imagination. Whether you are a handy parent looking to win ‘Dad or Mom of the Year’ or a frugal crafter prepping for a costume party, this guide will walk you through the structural mechanics of building a space helmet that looks like it came straight out of a NASA laboratory.
The Scavenger Hunt: Sourcing Your Aerospace Materials
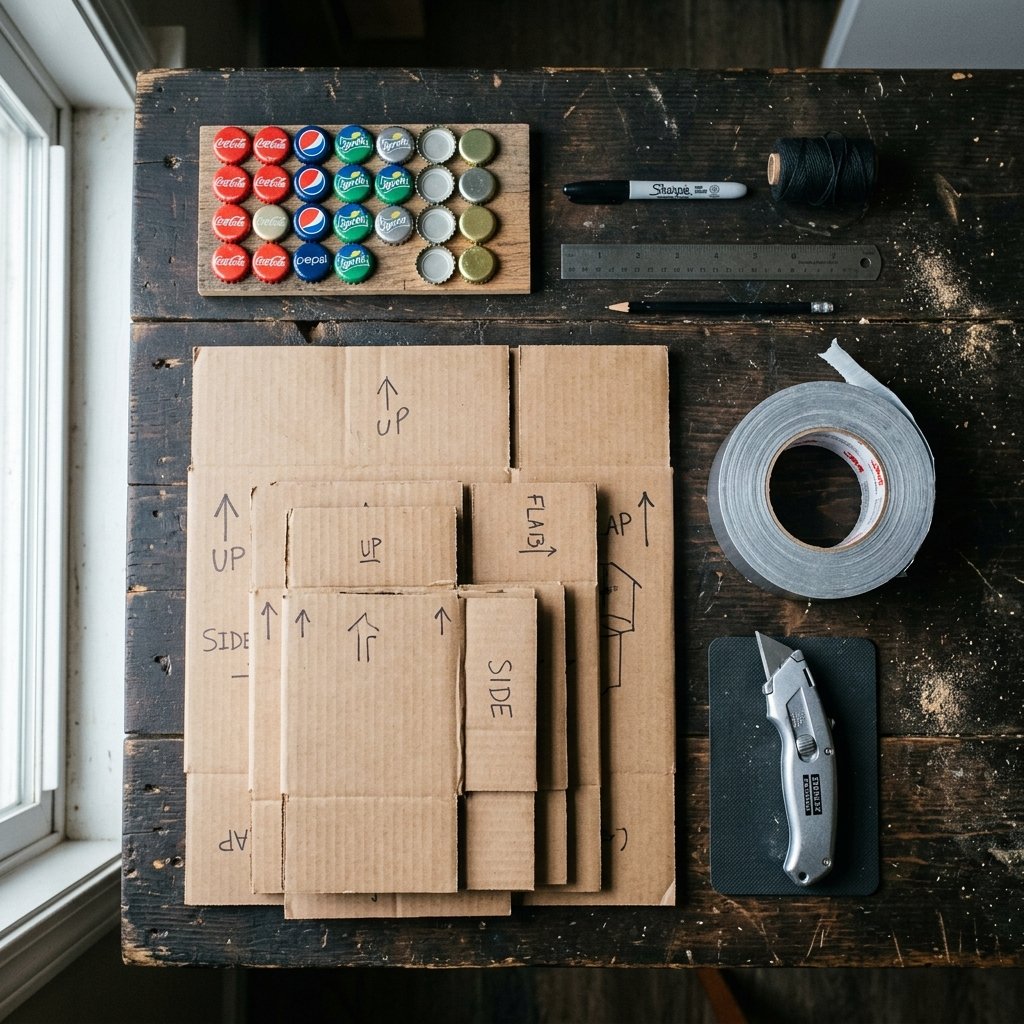
Before we initiate the countdown, we need to gather our components. The beauty of this project is that most of these items are likely already in your recycling bin or junk drawer. We are looking for structural integrity and clever repurposing.
The Essential Inventory
- Primary Structure: One square cardboard box (approximately 12×12 inches for a child, 14×14 for an adult).
- The Visor: A clear plastic sheet from a toy package, an old 2-liter soda bottle, or even a clear plastic folder.
- Adhesives: High-strength duct tape (silver is best), a hot glue gun, and some masking tape for temporary holds.
- Detailing: Bottle caps, old buttons, corrugated scraps, and metallic spray paint (or acrylic).
| Material | Upcycled Source | Estimated Cost |
|---|---|---|
| Helmet Base | Amazon/Shipping Box | $0.00 |
| Clear Visor | Soda Bottle / Packaging | $0.00 |
| Fasteners | Duct Tape / Hot Glue | $2.50 |
| Control Knobs | Bottle Caps / Lids | $0.00 |
| Total Project Cost | Resourceful Total | $2.50 |
Mission Control Tip: Always opt for double-wall cardboard if you can find it. It offers superior durability for high-impact lunar landings and rough backyard play.
Structural Engineering: Cutting the Foundation
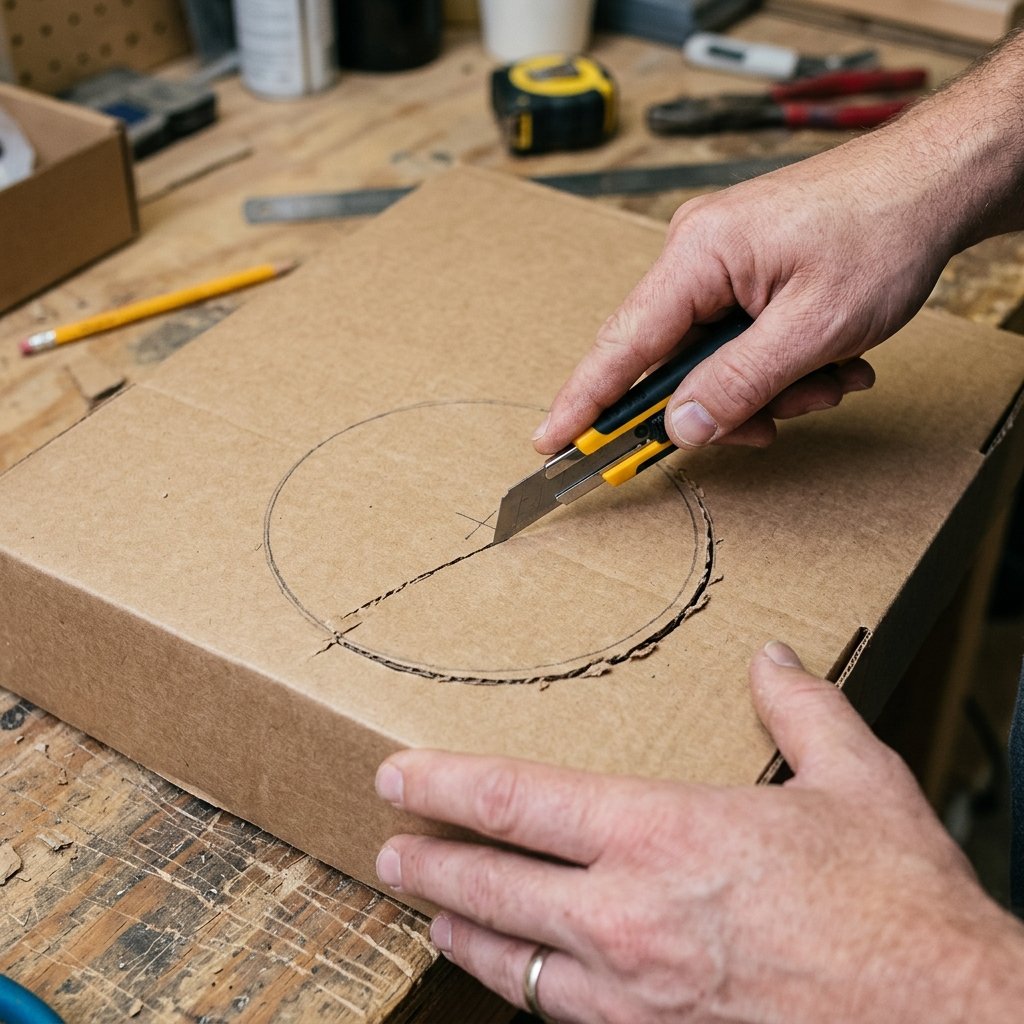
The Main Aperture and Neck Hole
First, we must ensure our astronaut can actually see and breathe. Safety is paramount when dealing with enclosed cardboard structures. Start by sealing the top and bottom of your box with strong duct tape to create a solid cube.
- The Neck Entry: On the bottom of the box, use a compass or a large dinner plate to trace a circle slightly larger than the wearer’s head. Carefully cut this out using a utility knife. Pro tip: Smooth the edges with masking tape to prevent cardboard scratches on the neck.
- The Viewport: On the front face of the box, draw a large rectangle or a rounded ‘TV-screen’ shape. Ensure it is positioned at eye level. Cut this out cleanly.
- Shoulder Contours: To make the helmet sit comfortably, cut shallow ‘U’ shapes out of the left and right sides where the box rests on the shoulders. This prevents the box from wobbling during moonwalks.
Safety First: Always perform all cutting operations yourself. Never let a child handle the utility knife. Ensure there is plenty of ventilation inside the box by poking small ‘oxygen’ holes in the top or back.
The Visor Installation: Achieving the High-Tech Look
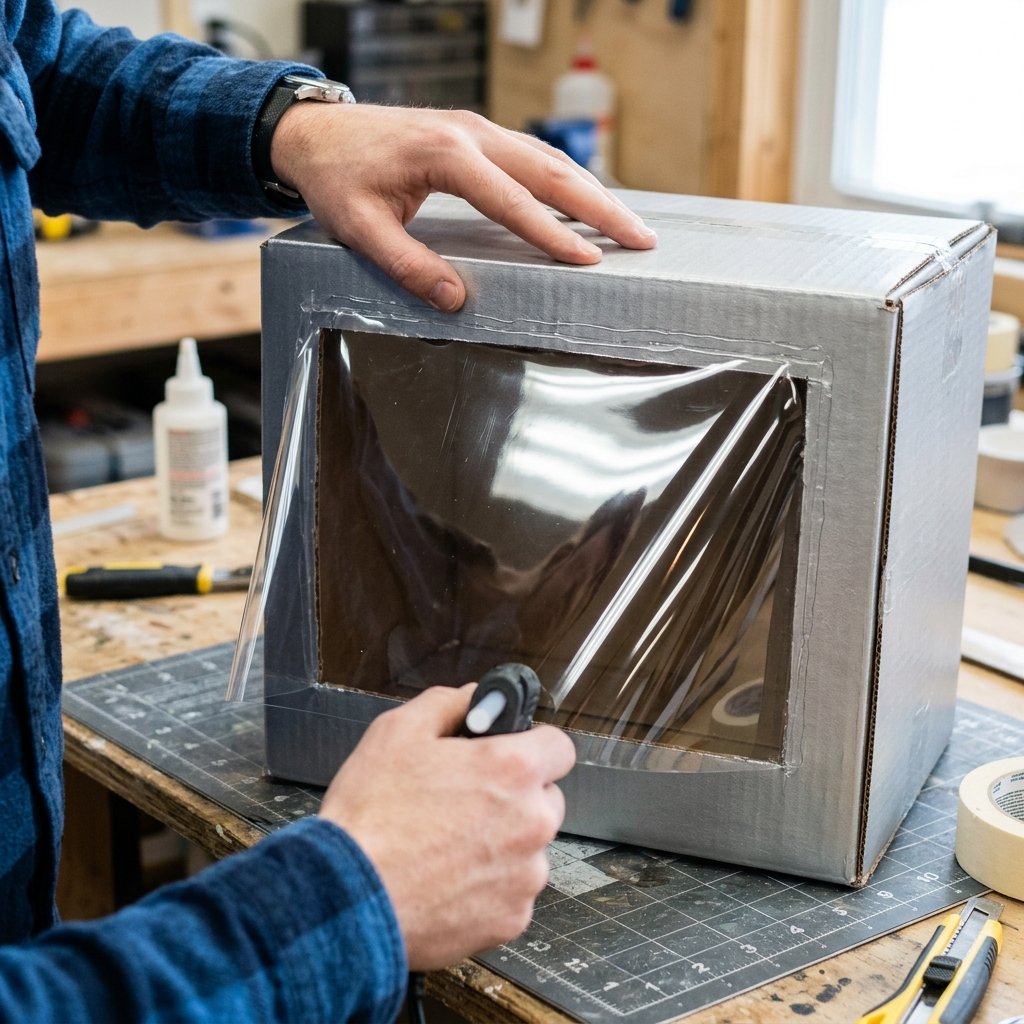
The Clear Shield Mechanism
A true space helmet needs a visor to protect against ‘cosmic rays’ and ‘micro-meteorites.’ We want that sleek, curved look without the expensive price tag of a polycarbonate shield.
If you are using a 2-liter soda bottle, cut the top and bottom off, then cut down the middle to create a clear sheet. Flatten it out slightly, but let it retain some of its natural curve. Position this over the interior of your viewport rectangle. Use silver duct tape or hot glue to secure it from the inside. This creates a flush, professional-looking window that catches the light beautifully.
| Visor Material | Pros | Cons |
|---|---|---|
| Soda Bottle | Free, Curved, Durable | Small surface area |
| Clear Folder | Large, Flexible | Can be flimsy |
| Toy Packaging | Thick, Crystal Clear | Harder to cut |
For a truly ‘rugged-elegant’ finish, frame the outside of the visor with 1-inch strips of cardboard to create a raised bezel. This hides the tape lines and adds a level of 3D depth that makes the helmet look like a movie prop rather than a box.
Detailing & GREEBLING: Adding the ‘Sci-Fi’ Tech
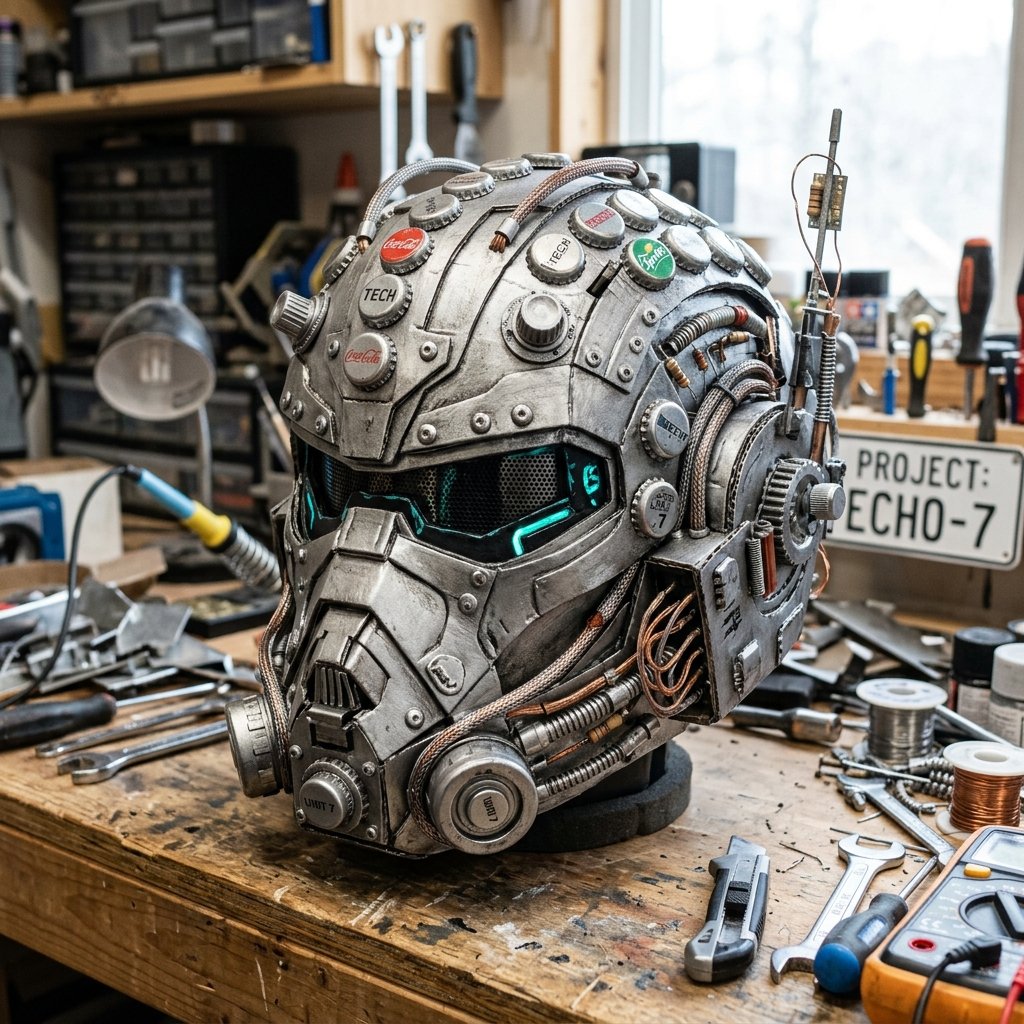
The Art of Greebling
In the world of model making, ‘greebling’ is the process of adding small, complex details to a surface to make it look larger and more technologically advanced. This is where your trash-to-treasure skills really shine.
- Communication Array: Take an old plastic cup or a small cardboard tube and attach it to the side of the helmet as an antenna housing. Use a pipe cleaner or a piece of wire for the antenna itself.
- Control Knobs: Glue various bottle caps (from milk jugs or soda bottles) to the side or front. These represent oxygen flow and radio frequency dials.
- Ventilation Grills: Cut small squares of mesh from an old fruit bag (the plastic netting) and glue them over small holes on the side for ‘CO2 scrubbers.’
The Paint Job: Once your greebles are attached, take the helmet to a well-ventilated area. A coat of metallic silver spray paint is the magic wand of upcycling. It unifies all the different materials—the cardboard, the plastic caps, and the tape—into one cohesive, metallic-looking piece of equipment. Wait 2 hours for it to dry completely before the final reveal.
Final Assembly: Comfort and Customization
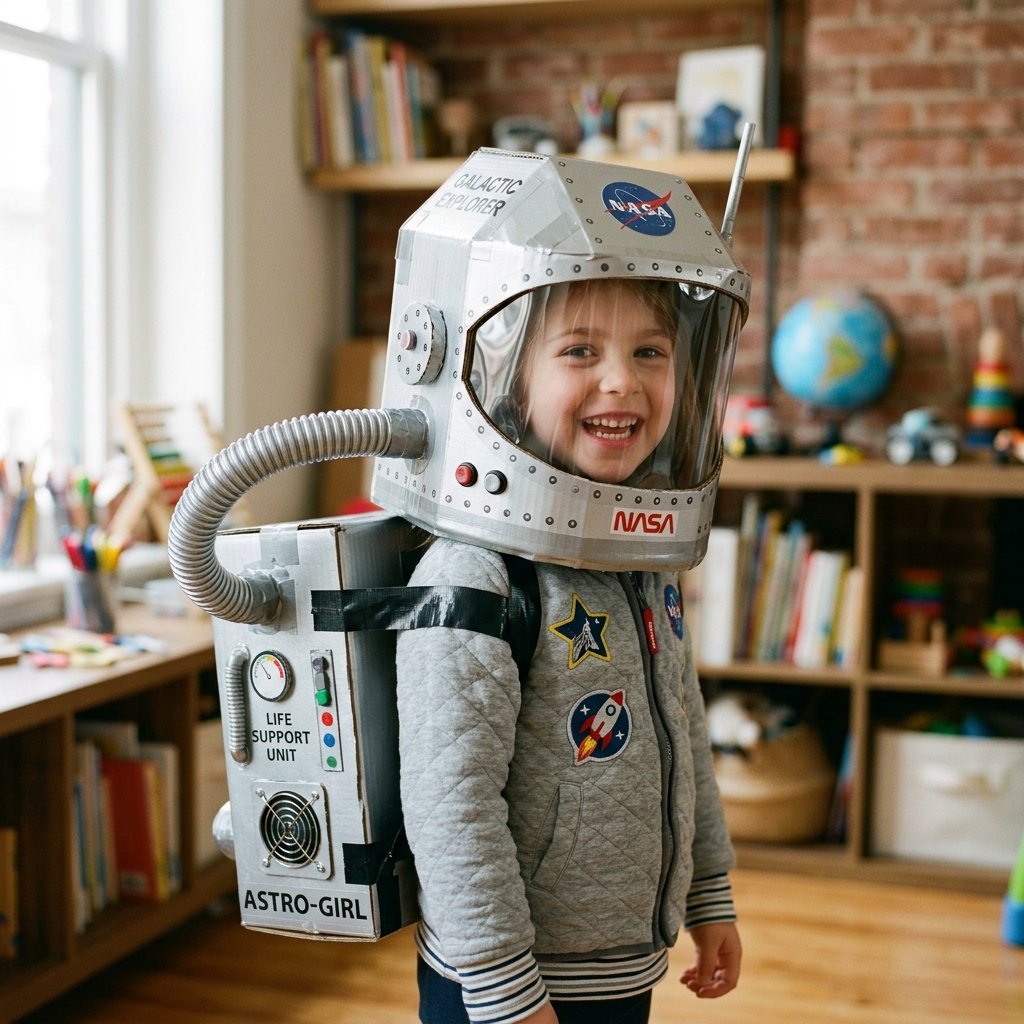
A great helmet isn’t just about looks; it’s about the ‘fit and finish.’ To make this a piece of gear that can be worn for hours of playtime, we need to add some internal cushioning.
- Padding: Glue small sponges or scraps of bubble wrap inside the top of the helmet. This ensures it doesn’t slip down over the eyes and provides a ‘cushy’ feel for the astronaut.
- Decals: Use a permanent marker or printed-out logos to add things like ‘NASA,’ ‘UNITED STATES,’ or the astronaut’s name to the front. This adds that final layer of authenticity.
- The Life Support Hose: If you have an old vacuum hose or a piece of flexible dryer vent, attach it to the back of the helmet and lead it down to a ‘backpack’ (another smaller cardboard box).
| Feature | DIY Method | Store-Bought Equivalent |
|---|---|---|
| Interior Padding | Upcycled Sponges | $12.00 Foam Kit |
| Tech Details | Bottle Caps | $15.00 Plastic Parts |
| Custom Decals | Hand-drawn / Printed | $8.00 Sticker Sheet |
| Total Savings | Master Crafter Win | $35.00 Saved |
Maintenance and Longevity: Keeping the Gear Space-Ready
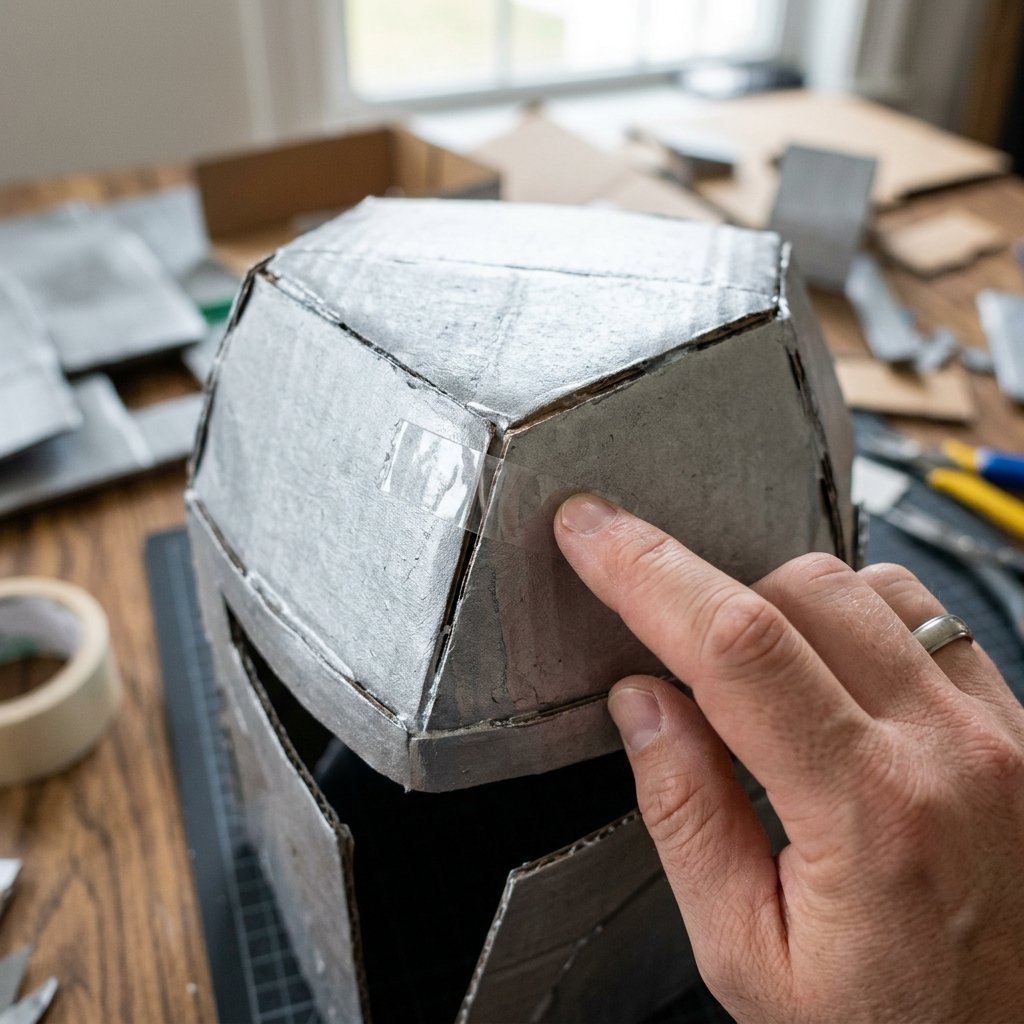
Durability Hacks for Active Play
Cardboard is tough, but space is a harsh environment. To ensure your helmet survives multiple missions to the backyard and back, follow these maintenance tips:
- Reinforce Stress Points: Apply an extra layer of clear packing tape over any corners that seem to be fraying.
- Moisture Protection: If the play moves outdoors, a quick coat of clear acrylic sealer can help prevent the cardboard from wilting if it gets slightly damp.
- Storage: Store the helmet on a shelf or a ‘helmet stand’ (an upside-down paper towel holder works perfectly) to prevent it from being crushed in a toy box.
The Frugal Mantra: ‘Repair, don’t replace.’ If a bottle cap falls off, a 5-second dab of hot glue puts you back in the mission.
Conclusion
There you have it—a high-performance, aesthetically stunning space helmet born from the remnants of your recycling bin. By choosing to build instead of buy, you’ve saved at least $40, reduced waste, and created a one-of-a-kind heirloom of play. This project proves that with a little cleverness and some rugged determination, ‘trash’ is nothing more than ‘treasure’ waiting for a coat of paint. Now, get out there, initiate the countdown, and let the ultimate playtime begin. The galaxy is waiting, and you’ve got the gear to conquer it!

Makenzie is the founder and lead writer at MoneyHackTips.com — a personal finance blog dedicated to delivering street-smart financial wisdom for real people on real budgets. With 300+ published articles covering everything from debt management to investing fundamentals, Makenzie’s mission is to make every dollar work harder. When not writing about money hacks, Makenzie is testing frugal living strategies, optimizing side hustles, and helping readers build financial freedom from scratch.